Looking to beef up your Vaterra Ascender? We decided to add a few genuine Vaterra option parts to the RPP Hobby Ascender build. The Ascender kit and RTR are pretty durable right out of the box. However, one of the best aspects of this great hobby is adding upgrades to your RC vehicle. The RC industry has come a long way in the past 10+ years, especially on the scale off-road side of the spectrum. There are numerous aftermarket companies out there manufacturing just about any part you need to upgrade, and even add a little bling, to whatever you are building. In this blog installment we will add some beef and a nice scale detail to our K5 kit axles.
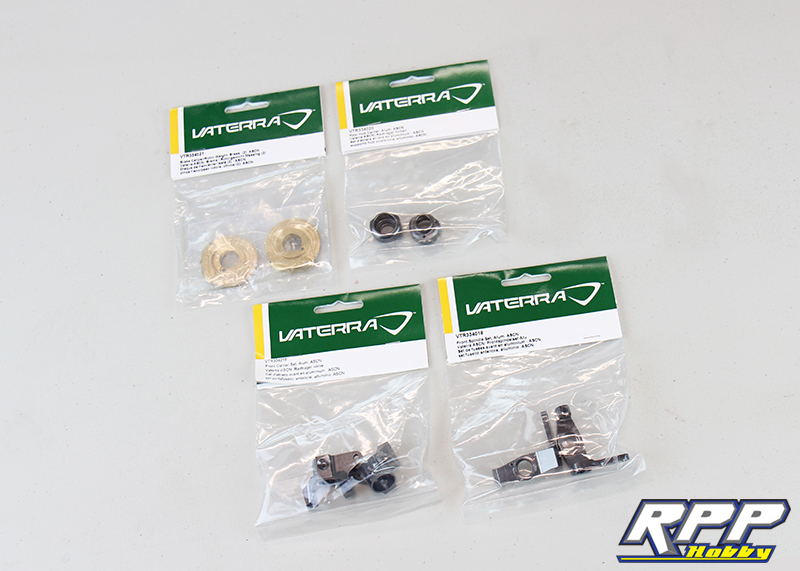
A shot of the upgrades we will be installing during this round of upgrades.
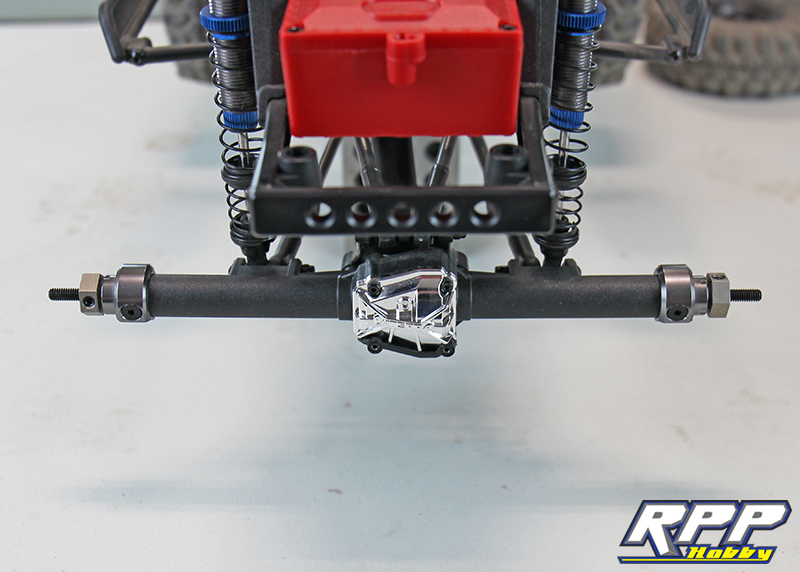
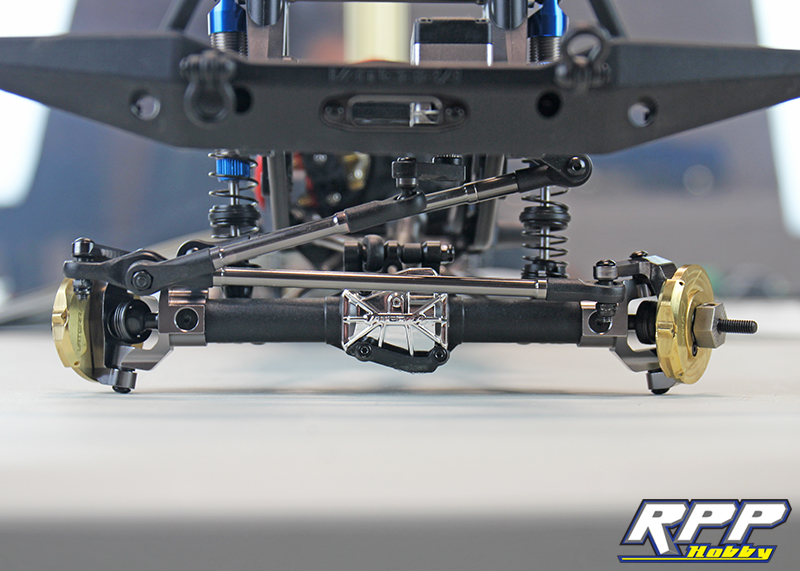
First upgrade will be going on the rear axle. Vaterra’s machined aluminum rear hub carriers will be replacing the stock plastic units on the ends of the rear axle housing. These carriers hold the load of the rear axle shafts. Upgrading to aluminum gives us a little more robust mounting point for the rear axle bearings. Another added bonus is they are “shaved” for a little more axle clearance too.
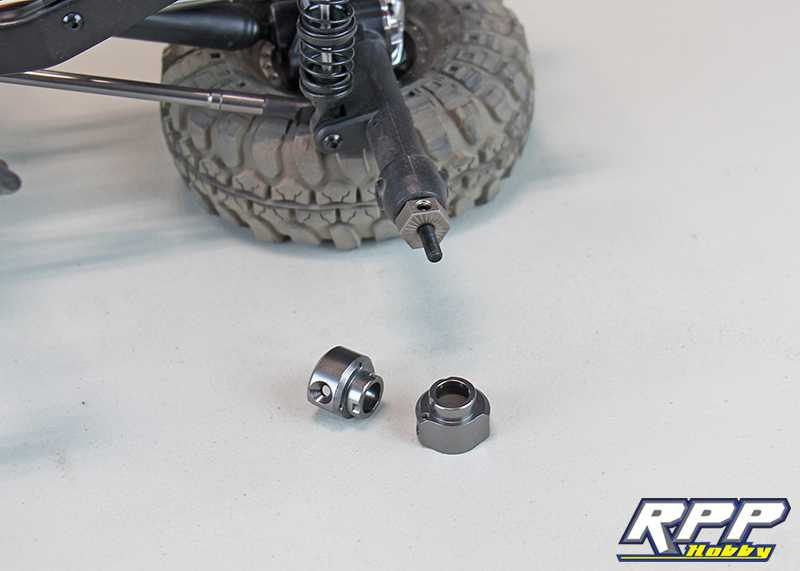
Using a 2mm hex driver, remove the wheel hex. Then, remove the plastic carrier and axle shaft.
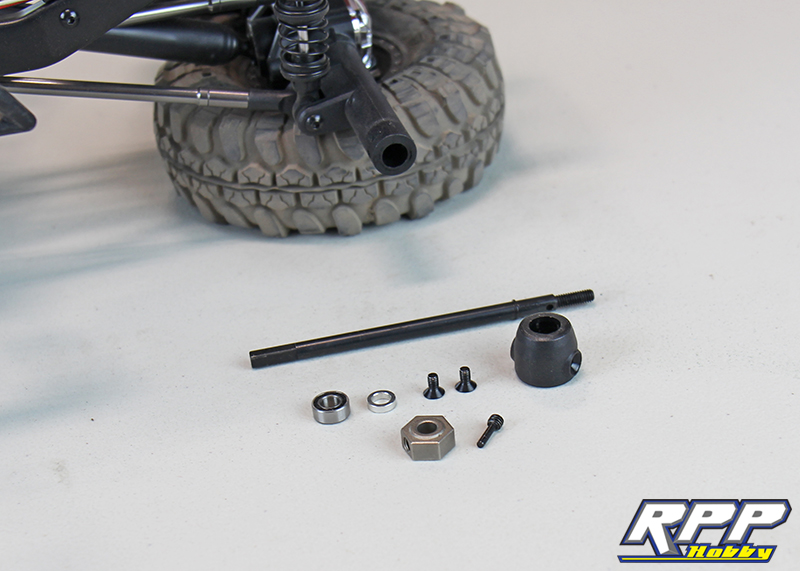
Install the bearing into the new carrier.

Reverse the removal process to re-install. Don’t forget the aluminum spacer between the bearing and drive hex. These carriers will slide on tight too. You may need to trim any burrs left around the screw holes with a knife for them to fit.

Repeat the process for the opposite side and the rear is finished.
Moving on to the front. Remove the drive hex and steering tie rod from the driver’s side.

Remove the 3mm screws from the plastic knuckles. Careful not to lose the metal sleeves that are located in the top and bottom of the knuckles during removal.
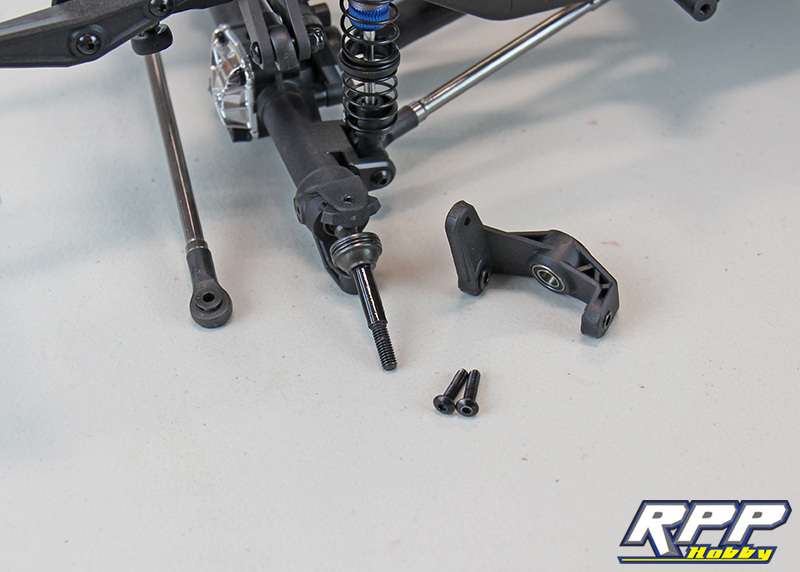
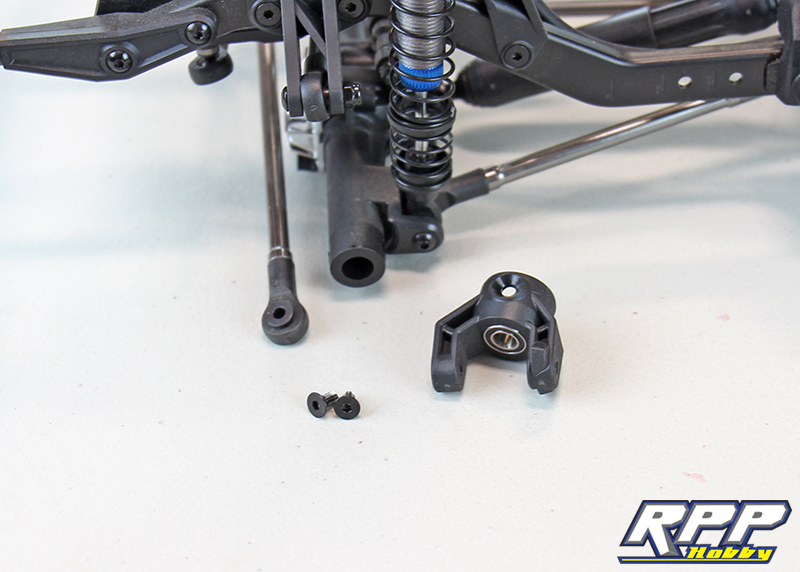
Slide the axle shaft out of the housing and remove the stock carrier hub, aka C hub.
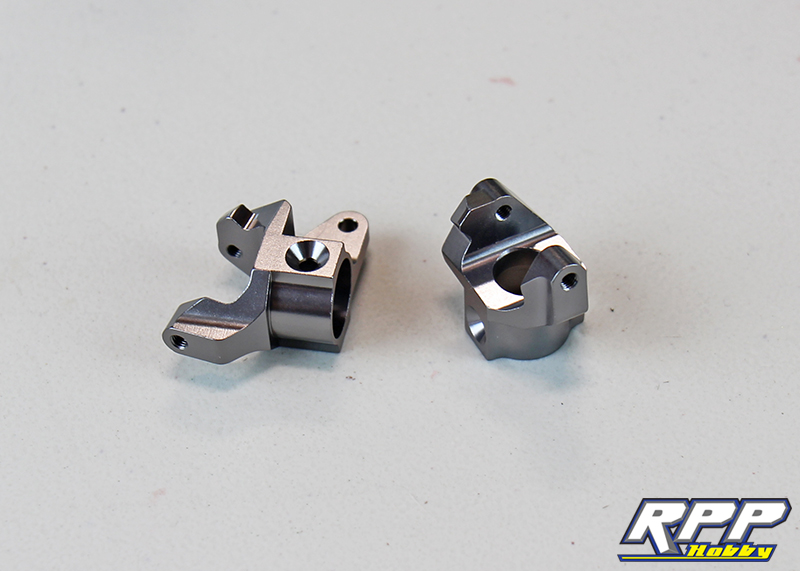
Our new Vaterra aluminum front carrier set.
Install the bearing and axle shaft into the carrier and attach to the axle housing.

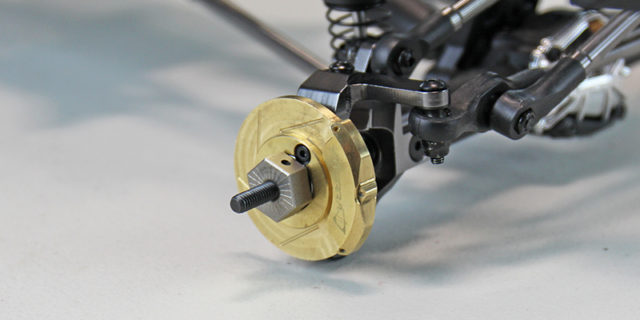
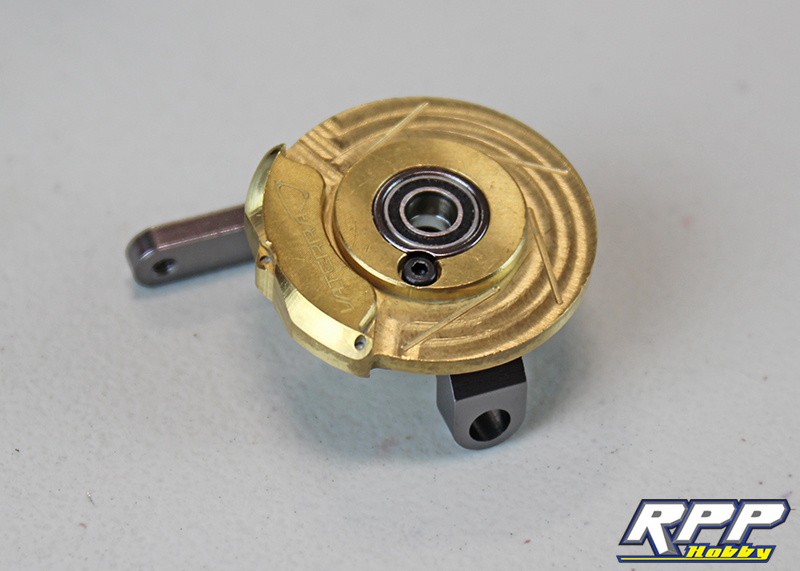
The next two option parts that we will be installing are the Vaterra aluminum front spindles, aka knuckles, and the Vaterra scale brake caliper set. The caliper set not only looks good, it adds weight up front for those steep scale hill climbs. We may even paint them in the future for a more scale look.

Start be removing all the old hardware from the stock knuckle.
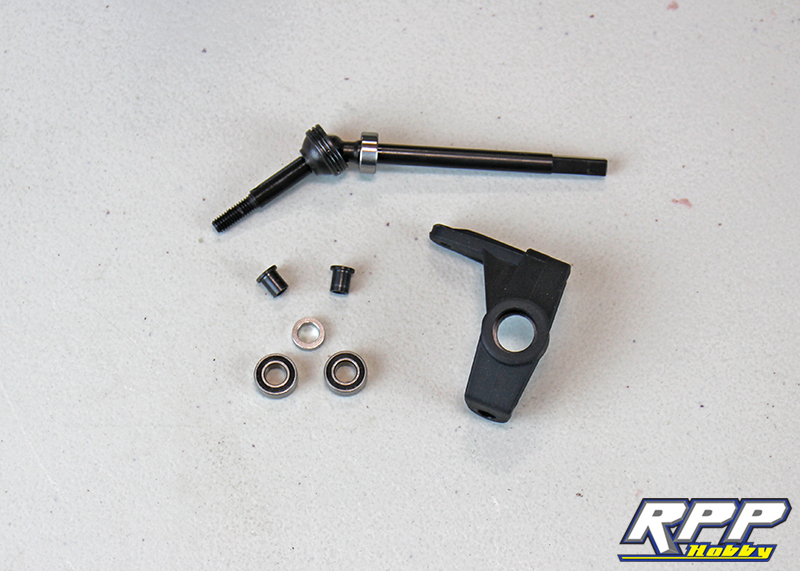
Install the hardware you just removed into the new knuckle and attach the brake caliper with the supplied screw. We added a dab of thread lock to the caliper screw for a little extra security.
Install the knuckle and caliper assembly back onto the axle housing. We struggled here to get everything lined up properly so it would slide together. There is a better way.
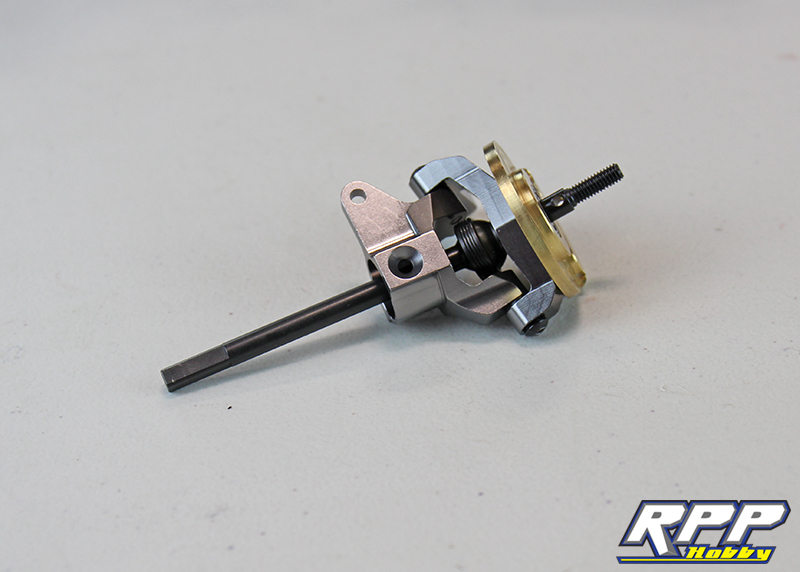
For the second side of the front axle we pulled the whole carrier and knuckle assembly off the housing at once.

Then, we rebuilt the entire upgraded assembly while off the axle housing. In order to get the knuckle screws back into place, we had the slide the bearings out of their seats to give us some room to maneuver everything back into place. This worked better than putting each piece back on the axle separately.
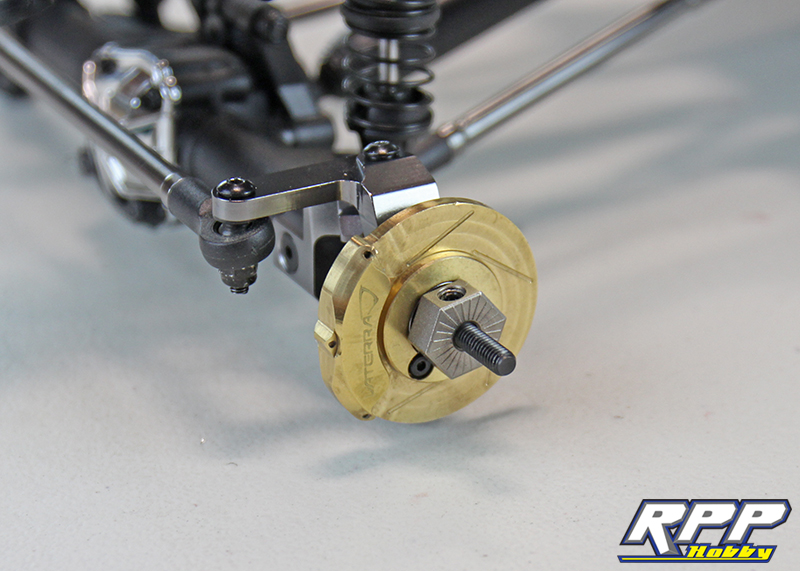
Install the entire assembly back onto the axle housing and re-attach the rod ends for the steering and panhard bar.
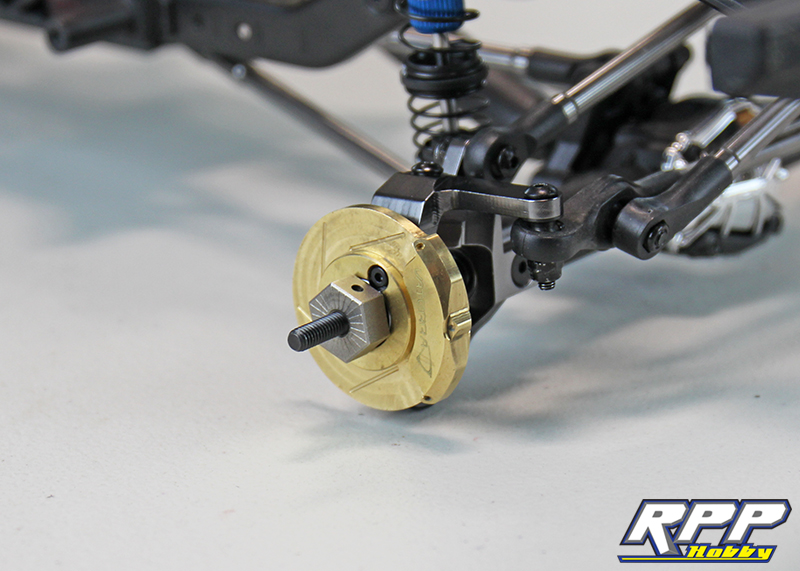
A shot of the front all buttoned up!
That wraps up this option part install on our Vaterra Ascender kit build. These parts should prove to be more durable in the long run over their stock counter parts, which is always a good thing. Time for us to go hit some trails! Thanks again for checking out the RPP Hobby blog!