We have been making steady progress with our Vaterra Ascender K-5 Blazer kit build over the past couple weeks. The transmission and axles are now complete. The chassis is built and the electronics have been installed. Now, we are ready to build the shocks, install the battery tray and assemble the suspension links. We are also going to add our first Vaterra RC option part during this installment of our Blazer build. Who is ready to spring into action?
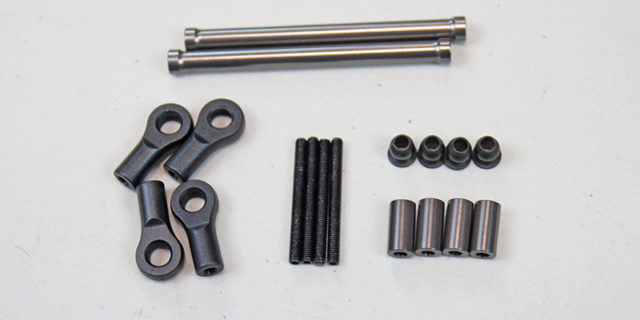
First thing we are going to tackle is the shock assembly. Here you can see everything required to build one shock complete, minus the springs and pivot balls.

Start by installing the shock piston with the supplied e-clips using a pair of needle nose pliers.
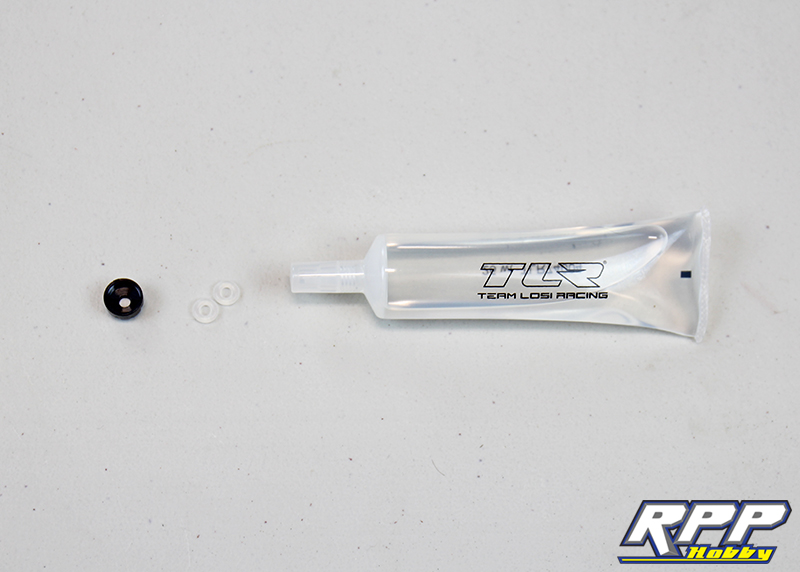
Apply a few drops of shock oil to the o-rings before dropping them into the lower shock cap.
Thread the lower cap into place.
Slide the shock shaft into the shock body, install the rubber bump stop and thread the rod end into place.
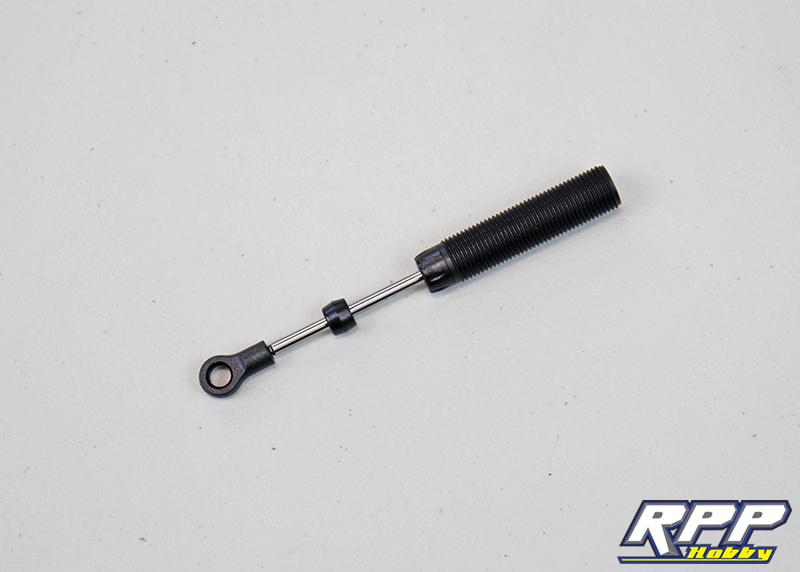
With the shock fully extended, fill the shock body up with oil until the oil is a few millimeters from the top of the shock body. Cycle the shock about 1/2 way through its travel a few times to release any air bubbles trapped under the piston. Once the air bubbles disperse, compress the shock fully and top off with oil until the oil crowns out the top of the shock body just slightly. Install the the o-ring in the shock cap and thread the cap into place on the shock body while holding the shock fully compressed. Once the cap is tight, cycle the shock and listen for any air bubbles. You shouldn’t hear any “gurgling” as the shock cycles through its travel. Once you get it down with the first shock the other three will go a lot faster. First shock bled!
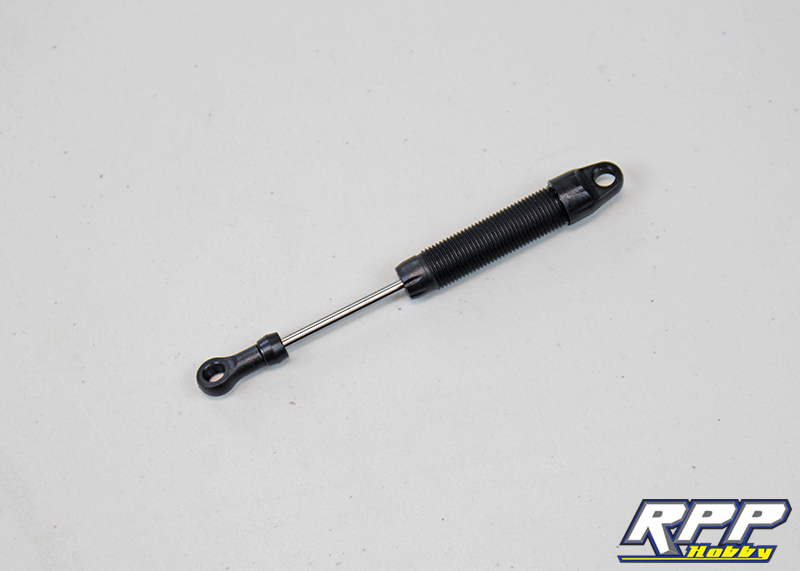
Next, install the pivot balls in the top and bottom of the shocks.

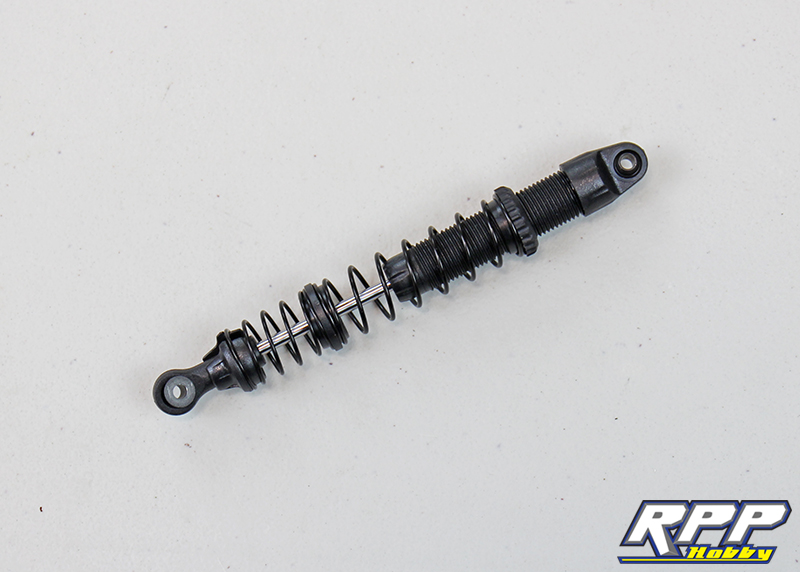
First shock assembled! You will notice the adjustable shock collar will go on tight, but it will fit. Also notice we installed the springs upside down from what the directions suggest. We did this to stop the shock collar located between the two springs from dragging on the shock body threads. The shocks will cycle a bit smoother with the springs in this configuration. These shocks will feel a little stiff once assembled too. This is because the e-clips that hold the shock piston in place partially block the shock piston holes. If you plan to run the stock shocks we would suggest a thinner weight shock oil than the 25wt oil supplied with the kit. Overall they feel pretty smooth for a plastic shock body though. So, with a couple tweaks than can work great.
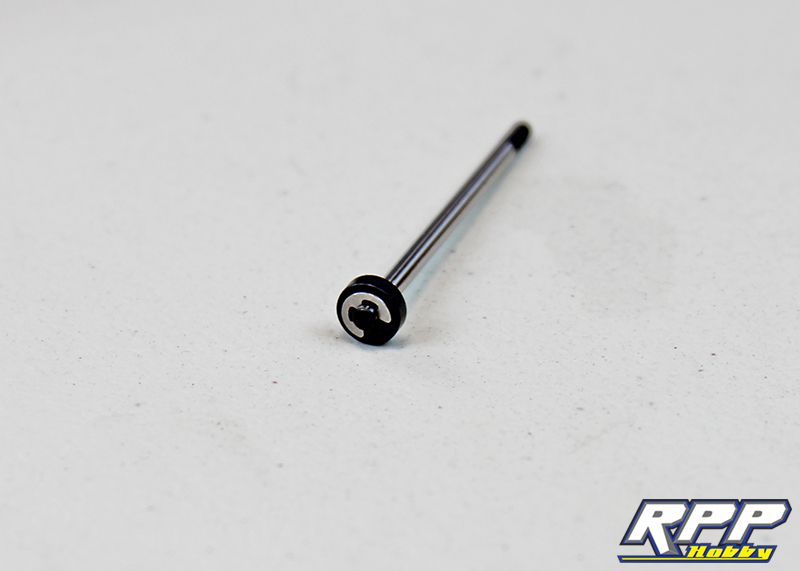
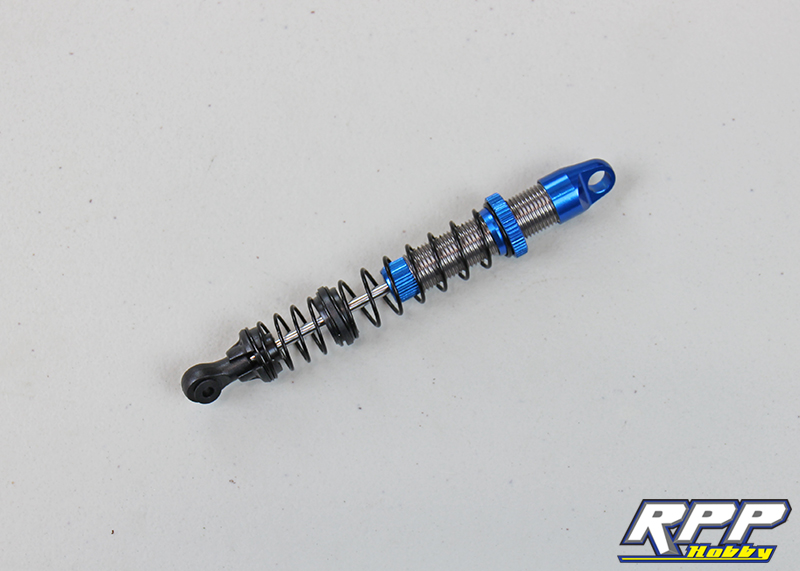
And here is the first option part we are going to add to this K-5 kit build. The Vaterra RC adjustable coilover shocks. These shocks come pre-built with oil, and they are ready to use right out of the package. We must also mention that they are silky smooth! The spring and dampening rate feel spot on for a somewhat lightweight 1.9 scale rig.

One of the shocks out of the package. We are very impressed by the quality.
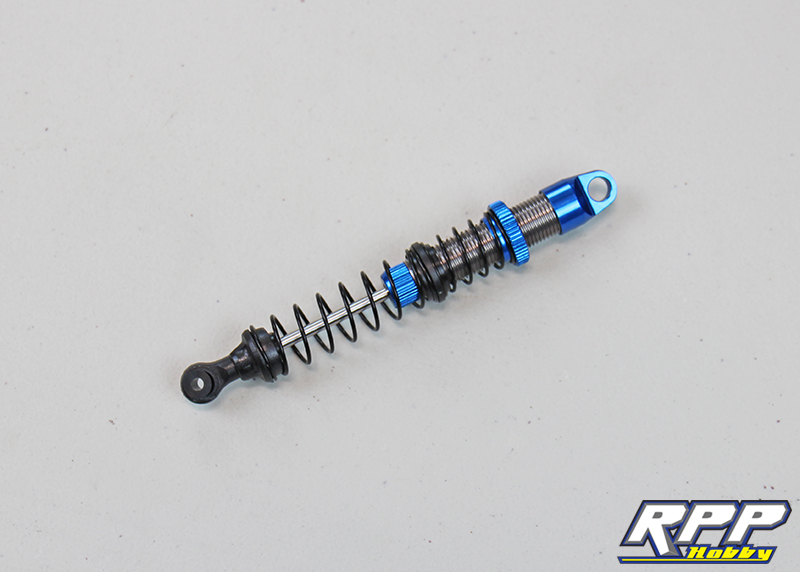
We are going to do the same “spring flip” mod we did with the stock shocks for the smoothest travel possible.
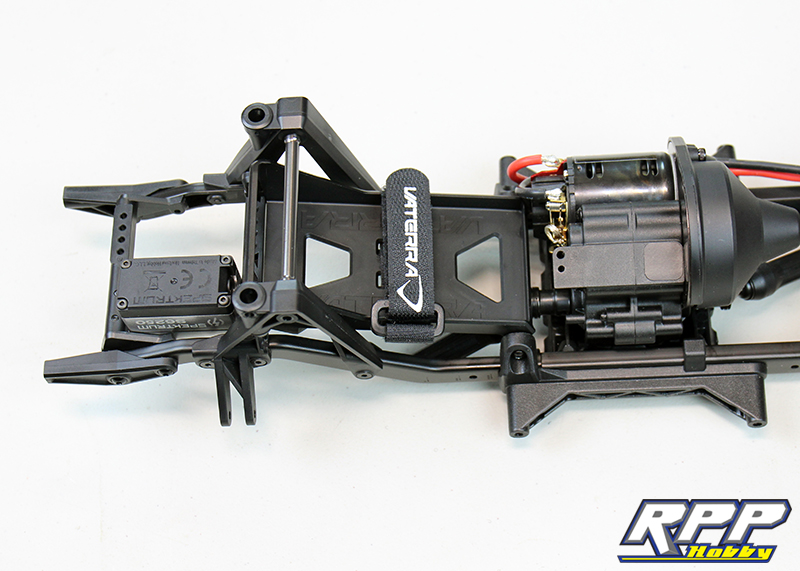
Next install the battery tray. Make sure the front of the tray is underneath the steering servo crossmember. We had ours mounted above the crossmember when we snapped this photo.
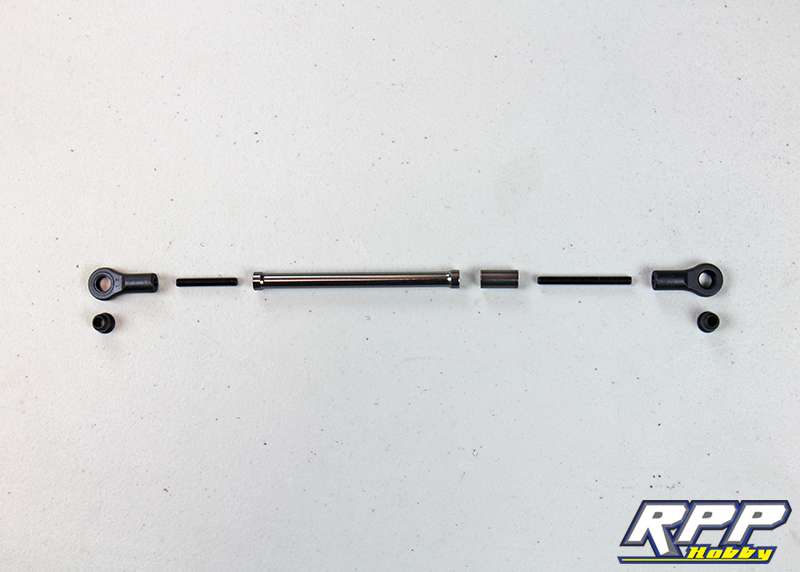
Time to build the suspension links. Take note in the manual which assembly instructions to follow. Since we are building a 314mm wheelbase truck, follow the pages intended for that wheelbase. Everything needed to build a front lower link.
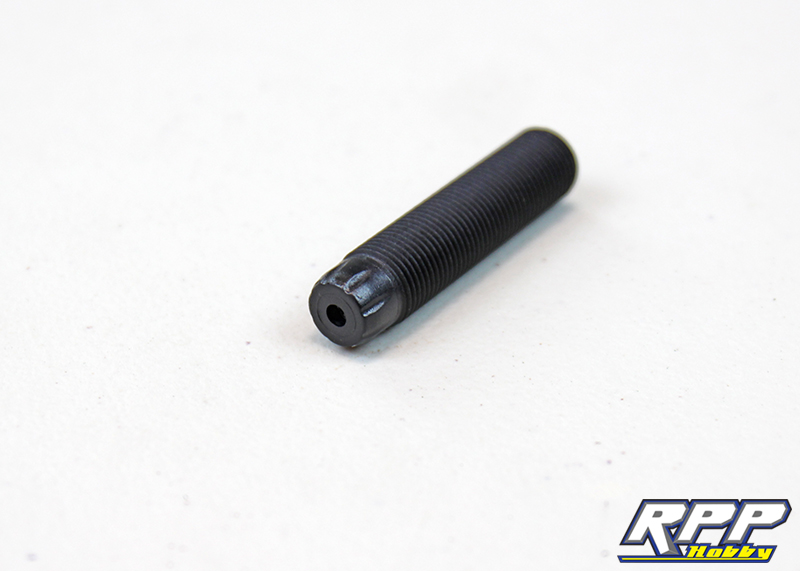
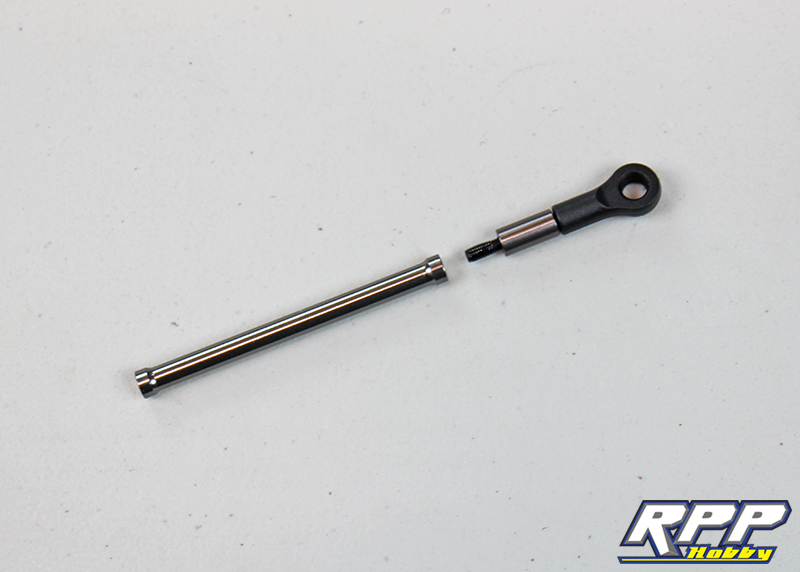
Per the instructions we added a dab of thread lock to the stud before threading it into the suspension link.
Front lower links complete.
Front upper link complete. There is only one upper link because of the chassis mounted servo and panhard bar set-up.

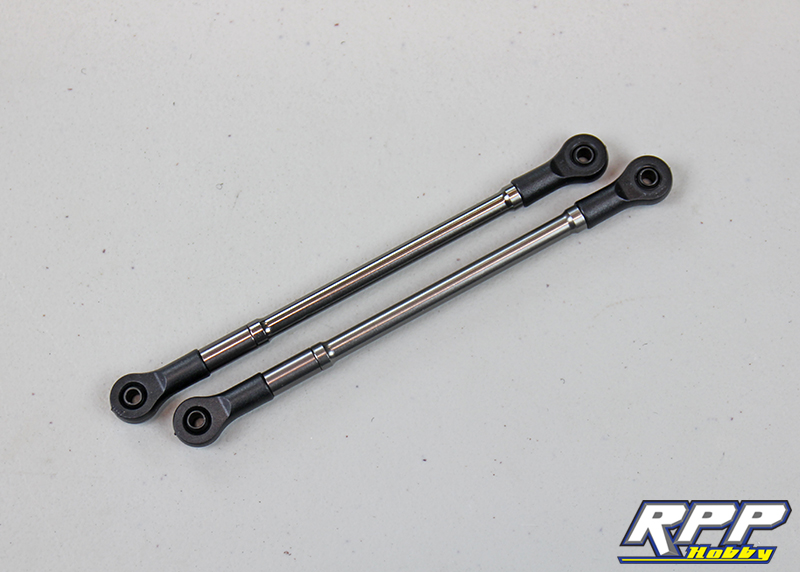
Time to move on to the rear lower links. Everything required to build both.
Rear lower links assembled.
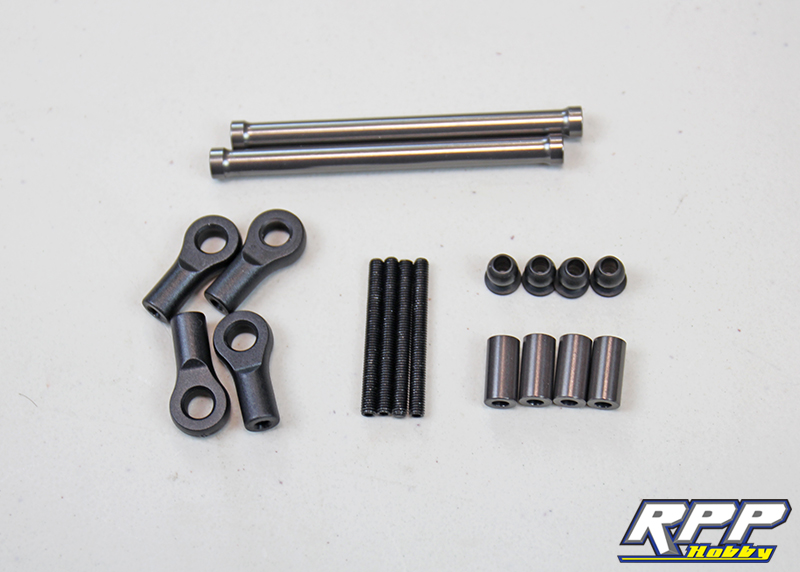
Everything required to build both rear upper links.

Rear upper links assembled.

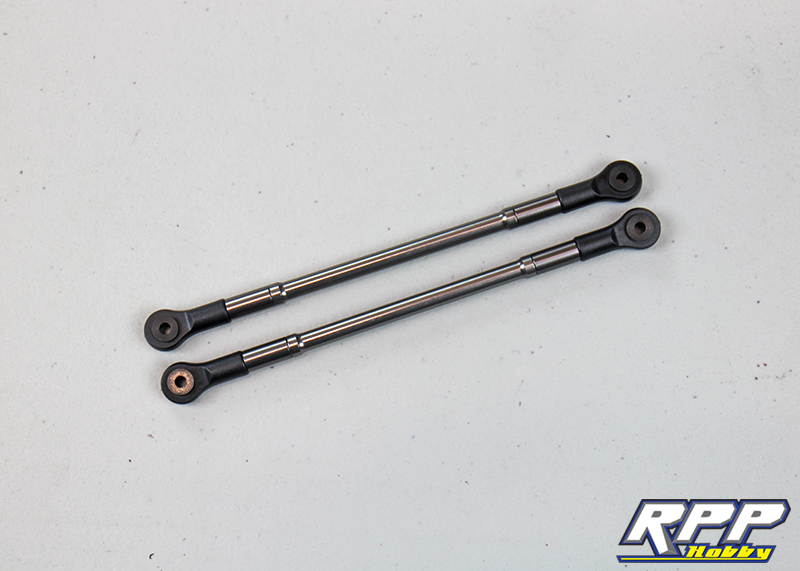
One thing we noticed that the manual doesn’t mention is the assembly of the panhard bar (aka track bar). After doing a quick mock-up we discovered that it appears to be the same link length required for the single front upper link. Panhard bar complete.

That brings us to the end of part 5 in our Ascender K-5 Blazer build. Follow along next time as we install the shocks onto the axles and mount the axles to the chassis. Every week we take another step towards completing this build, and every week we grow more anxious to see it complete. Thanks again for checking out the RPP Hobby blog!
0 Comments
Trackbacks/Pingbacks