Welcome to part 4 of our Vaterra Ascender kit build. Now that the transmission, axles and chassis are assembled, it is time to install the electronics in our K-5 Blazer. We gave everyone a preview of the electronics we hand picked for the scale build in part 1 of this build. Now it is time to pull everything out of the package and breathe some life into this build. Everyone ready to get wired up?
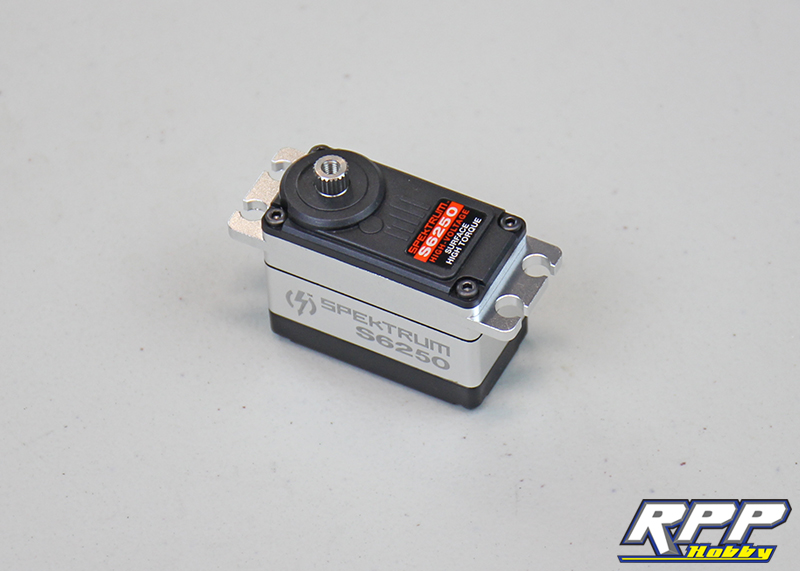
The servo we picked to handle the trails with our Ascender build is the Spektrum S6250 servo. This servo has more than enough torque to handle the 1.9 wheel and tires with up to 382 oz-in of torque on tap and the ability to run up to 8.4V of power. The S6250 servo is also waterproof and has an aluminum case to help keep temperatures in check on those all day epic adventures. Another great feature we like is the removable wire lead, which is also available in various lengths for custom applications.
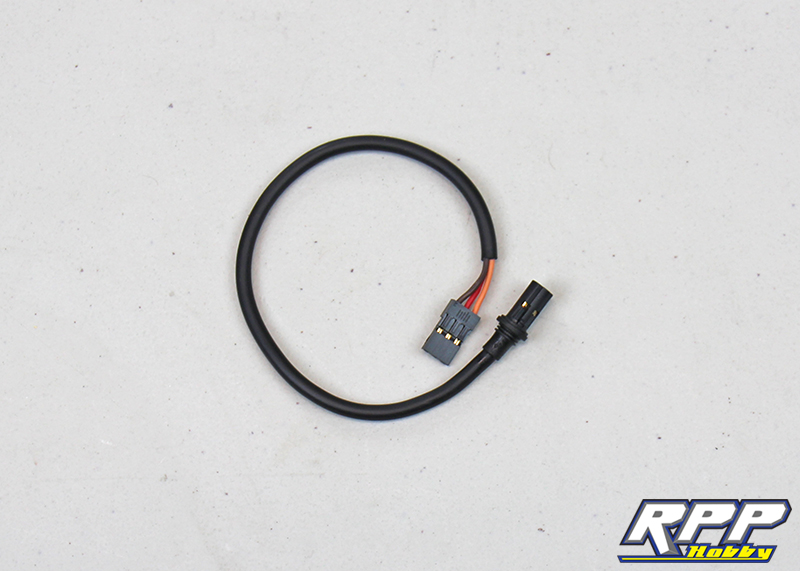
The removable servo wire is also shielded by a nice thick heat shrink tubing. A nice added touch!
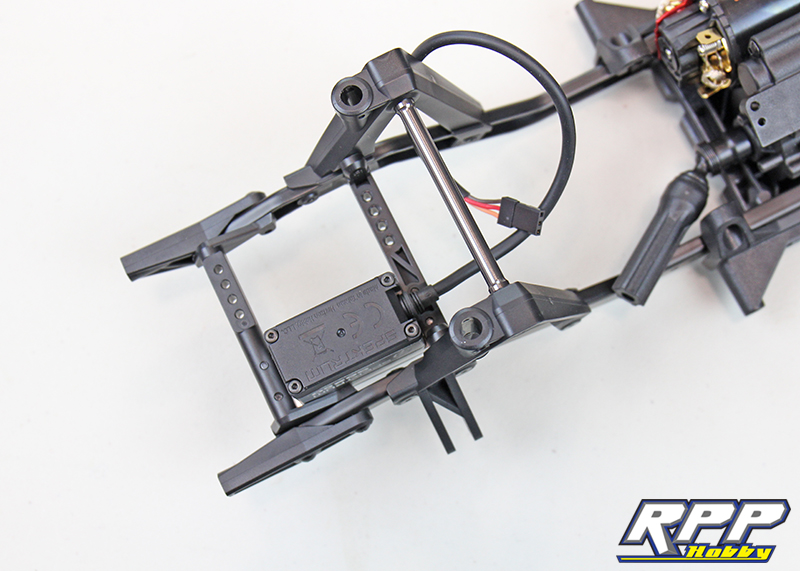
Time to mount the steering servo. Best way to do this is to flip the chassis upside down and set the servo in place. Then, secure with the supplied hardware. We also used the 23t servo horn that came in the Ascender kit.
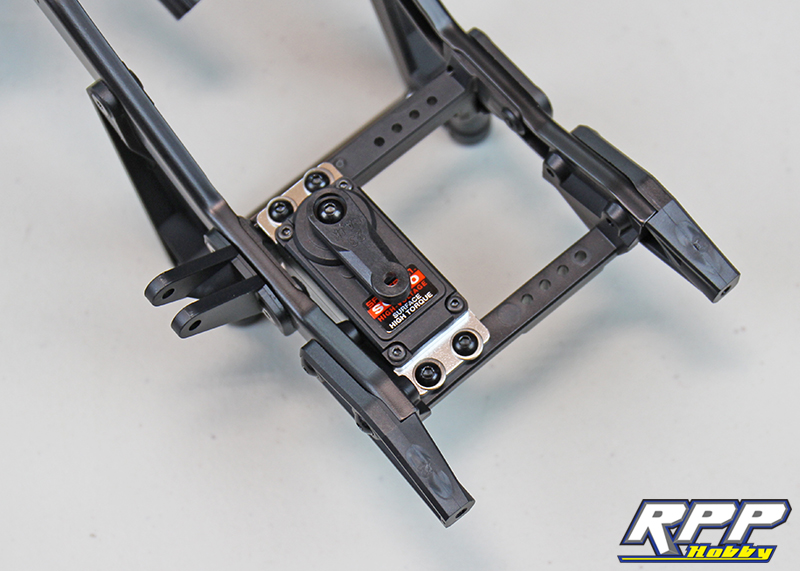
Servo and wire lead in place.
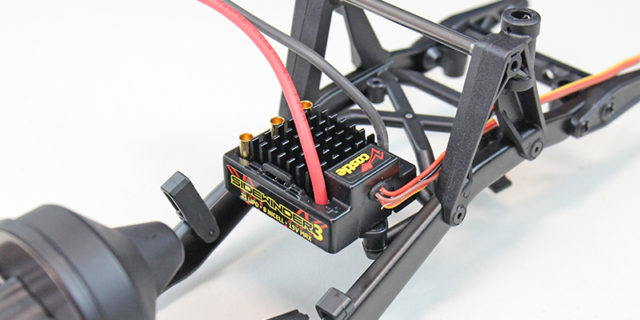
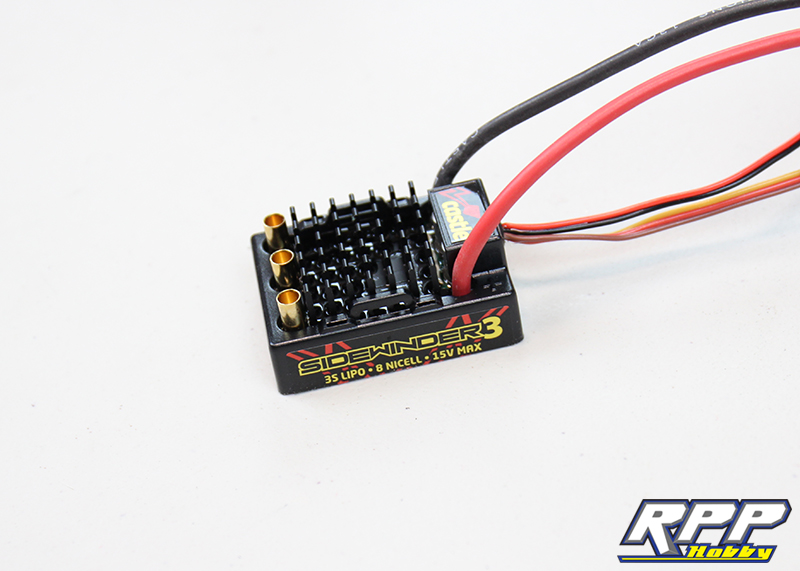
The ESC we choose for this build is Castle Creations’ Sidewinder 3 ESC. This ESC is a great performer for many applications with the ability to run brushed or brushless motors and the fact that it is waterproof.
First thing we needed to do is solder up a battery connector to the ESC. We choose the tried and true Deans battery connectors.
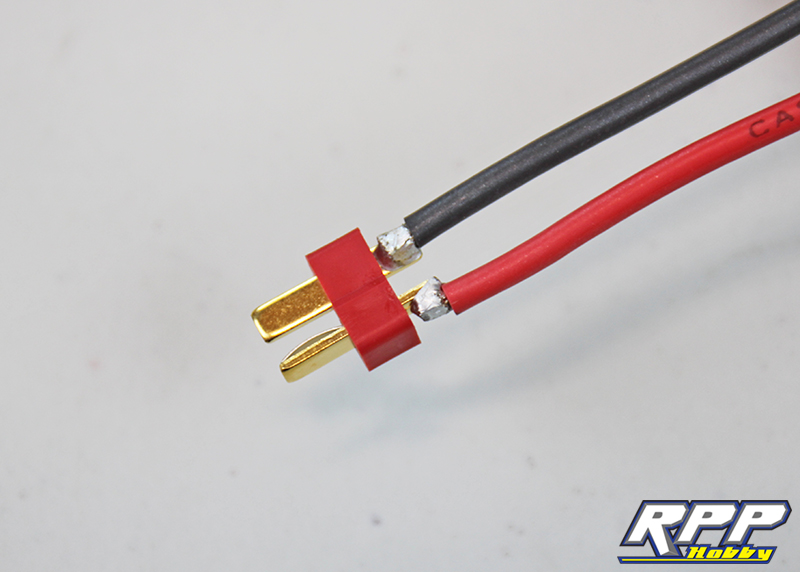
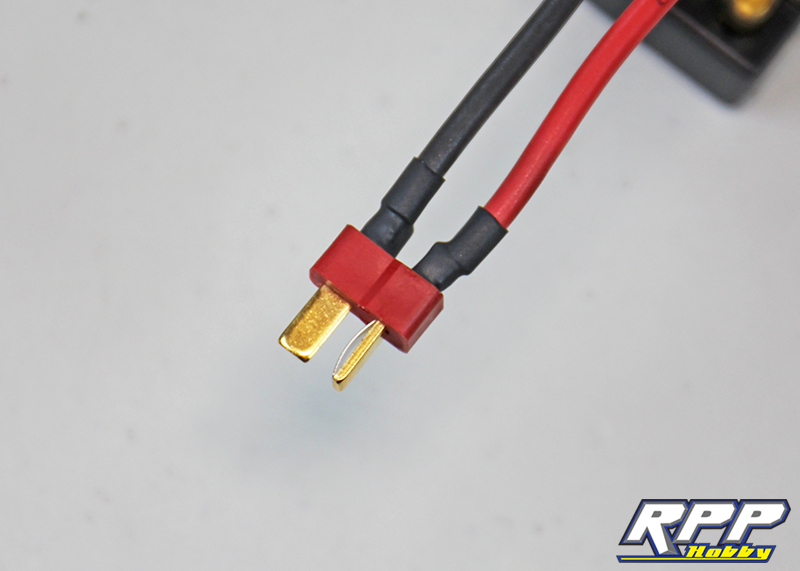
Don’t forget the heat shrink tubing!
Next, soldering our motor leads. Duratrax 4mm bullet connectors will allow us to unplug the motor leads if need be.
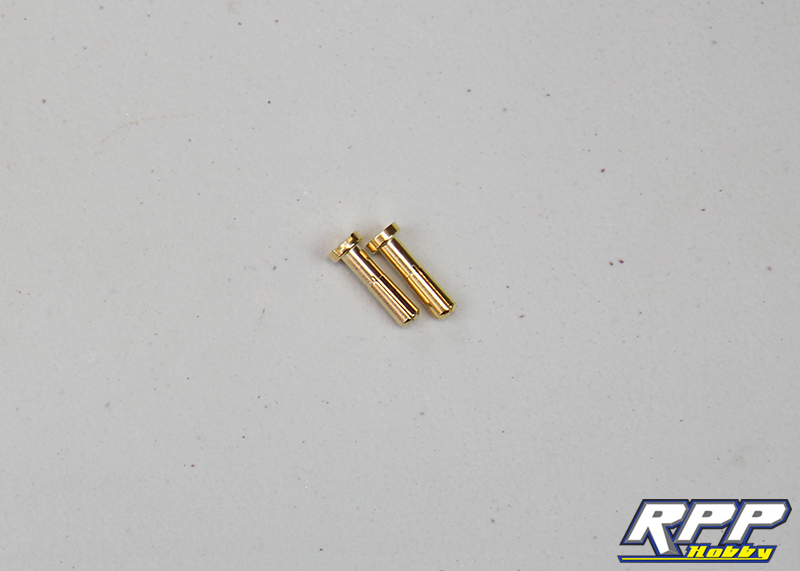
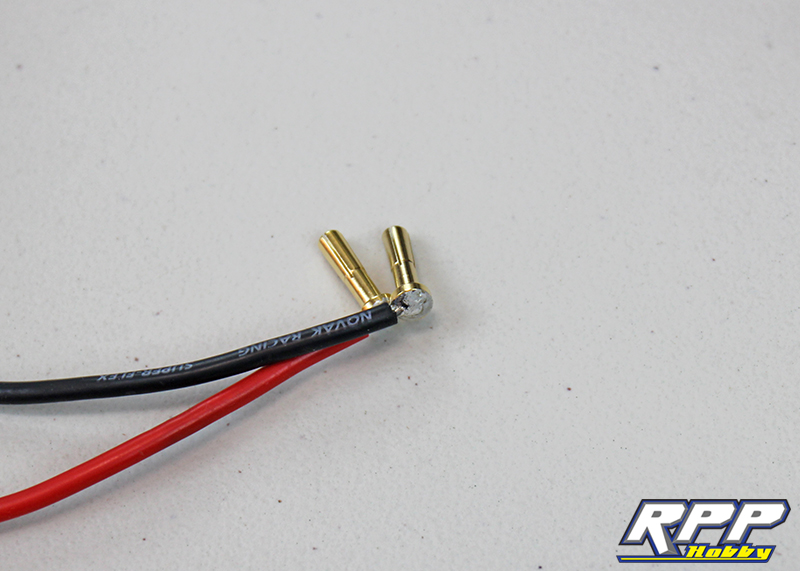
We soldered the motor wires to our connectors at a 90 degree angle for wire routing purposes.
We “bird-mouthed” our heat shrink tubing with our hobby knife to help cover the tops of the motor leads on the ESC.
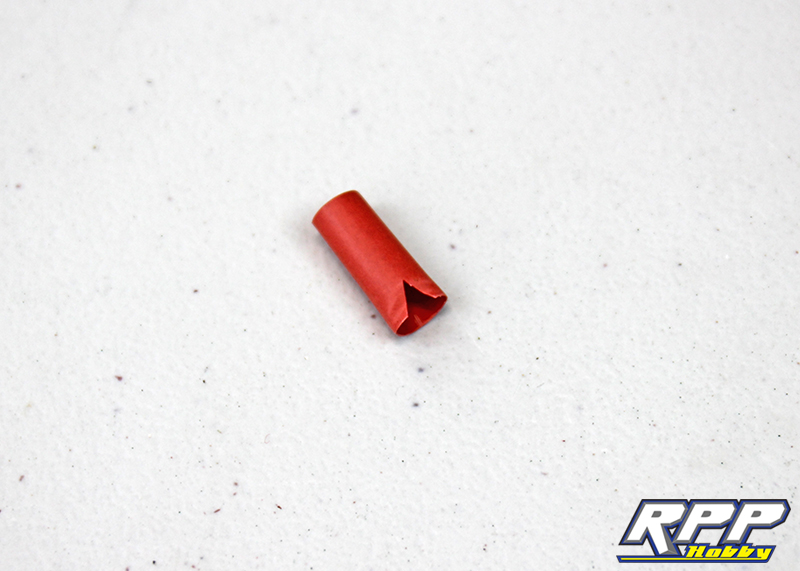
Heat shrink tubing in place.

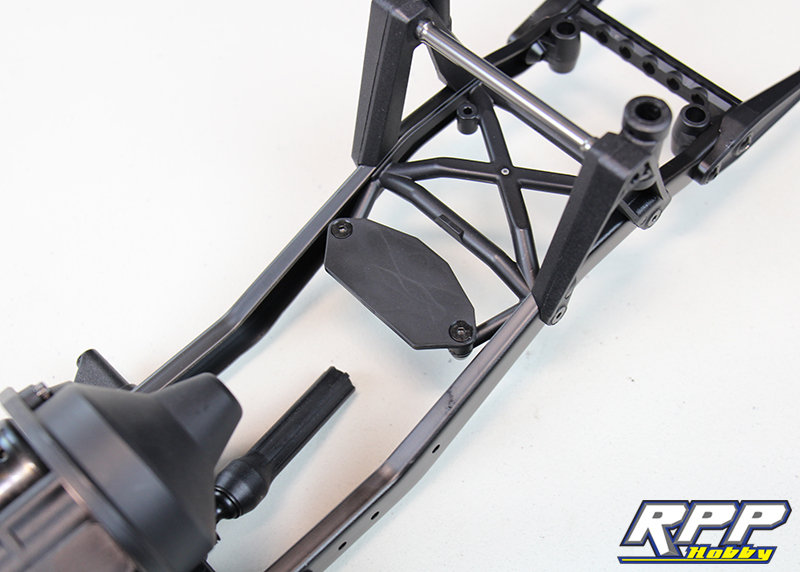
Time to mount the ESC. Install the mounting plate onto the chassis.
Use the supplied double stick tape to mount the ESC to the chassis.

Next we soldered our motor leads to the Tekin 35t motor.
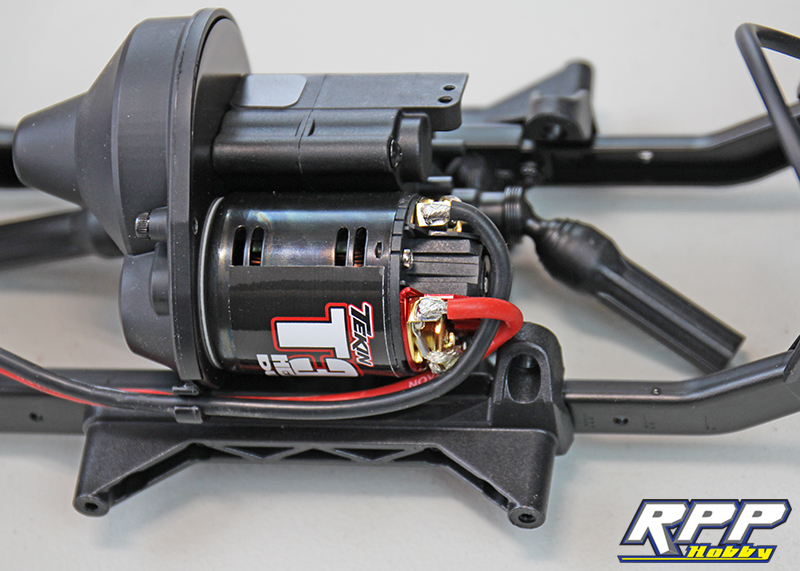
Plug the motor leads into the ESC.

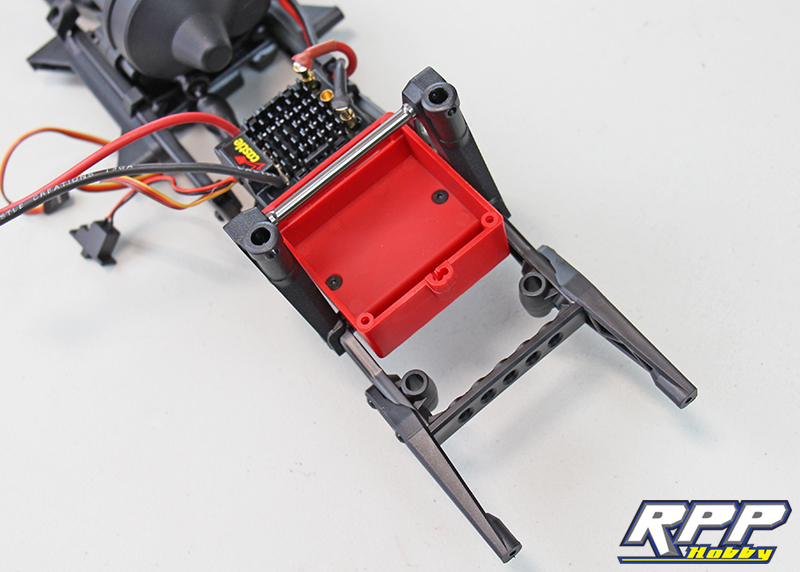
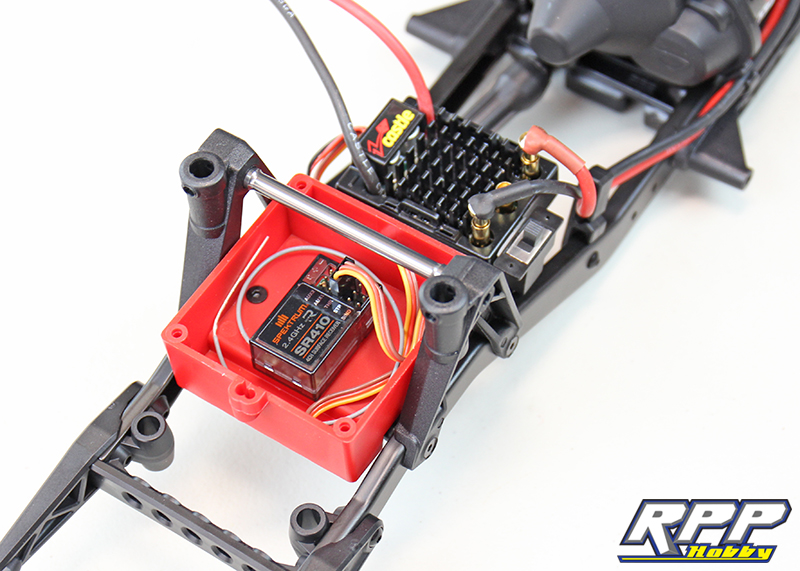
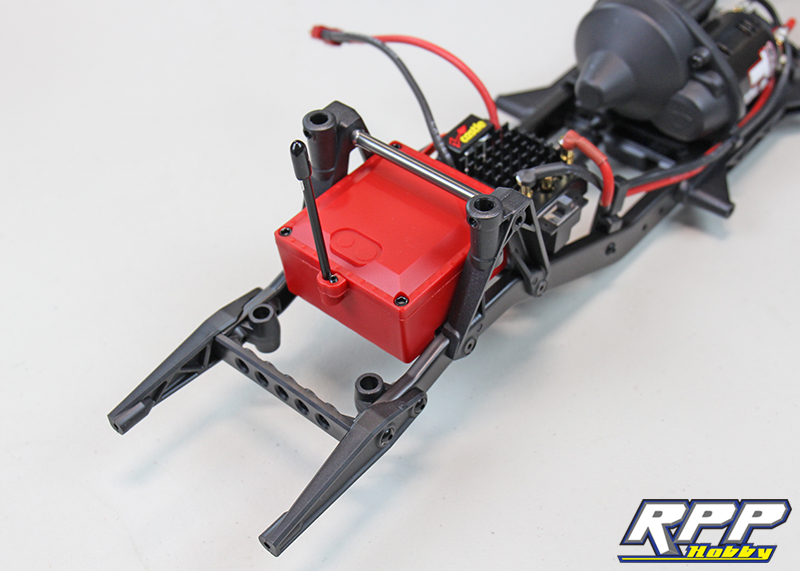
Install the scale fuel cell, which doubles as a receiver box.
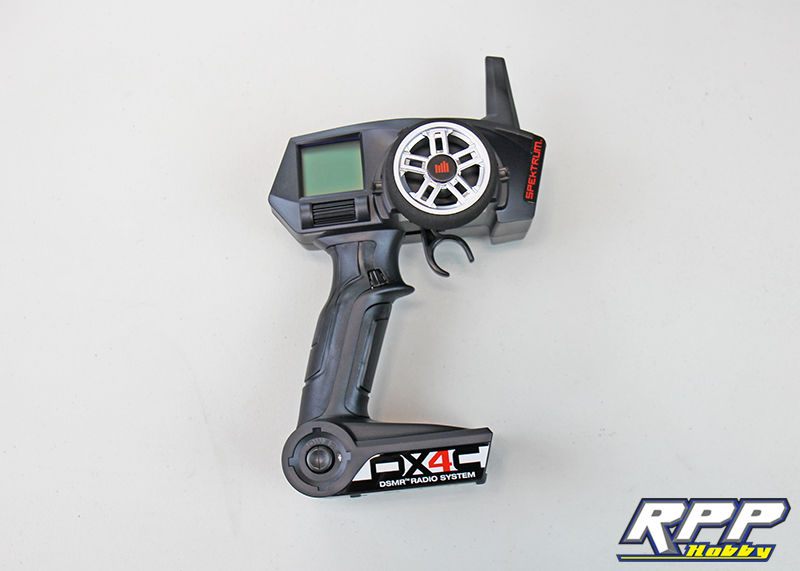
Our radio of choice for this build is the Spektrum DX4C radio. This is a great 4 channel radio in a pistol grip package, and it provides the end user with a 20 model memory.
The Spektrum SR410 four channel receiver has an extremely tiny footprint.
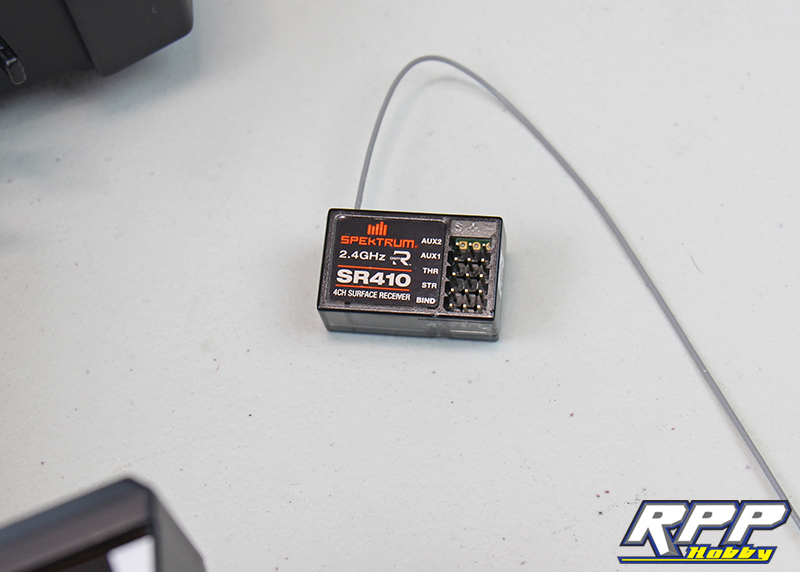
Double stick tape the receiver to the bottom of the receiver box. Note how long your wires are before sticking the receiver in place to make sure they are long enough. One thing we did have to add is a servo extension wire for the steering servo since the stock lead provided was a little too short.
Seal up the radio box once everything is plugged in and functioning properly. Don’t forget the antenna tube. Pretty clean electronics layout in the K5 kit.
That brings us to the end of part 4 in our Vaterra Ascender build series. Tune in next time and see what is in store as we inch closer to having a rolling chassis. Until then, happy scale trails to you.