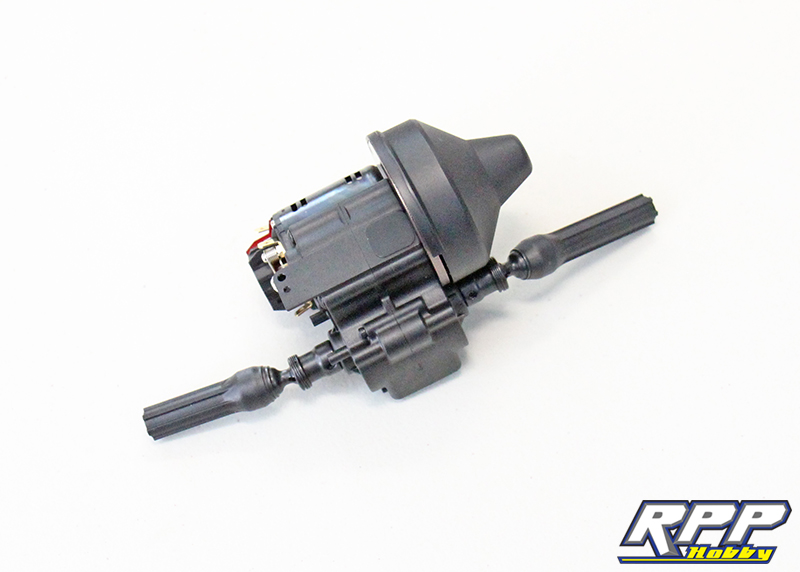
The RPP Hobby Vaterra RC K-5 Blazer build is moving along nicely. Part two of this build will cover assembling and installing the driveshafts onto the transmission we built in Part 1. Then, we will dig in and start assembling the axles. Ready to get building?
Find step A-9 on page 19. Slide the plastic driveshaft over the pivot joint, note there are mating flats on each part so they can only go together one way. Use the supplied M2.5 cap head screw to attach the two mating pieces. Then insert the sleeve into the slotted and of the pivot joint.

Slide the mating coupler over the joint and install the drive pin.

Install the pin retainer spring next. We have to use our thumbnail and “thread” the spring into place.

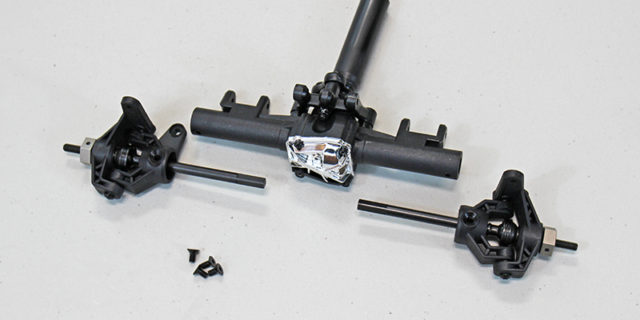
Repeat the same steps for the rear driveshaft and install the shafts on the transmission.
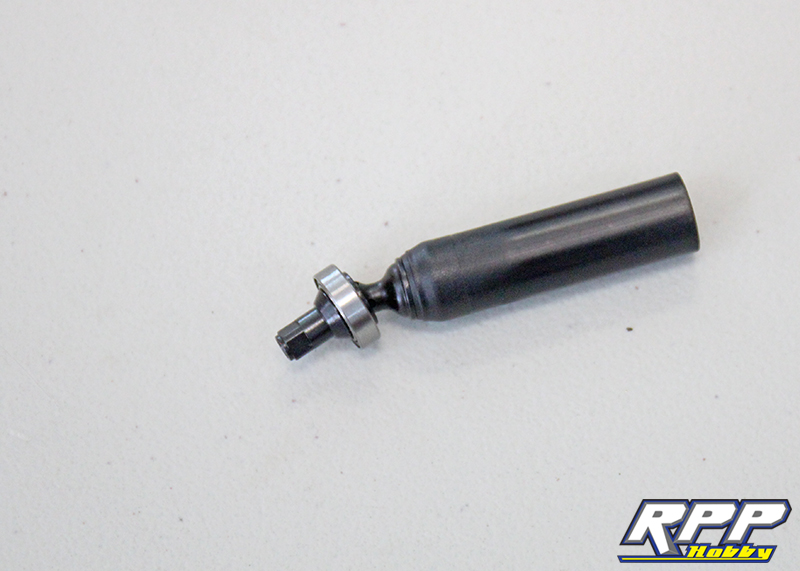
Time to move on to the axles. Building the axle end of the driveshafts is similar to building the transmission side.

Instead of a retainer spring to hold the drive pin, the pinion bearing keeps it in place on the axle side.
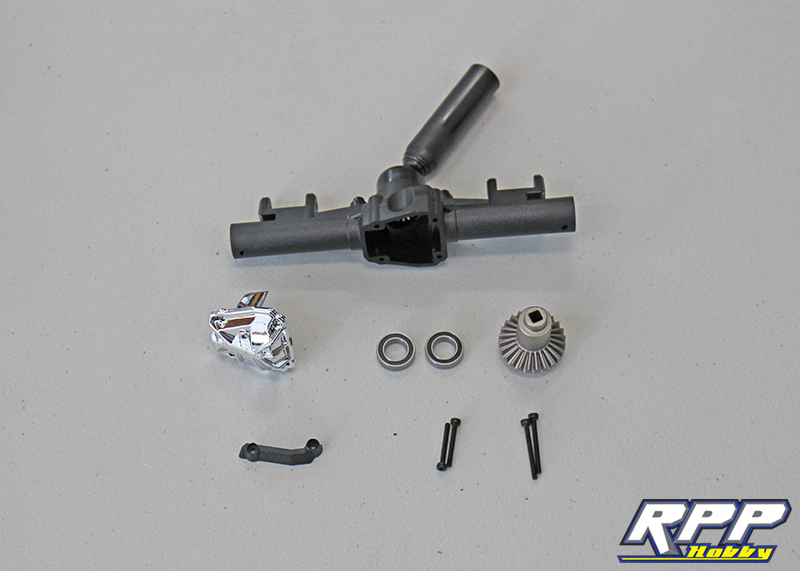
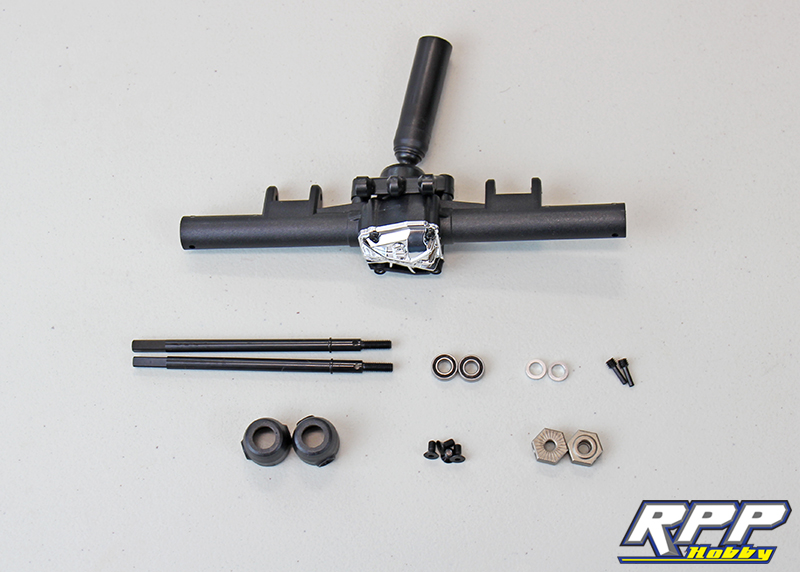
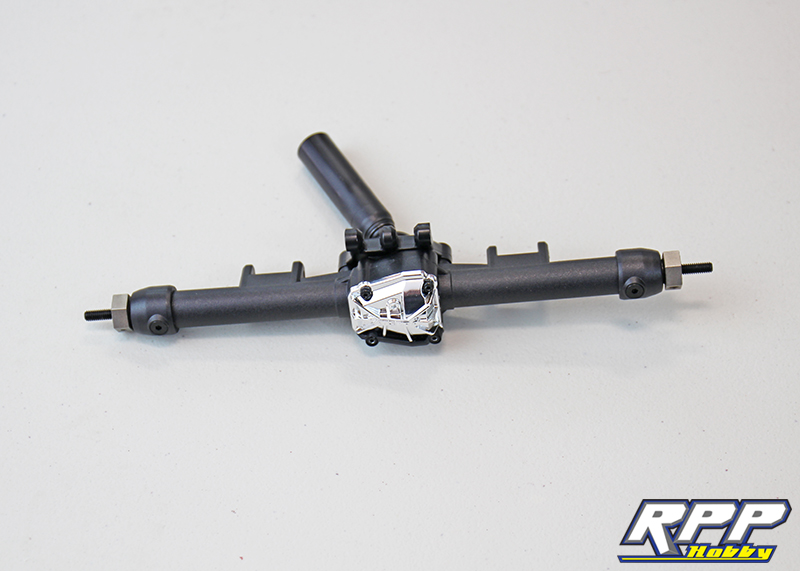
All the parts required to start assembling the front axle.
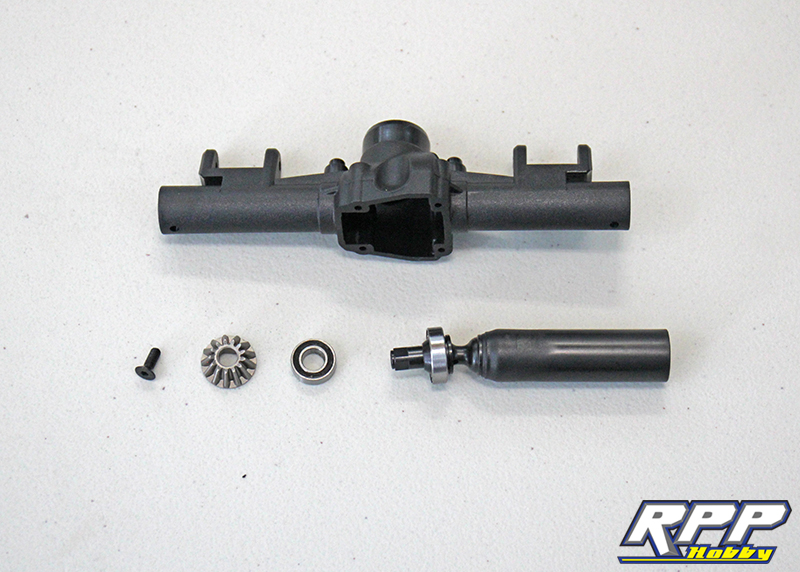
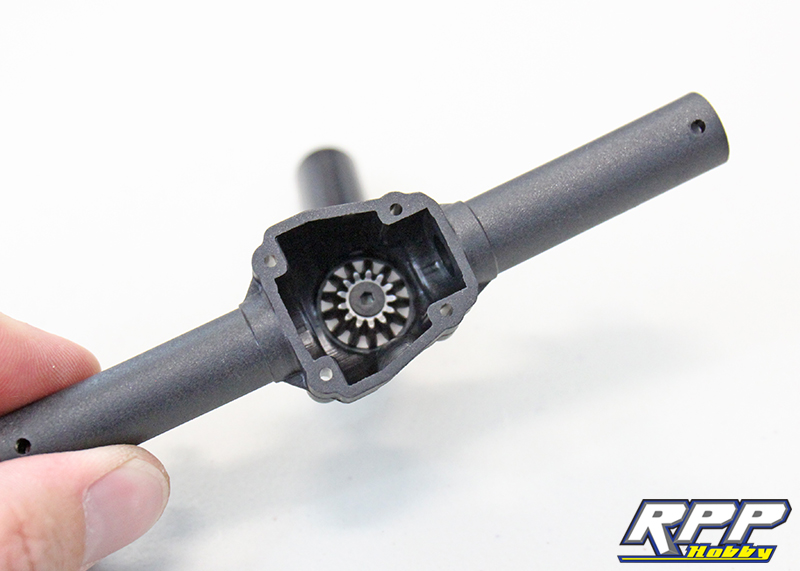
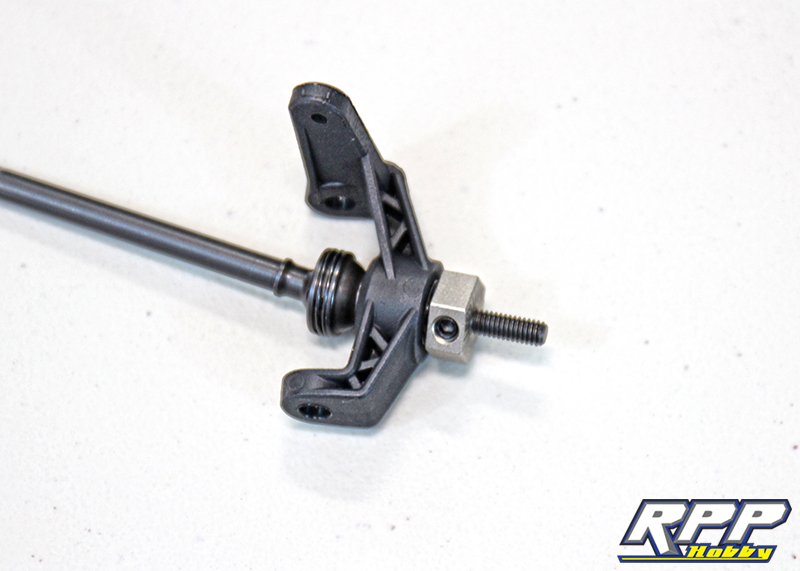
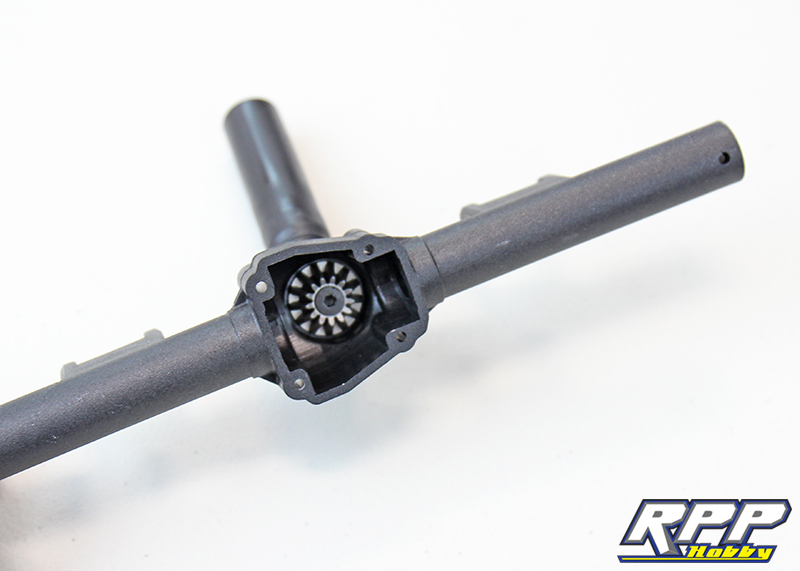
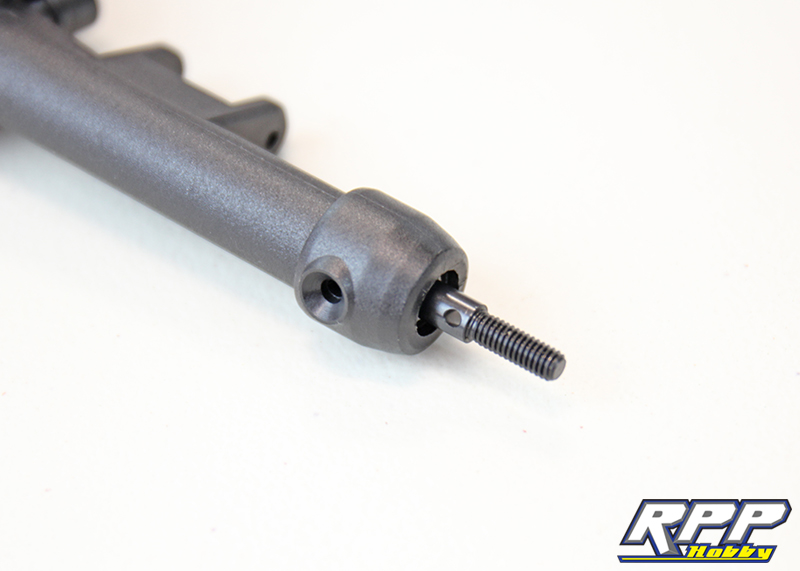
Press the driveshaft and bearing into the backside of the axle housing, set the pinion gear into place, add a dab of thread lock to the pinion screw and secure tightly.
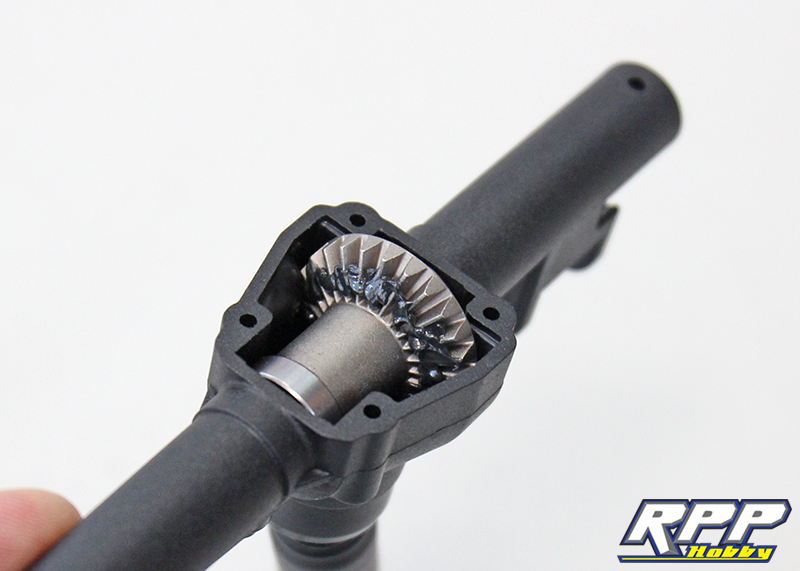
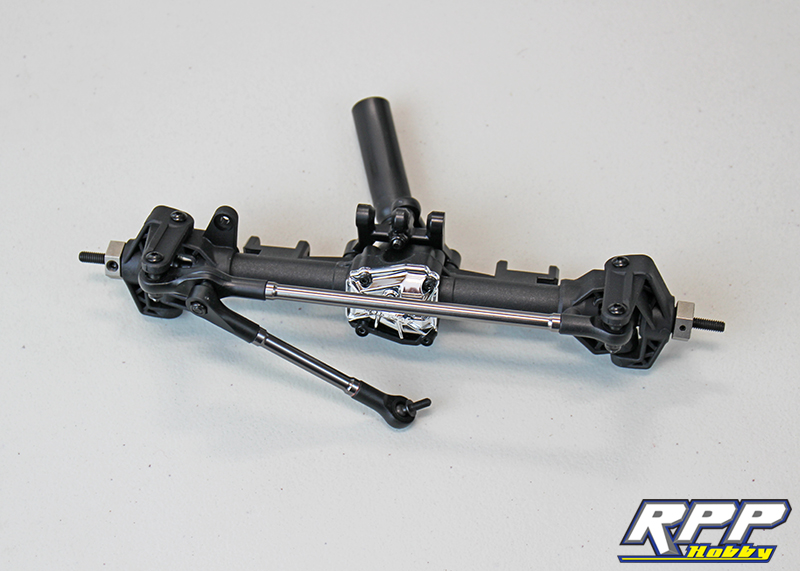
Time to install the ring gear!
Slide the bearings into place on the ring gear and set it into the axle housing. Don’t forget to add a little grease.
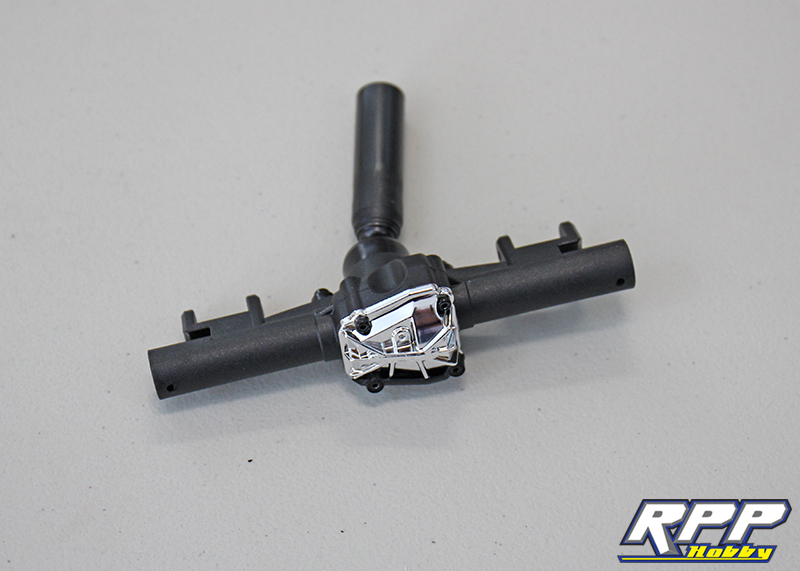
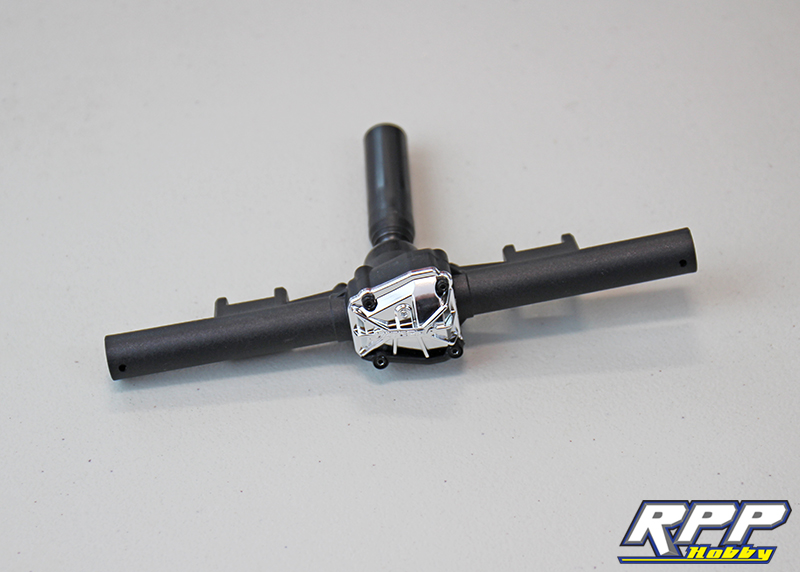
Install the differential cover with the supplied hardware.
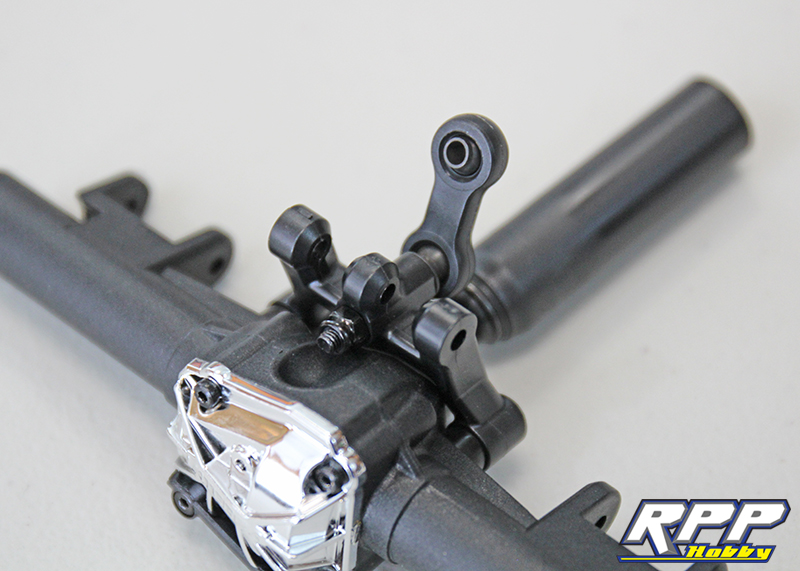
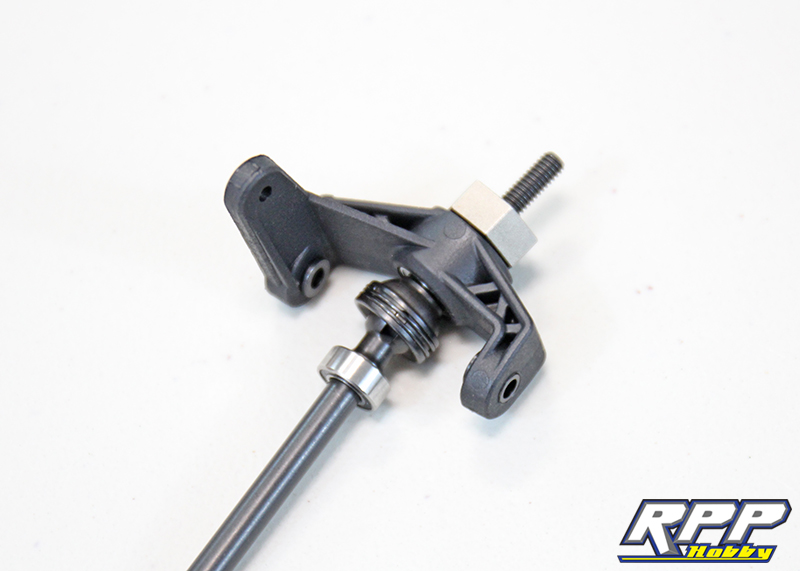
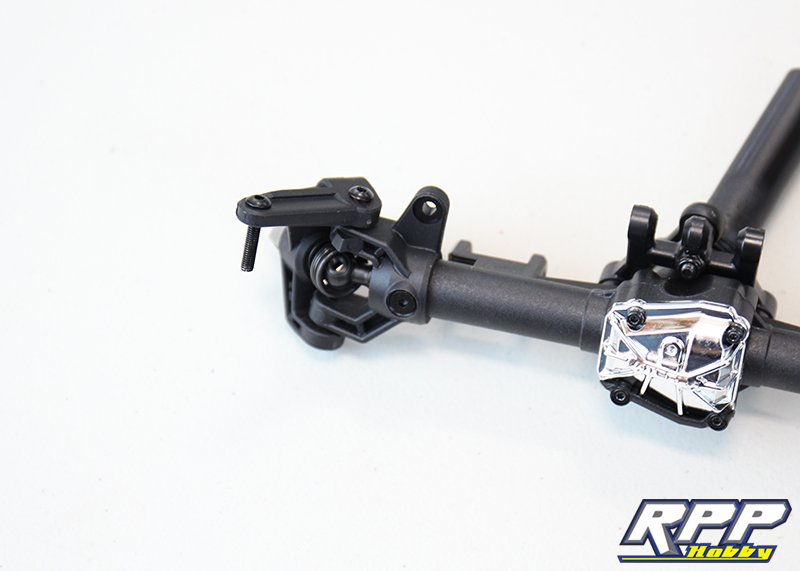
Locate the parts required to install the upper link mount.
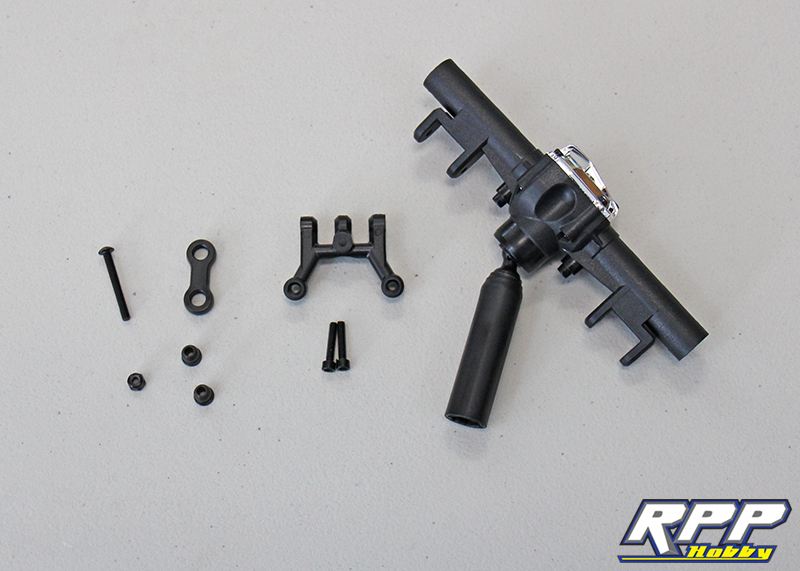
Install the link mount per the instructions.
Time to assemble the front CVD’s.

Same assembly order as the driveshafts.
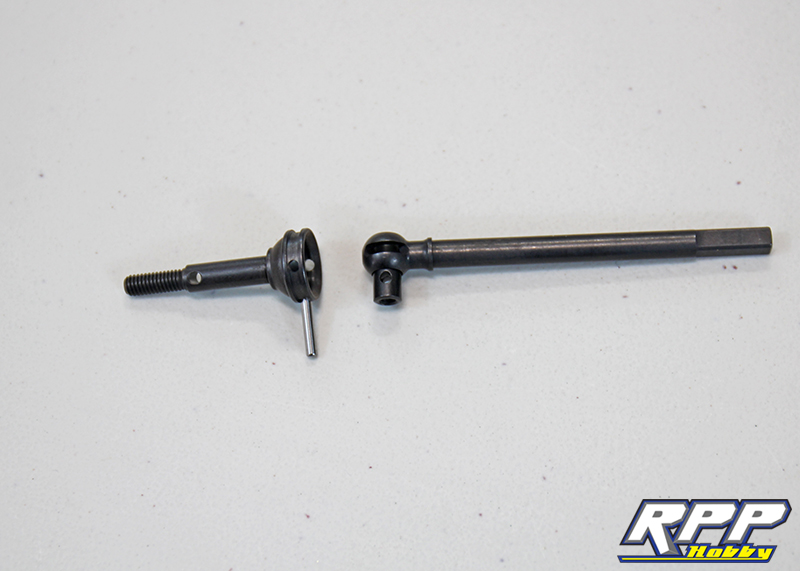
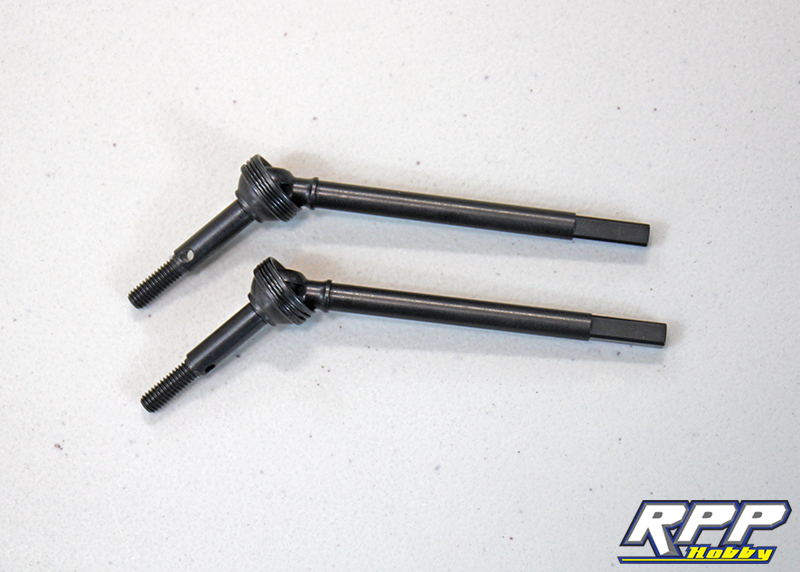
Both front CVD shafts assembled and ready to rock.
Install the bearings into the front knuckles with the supplied aluminum spacers in between the bearings. Next, install the CVD’s, slide the drive hexes into place and secure with the supplied screws.
Slide the C-hub bearing onto the CVD shaft and install the steering king pin sleeves into the knuckles.
Slide the corresponding C-hubs into place and secure with the supplied M3 screws.

Slide the knuckles assemblies into place on the front axle and secure with the supplied flat head screws.

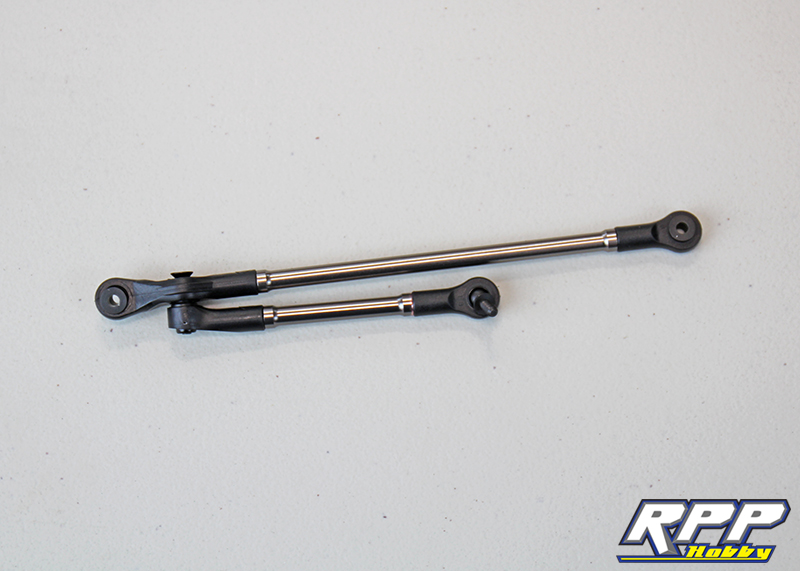
Locate all the parts required to build the steering tie-rod.
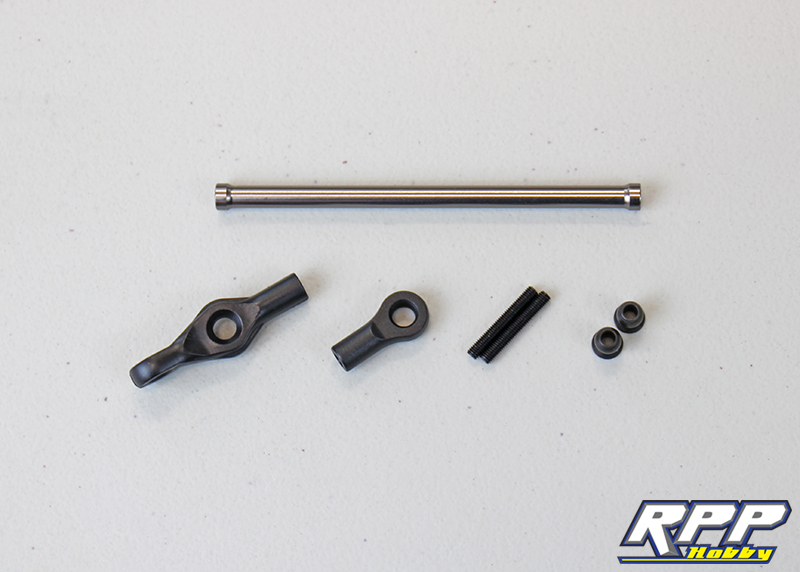
Assemble per the instructions. Definitely the most scale tie rod we have ever assembled.

Drag link is up next.
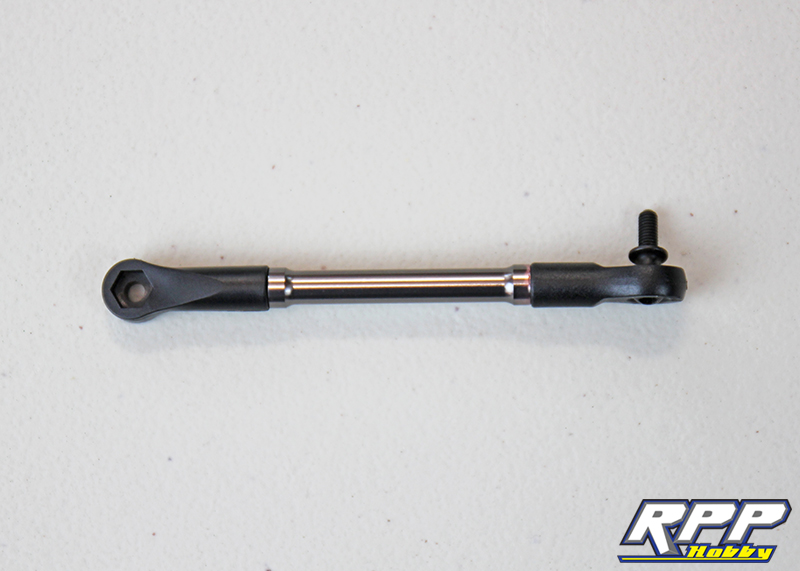
Mate the two together.
Install the two M3x16 screws into the knuckle’s high steer arms.
Attach the steering links to the bottom of the knuckles. Front axle complete!
Locate all the parts required to assemble the rear axle’s driveshaft. Everything goes together the same as the front.
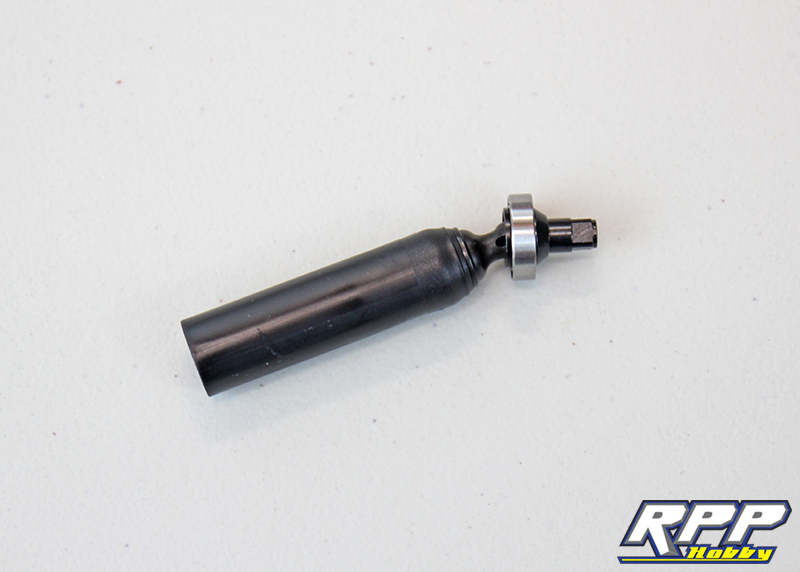
Install the driveshaft and bearing into the backside of the axle housing, slide the pinion gear into place, ad a dab of thread lock and secure with the supplied flat head screw.
Ring gear assembly goes in next with a few dabs of grease.

Attach the diff cover the same way we did earlier for the front housing.
Upper link mount goes on next.

Locate all the parts require to finish the rear axle.
Slide the axle shafts into place, press the bearings into the axle end caps and install them on the ends of the rear axle housing so the mounting holes line up.
Secure the end caps with the supplied M3 hardware. Don’t forget to install the small aluminum spacers!

Install the drive hexes last and you are done with the axles!
We are super impressed with the quality of the parts in this Ascender kit! The transmission and both axles spin freely by hand with minimal gear noise. The fit and finish of all the plastic components so far have been spot on. Needless to say we are looking forward to finishing this build and hitting the trails! Stay tuned for Part 3 of our K5 Blazer build and thanks for reading!
0 Comments
Trackbacks/Pingbacks