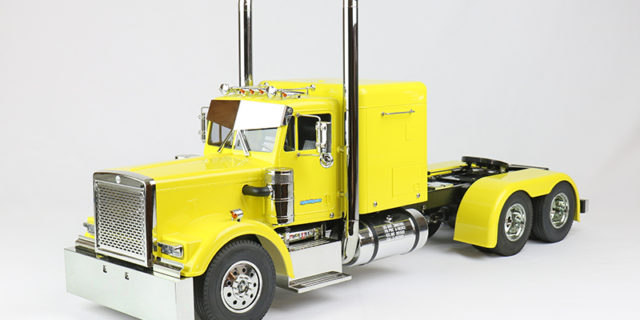
It is time for Part 6 of our Tamiya Grand Hauler kit build! In this final installment of our build series we will pretty much dedicate all our time to detailing the extremely scale semi-truck body that is included with the Grand Hauler kit. If you have been following this build you know we originally painted the body blue. After it was painted we wished we had used a brighter color. We then made the decision to order a new body and let an expert paint it this time around. Definitely glad we went this route now that we are finished with the build, the color and finish on the paint job turned out amazing! Huge thanks to Exclusive R/C for their help with painting this beautiful body! Let the detailing begin!
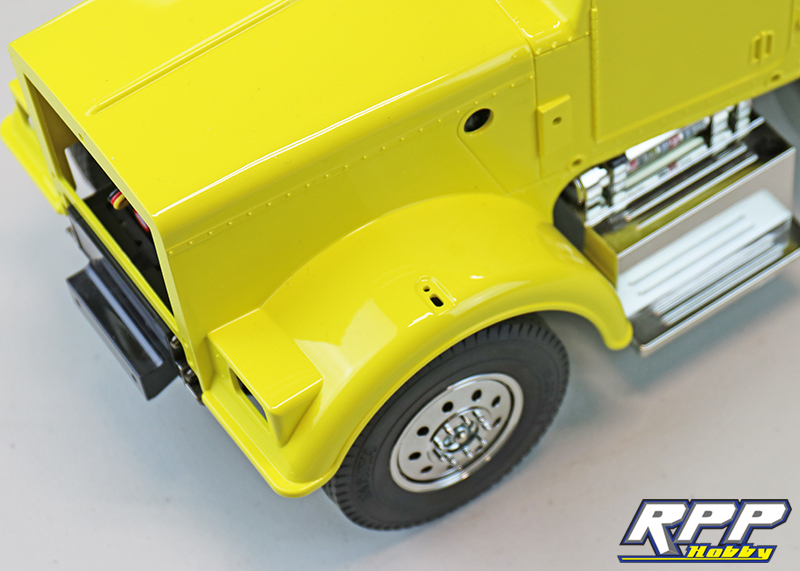
A close-up shot of that wet looking paint!
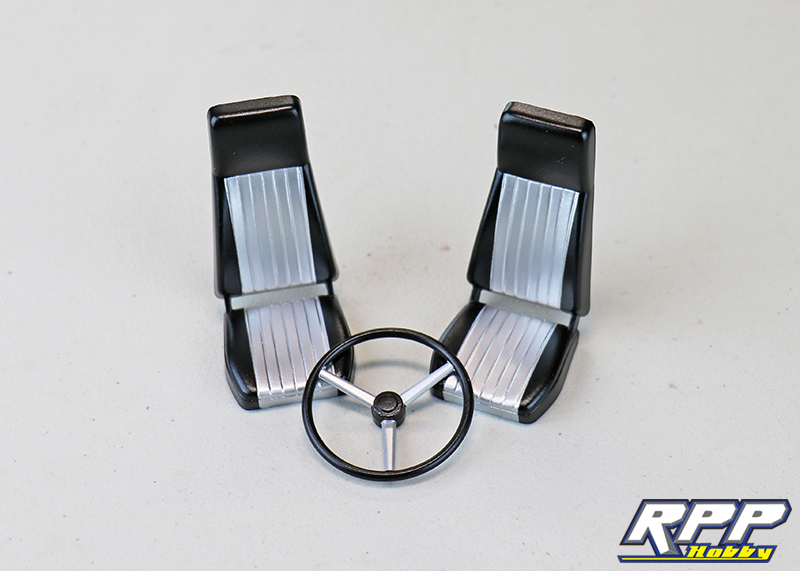
Paint the seats before glueing them into place. We went with satin black with silver highlights to mimic leather seats. We also painted the steering wheel to match the seats for a little extra detail.
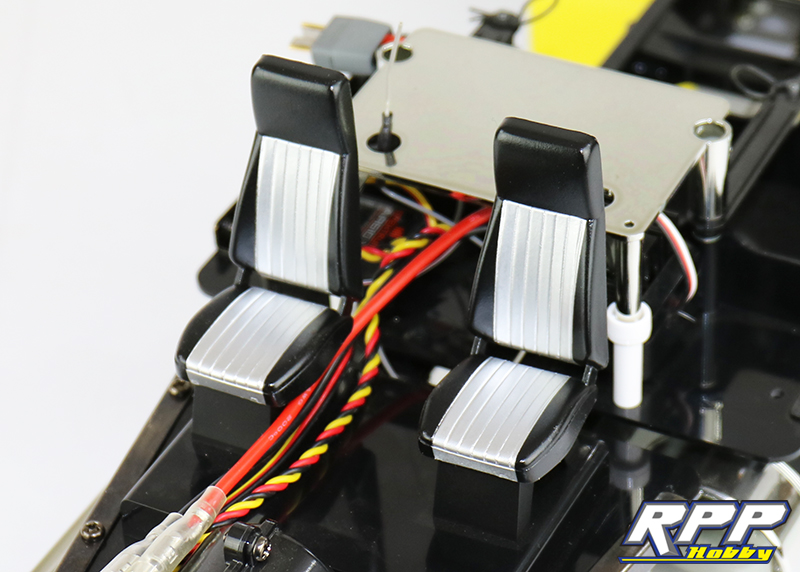
Seats in place.
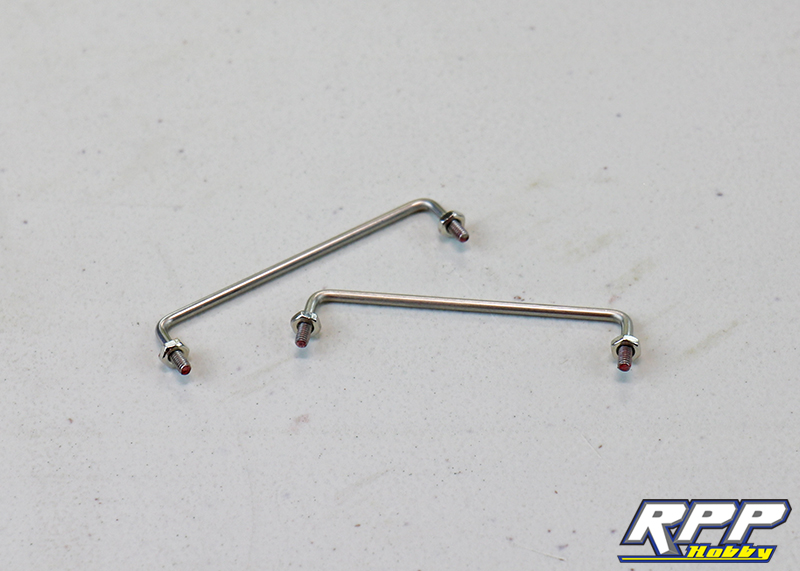
Moving on to step 50. Start by building the grab handles for the sides of the cab.
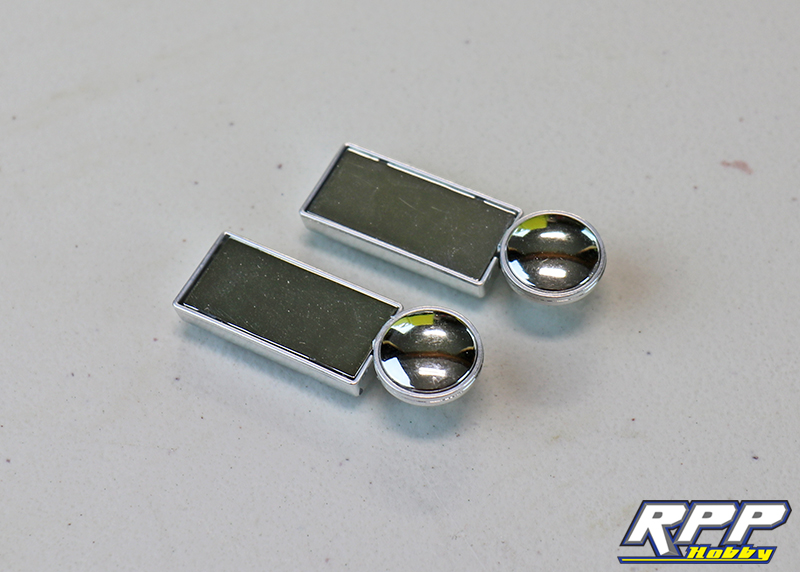
Assemble the sideview mirrors. We suggest adding a dab of rubber cement or Shoe Goo to the round mirrors to help hold them in place. Then, glue the rectangular mirrors into place.
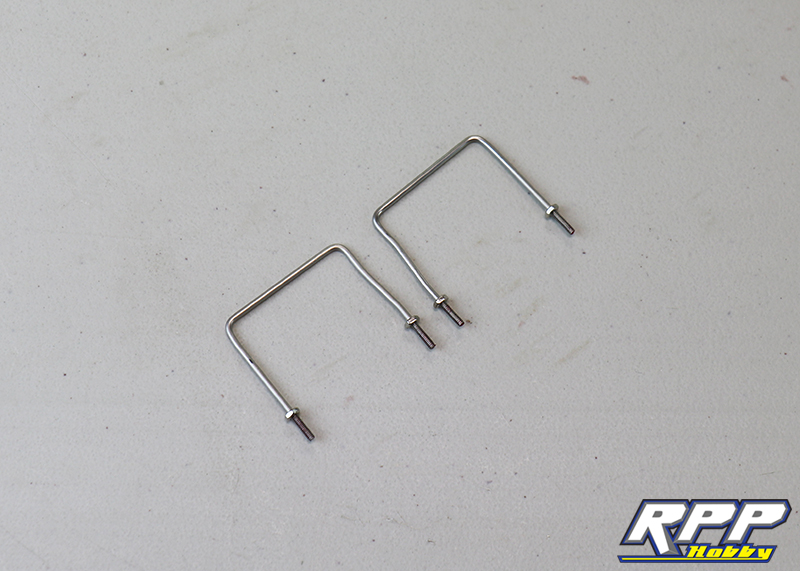
Assemble the mirror stays next.
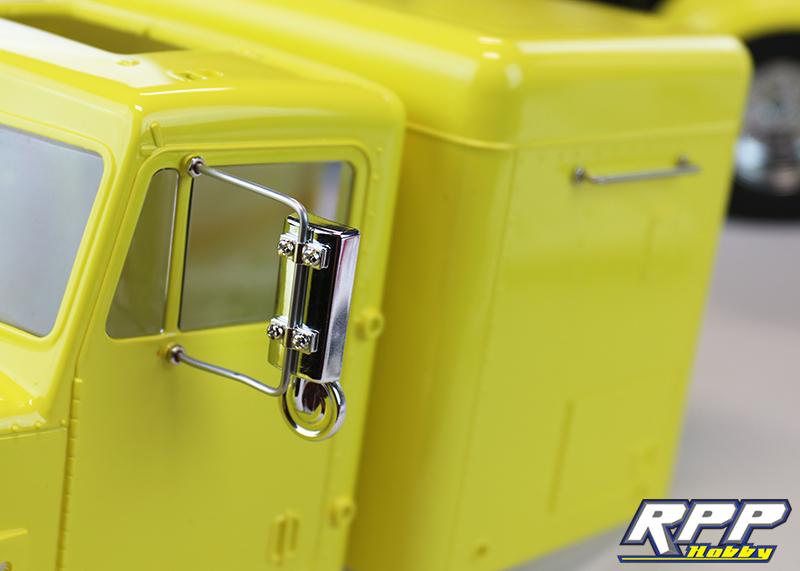
Attach the mirrors to the stays and install mirror assemblies onto the cab.
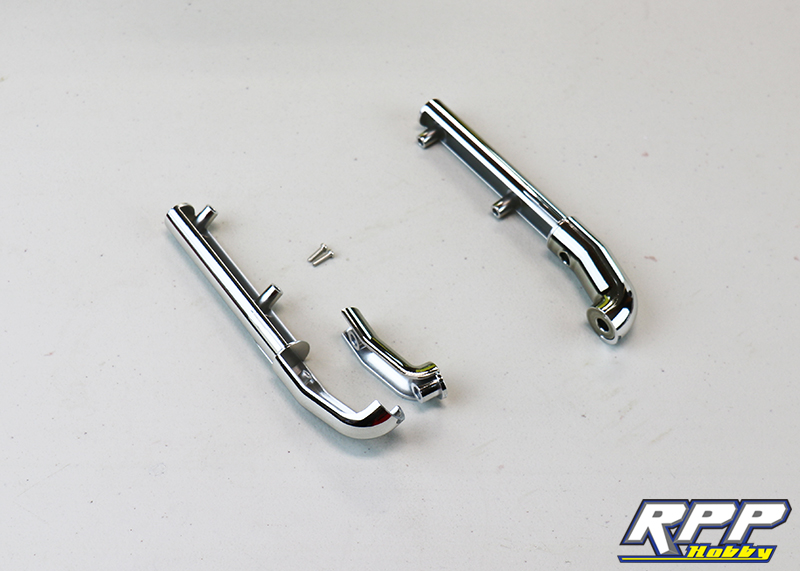
We are not installing lights at this time, so we will skip step 52 and go straight to building the exhaust.
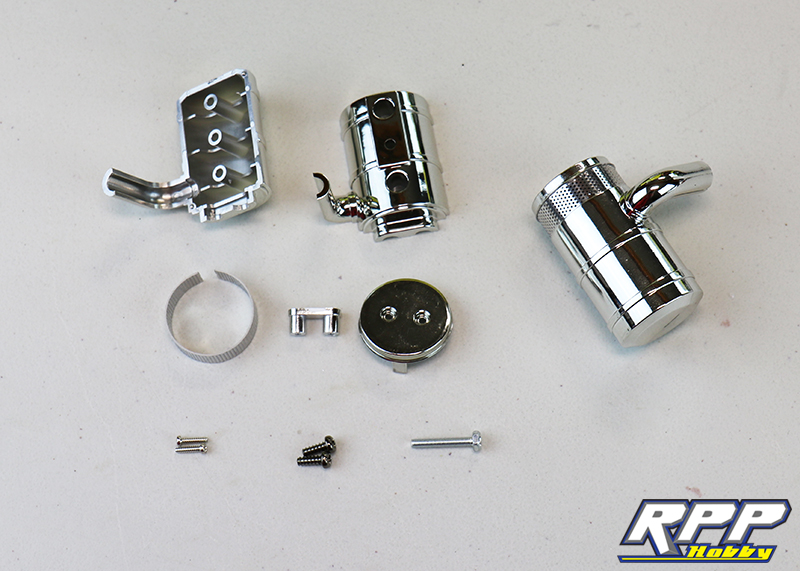
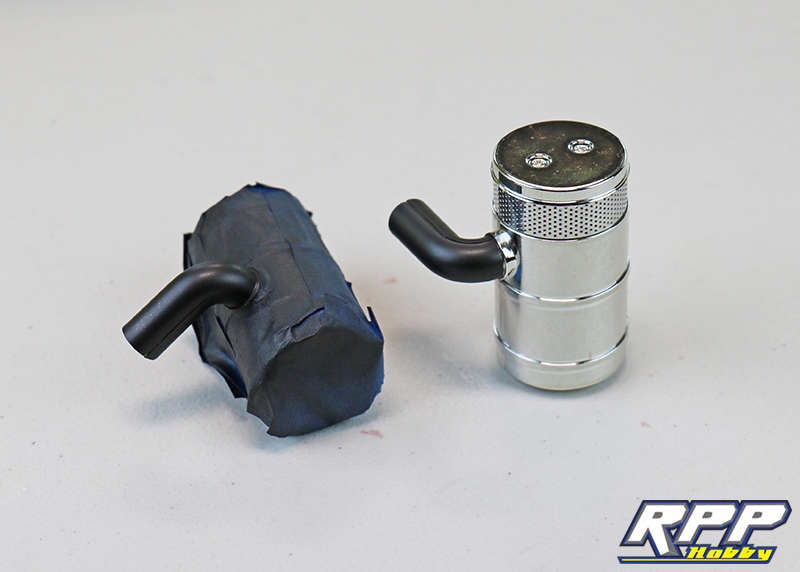
Assemble the air cleaners next. Notice the instructions tell you to paint the the tube portion of the cleaners black before assembly. We choose to assemble the cleaners first, then mask and paint. Either way works fine.
Removing the masking tape after paint.
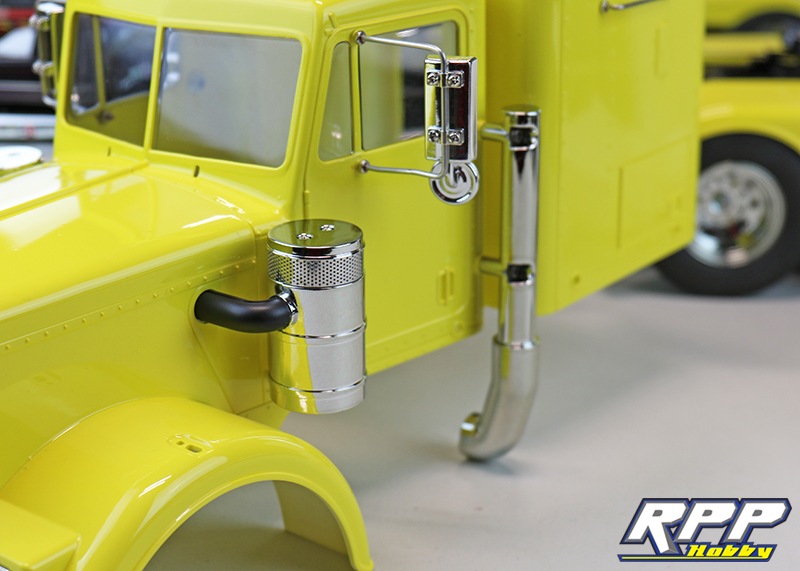
Air cleaners and exhaust installed!
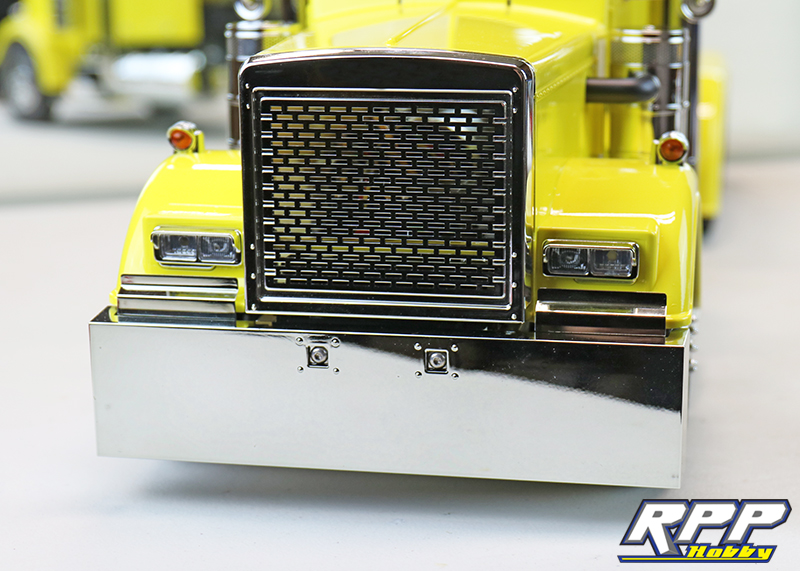
Grill and headlights in place.
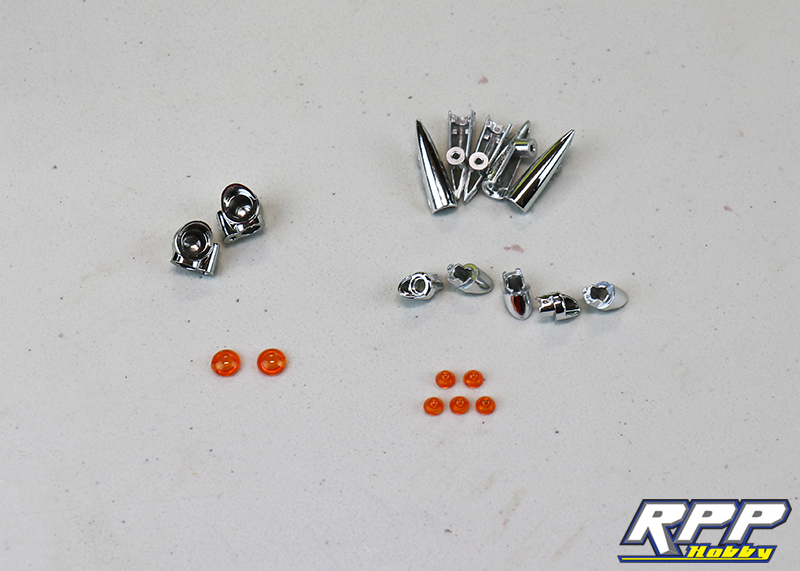
Time to assemble the turn signals and roof lamps. We used thin CA and a toothpick to assemble the lights.
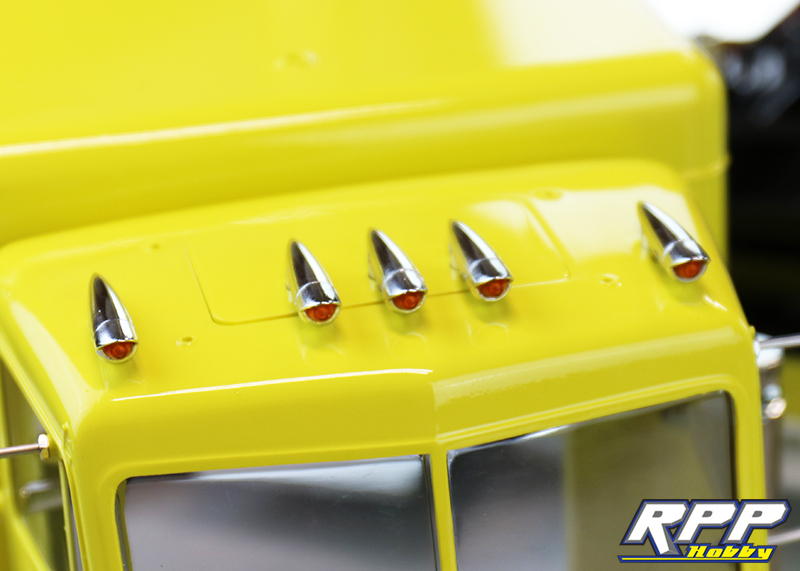
Install roof lamps and turn signals.
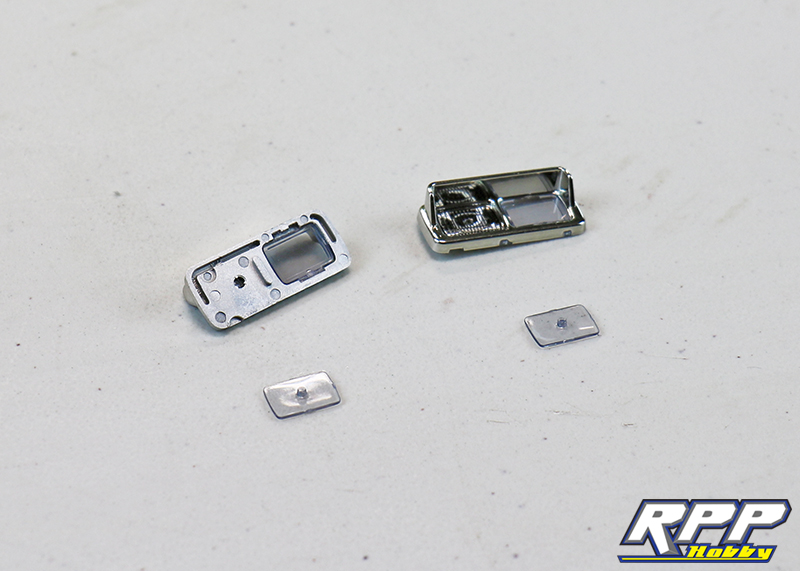
Assemble the exterior portion of the headlights.
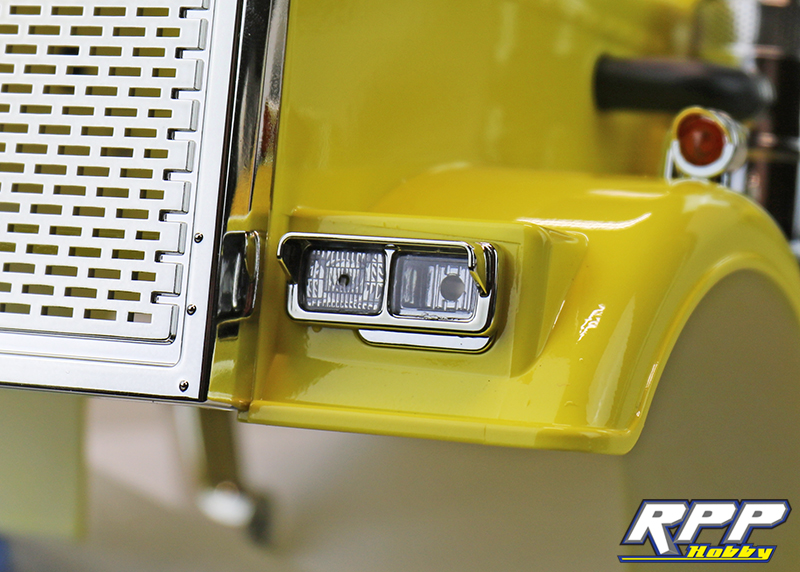
Headlights installed.
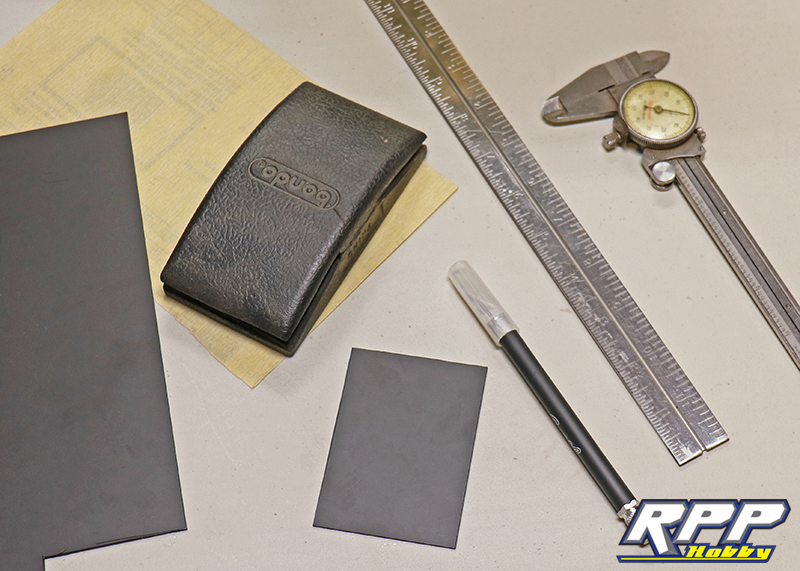
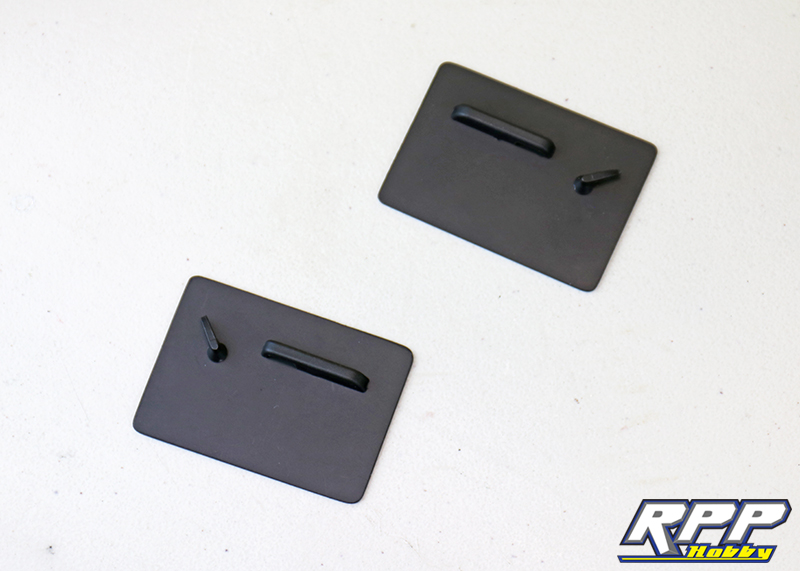
Time for a little interior work! In order to add more detail to the inside of the cab we used .040 thick black styrene and fabricated simple interior door panels with Axial arm rests and door handles from their interior scale parts tree.
Interior door panels complete!
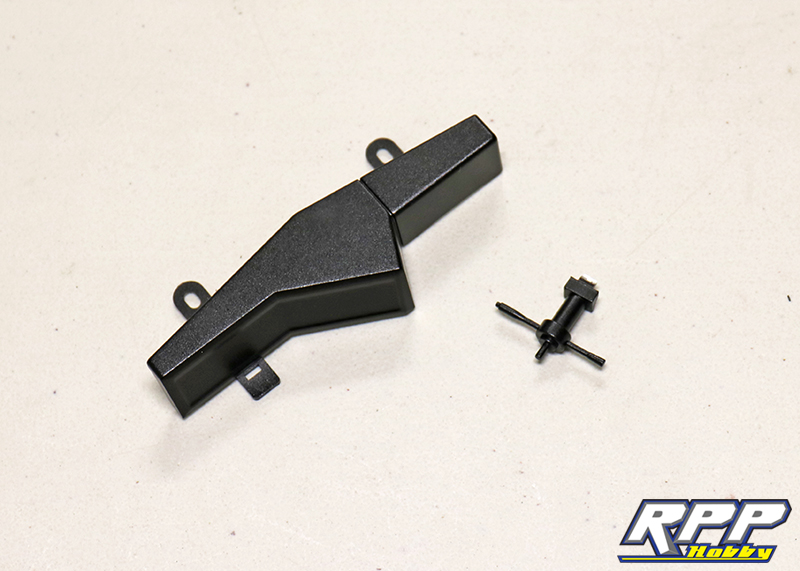
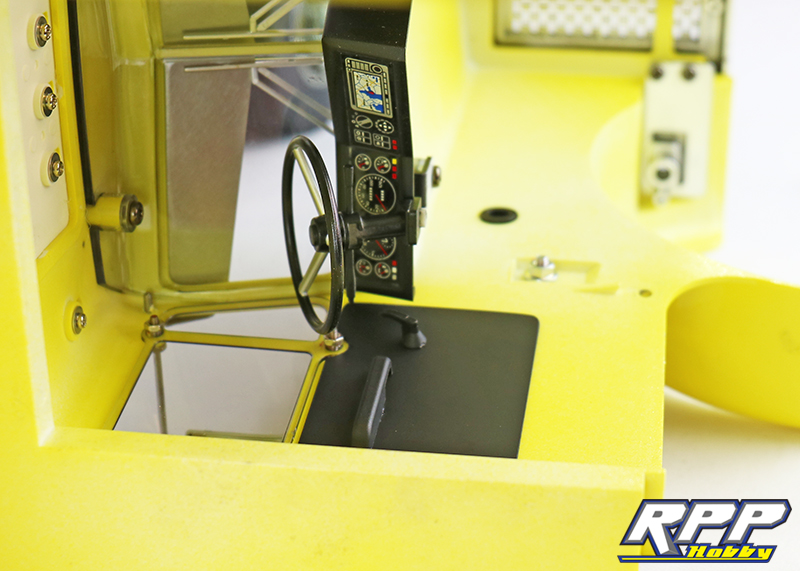
Paint the dash and steering column per part 2 of step 57.
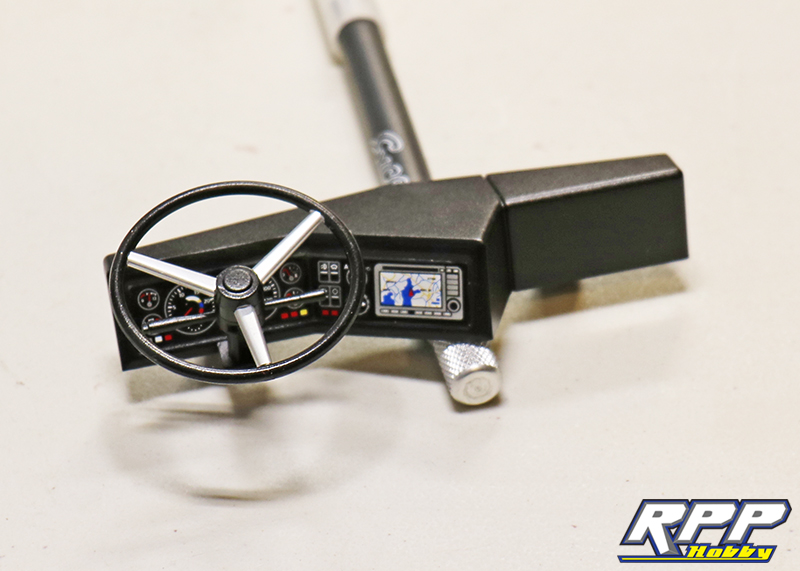
Add the decals to the dashboard. Then, glue the steering wheel and steering column to the dash.
Mount the dash assembly inside the cab. We also installed our home made interior door panels at this point too. Notice how we notched the door panels to match the side windows. This let the door panels sit even with the dash for a more seamless look.
Mount the cab to the chassis. We switched out the stock Philips head hardware for stainless steel button head screws for a cleaner look.
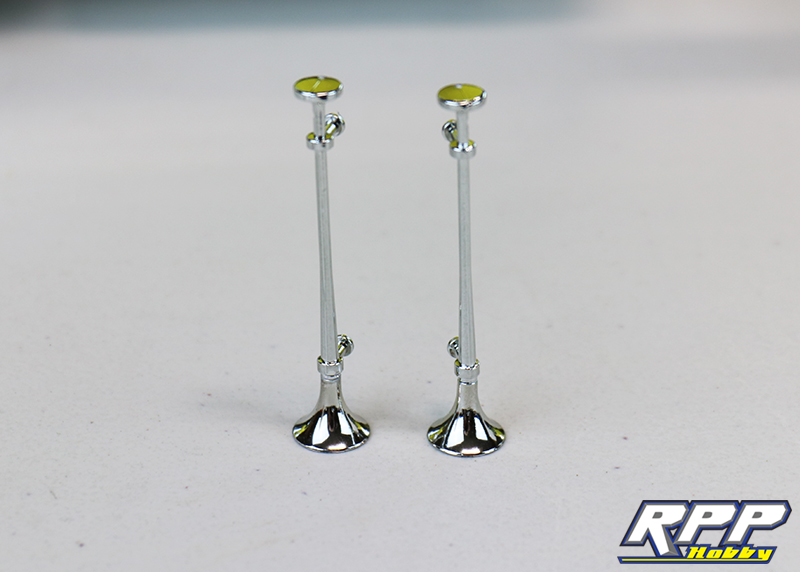
Assemble the air horns.
Glue the exhaust tips together.
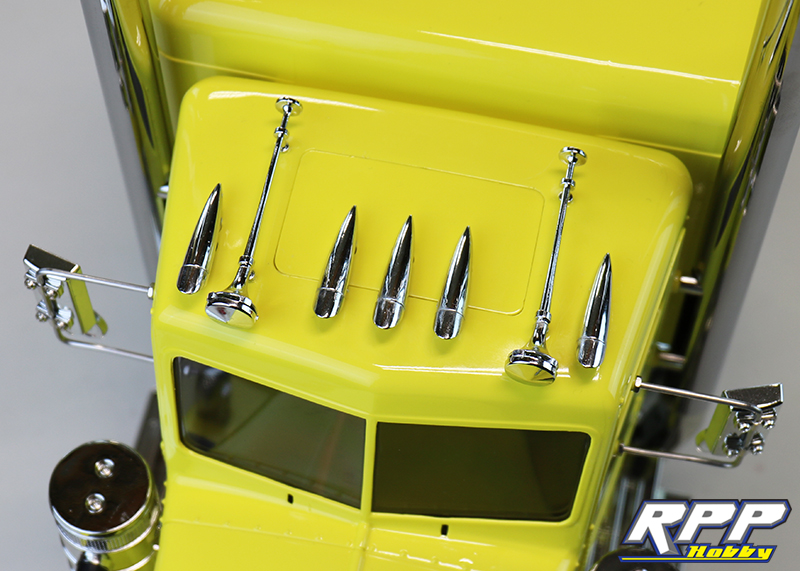
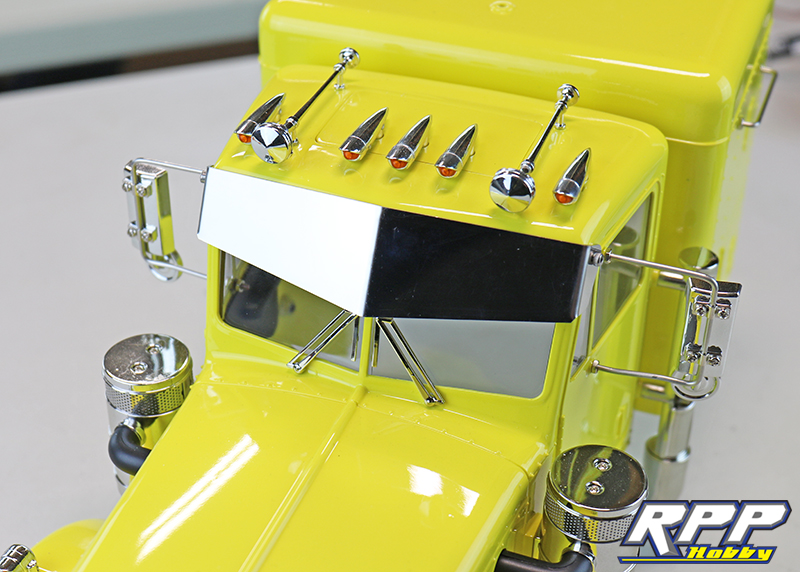
Install the air horns on the roof of the cab.
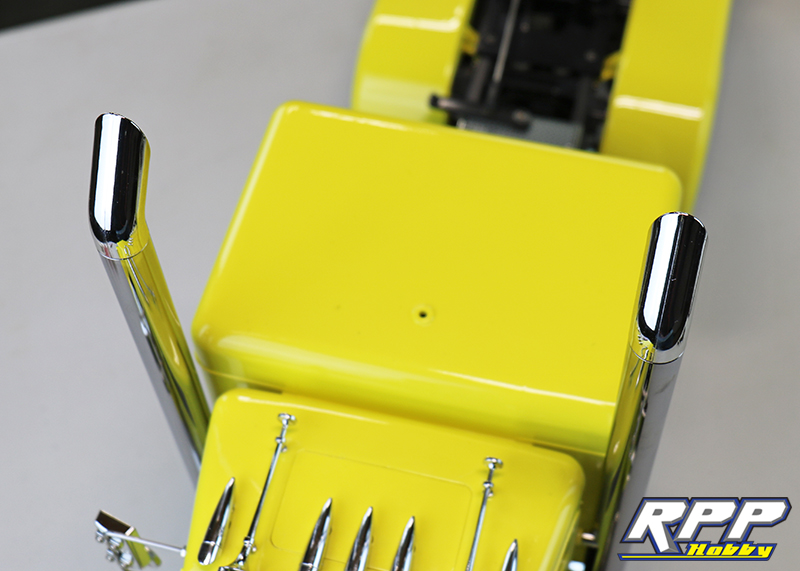
Slide the muffler covers and exhaust tips into place. The tips can be positioned at any angle.
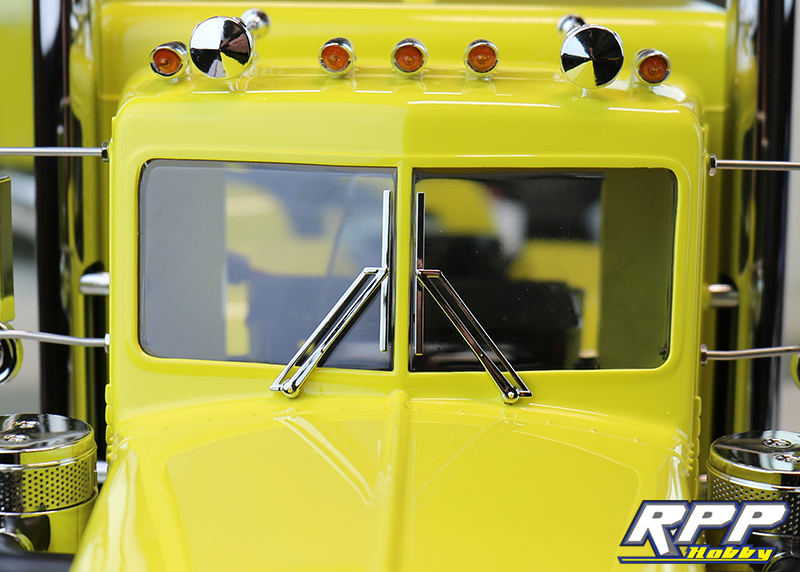
Glue the windshield wipers into place.
Install the front bumper. We are on the fence if we should mount the front license plates to the bumper. We like how clean it looks without them.
Assemble the rear panel for the cab.
Since we changed the color of the body, the blue “fuel tank strap” stickers supplied with the kit didn’t really match the look we were going for. So, we cut our own using electrical tape.
In order to give our Grand Hauler a slightly different look on the outside we added a Gear Head R/C polished stainless steel visor.
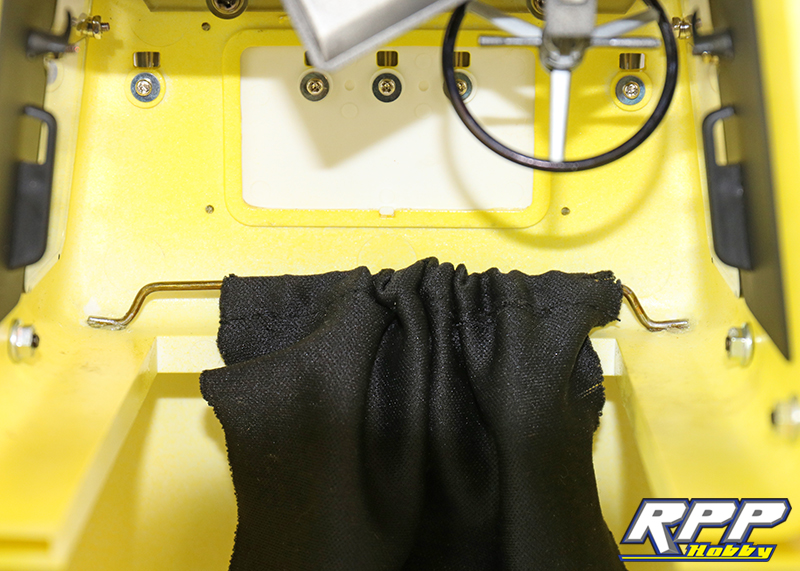
One last little scale detail we wanted to add inside the body was a curtain between the driver’s cab and the sleeper cab. A bent coat hanger, Shoe Goo, and strategically cut goggle bag did the trick nicely. Once the glue is dry the curtain covers the ends of the curtain rod. We did this to cover the exposed electronics in the sleeper cab when looking through the windsheild. The curtain conceals the electronics and adds a nice custom touch at the same time.
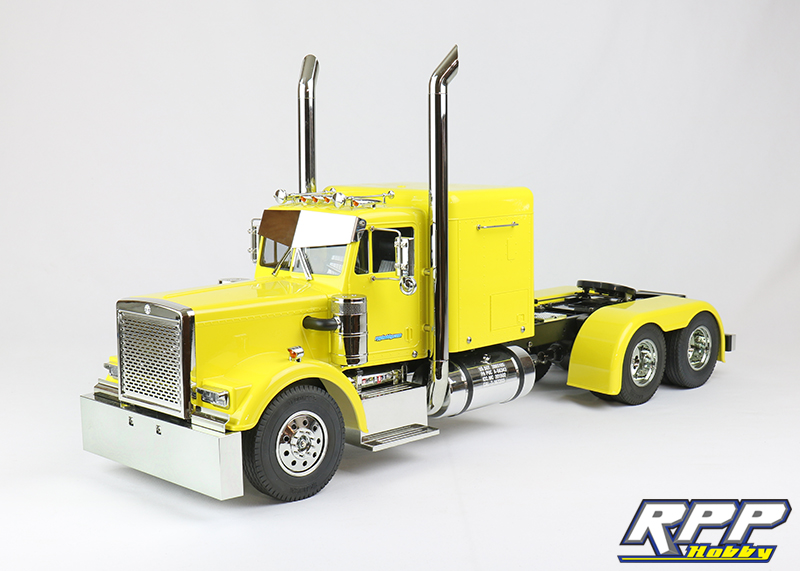
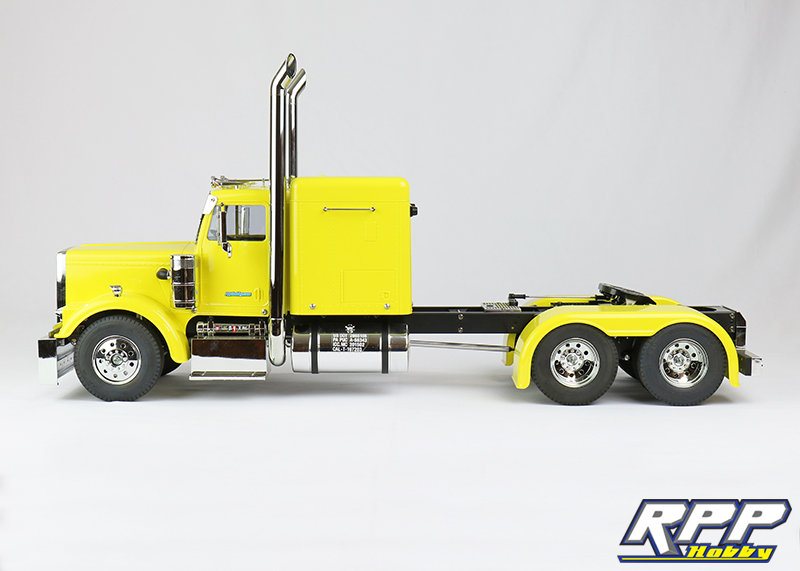
A few photos of the finished product.
That brings us to the end of our Tamiya Grand Hauler kit build. Definitely one of the more complex kits we have ever put together. Tamiya did their homework with this kit and supply you with so many scale details that really help bring this kit to life. Next up, time to hit the scale highway! As always thanks for checking out the RPP Hobby blog!
Check out the first run with our newly completed Grand Hauler build here:







I am curious at how the axial ae5 will work out for this build. I look forward to see it running. Thanks for the great writeup guys.
That is a sweet truck.I always wanted one.If it is a give awaybill take it.lol
How much is this item
They are $450.00.
http://www.rpphobby.com/product_p/tam56344.htm