Welcome to part two of our Tamiya Grand Hauler kit build. In part one we covered installing the shifting and steering servos, assembled the main chassis and started bolting on some of the suspension brackets. In this blog entry we will cover building the steer and shift tie rods, as well as assemble the shocks and axles. Everyone ready to move forward? Let’s do it!
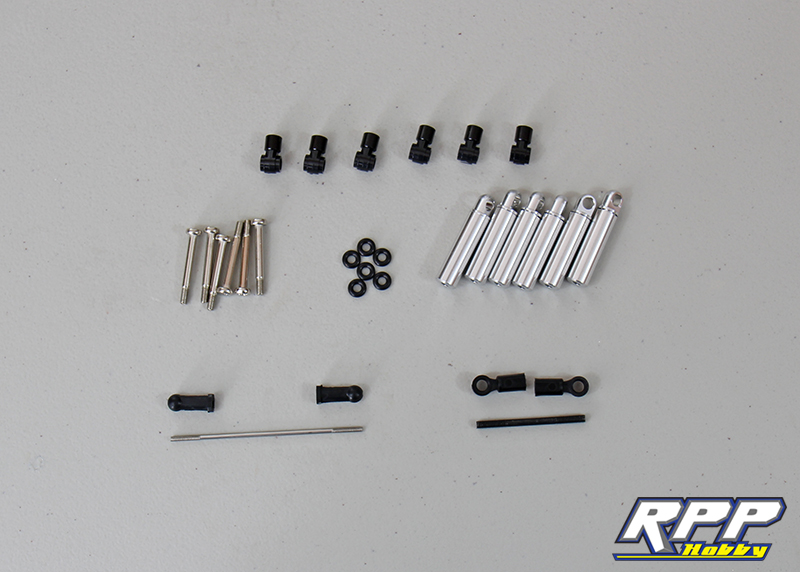
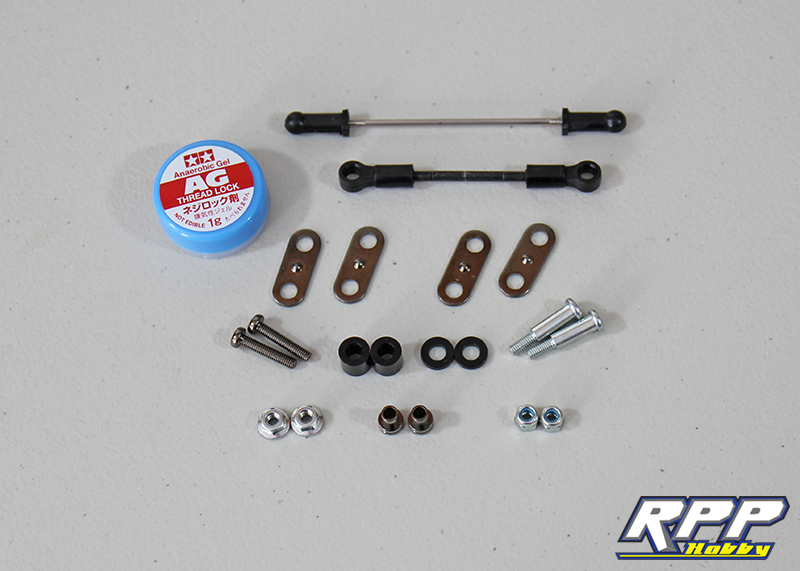
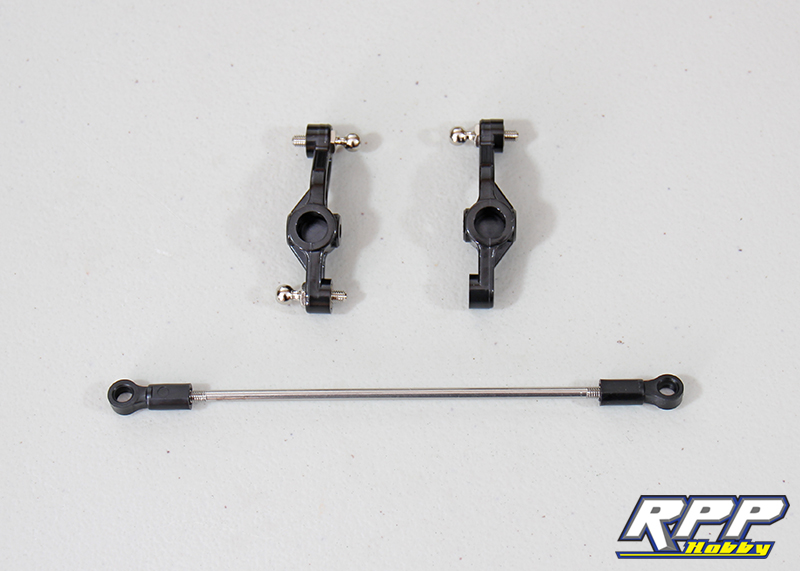
Turn to page 6 in the instruction manual and located step 7. Here you see all the parts required to complete this step.
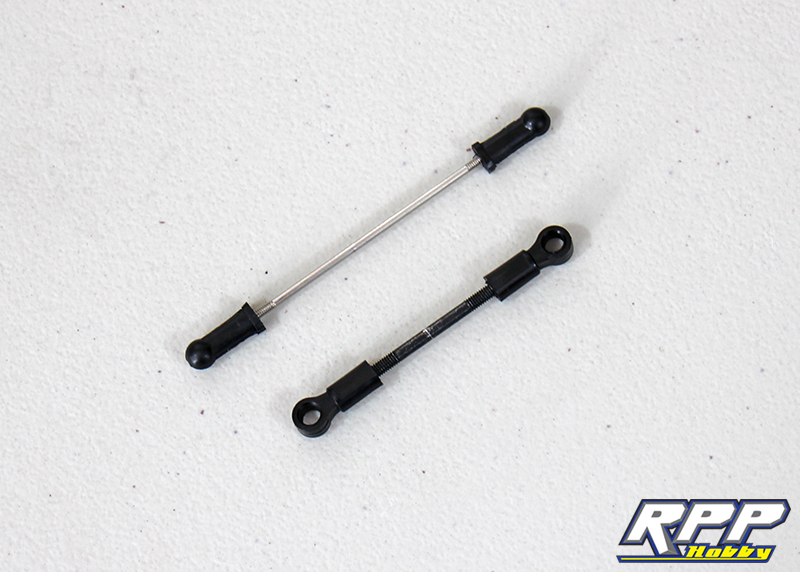
Start with assembling the tie rods adhering to the dimensions located in the manual.
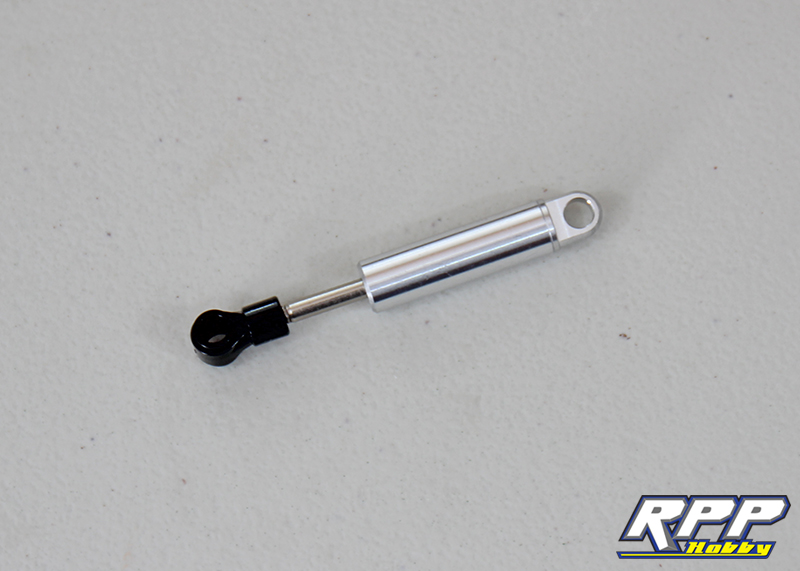
Next we will assemble the shocks.
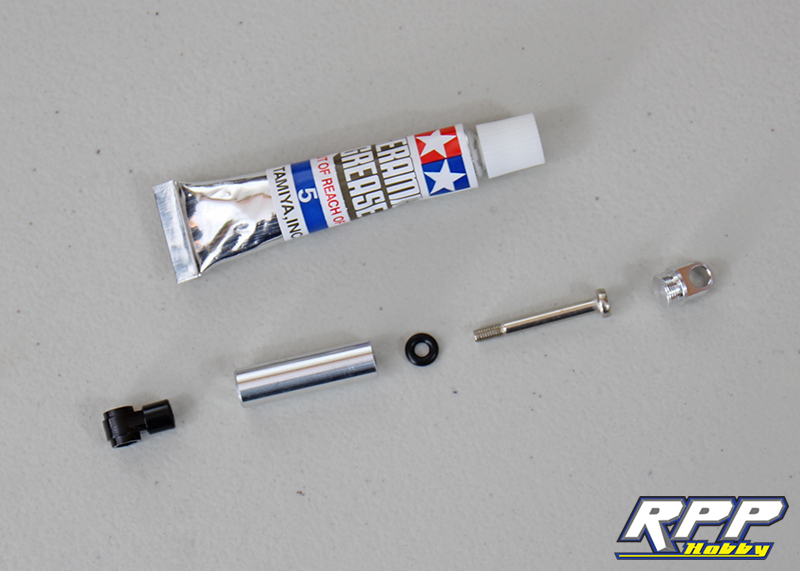
Apply a dab of grease to the threaded shock shaft, slide the o-ring over the shaft and insert both into the shock body. Use a small screwdriver to thread the shock shaft into the plastic rod end and install the shock cap. First shock complete!
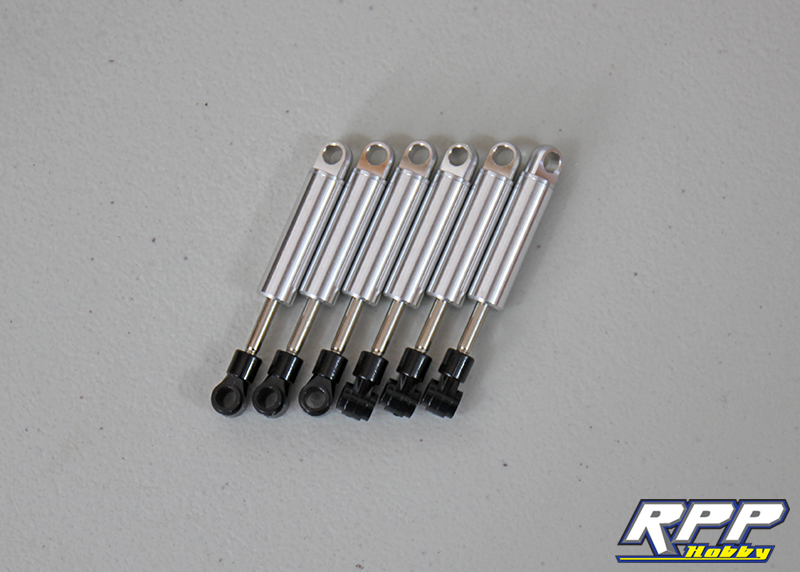
Repeat the above step to finish off all six shocks.
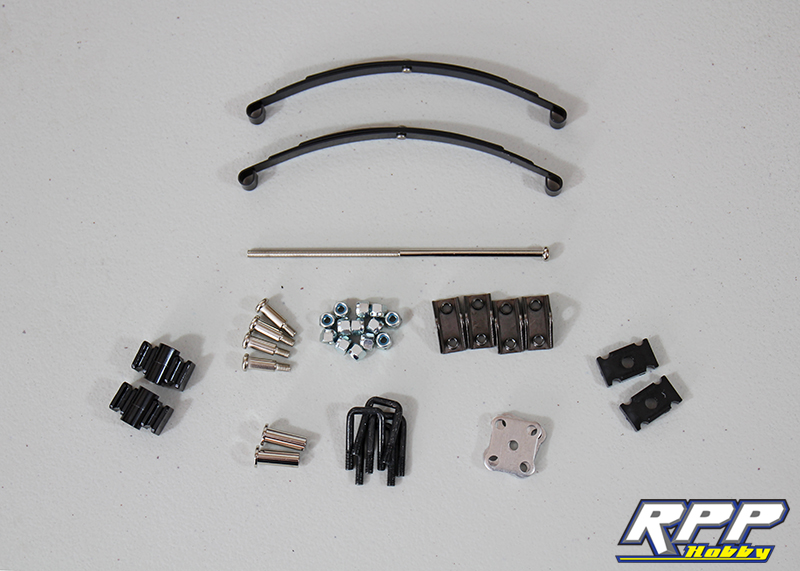
Moving on to step 8, locate all the parts required.
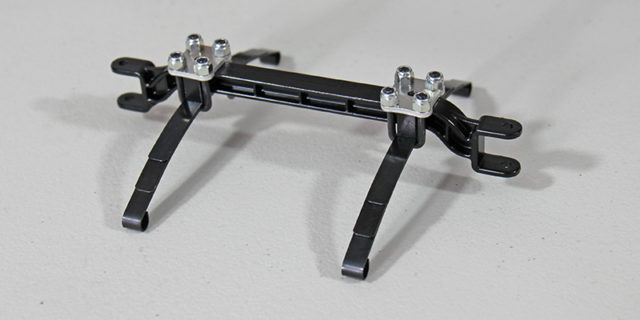
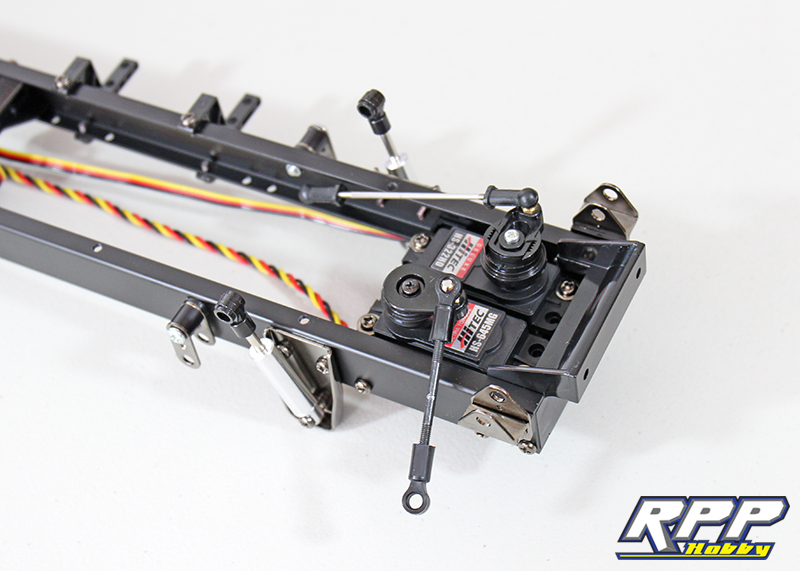
Start by assembling and installing the leaf spring shackles.

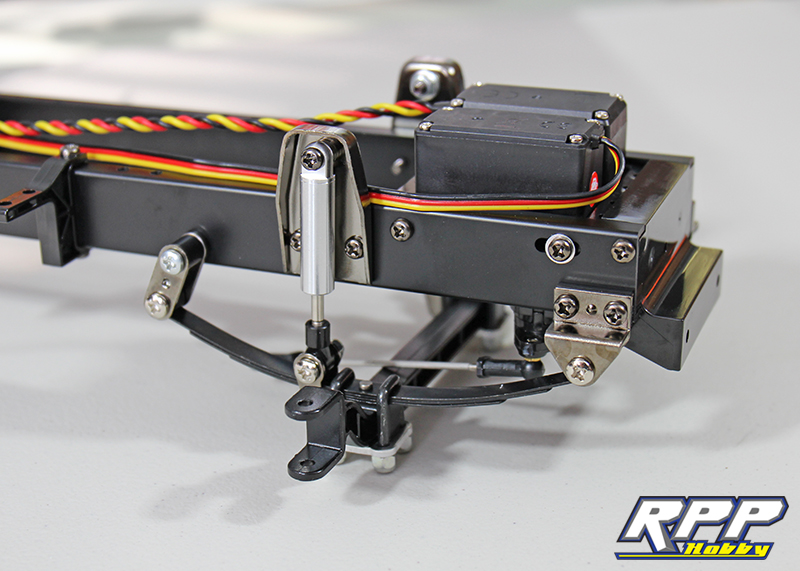
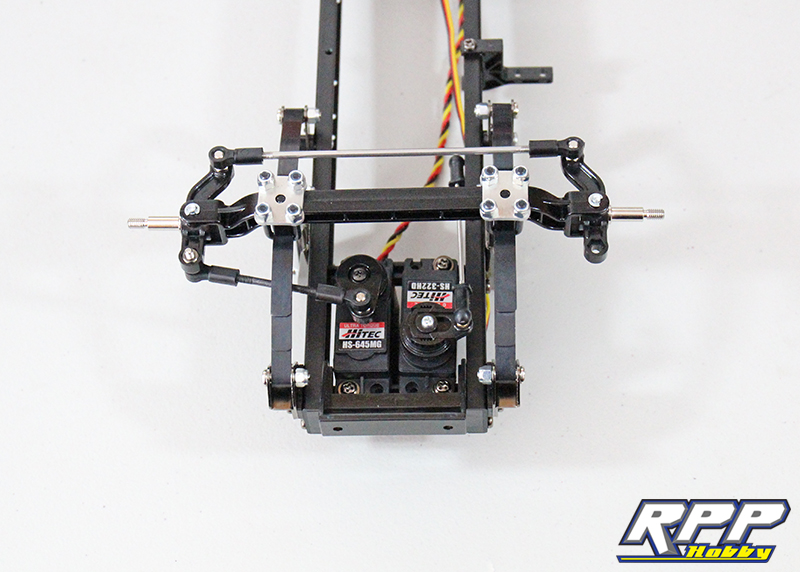
Next, install the front shocks and snap the tie rods into place.
Locate “Bag B” to complete steps 9 through 12.
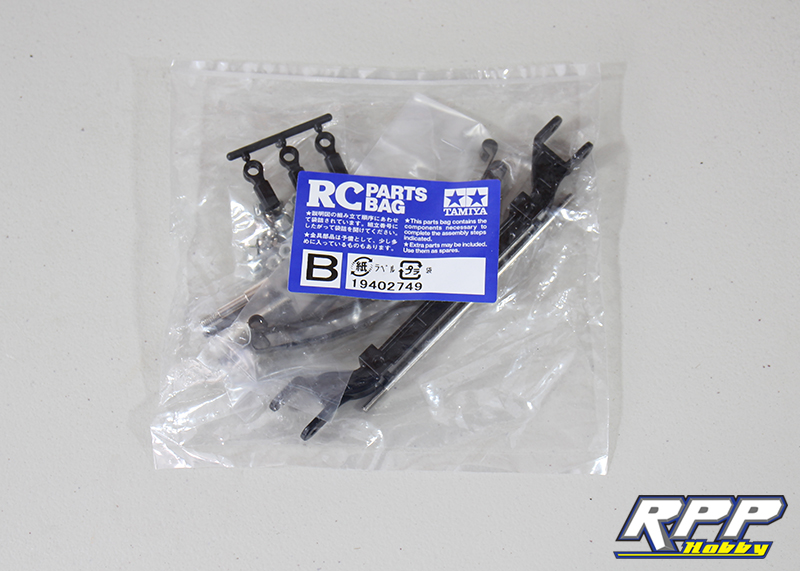
Pull together the required parts to complete step 9.
Snap your fingers and it’s done! HeHe.
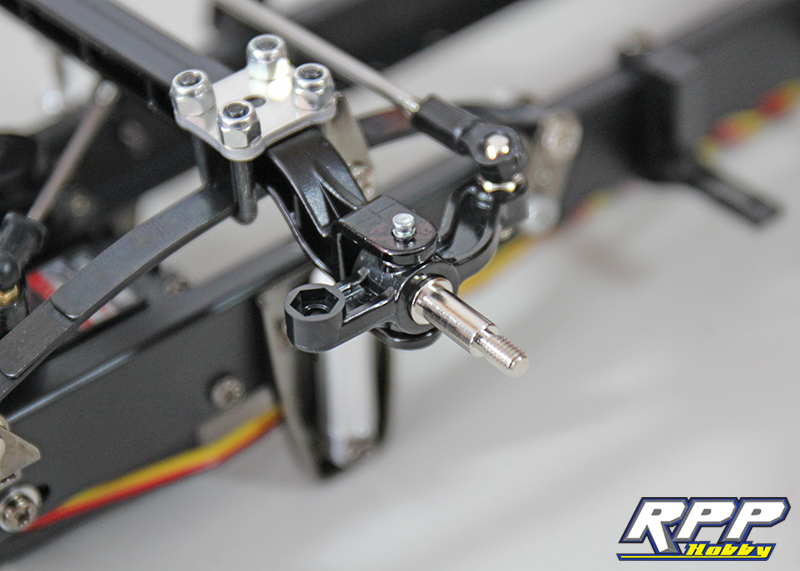
Install the front axle into place. Super scale!
Locate your steering knuckles and required hardware to complete step 11.
Slide your front outer axles into the knuckles and install the knuckle assembly into place on the axle.
Install the e-clips on the bottom of your link pins and attach your tie rods to the knuckles.
Locate “Bag C”.

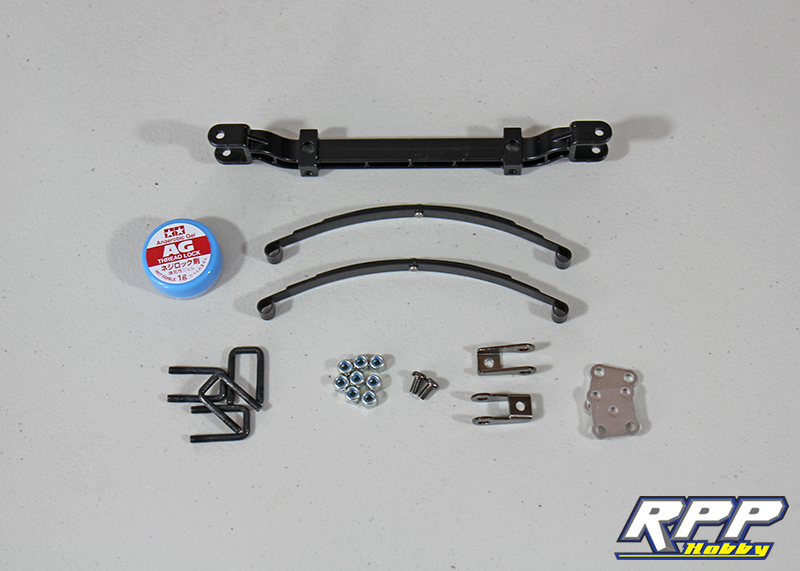
Everything required to complete step 13.
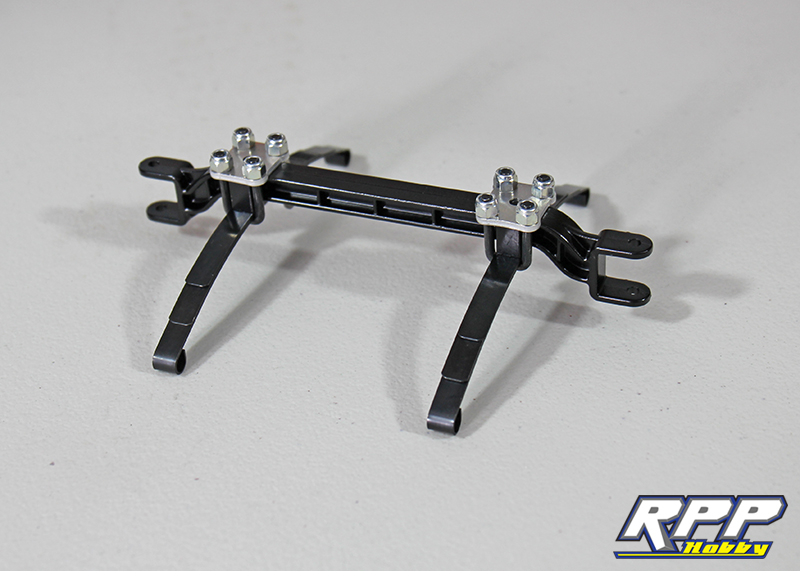
Build the rear leaf spring assemblies.

Install the leaf spring assemblies onto the chassis.

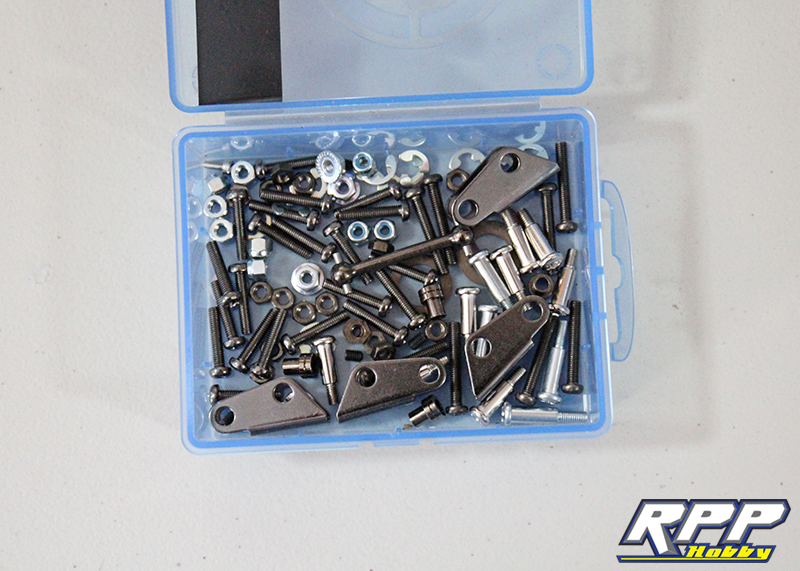
Next we will move on to the axles. There are a lot of tiny parts involved in the next few steps. We always like to use a small container to hold our hardware so nothing goes missing during assembly.
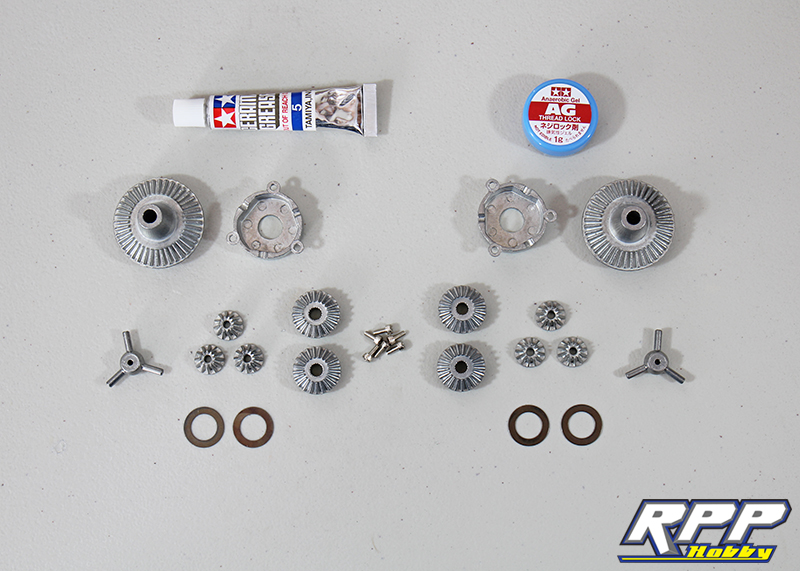
All the parts needed to build both rear differential assemblies.
Add some grease to a differential washer and place it into the gear side of the diff housing.
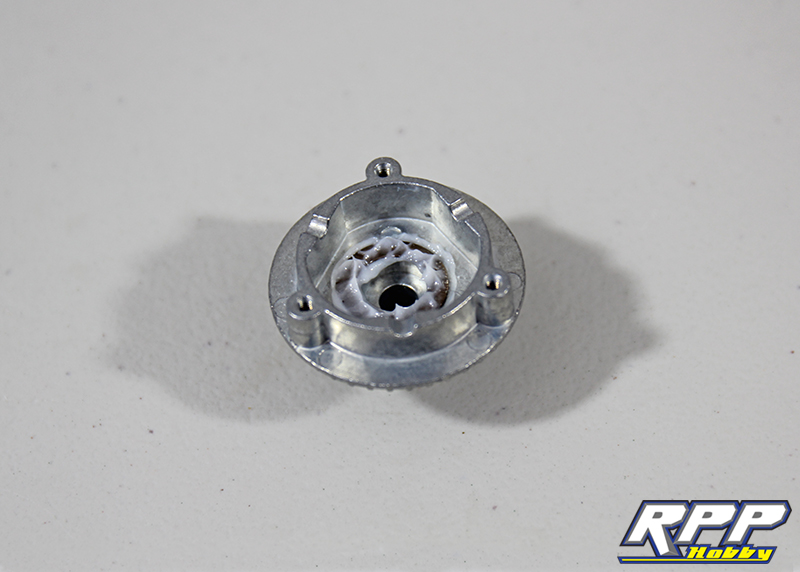
Grease up a large bevel gear and set it into place on top of the washer.
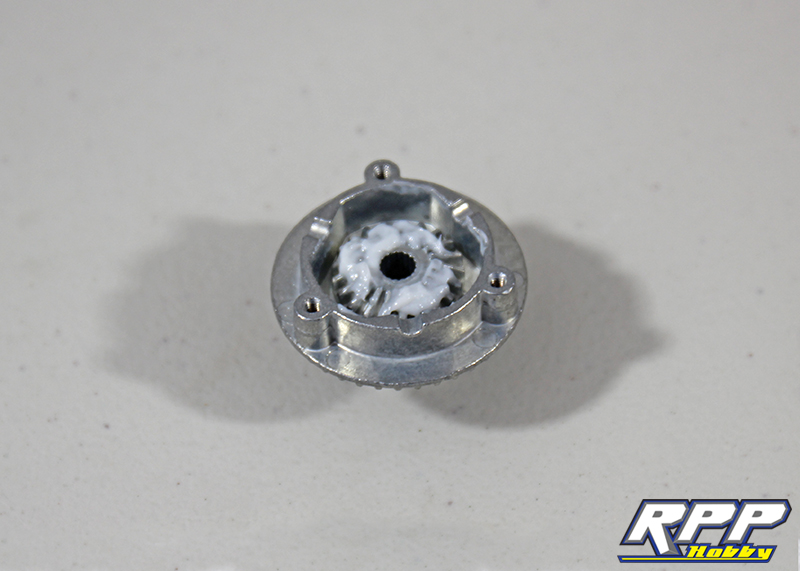
Grease the shafts that your spider gears will sit on and slide them into place.
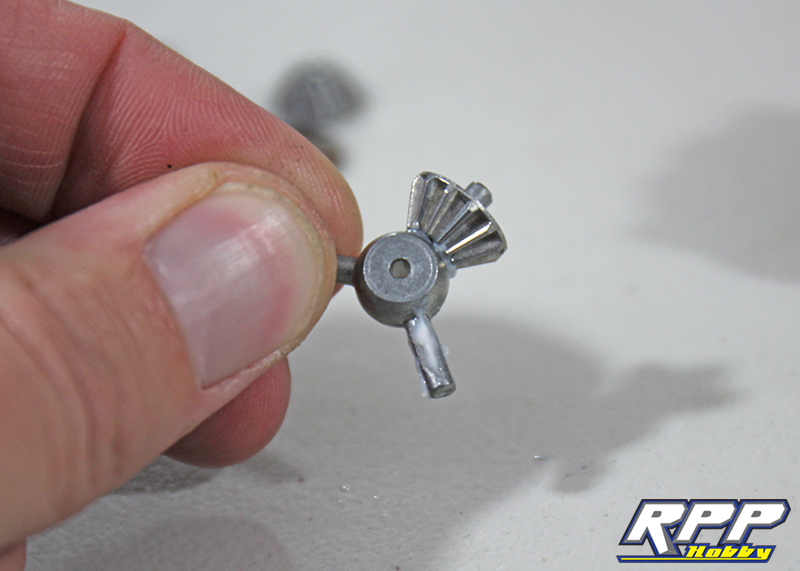
Install the spider gear assembly.
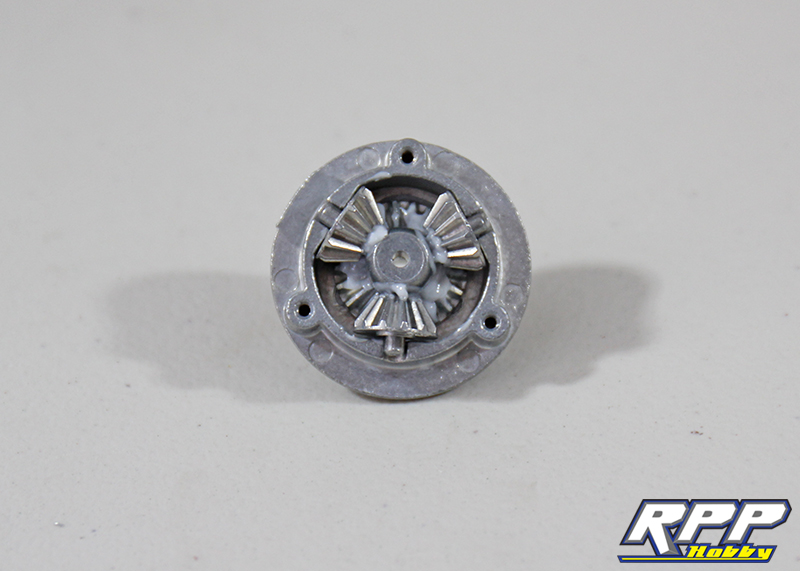
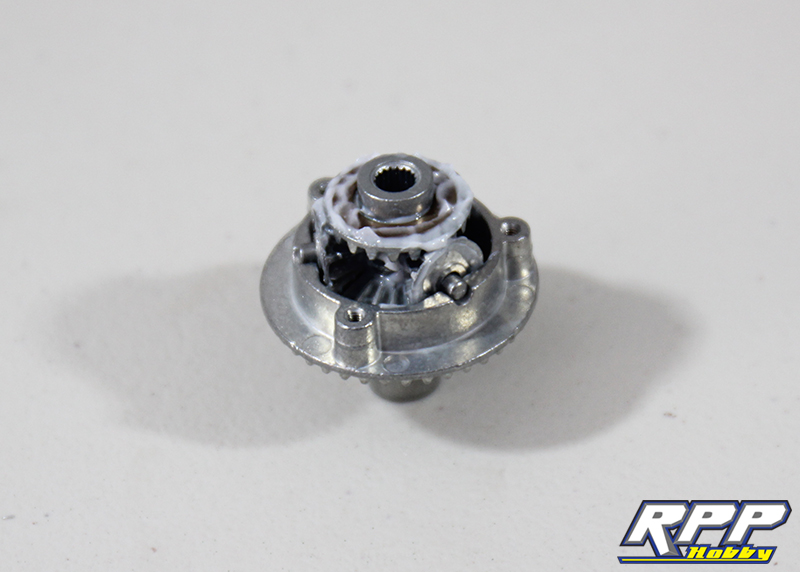
Grease up a second large bevel gear and set it on top of the spider gears. Don’t forget to add some grease to the gears and install the second diff washer before closing up the differential case.
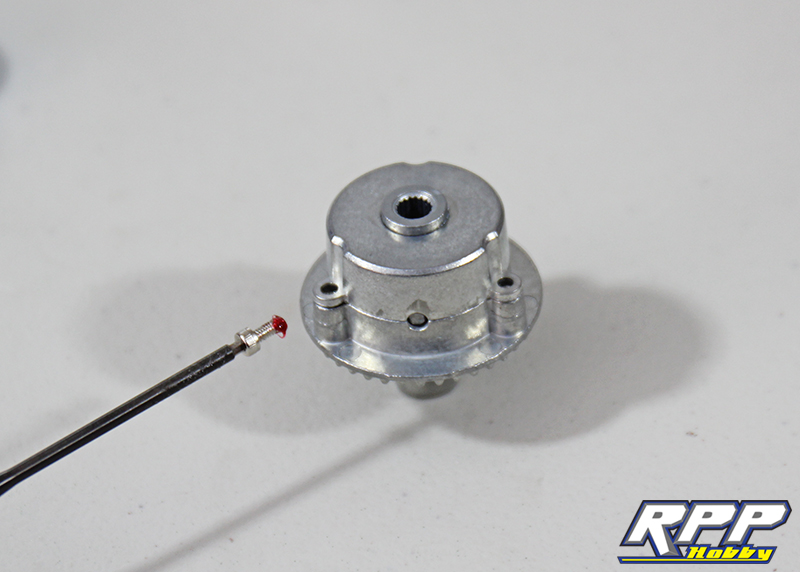
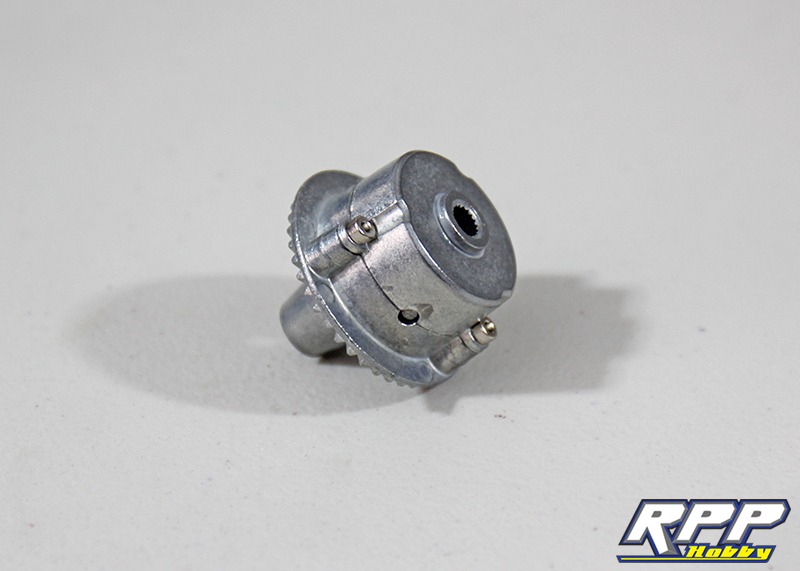
Install the second half of the diff case onto the diff assembly, add a dab of thread lock to your diff case screws and tighten everything down evenly.
One diff done! Repeat the above steps to build the second differential.
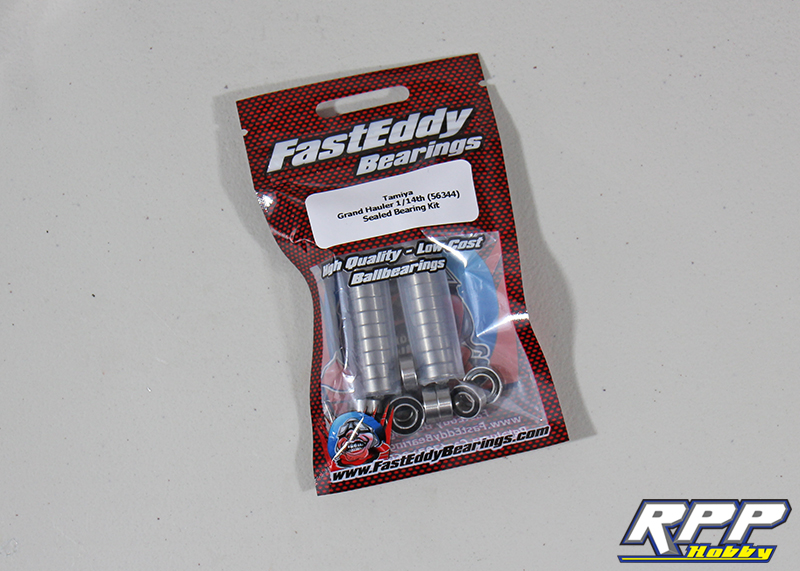
One upgrade we will always make is the switch from bushings to bearings with any kit build. Bearings help keep the drivetrain running smooth and glitch free longer than bushings in the end. FastEddy Bearings to the rescue with their Grand Hauler bearing kit.
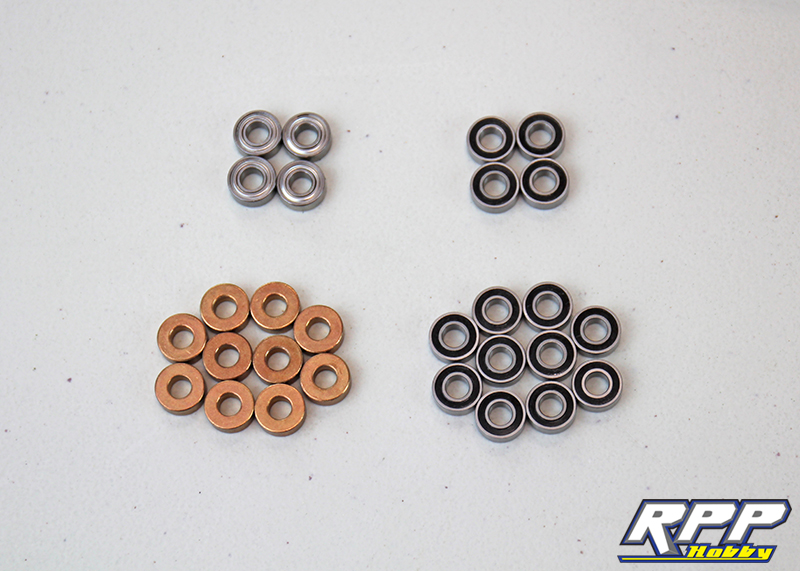
Here you can see that Tamiya does include a few bearings in this Grand Hauler kit, but most of it is supported by bushings. The FastEddy bearings are also rubber sealed for better protection against debris verses the metal shielded bearings.
Start by assembling the axle shafts. Snap an e-clip on one side, slide the two bearings into place and install the second e-clip.

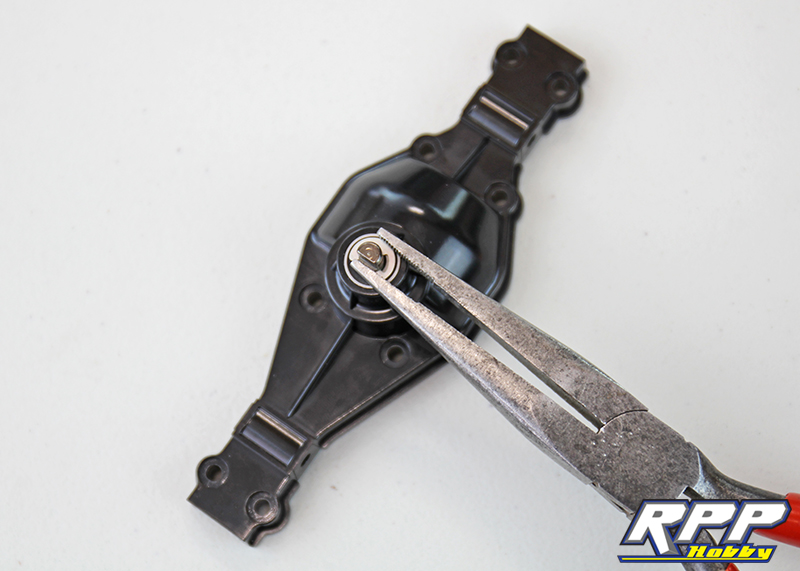
Press both pinion bearings firmly into place in the axle housing.

Install your pinion gear and snap the e-clip into place.
Drop the diff and axle shaft assembly into the axle housing. Don’t forget to grease the ring and pinion gears before closing everything up.
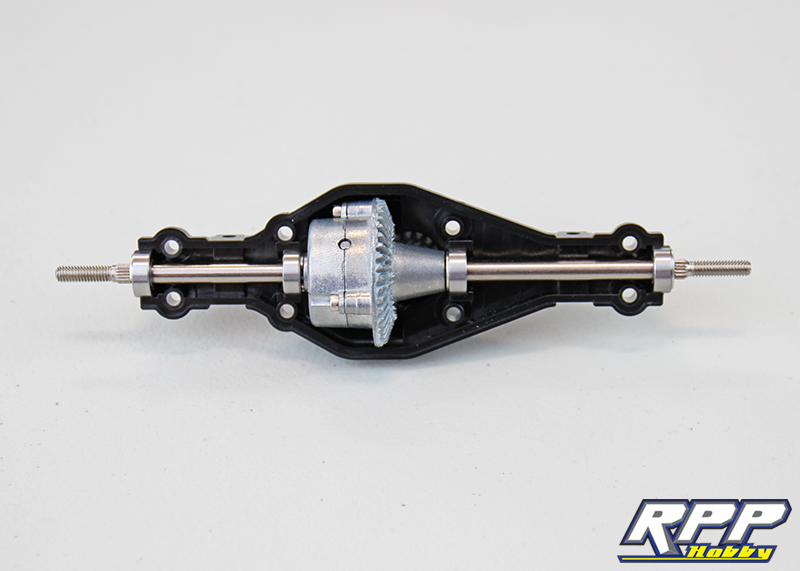
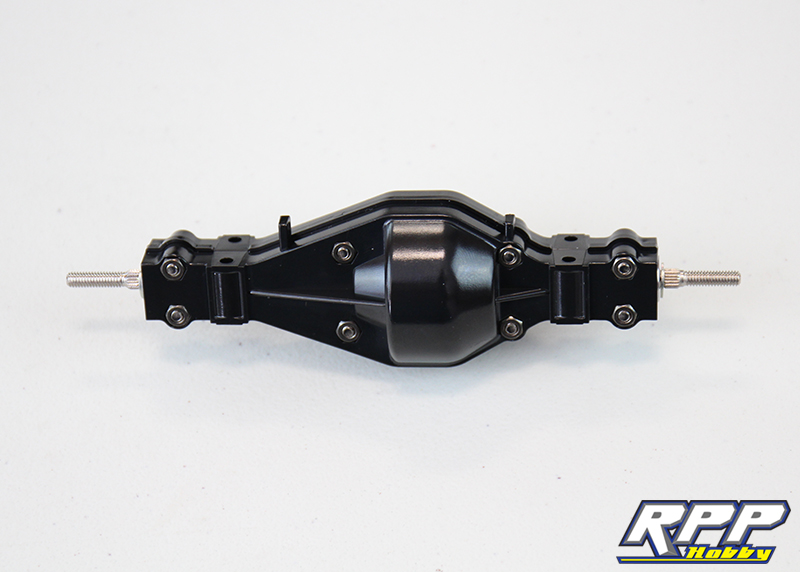
Install the second half of your axle housing and secure with the supplied M3 hardware.

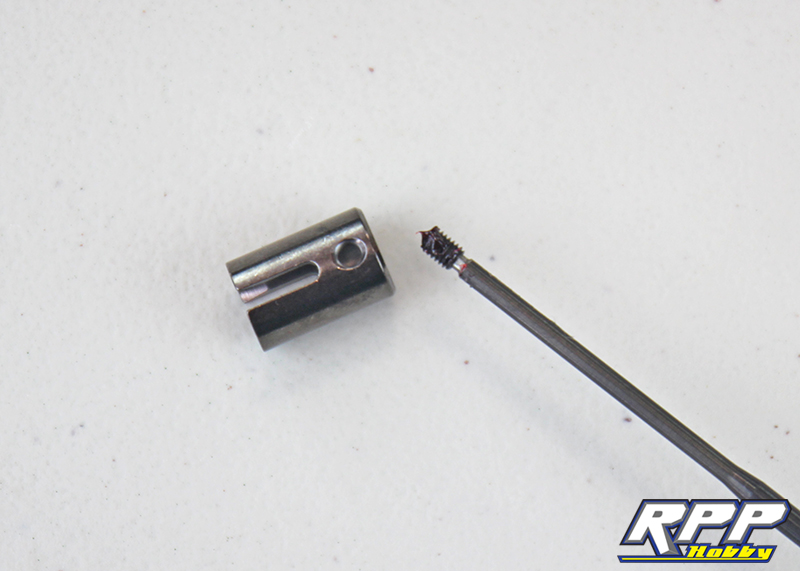
Install your drive cups on to the pinion outputs.
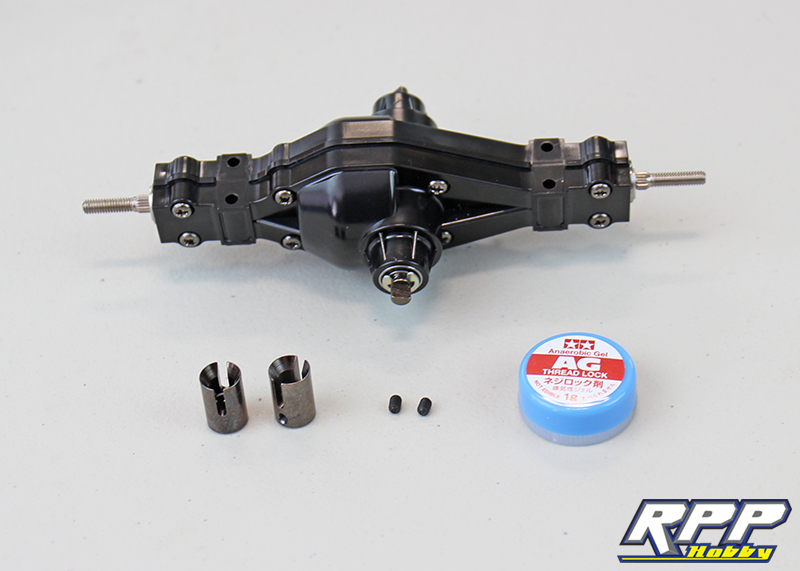
Use a dab of thread lock on the drive cups.
Next we will finish off the second axle. Again don’t forget to grease your gears.
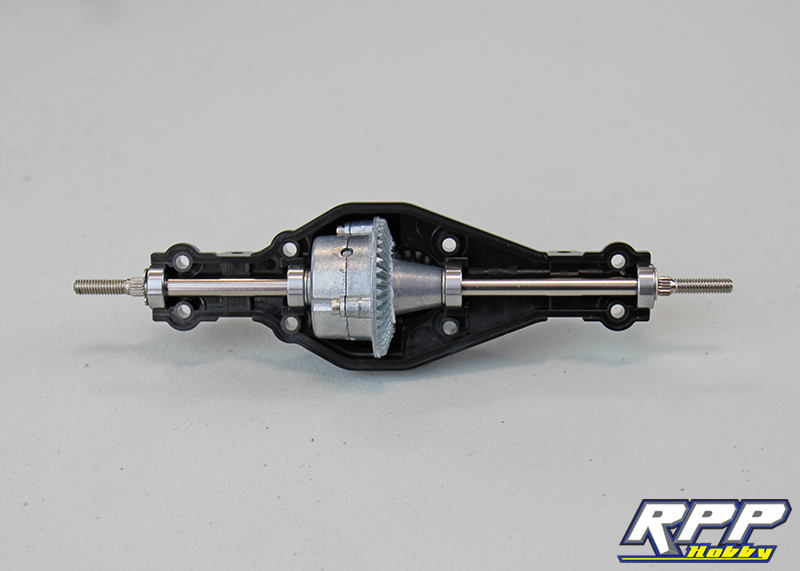
Install the second half of your axle housing with the supplied M3 hardware and you are done with the axles.
That brings us to the end of part two for our Grand Hauler kit build. Stay tuned for part 3 where we will install the axles under the chassis and give your a preview of the insanely intricate three speed transmission that comes with this Grand Hauler kit. Thanks again for checking us out and keep on wrenching!
Will you guys install the MFC 01 in this build?
Great stuff by the way.