It’s time for part 3 of our custom 1/10th scale garage build! In our previous two installments we covered the parts we intended to use. Now, after weeks of gathering parts, careful planning, lots of cutting, some painting, and a little shopping we are finally ready to start assembling a couple walls. Ready to see what we have in store? Let’s get busy!
First thing we needed to sort was our cinder block half wall that will run the entire perimeter of the work shop. Sam enlisted a little help from a friend to build the wall.
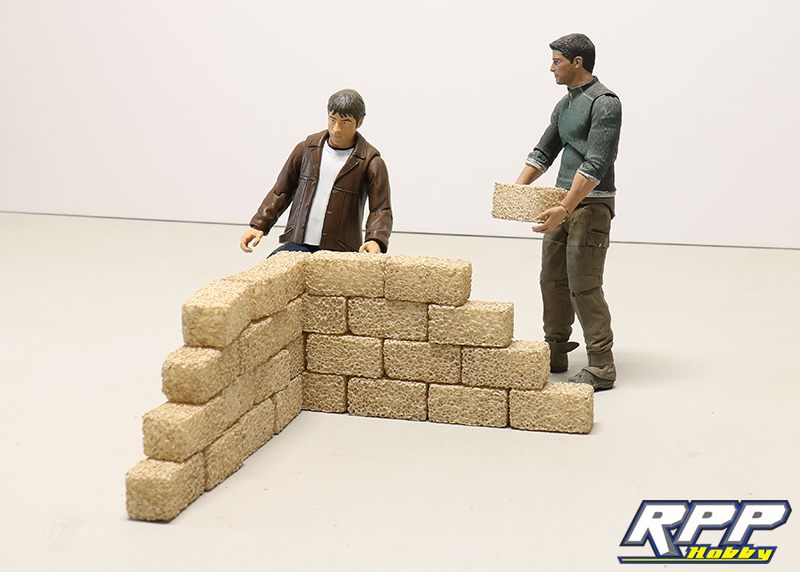
We originally planned to glue the wall as we built it, but that plan went out the window fairly quick. The bricks are not perfectly uniform so trying to build a straight wall with this method was going to be tough. We decided to use toothpicks to help hold everything together, as the box suggested. We did sit down and weed out any odd shaped blocks that were in the box before the building process began. Using toothpicks allowed us to adjust block gaps for a more uniform look. We bought 4″ skewers from the local market to use on our wall since the standard toothpicks were a little too short. The best method we found for assembly was using a flat surface to lay the bricks on, hold them in place, and insert the skewers. Always keep the side that will face out to the garage down on the table for a nice flat, even looking wall. We even labelled the back of ours with marker to avoid any confusion.

Making progress!
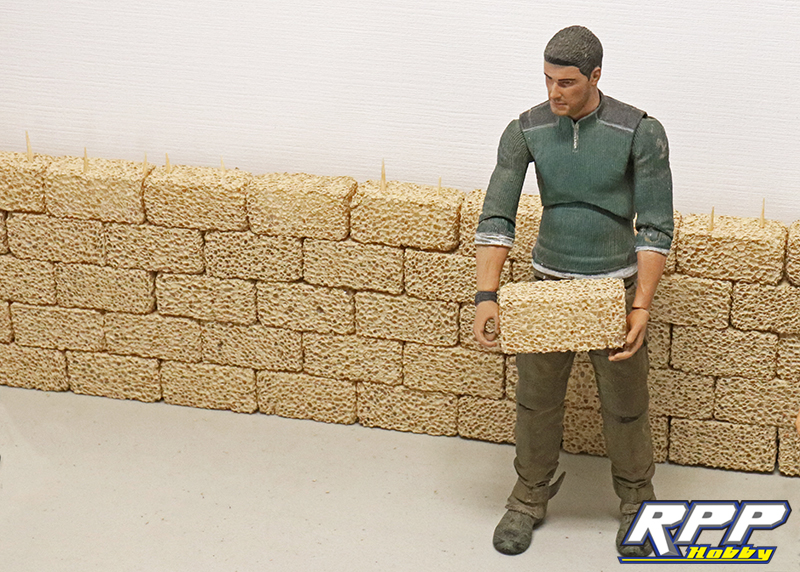
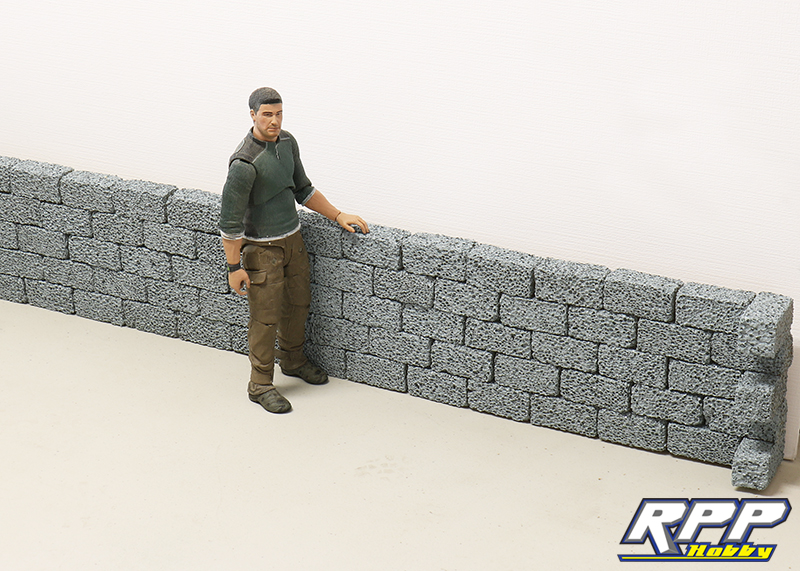
Once the wall was complete we trimmed the exposed skewers and painted the wall grey to mimic the cinder block look.
While the paint on the walls finished drying we moved on to building our workbenches. We bought a small tabletop band saw from the local hardware store to cut all the wood for this project and it was totally worth it!
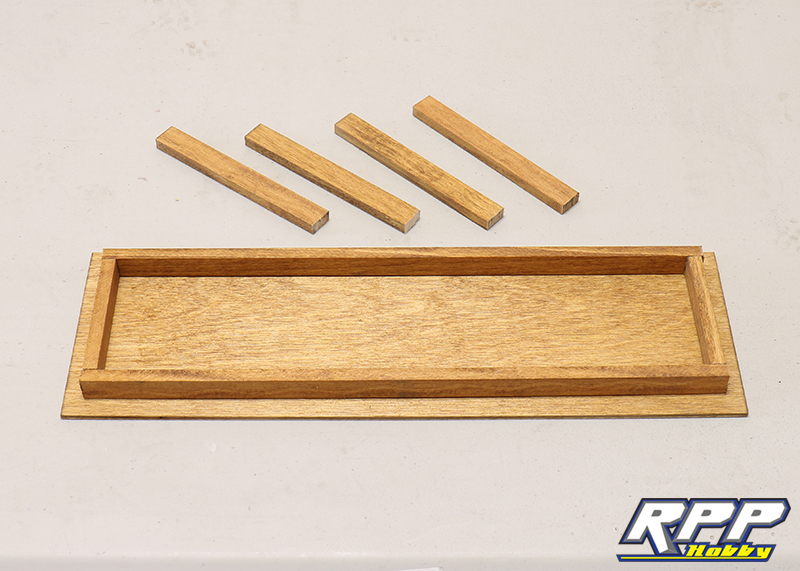
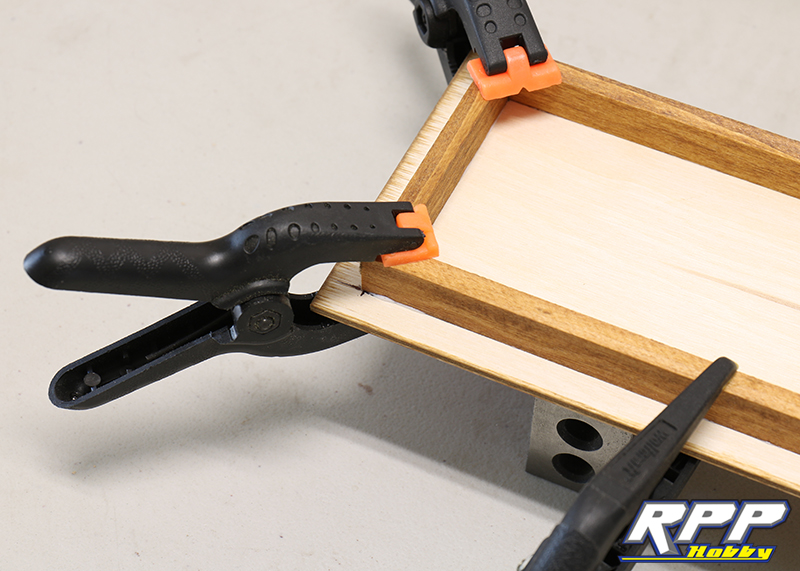
Use small hobby clamps to hold the assembly in place until the glue is completely dry.
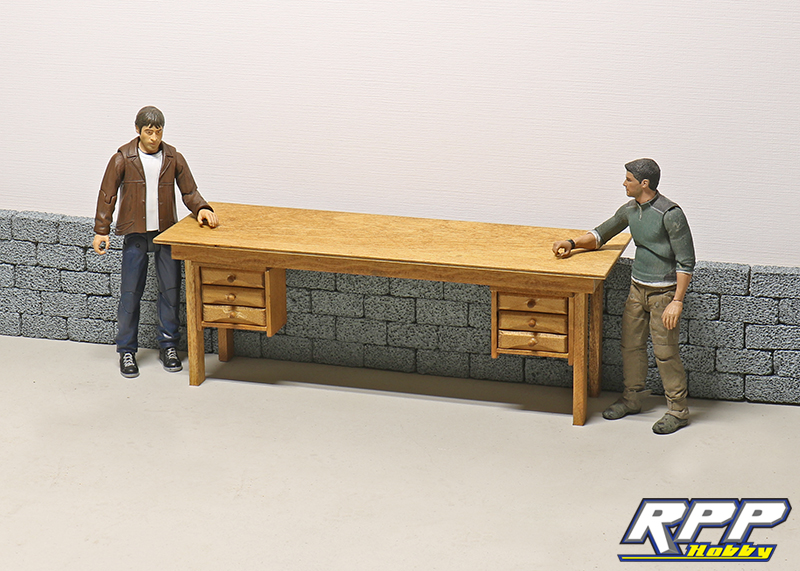
Remember the two small night stands from the previous blog post? We used those as extra storage on our workbench. The benches were also designed to sit just above our block wall and overlap it a little.
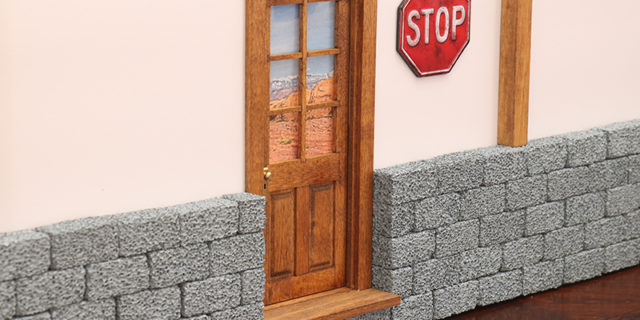
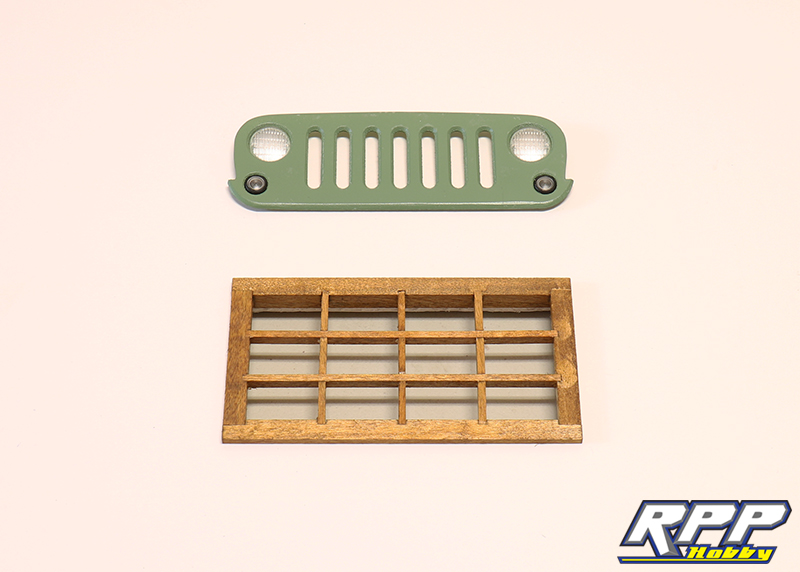
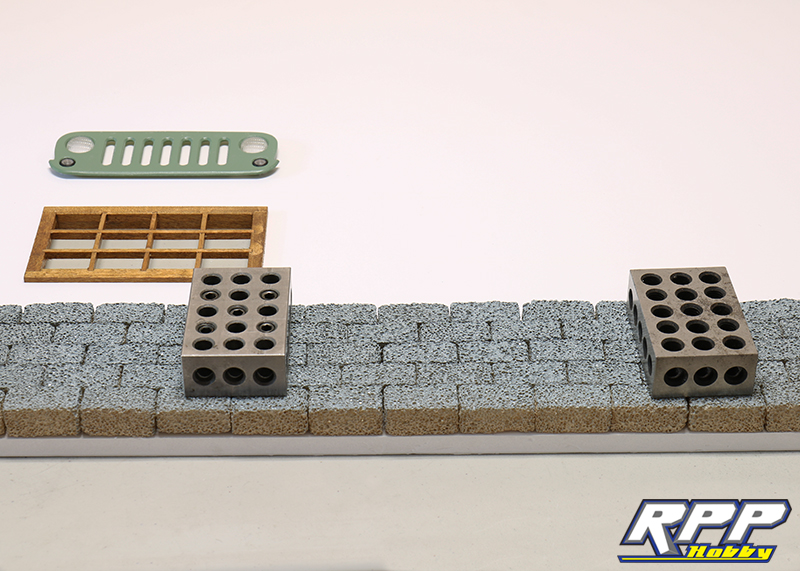
Time to cut the wall to fit our window that will sit above the main workbench. We decided over the top of the window was a perfect spot for our Jeep grill too.
Once the window and grill were mounted we attached our block wall with Shoe Goo. You will have to adjust the wall to sit straight, we used metal blocks to hold everything in place until the glue fully cured. Also, notice here we went with 1/2″ thick foam board for the walls, rather than the originally posted 3/16″ board. We plan on hanging a fair amount of weight on these walls and wanted to be sure they could hold the load without distorting.
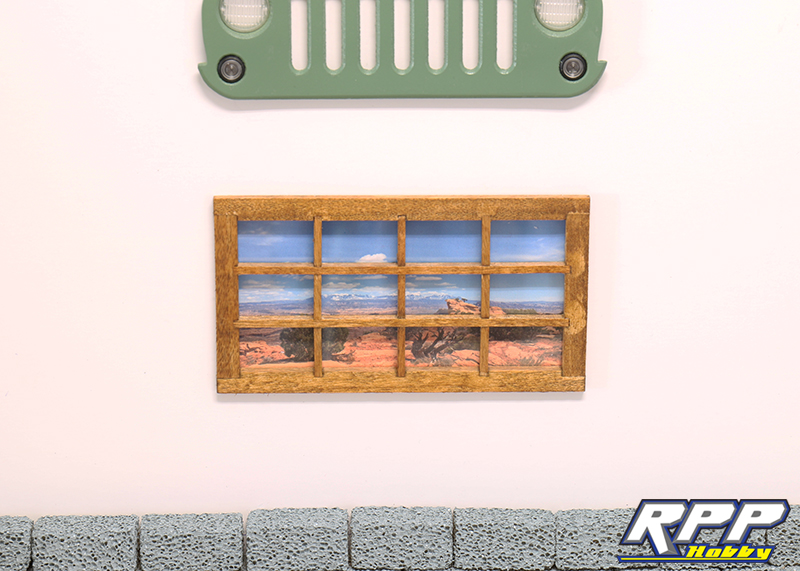
Might as well have a nice view to look at while wrenching right?
Door knob glued in place.

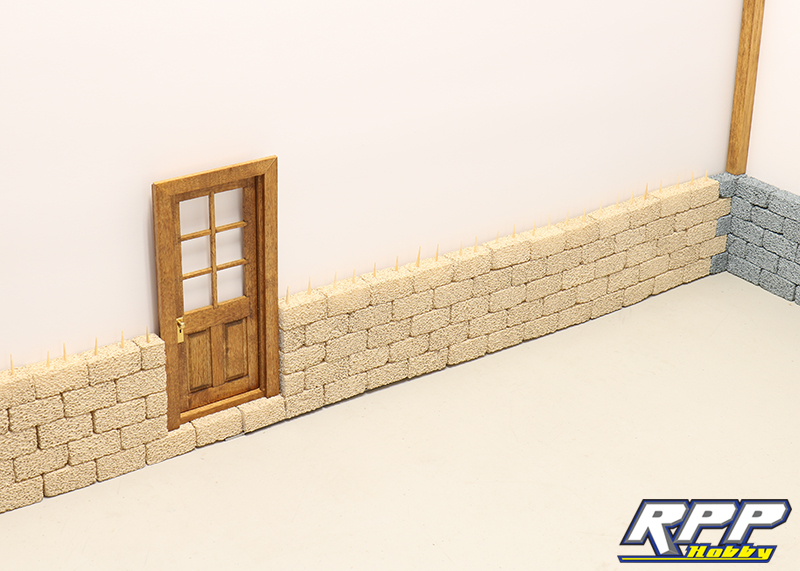
Time to build our second block wall. This wall will run down the side of the shop and it will need a door opening. We cut the opening a little wider than needed to fall in line with the seam of the bricks. We will trim the bricks under the door to adjust for final width as needed to keep the block wall uniform.

Door opening roughed out.

Once we trimmed the block wall to fit the door, we set everything in place to mark our door opening in the foam shop wall.
All buttoned up. We added a wooden step for the base of the door to finish off the look.
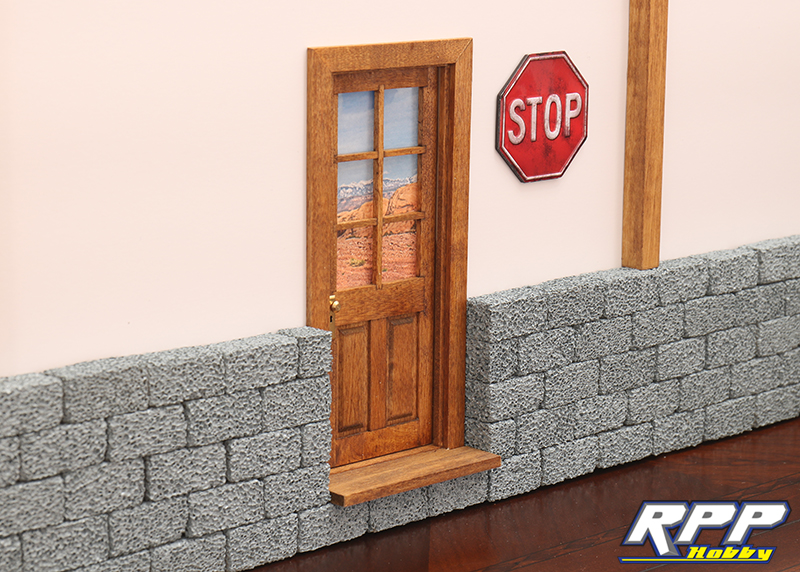
A quick shot with a few signs and scale details in place just to show the overall look and feel of the shop. Sign placement may not be final, but we will see once the 3rd wall is built and we have a proper floor in place.

That wraps up part 3 of our scale garage build! We are pretty excited about how everything is turning out so far. We like that the block wall and wood beams give the shop walls depth and extra detail. Let us know what you think in the comments below, and as always thanks for checking out the RPP Hobby blog!
When can we expect Part 4 of this series? I’m looking forward to seeing the shop filled up with tools/tool boxes, a lift, trucks, etc.
We are working on it, along with a handful of other projects. We should have Part 4 ready in a few weeks.