We are always looking for ways to improve performance with any R/C vehicle. Those modifications can come in many different forms, with many different price tags. There are also ways to improve performance by putting time in making personal modifications to fit specific needs. We love wheeling our RC4WD Trail Finder 2 RTR! The super scale body, axles, and leaf springs make it a really fun trail rig! One modification will instantly improve trail performance in technical situations with this particular vehicle. That’s right, we are “bobbing the bed” of our TF2 RTR. In the 1:1 off-road world people that go off-road in trucks will sometimes cut the back of the bed off to gain a little better departure angle. We are going to show you how to do it without getting into body filler, sanding, and repainting. There are other ways to hide bodywork. Let’s dig in!
Before going under the knife and band saw. We are going to section about an inch out of the bed behind the rear tires.

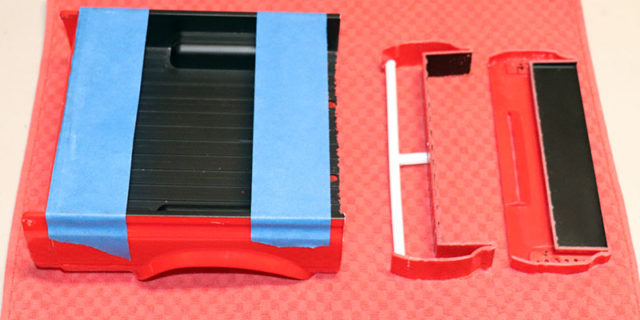
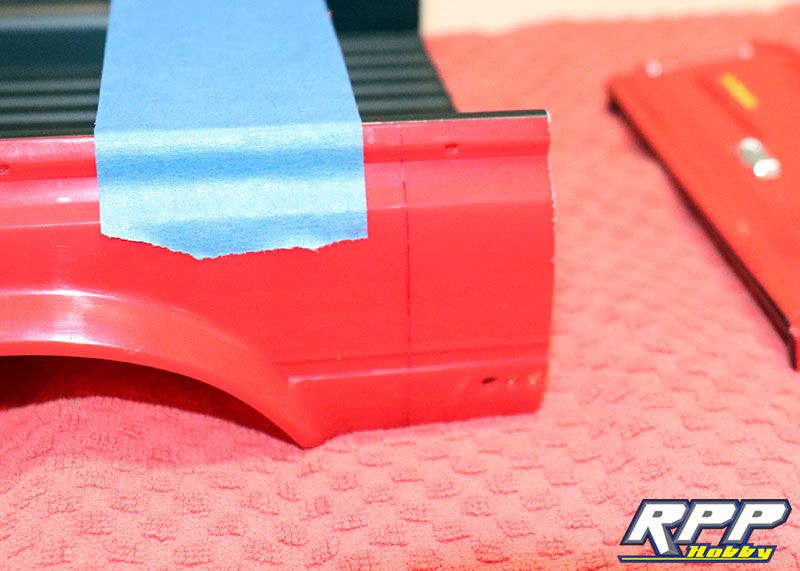
Measure twice, cut once! It is time to establish where the first cut will be. We are cutting about 1/2″ off the tailgate side of the bed. Using masking tape we mark the initial cut lines with a pen.
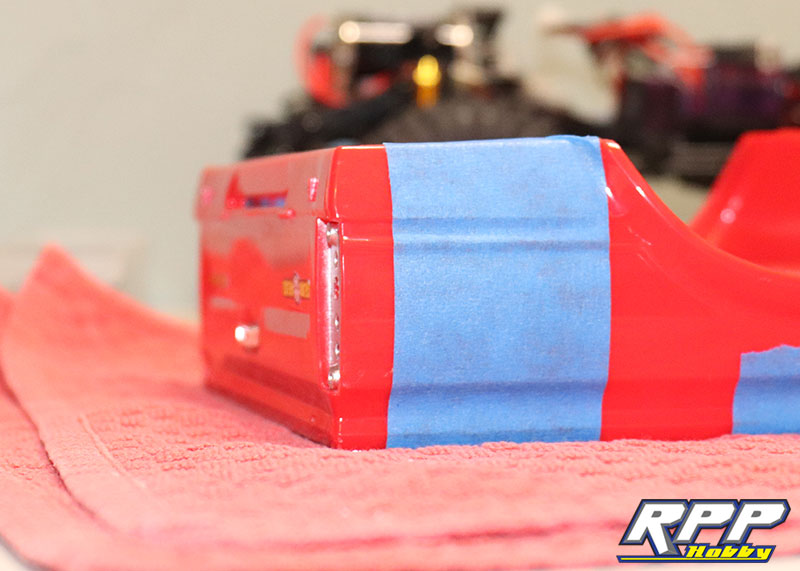
Notice the cut line. We used masking tape to ensure the bed rails don’t get scratched up as we slide the body through our Ryobi bandsaw.
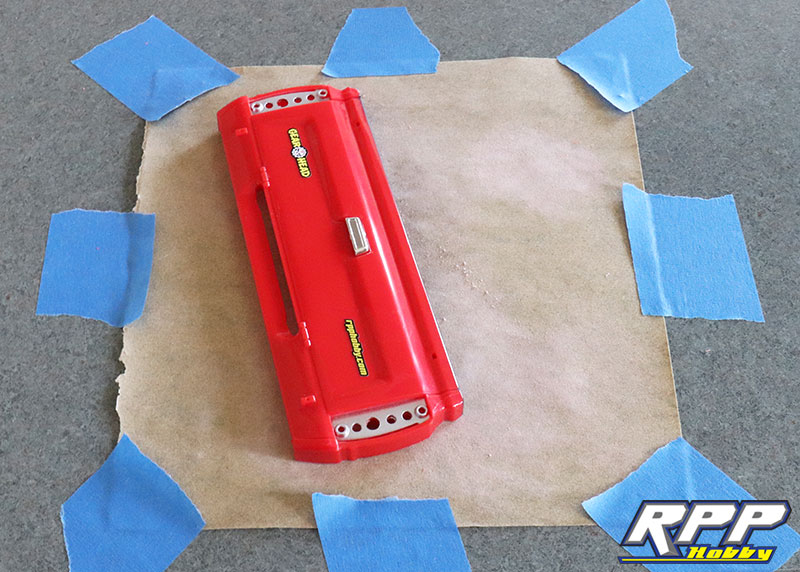
Before the first cut we braced the body with an old plastic coat hanger and a few dabs of Shoe Goo. This makes the body a little more rigid for the cutting process, and the braced section will be removed when we are done.
No turning back now! Slow and steady is the name of the game when cutting the bed with a bandsaw.

Measuring an inch from our first cut line, we mark the second cut line.
Second cut complete!

Next it is time to sand the two mating pieces to fit them together as seamlessly as possible. Use even pressure and sand in small circles. Periodically check flatness on an even smooth surface, as well as fit with the mating piece. Take your time here, the devil is in the details!
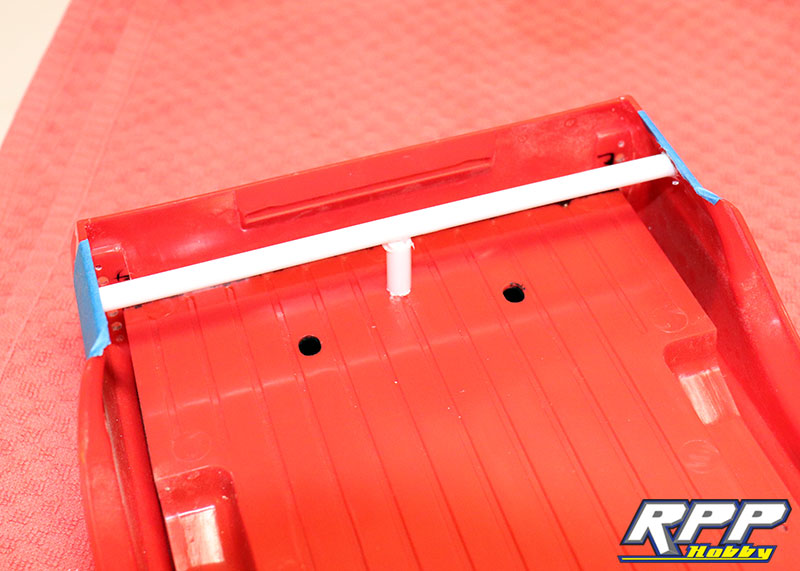
Once we had the two pieces properly fit, we trimmed the bottom of the of the bed to match the thinner tailgate section. We also had a slight variance in the width of the mating parts. We used another coat hanger as a “spreader bar” to hold the two pieces in line for gluing.
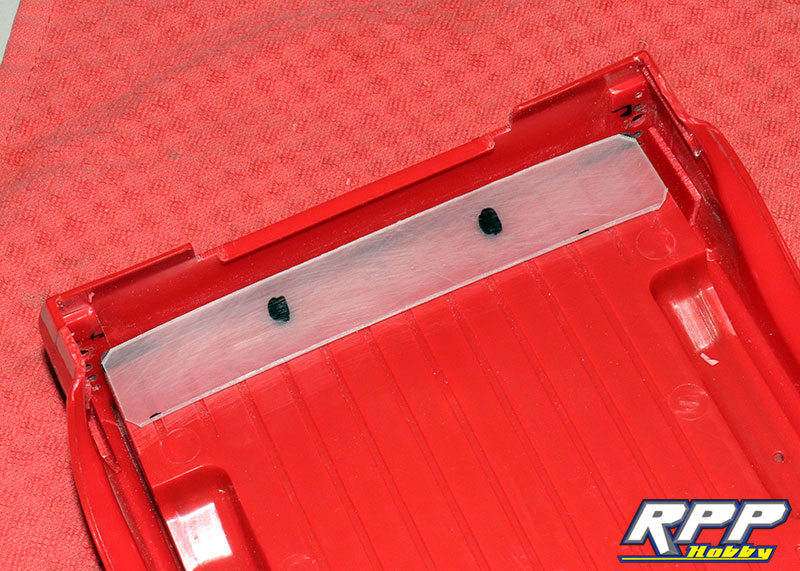
A couple old sectioned body pieces work great as reinforcement inside the bed. We used Shoe Goo, the old bed parts, and a couple plastic clamps to glue the first few pieces together. Pay attention to body lines here to ensure everything lines up as desired. We let the Shoe Goo set overnight once everything was aligned.
The next morning we added more reinforcements inside the bed using an old scrap piece of plastic and more Shoe Goo.
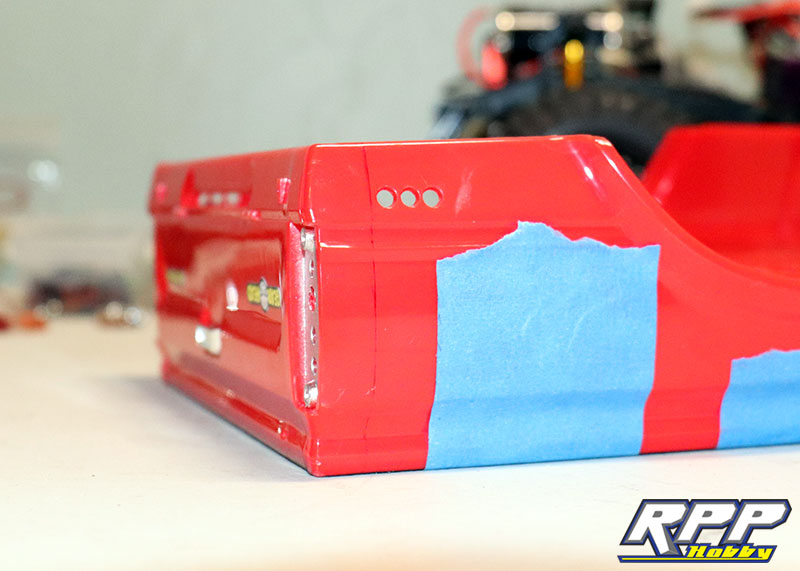
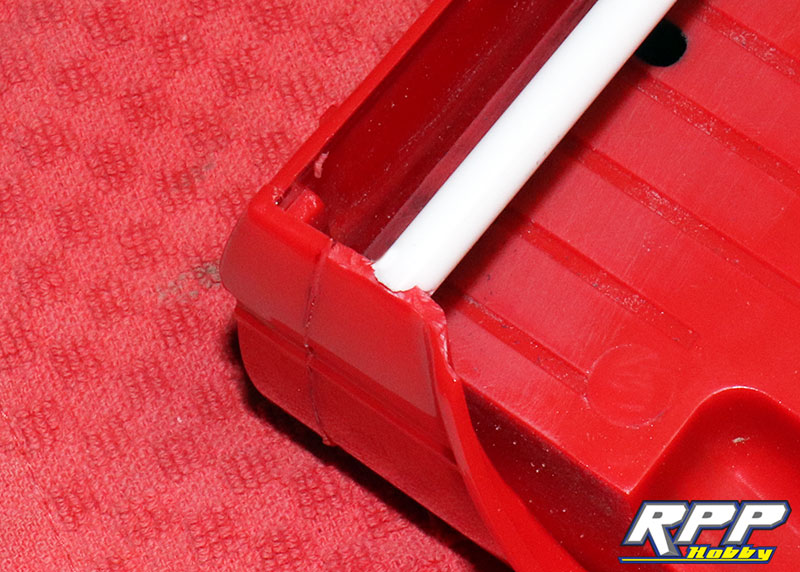
Here you can see the seam doesn’t stand out much if the mated parts are sanded properly.
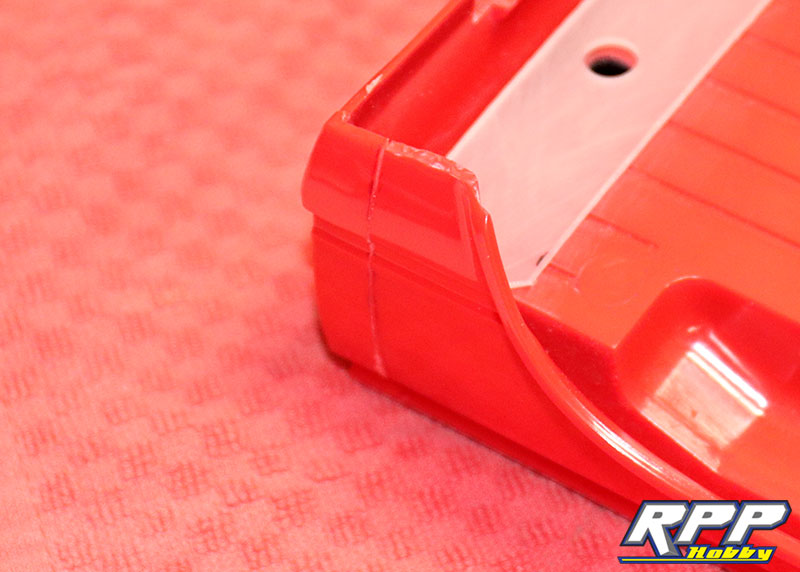
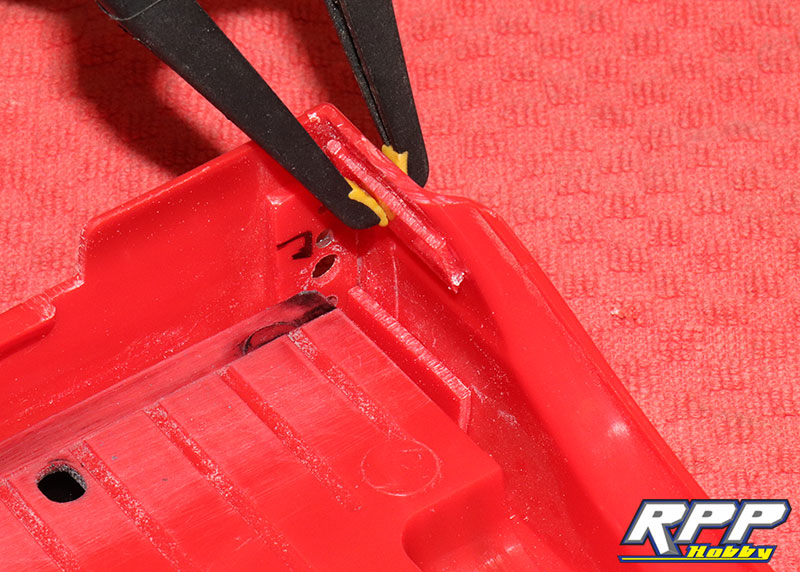
And we’re done! In order to camouflage the seam we used electrical tape and a sticker as sort of a home made graphic. We also had to notch the bed underneath the tailgate to allow the bed to clear the frame rails.

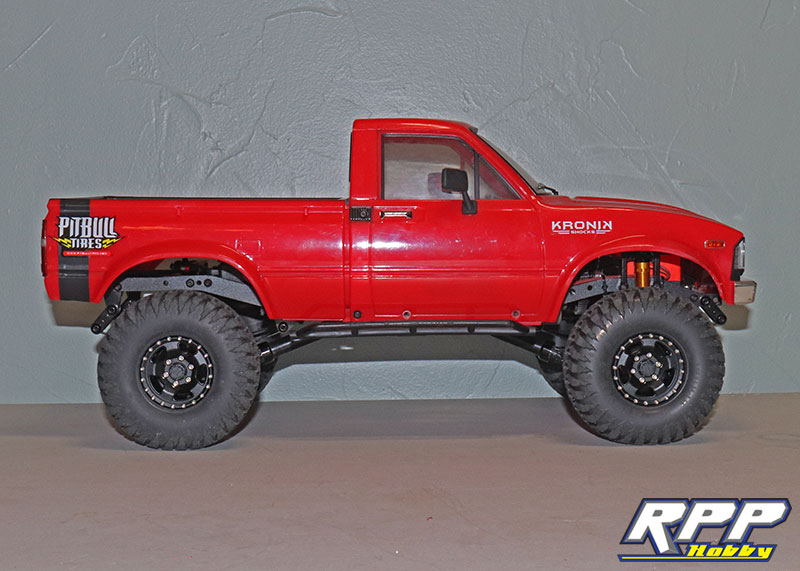
The overall look now! What do you think? Tight technical lines on the trail will be a lot easier to navigate now with the new shorter bed.
That brings us to the end of our “Bobbed Bed” tutorial. Performance modifications can be done with very little cost out of pocket, if you don’t mind investing some bench time. Hopefully this article gives you the confidence to tackle a similar project. As always thanks for checking out the RPP Hobby blog!