Soldering is part of the R/C hobby in general. Learning to solder may seem like a distant goal of newer R/C enthusiasts, but it really isn’t that hard if you have the right equipment and arm yourself with a little knowledge. There are only a handful of variables to learn and once you have those down, you could be one your way to the Soldering Nationals with a little practice. Well, we aren’t sure if there is such a thing but you get the point. Once you get the hang of soldering it becomes a task you look forward to performing during a build. In this article we will cover the basic tools and techniques required to be successful in your first soldering venture. Be sure to watch the video at the end of the article to get a complete visual of the process. Let’s get started!
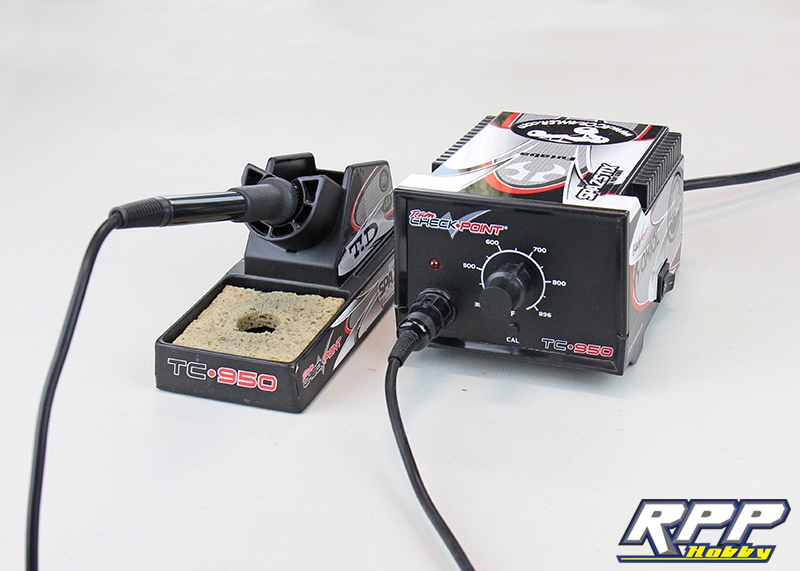
First thing we always recommend is a high quality soldering station. The small 40 watt soldering iron from the local hardware store will lack the heat and adjustability required for various wire gauges and tasks. You get what you pay for here.
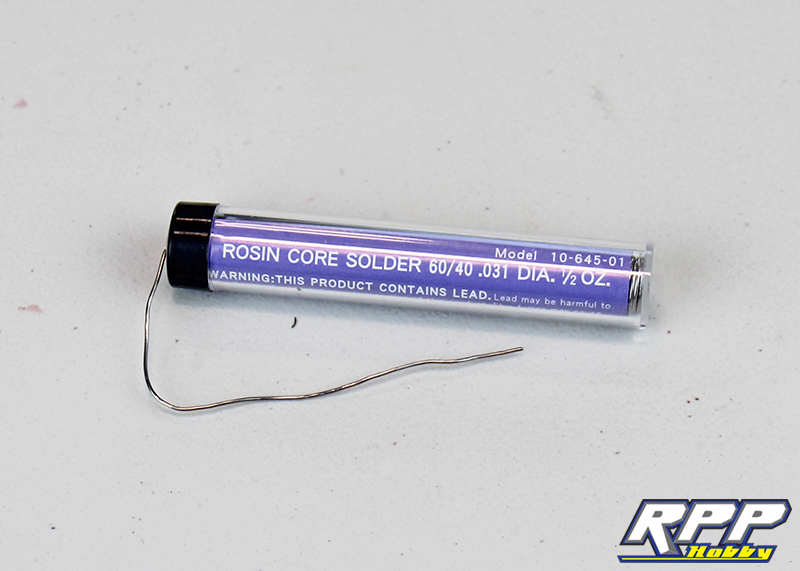
Next we recommend using high quality rosin core solder for your R/C needs. Stay away from the “acid core” solder which is for plumbing, not electronics. The rosin core solder is infused with flux which helps clean the surfaces you are soldering for better adhesion.
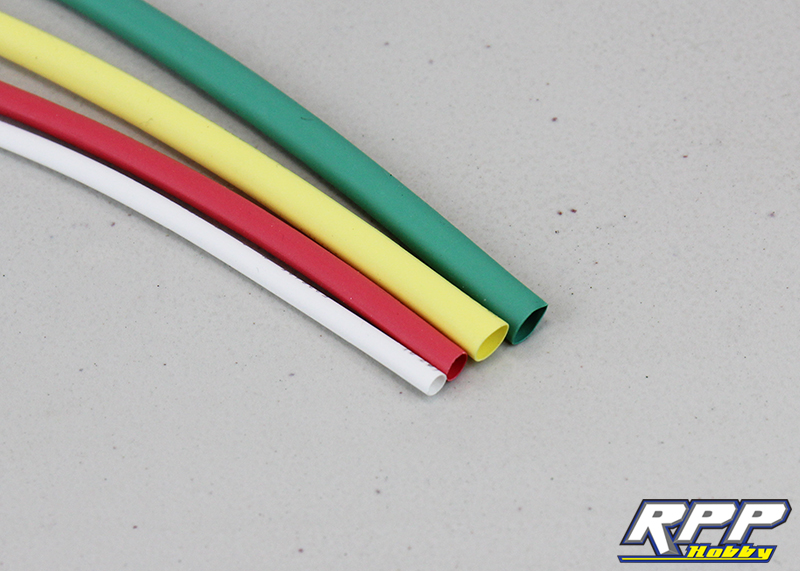
Heat shrink tubing is usually another requirement when soldering. Variety packs are always great to buy because they include different diameter tubing for various gauge wires in one package. Cut the tubing to length, slide into place and set with a lighter or heat gun to cover any soldered joints.
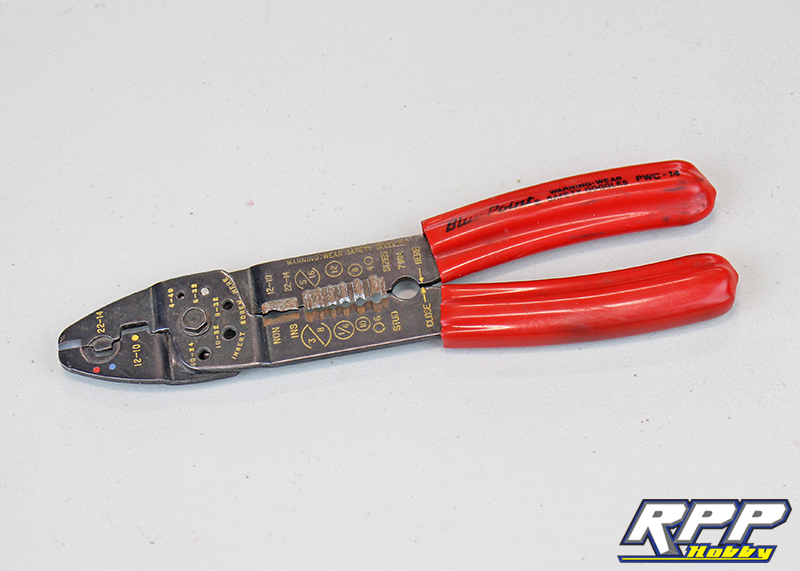
Proper wire strippers are a nice tool to have in your arsenal. You can use a hobby knife to strip the wire casing, but wire strippers make life a lot easier if you solder frequently.
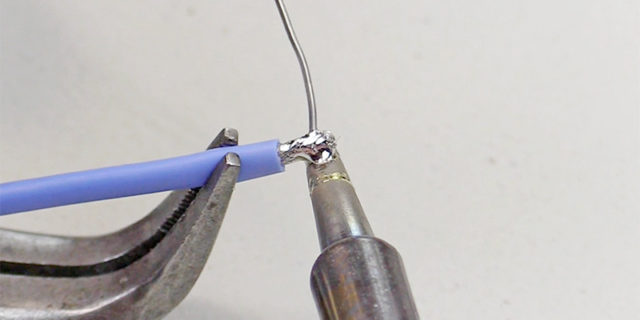
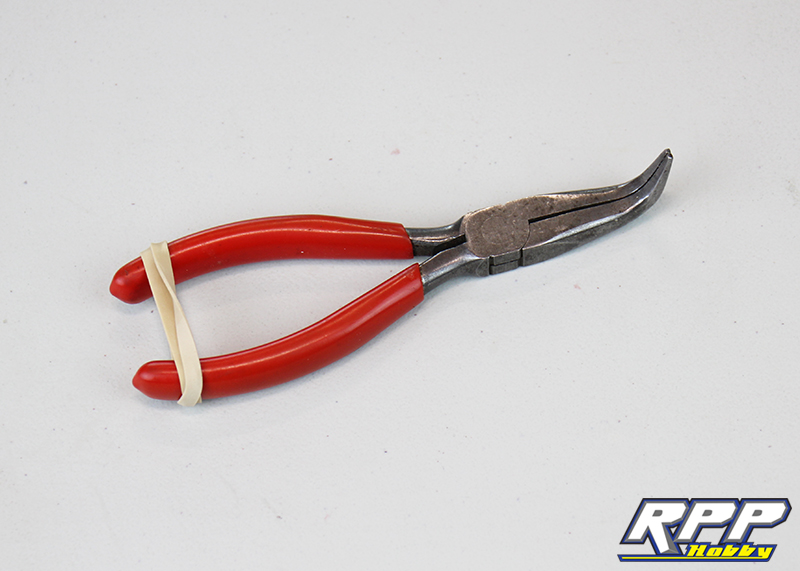
A “third hand” is another very useful tool to have. It literally gives you a third hand to work with, which is great for holding hot wires and connectors during the soldering process. We use a homemade third hand in the form of 90 degree needle-nose pliers and a rubber band. Open the pliers, insert your wire or connector and release the handle. The rubber band keeps your parts securely in place.
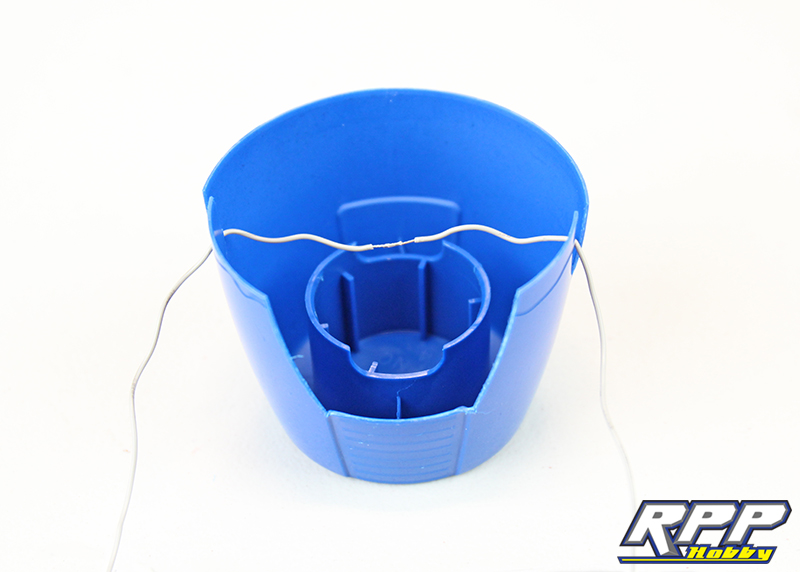
Another home fabricated remedy for a third hand is to make one out of an old spray paint cap using Lexan scissors.
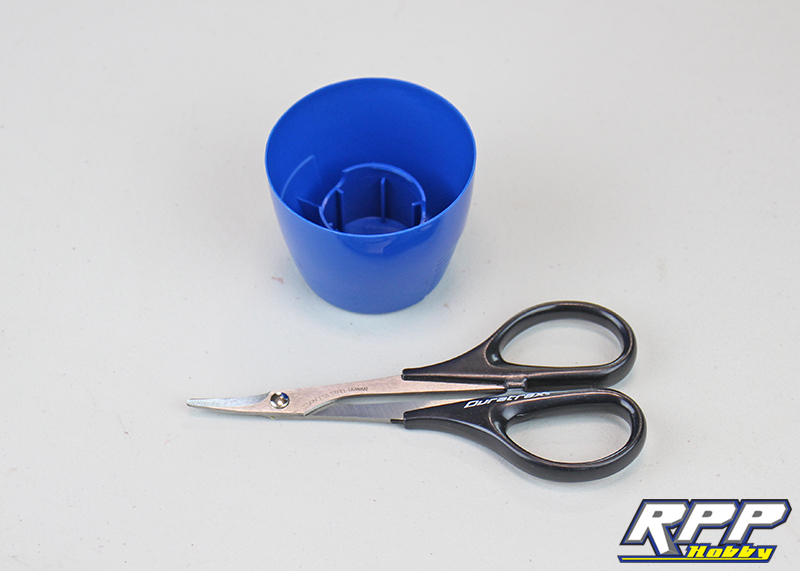
This can be a great tool when extending wires. Cut two small slits 180 degrees from each other at the cap’s base.
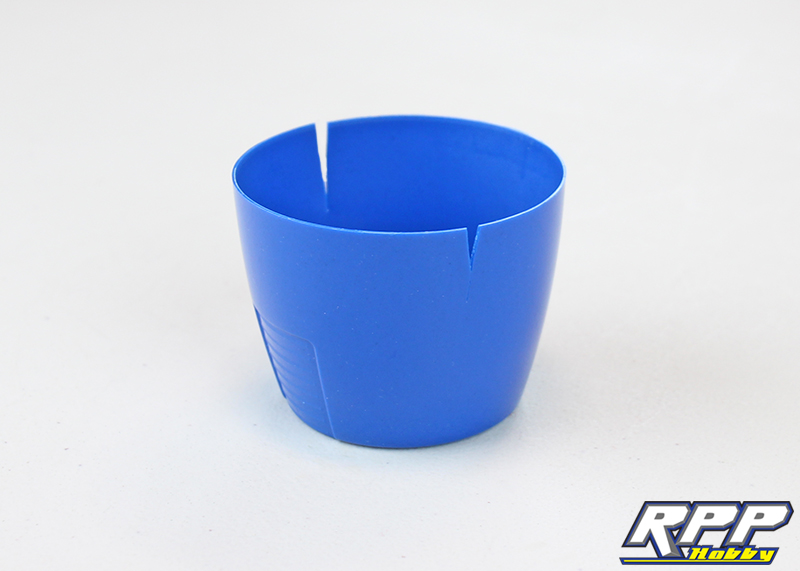
Cut the side of the cap out for better access with a soldering iron. Insert wires to be joined into each slot, line them up properly and solder the joint. You can also use double stick tape to hold the cap in place while working.
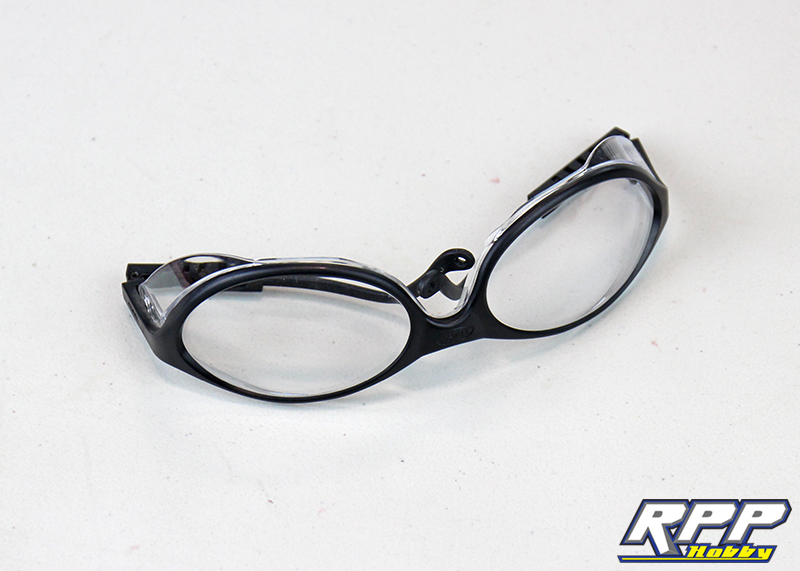
One last tool we need to mention is safety glasses. Safety first, protect your eyes at all times!
It’s all about technique when soldering. Here is the list of steps we go through when tinning wires or soldering anything.
- Fire up soldering station and set temp for whatever project we are working on. For most R/C projects we are in the 650-800 degree range.
- Wet sponge in the base of the soldering iron stand until fully saturated with water.
- Once the soldering iron is up to temperature, clean the tip on the wet sponge thoroughly.
- Apply a dab of solder to the tip of the iron.
- Press the tip of the iron against surface to be tinned or soldered for a few seconds with the solder on the tip facing the wire or connector. Tinning is the process of adding solder to a surface that is to be soldered to something else.
- While keeping the iron in place feed some solder onto the wire until it soaks into the wire’s tip completely. For Deans connectors you just need a small dab of solder on the tab. Bullet connectors require a tiny “pool” of solder inside the wire end of the connector.
- Remove solder and keep iron there for an extra split second to fully melt the solder into place.
- Clean soldering iron tip on wet sponge.
These are the steps we take every time no matter it we are tinning wires or actually soldering a joint or connector. Check out the video below which shows how to strip and tin wires as well as solder a few of the popular connectors in the R/C world.
That brings us to the end of our introduction to soldering blog article. Hopefully there are a few tips in there that will encourage people to try soldering for themselves. Like anything, practice makes perfect and having the right tool for the job is everything. One last thing we want to mention is if you are changing battery plugs on a battery, be very careful! We always cut and solder one wire at a time to avoid the two leads from ever touching each other. This is extremely important with Lipo batteries! Until next time, have fun, be safe, and thanks again for checking out the RPP Blog!
The information you provided is very different and easy to follow. It’s worthy to learn the details of soldering. Thanks!