If you missed it the first time we recently completed a step by step build for the Vaterra Ascender K5 kit. Even though we love the awesome scale look of the stock K5 Blazer kit body we wanted something a little more on the aggressive trail rig side of the scale body world. Enter Vaterra RC’s 1972 Chevy K10 Truck Body and Roll Cage which fits our needs perfectly. This body is a little narrower than the K5 body which will provide better clearance on tight, technical trail runs. So, we decided to do a quick tutorial on painting Lexan bodies. We have something a little different in mind for this body, but the paint application process is still the same. We decided to do a flat green paint job on the outside of this body, with silver underneath, and a copper paint inside the body. Why you may ask? We want the paint to scrap off when we hit the body on the rocks and other trail obstacles. Painting these three colors in this order should help produce a more realistic “paint damage” look. Ideally, the green will get scrapped off first leaving the silver paint underneath exposed. Over time the silver will eventually be scratched off as well leaving the “rust” color of the copper paint exposed. Sounds great in theory, right? We shall see!
Start by thoroughly washing the inside of the body with mild dish soap and warm water. Towel dry once finished and apply the supplied window mask.
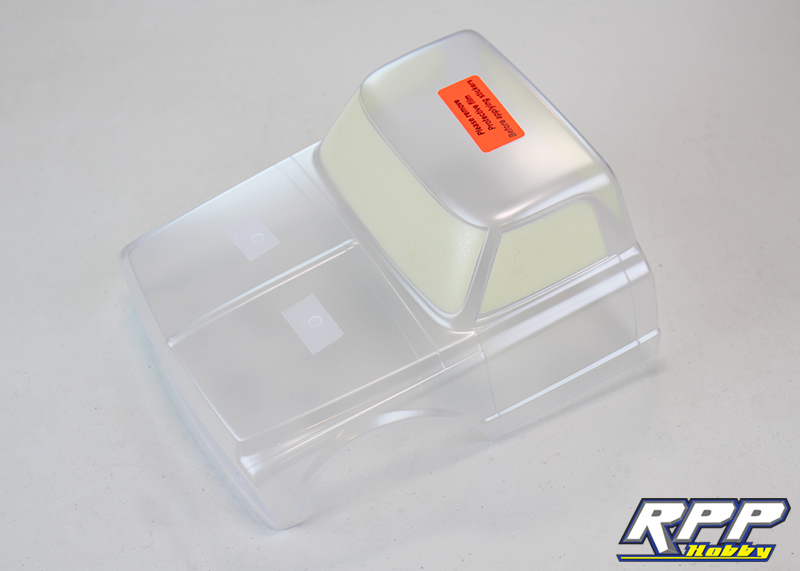
Next spray a few light coats of Tamiya Copper paint to the inside of the body until you have complete coverage. We usually start out with one really thin coat and allow that to dry completely before applying the second coat. This helps seal the window mask to the body which will help stop any paint from “bleeding” underneath the window mask. First color done! While this first color dried out we moved on to the rear cage assembly. Don’t forget to remove the clear outer paint film on the exterior of the body before painting the outside.

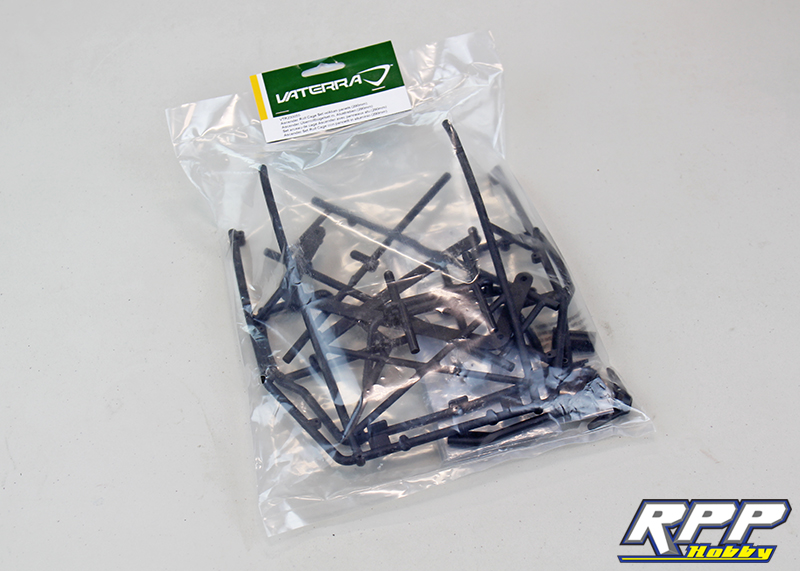
Cage parts bag.
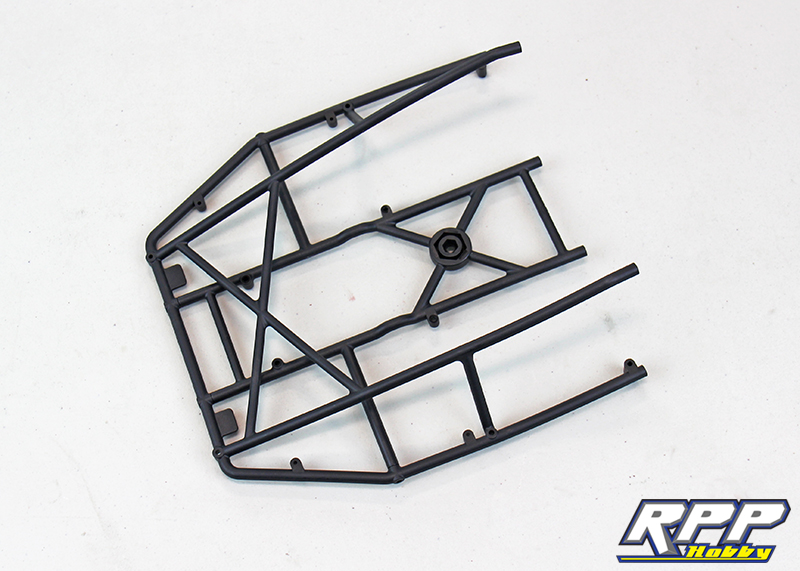
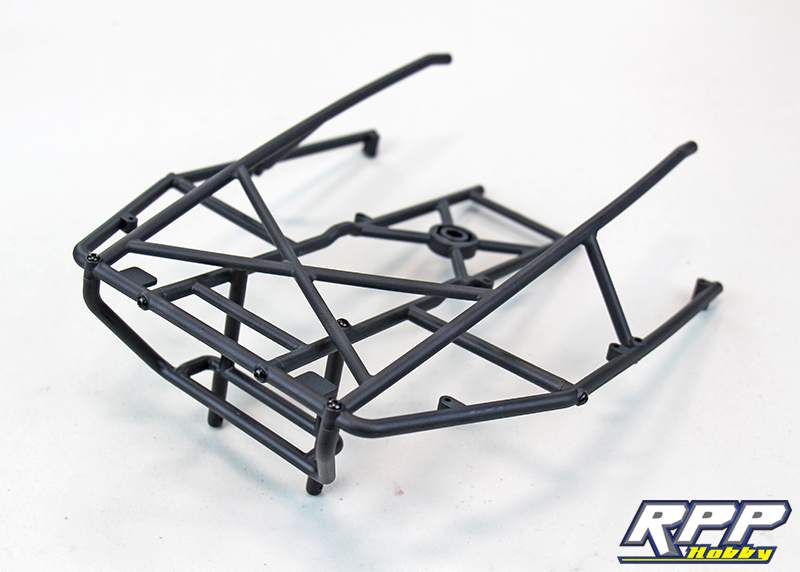
Assembling the rear cage is fairly straight forward. Flat bed and upper cage assembled.
Rear body mount in place.
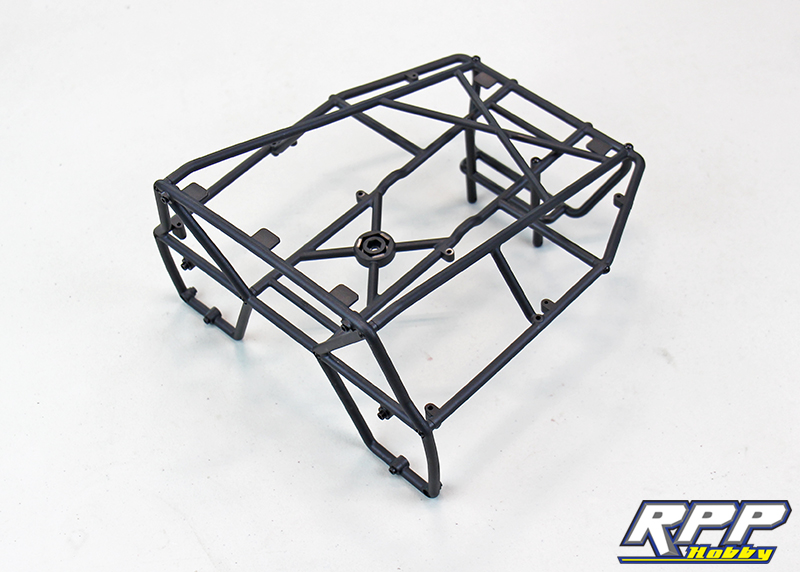
Cab side of the cage installed.
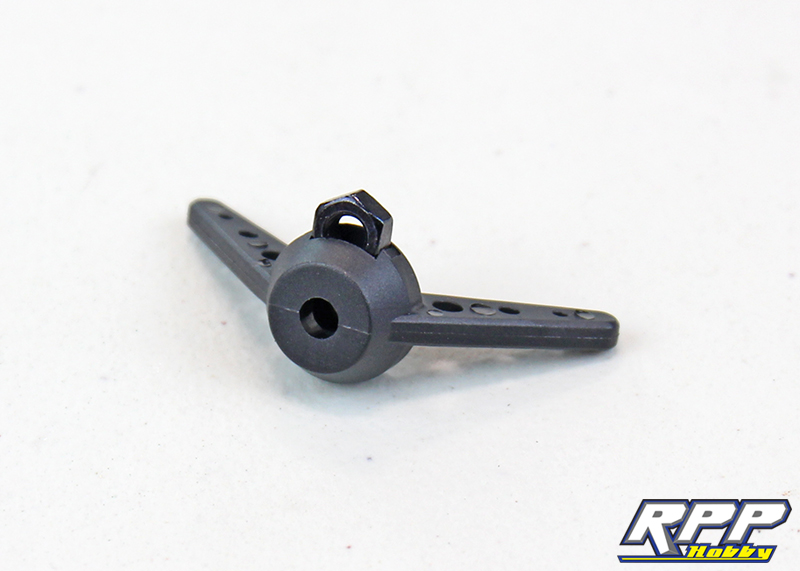
A shot of the plastic retainers that hold the cab to the cage assembly.

Aluminum panels installed.

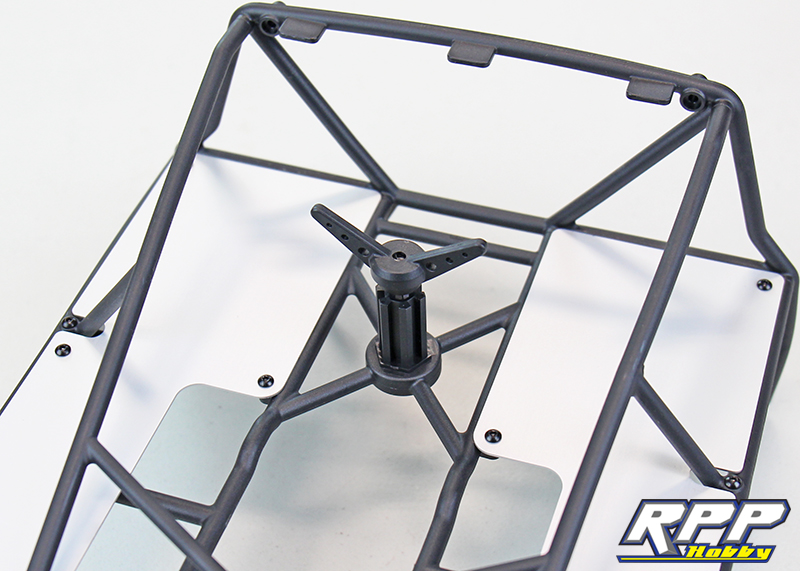
Insert the long M4 screw through the bottom of the cage, slide the spare tire mount into place, and secure with the supplied nut.
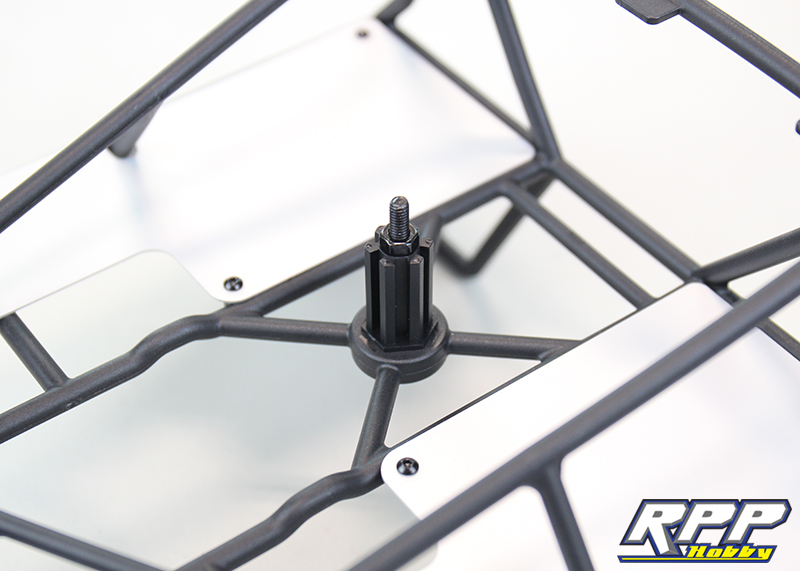
Insert the second nut into the second half of the spare tire mount.
Spare tire mount done!
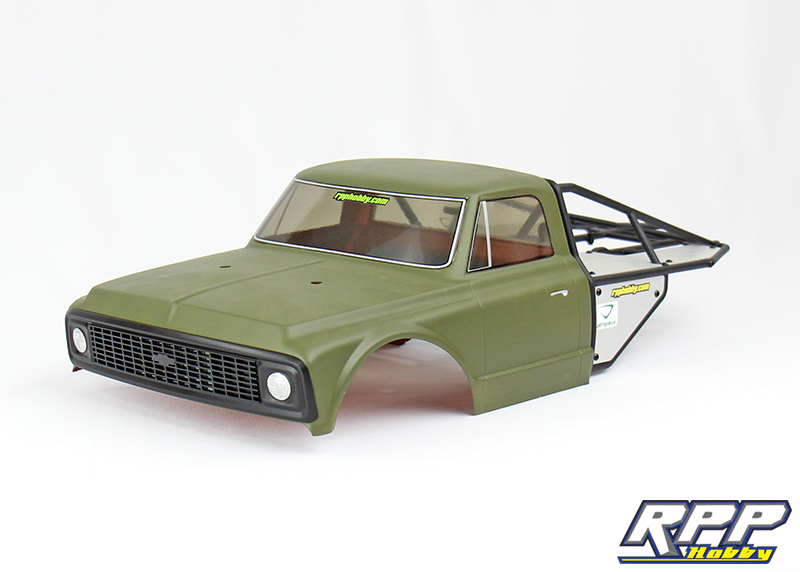
Next we wanted to “black out” the chrome grill using Tamiya Matte Black paint for plastic. We masked off the chrome headlights, hit it with a few good coats of black paint, and let it dry in the sun for a good half hour. Once dry, apply the headlight decals.

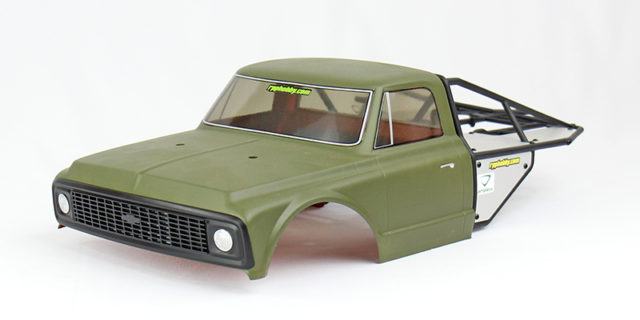
Now that the copper paint has dried it was time to spray our second coat of Tamiya Silver paint onto the outside of the body. You will need to externally mask off the windows before spraying the outside of the body otherwise you will end up with a body that is one solid color, windows and all! We used Tamiya masking tape and a sharp hobby knife to make our own. Mask off an area a little bigger than the window and gently cut the excess tape away from the window line. Unfortunately, we got a little ahead of ourselves and forgot to shoot photos of this step, and the layer of silver paint on the outside of the body. Once the silver is completely dry, spray the last color onto the outside of the body, and remove the window masks. We used Tamiya Olive Drab paint to complete the look we wanted. Apply decals as needed, attach the cage to the body, and install the front grill. Now we have a flat green paint scheme that will reflect proper scale trail damage as time goes on.
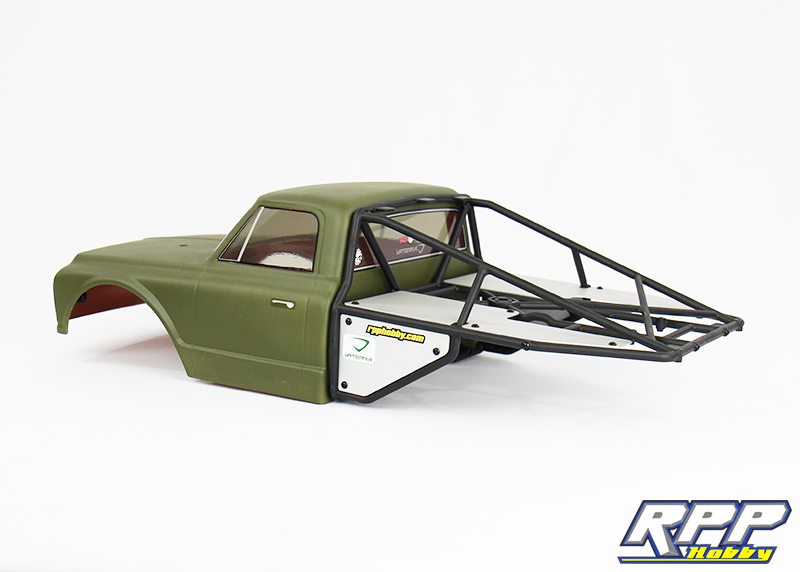
That brings us to the end of our quick paint tutorial for Lexan bodies. Needless to say we are excited to get this body mounted up to our Ascender and hit the trails. We see some significant trail damage headed our way. Thanks again for checking out the RPP Hobby blog!
0 Comments
Trackbacks/Pingbacks