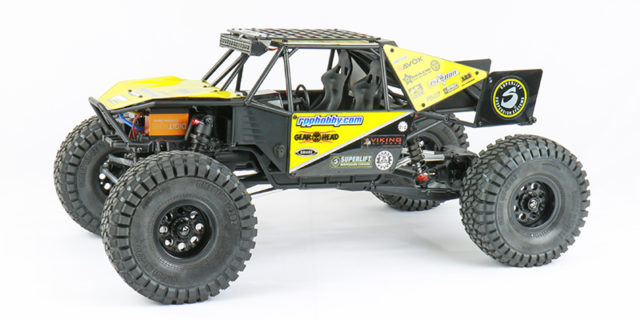
We have been chugging along with our Gmade GOM kit build behind the scenes lately and it is time to wrap this R/C rock racer up! In this installment we will get into painting body panels, detailing the interior, assembly the tube chassis, and finish it up by mounting the tires to the beadlock wheels. The “first-run” anticipation is mounting as we complete this build and prepare to head out for some fun in the sun! Let’s get started!
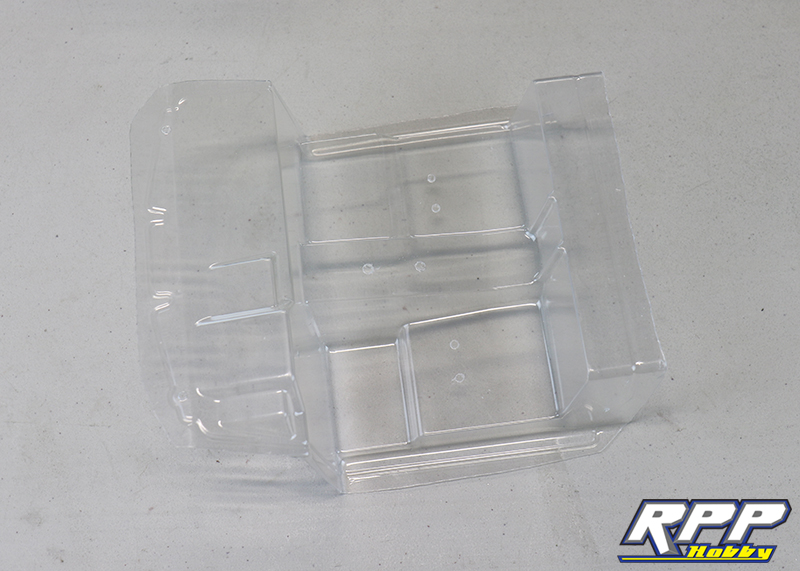
Begin on page 49 with step 75. Cut the interior, hood and radiator to the factory cut lines using Lexan scissors and/or a sharp hobby knife. We like to cut within about 3/8″ of the factory lines first, then go back and do a final trim after that to the cut lines.
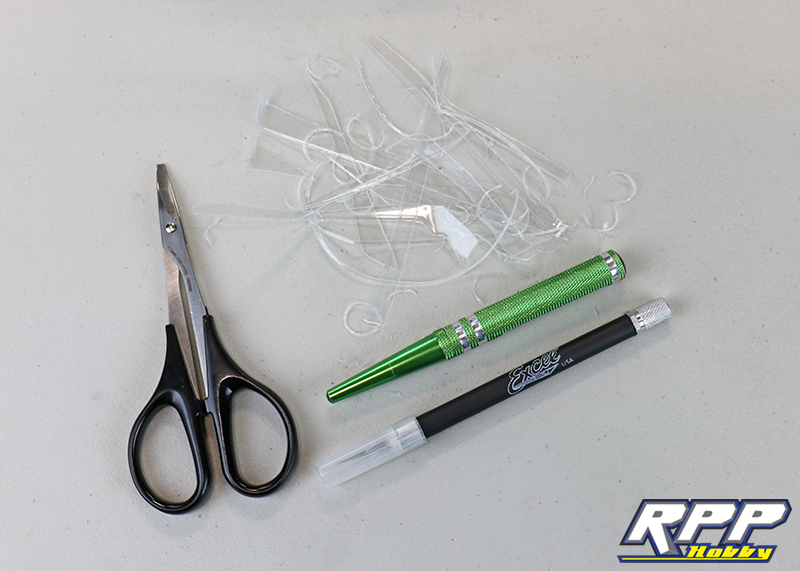
Scraps! A body reamer is a nice tool to have when cutting a tight radius in the Lexan, such as clearance for the tubework.
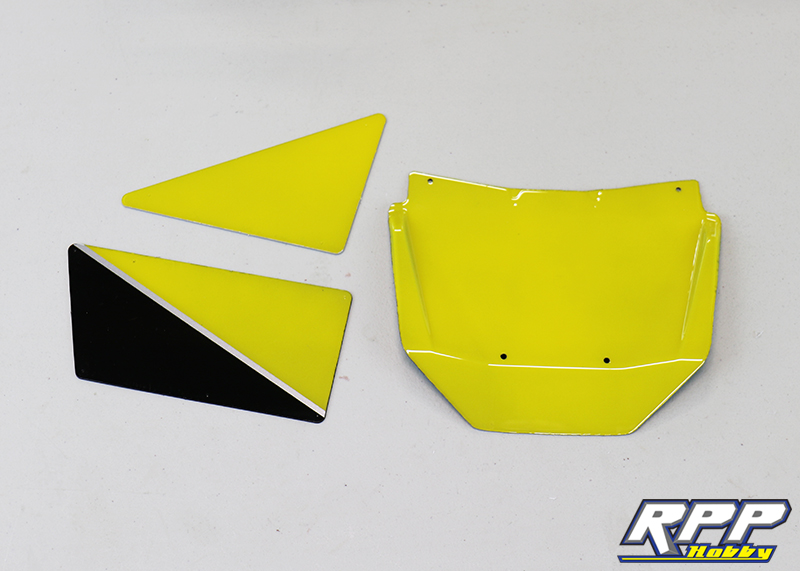
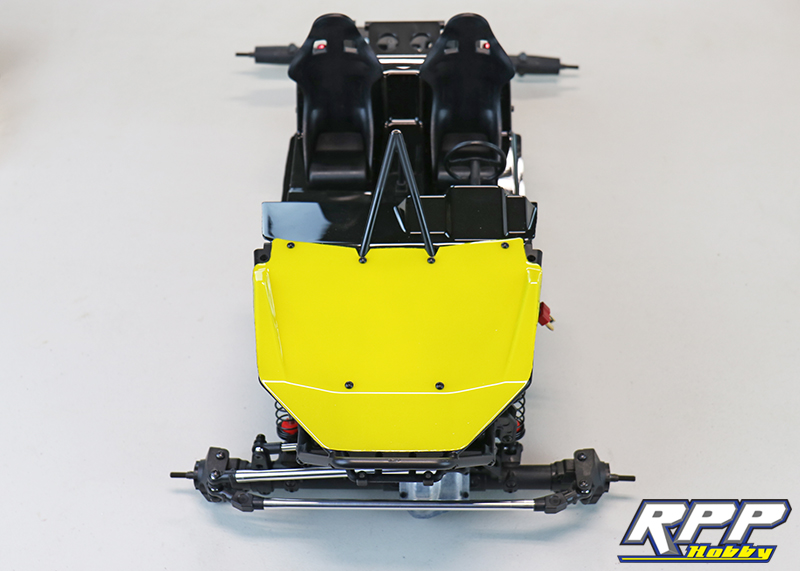
We went with a simple paint scheme that anyone can do at home, yet still looks great and flows with the chassis. Our base coat is Tamiya Yellow, backed in Tamiya Silver, backed again by Tamiya Black polycarbonate spray paint. This gives us a 3 color paint scheme that is really easy to pull off. Plus, we have a lot of “sponsors” for our race team and we need the room for stickers. HeHe!
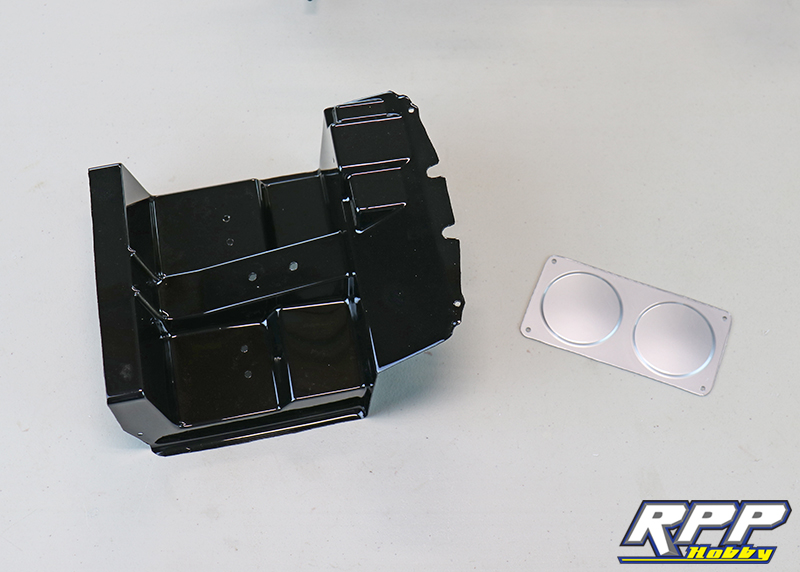
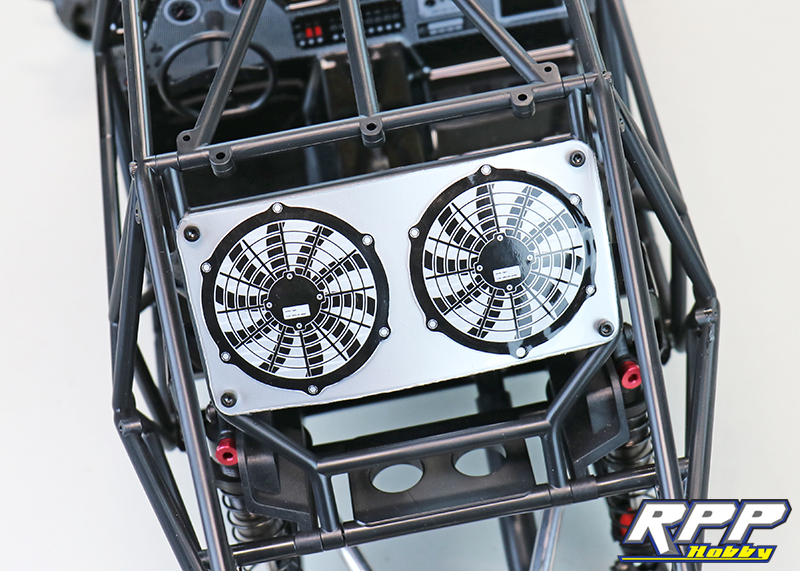
We painted the interior black and the radiator silver.
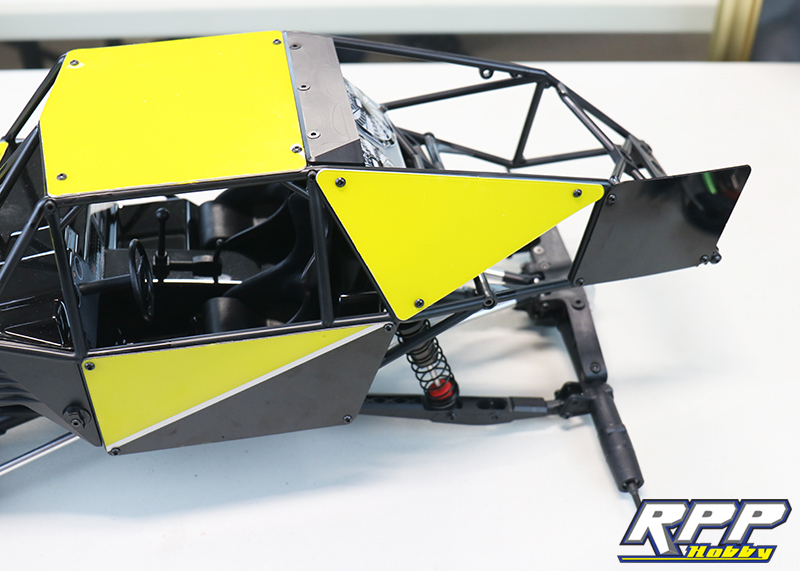
Next we detailed the interior.
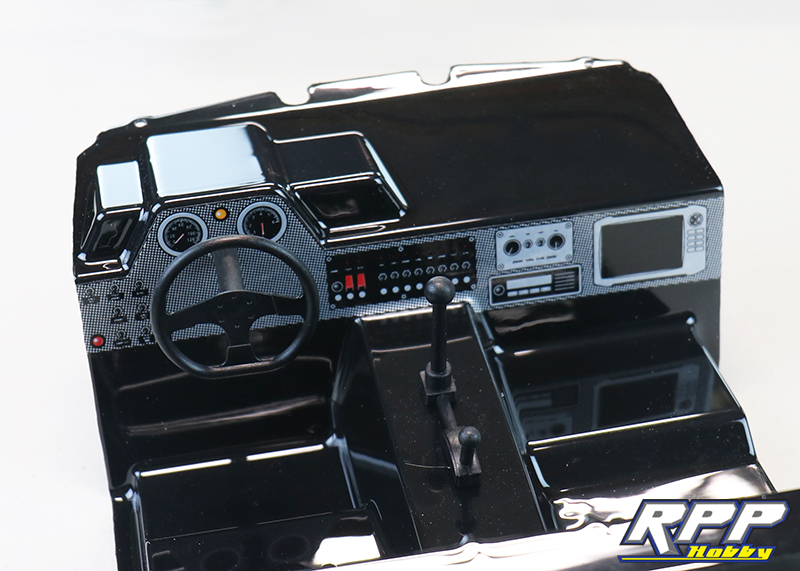
Install the seats with the supplied hardware.

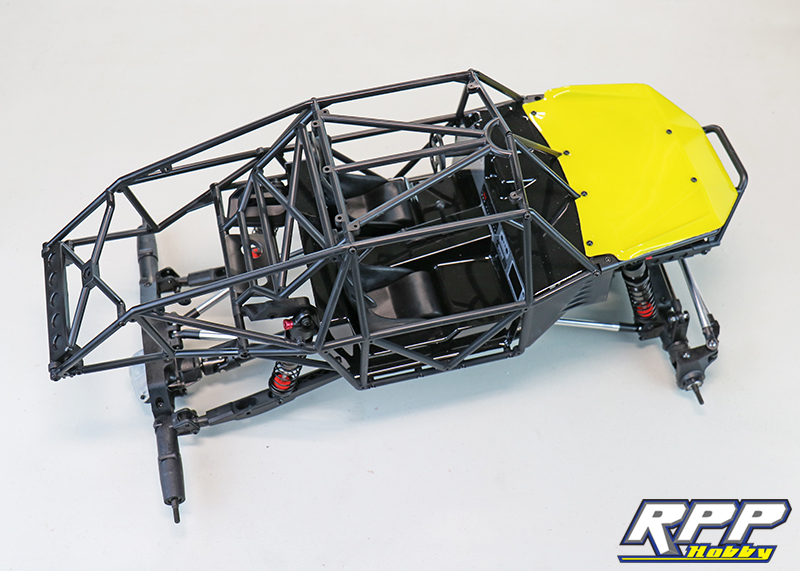
Interior, cage support, and hood installed.
We assembled the top portions of the cage first.
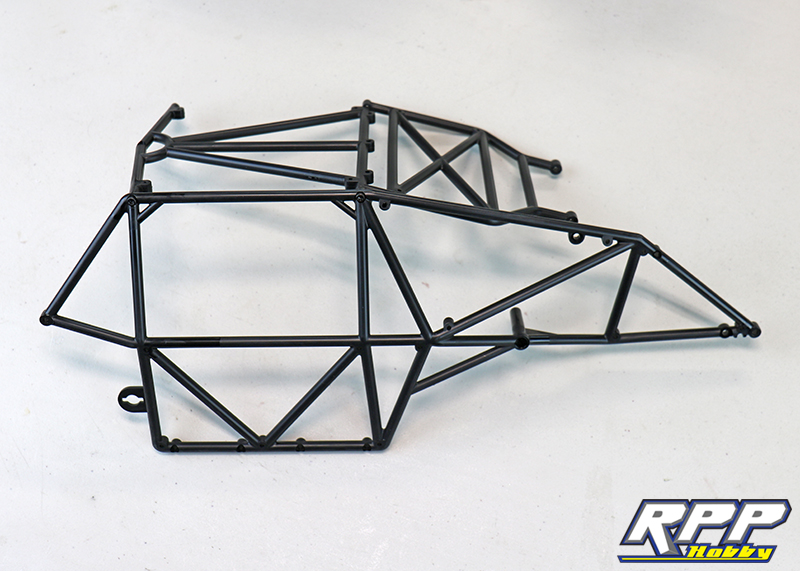
Attach the driver’s side of the cage to the chassis and front windshield support.
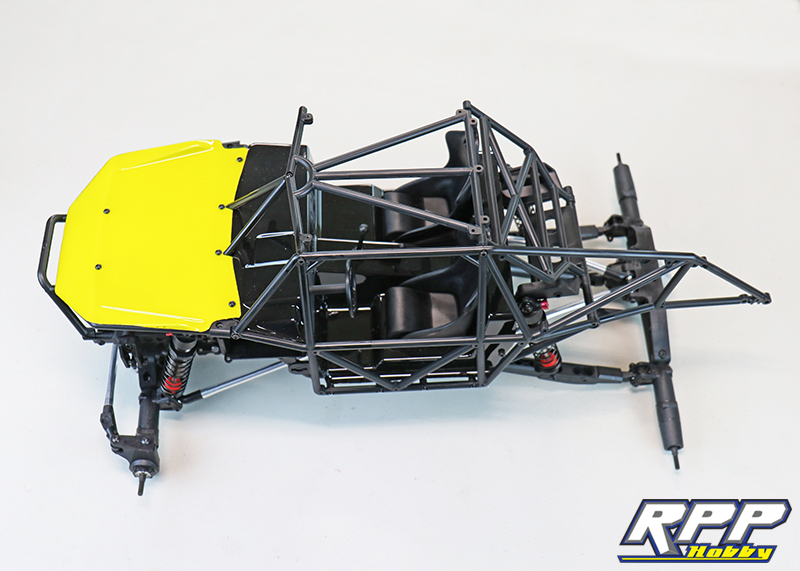
Fill in the blanks with the passenger’s side of the cage and rear cross member. It’s really coming together now!
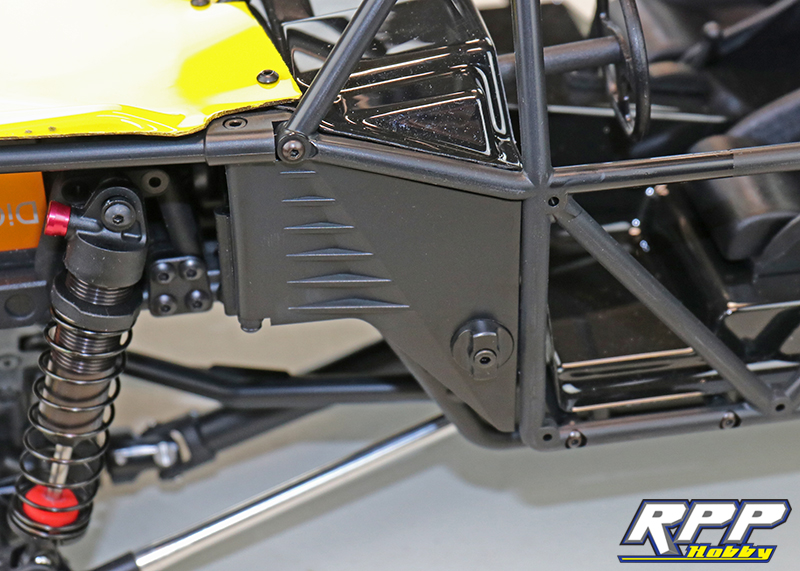
Assemble and install the battery tray cover.
Apply stickers to the radiator and attach with the supplied hardware.
Roof panel installed. If you have any warping in the panels once the screws are tight. Remove the panel and open up the screw holes little by little until the warp is gone. An inch goes a mile here, so it shouldn’t take much.
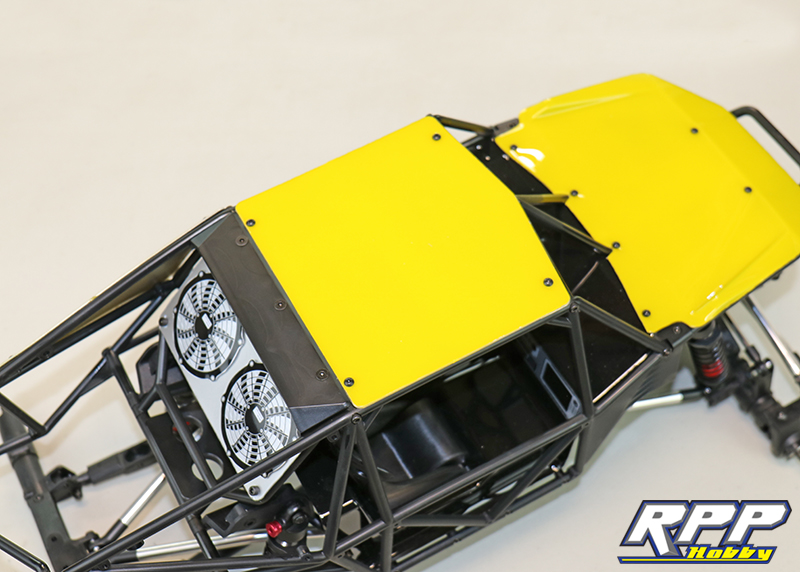
Side panels in place.
Beadlock wheels and tires assembled.
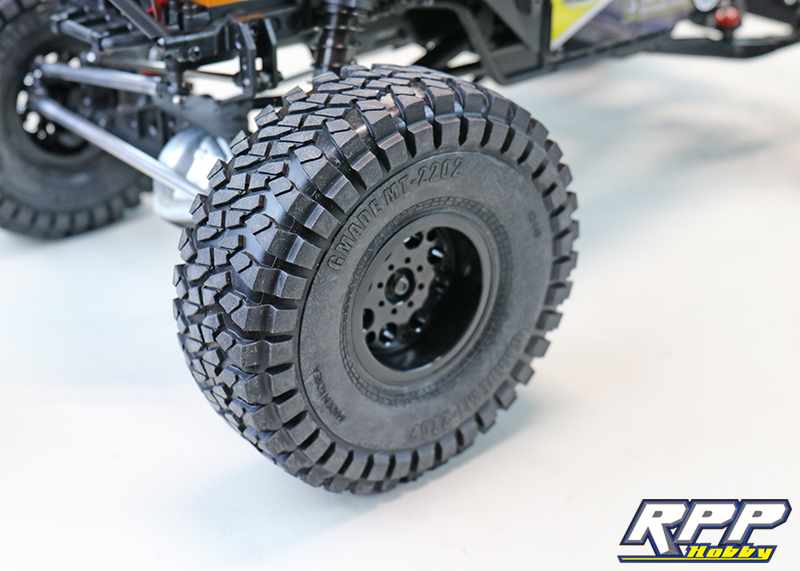
Install the center caps on the wheels.

Sponsor stickers in place and ready to race! Notice we also installed a Gear Head R/C prototype roof rack and LED light bar specifically designed for the GOM buggy. These units will be available soon!

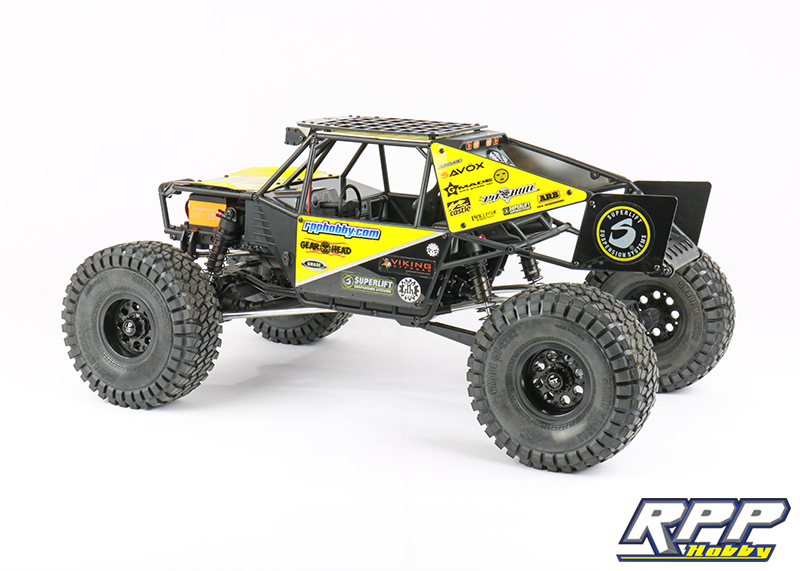
And that brings us to the end of our Gmade GOM rock buggy build series. We will say Gmade did a great job with the overall looks of this buggy, and it seems to be stout enough to take on any terrain. Now it is time for us to hit the dirt and shoot some photos and video of our first adventure with this kit build. Until then, thanks again for checking out the RPP Hobby blog.
See the video of our maiden voyage with the Gmade GOM kit here:
I want one. I can dp all that. I make model cars. So how much.
They retail for $340.
http://www.rpphobby.com/product_p/gma56000.htm
Did you use a BEC……?? If where did you install it?
We do have a BEC for it, but we haven’t installed it yet.