Welcome to Part 4 of the RPP Hobby Gmade GOM kit build! In this installment we will cover how to assemble the driveshaft, install the axles, and build the shocks. Step by step we are inching closer to finishing up this rock racer. Which means it is almost time for us to head out for a shakedown run. Needless to say we are always excited for quality wheel time behind the transmitter. Let’s get started!
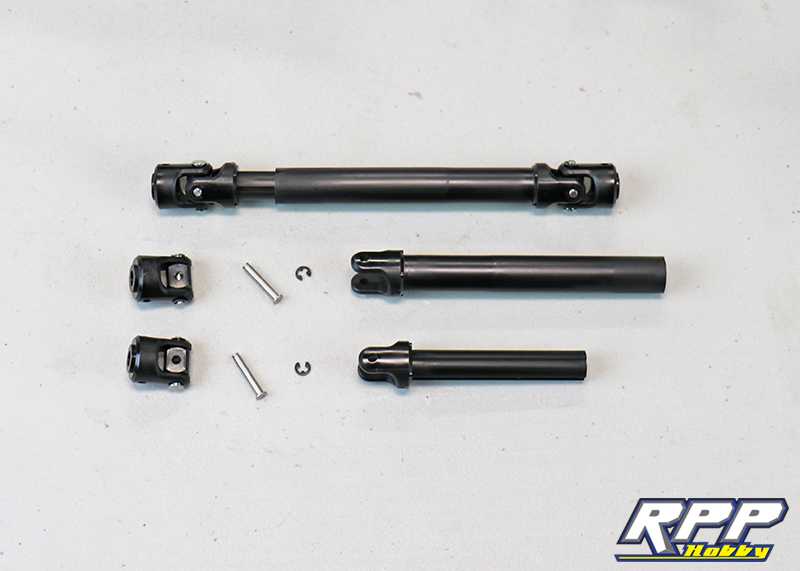
Everything require to assemble the u-joints for the driveshafts.
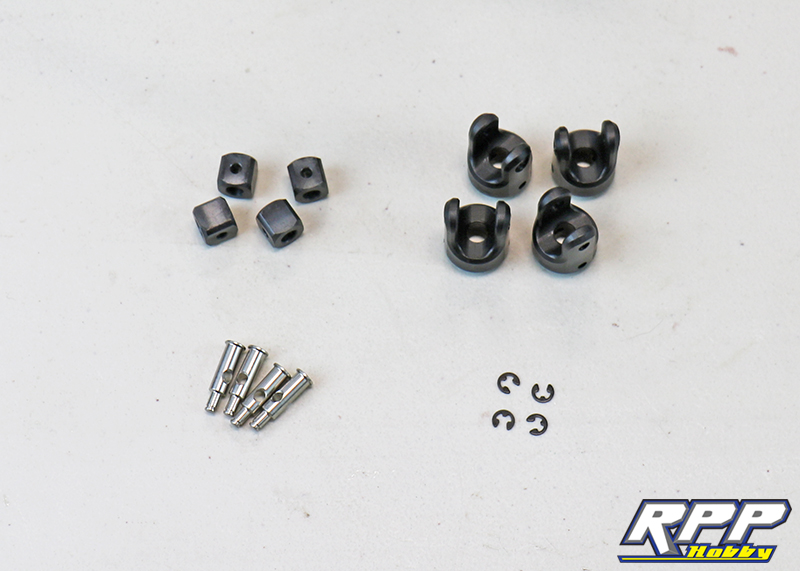
Insert the universal drive coupler through drive hub and universal joint per step 55 of the assembly manual. Next, install the cross pin to hold the driveshafts in place on the u-joints. We suggest using a pair of needle nose pliers to install the e-clips.
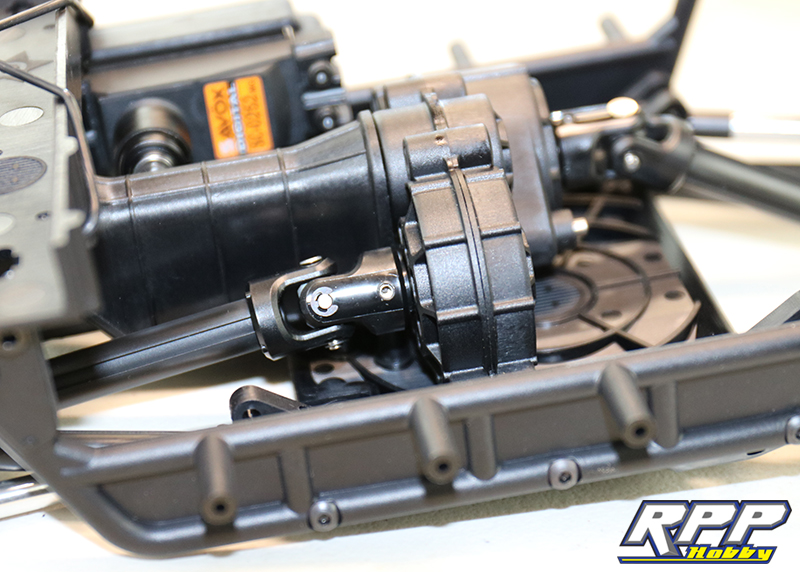
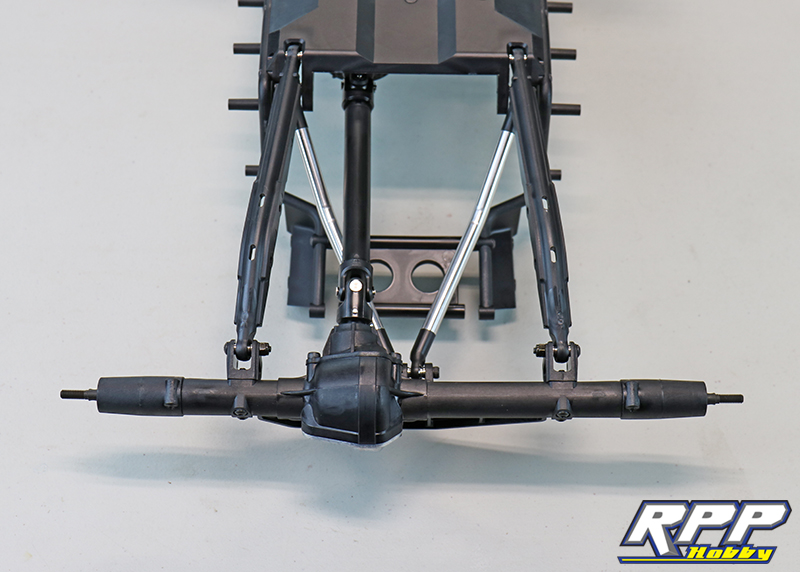
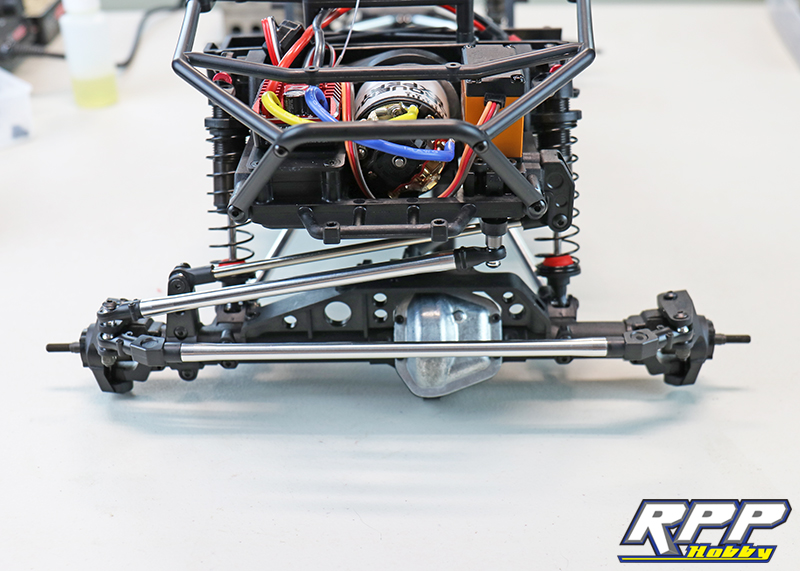
Install the male half of the driveshafts onto the transfer case with the supplied 3x15mm screw pins.
Install the female driveshaft onto the front axle. Slide the driveshafts together as you maneuver the axles into place on the suspension links. Secure with the supplied M3 hardware.

Repeat the above steps for the rear axle.
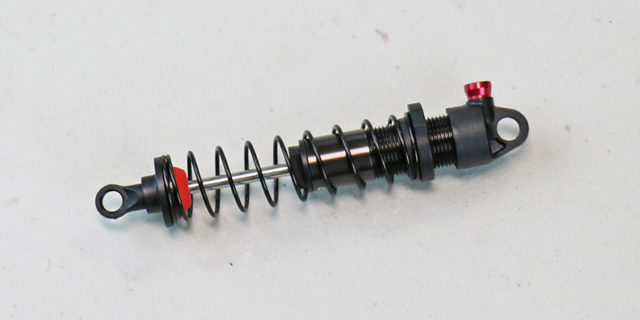
Time to build the shocks. Start by installing the shock pistons onto the shock shafts with the supplied 2.5MM e-clips.

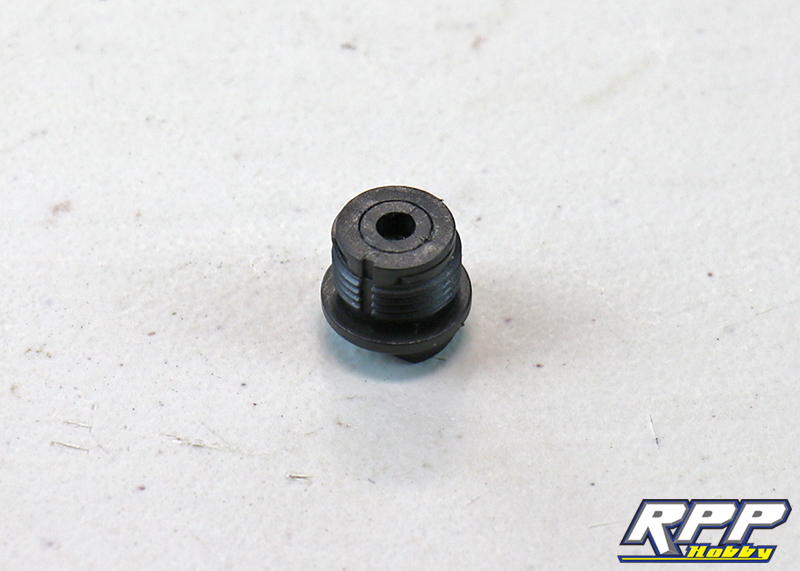
Assemble the lower shock cartridges per step 62. Don’t forget to grease or oil the o-rings before installing them inside the cartridges. This helps prevent the shock shaft threads from tearing the o-rings during assemble.
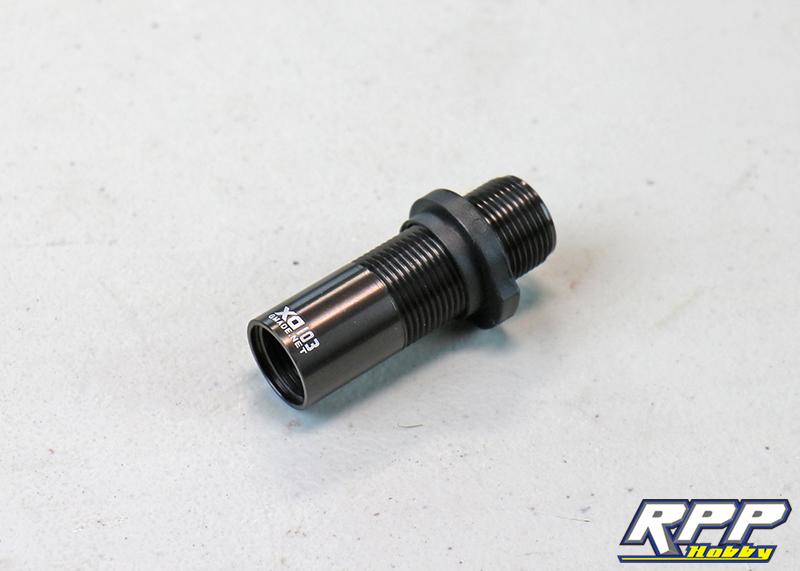
Install the shock adjuster nut onto the aluminum shock bodies. Note the direction of the adjusters when assembling.
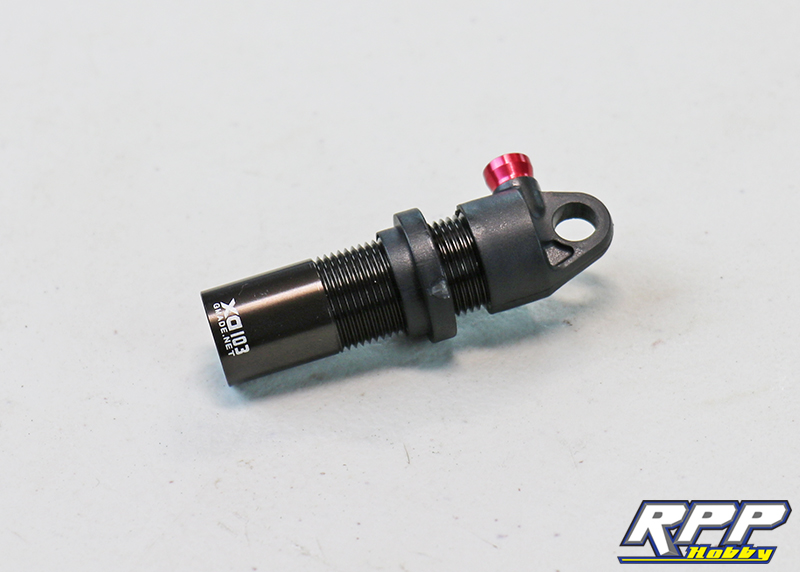
Insert the shock shaft assembly through the shock cartridge as shown. Wipe any excess grease or oil from the threads on the shock shaft. Don’t forget to install the “S9” o-ring onto the base of the shock cartridge.

Install another S9 o-ring into the shock cap, slide the 3x1MM o-ring onto the shock aeration screw, and thread it into the shock cap. Install the shock cap onto the shock body and gently tighten.
We bled the shocks using the “Low Pressure” method. Fill the shock body almost all the way to the top with the supplied shock oil. Let all air bubbles rise to the top and dissipate. Insert the shock shaft assembly into the base of the shock body and start threading the cartridge into place. As you slowly compress the shock shaft, tighten the shock cartridge the last few turns with the supplied plastic tool. Once tight cycle the shock to ensure you have full travel without hearing air bubbles inside the shock. If the shock shaft will not fully compress, use the aeration screw to let oil out as you slowly compress the shock. If you can hear air bubbles as you cycle the shock, add more oil and try the bleeding process again. It may take a few tries to get the hang of it, especially if this is your first time building shocks. Just be patient and remember practice makes perfect! Finish shock assembly per step 65 in the manual and you are done.

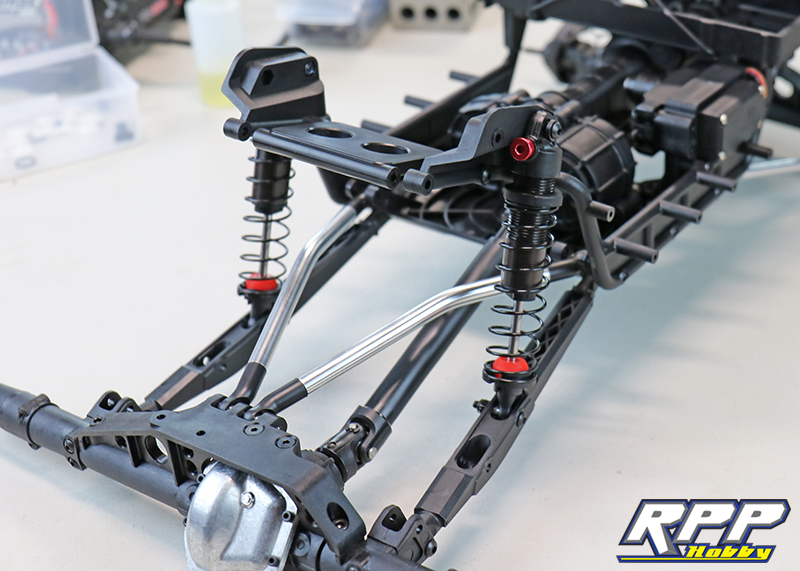
Install the front shocks with the supplied spacers and hardware.

Repeat for the rear shocks.
Assemble the steering and panhard links next.
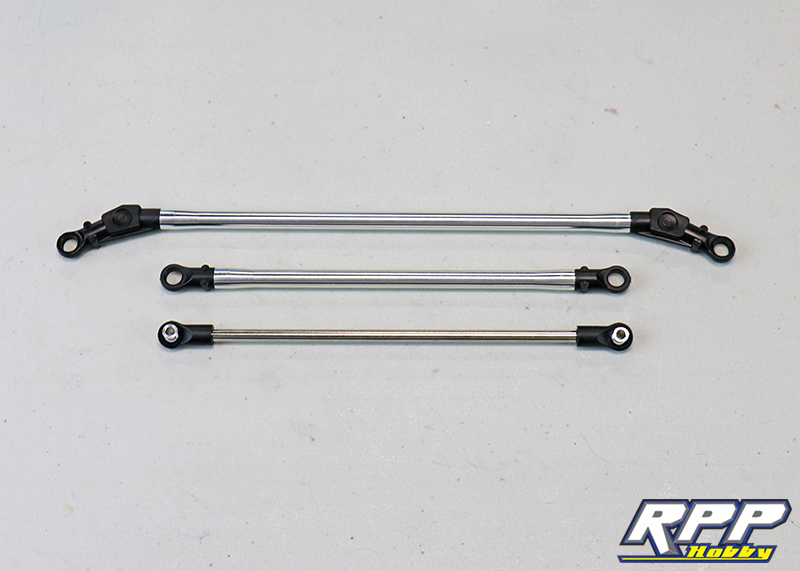
Install the links onto the front axle and chassis per step 71 and 72. You want the panhard bar and the steering drag link coming off the servo horn to be perfectly parallel when looking at the axle from the front. We had to add a small grey spacer to the servo horn to bring our set-up into proper working order. If these two links are not parallel you will experience “bump steer” as the suspension cycles.
That is going to do it for part 4 of our GOM kit build. Join us next time and see this rock racer inch ever closer to life in our build series. As always, thanks for checking out the RPP Hobby blog!