It’s time for part 3 of our Gmade GOM rock buggy kit build! In the previous two installments of our build series we covered building the axles, transmission, and transfer case. In this installment of our series we will cover building the suspension links, installing the transmission and transfer case, as well as start assembling the chassis. Let’s dig in!
Start by installing the pivot balls into the single plastic front upper link.
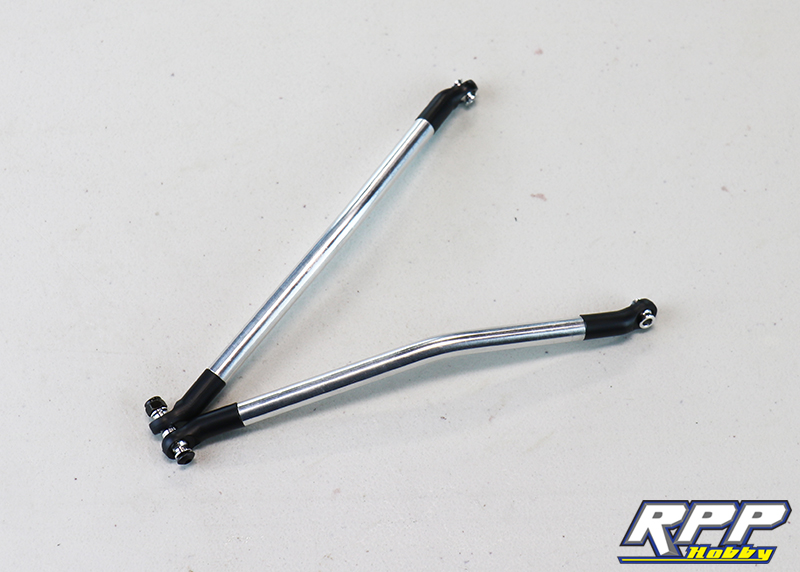
Assemble the rear metal upper links per step 29.
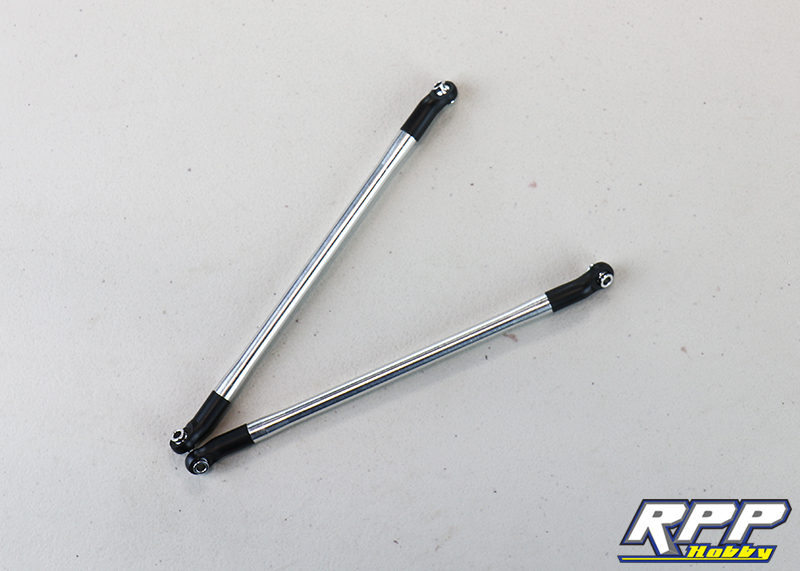
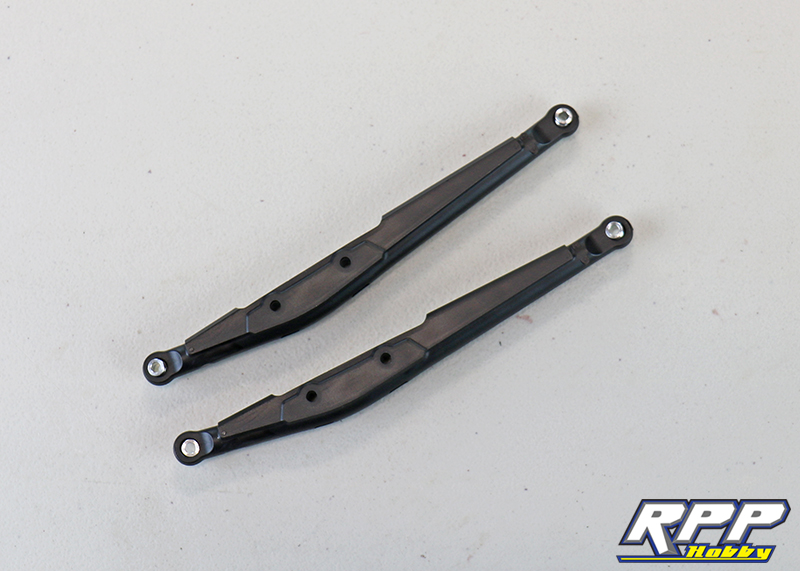
Front lower links are next.
And lastly install the pivot balls into the molded rod ends on the rear trailing arms. Suspension links done!
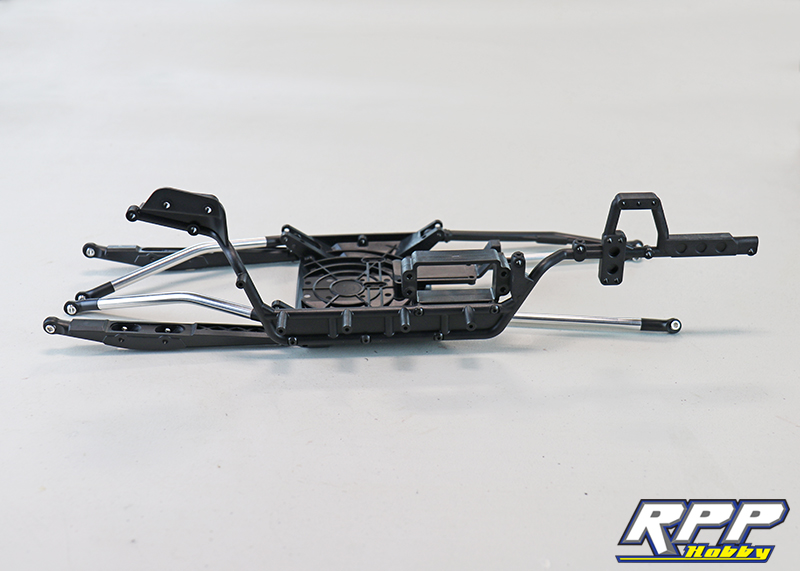
We combined a few steps here since they are all pretty straight forward. Start by installing two of the four screws through the skid plate into the transmission mount. Next install the shift servo mount, and the upper links front and rear. Note the orientation of the links during assembly.
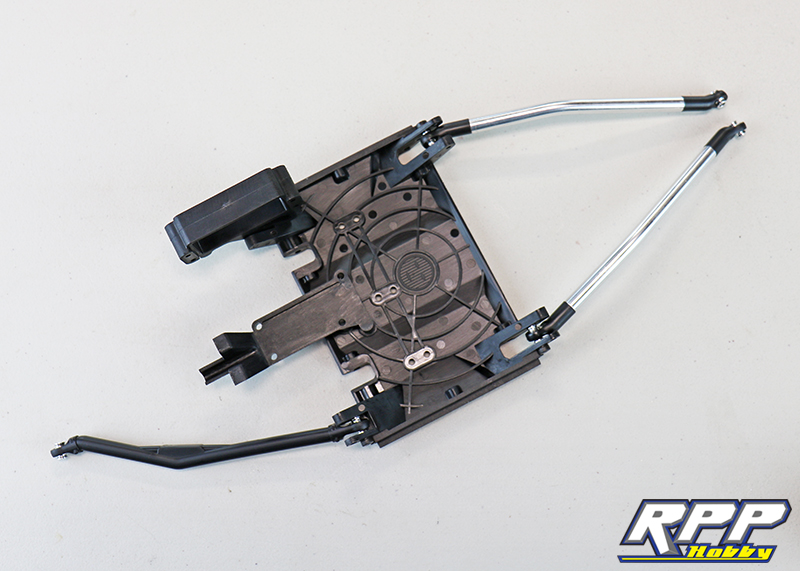
Install the front lower links into the skid plate and secure with the supplied hardware.
Rear trailing arms mount up next.
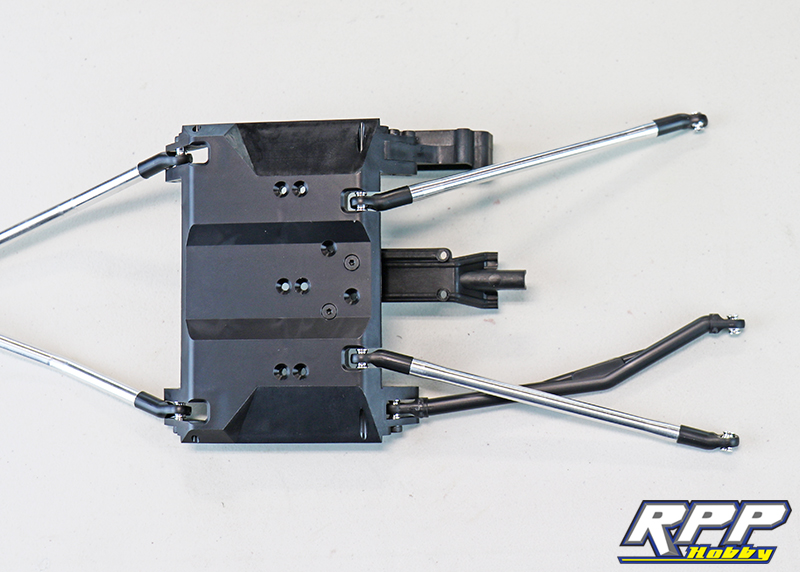
Fasten the passenger side lower cage rail to the skid plate.
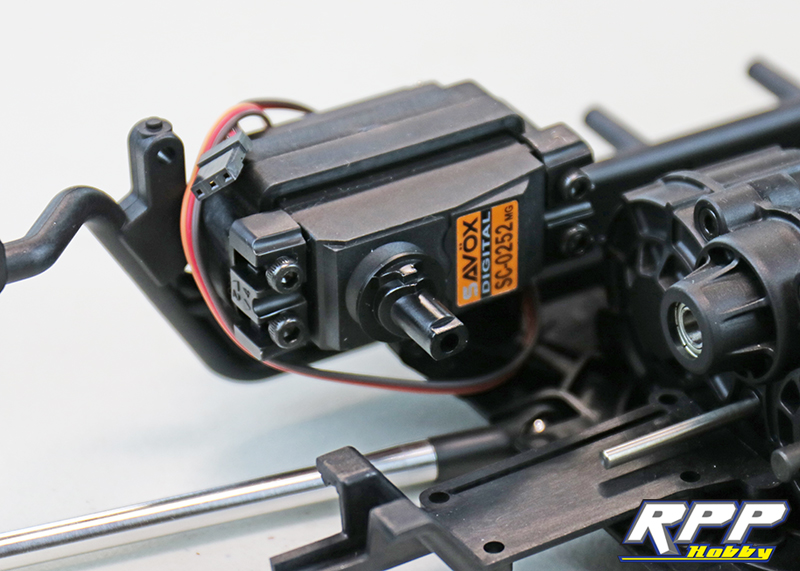
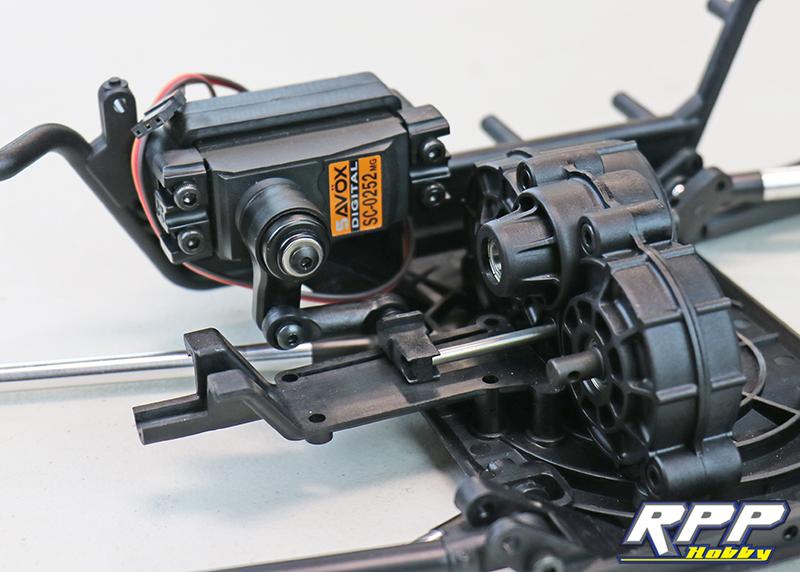
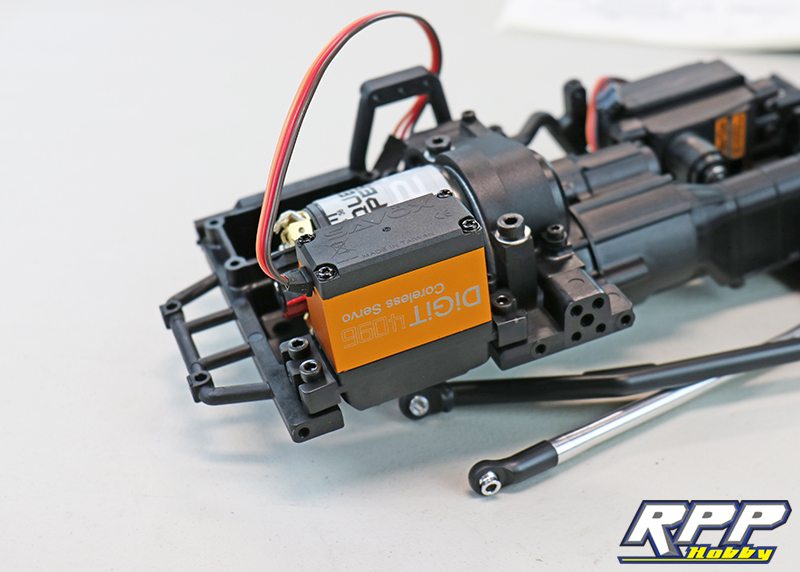
Install the shift/dig servo. We chose the Savox SC-0252 metal gear servo for the shifting duties. Make sure you hook your servo to a power source and center it before continuing on with the build at this point.

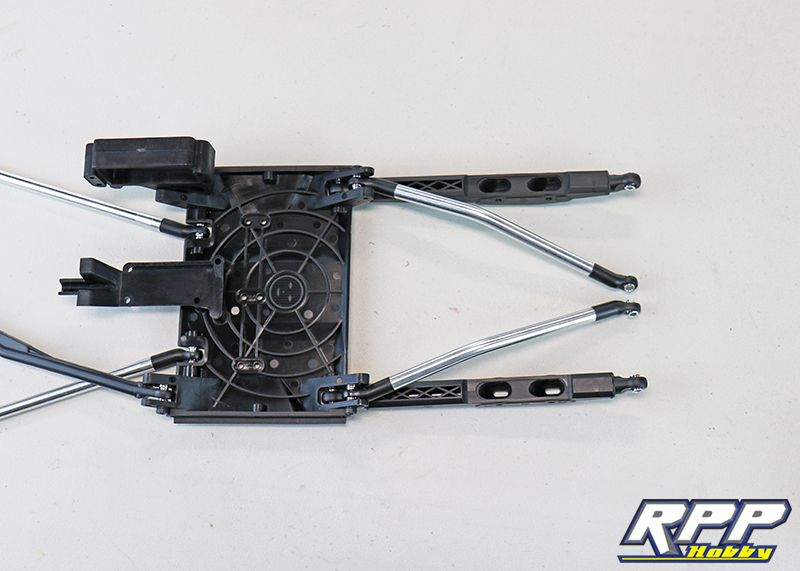
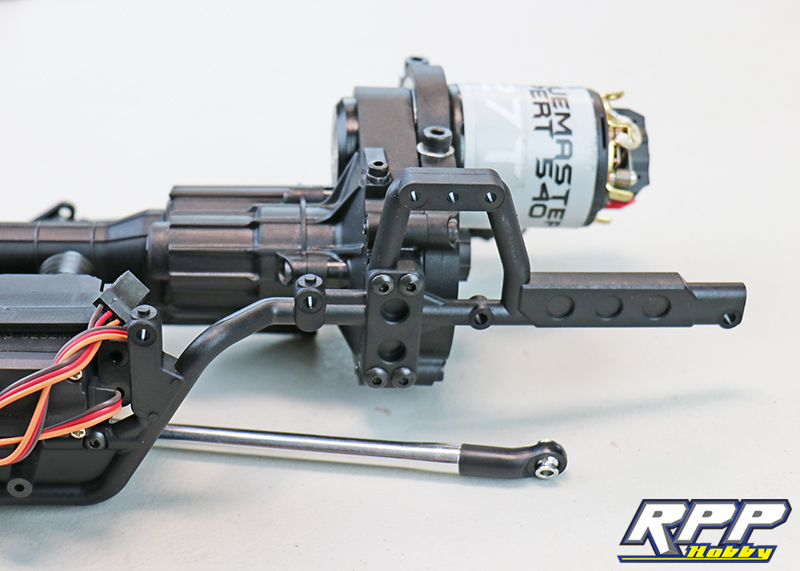
Install the transfer case.
Everything required to assemble the shift selector.

Select the corresponding servo saver base to match the spline count on your shift/dig servo and slide it into place on the servo. Note the orientation when installing.
Assemble the linkage and shift arm.
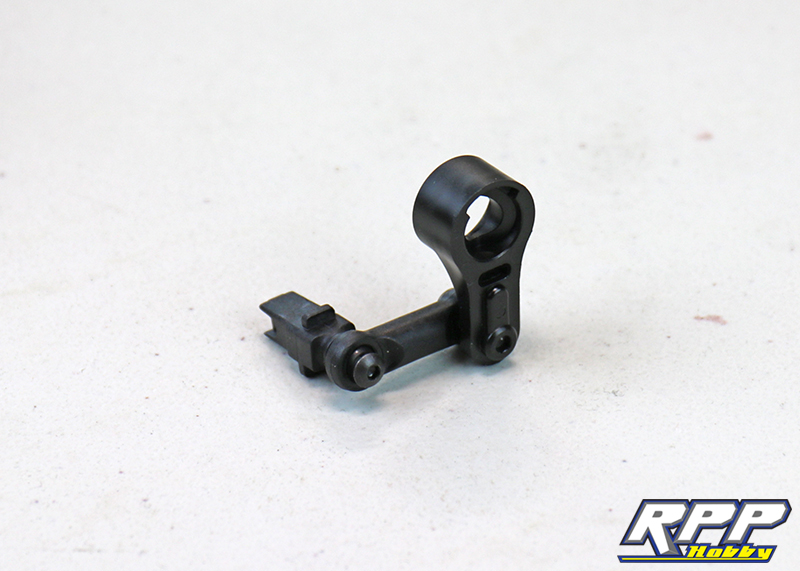
Next install the servo saver assembly and shift linkage onto the servo. Don’t forget to add a dab of grease in the required areas here.
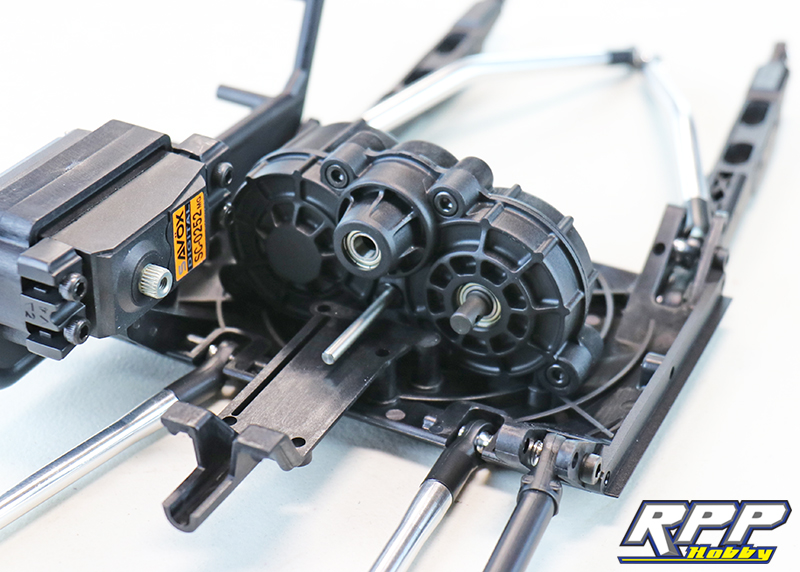
Install the transmission housing with the supplied hardware.
Time to mount the transmission. Slide the main shaft from the transmission into the transfer case. This may take a few tries in order to get the shaft fully seated into drive gear in the t-case. Once you have it, install the four supplied screws through the chassis rail.
Install the servo and receiver mount next.

Install the steering servo with the supplied mounts and hardware. We went with a Savox SA-1230SG servo for the steering duties. Again, make sure you hook your servo to a power source to ensure it is properly center.
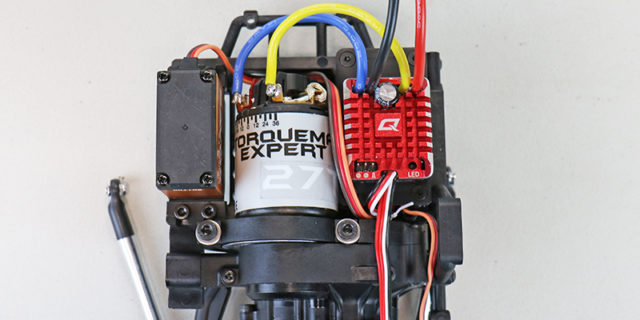
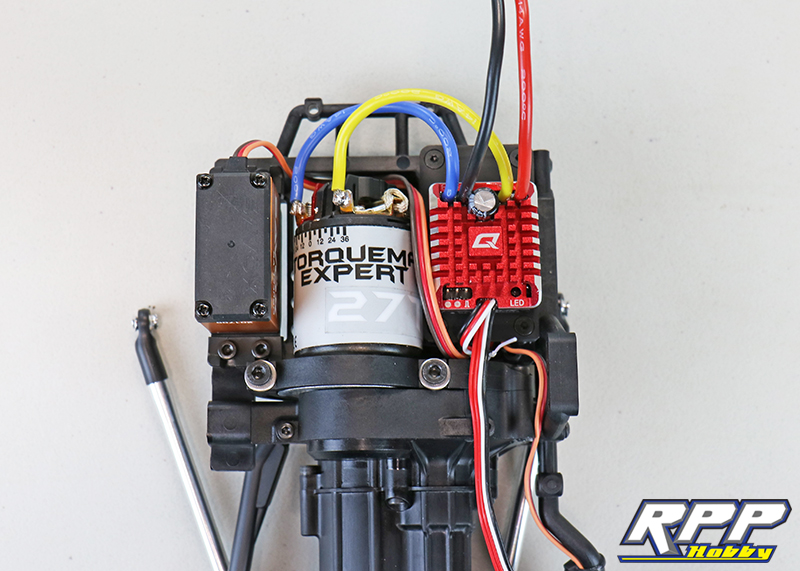
Time to install the 4 channel Spektrum receiver and Hobbywing Quicrun waterproof ESC.
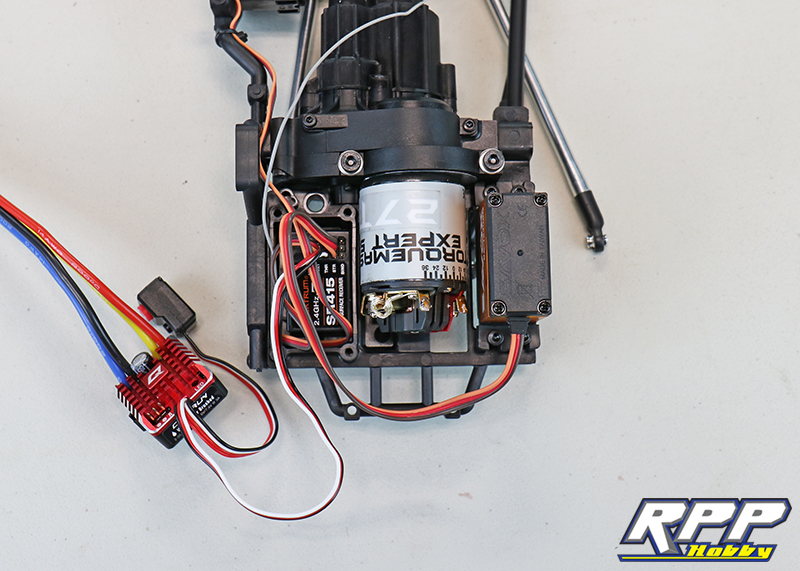
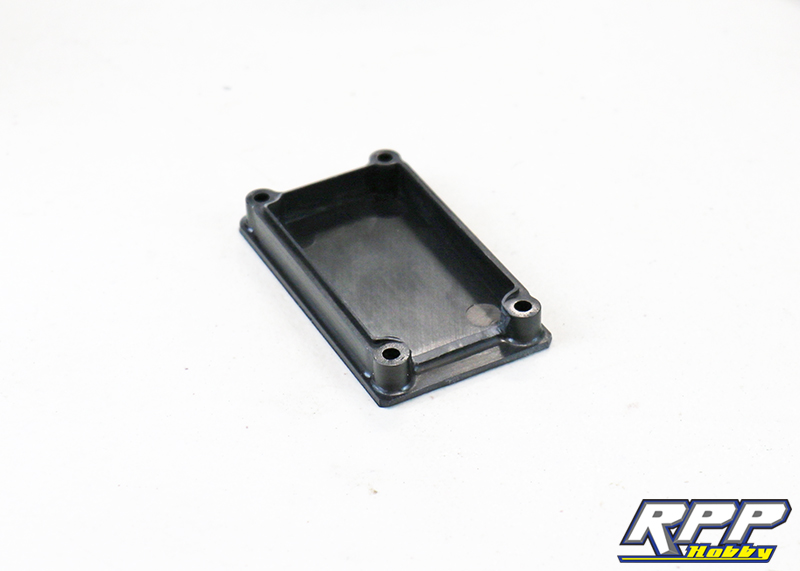
One thing we quickly noticed, when running a a 3 channel set-up the wire slot in the stock receiver box is not quite big enough. So, we modified it to make life a little easier. We cut the “splash guard” off and opened up the wire slot to allow more room for the wires to exit the receiver box.
Receiver and ESC wired up and mounted in place. Chances are we will need to install a Castle Creations BEC when running a 3S Lipo. We want to finish the build first though, then tuck it away somewhere out of harm’s way.
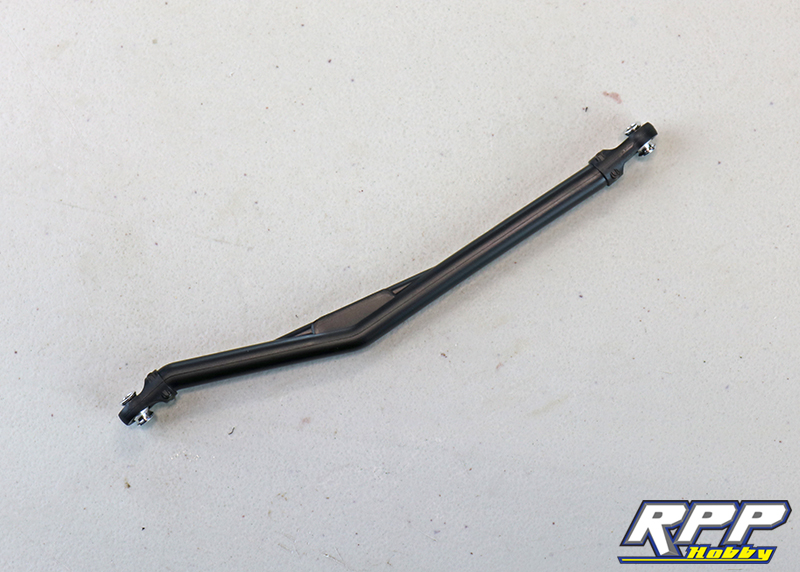
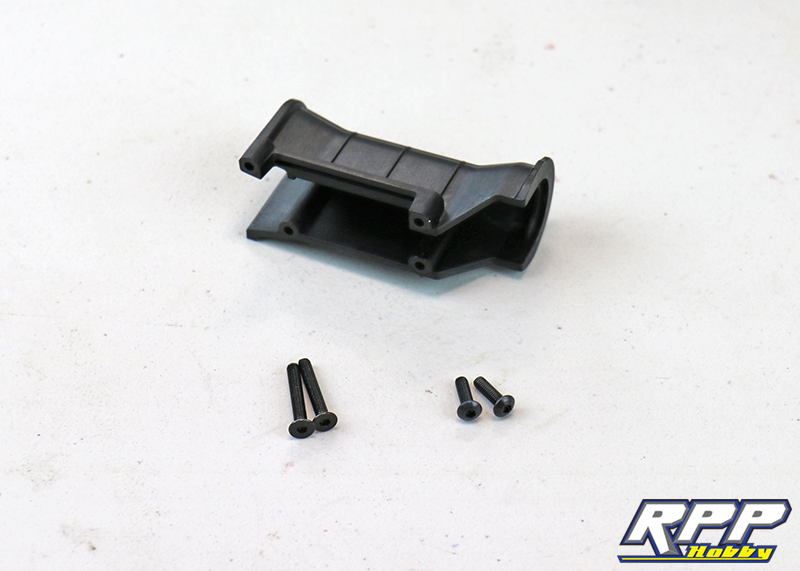
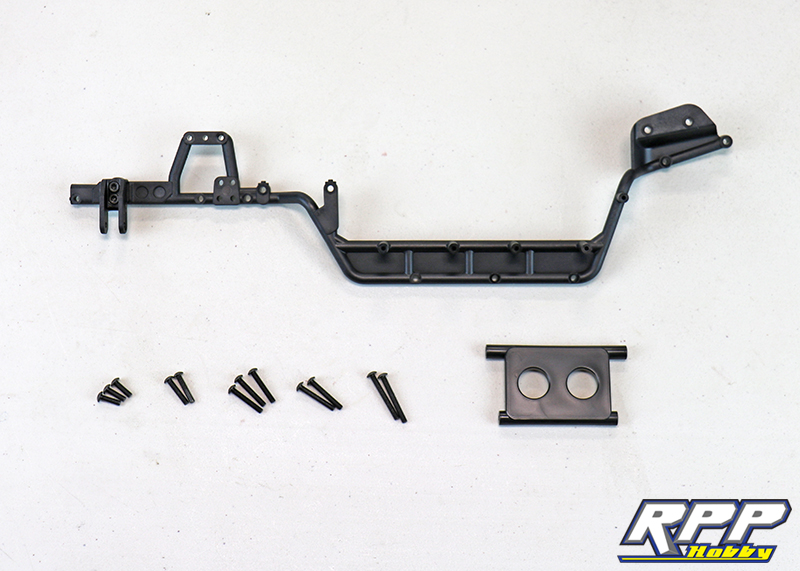
Install the panhard bar mount onto the driver’s side lower cage rail with the supplied hardware.

Everything required to complete step 50 on page 36. Pay attention to hardware lengths here to ensure they end up in the right place.
Install the rubber o-ring onto the battery tray.
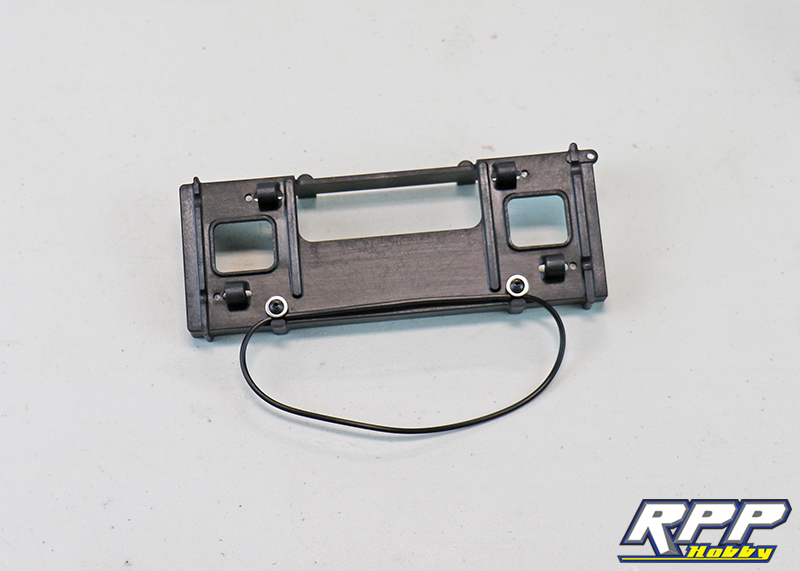
Slide the four M3 nuts into the battery tray and attach it to the chassis per the instructions.

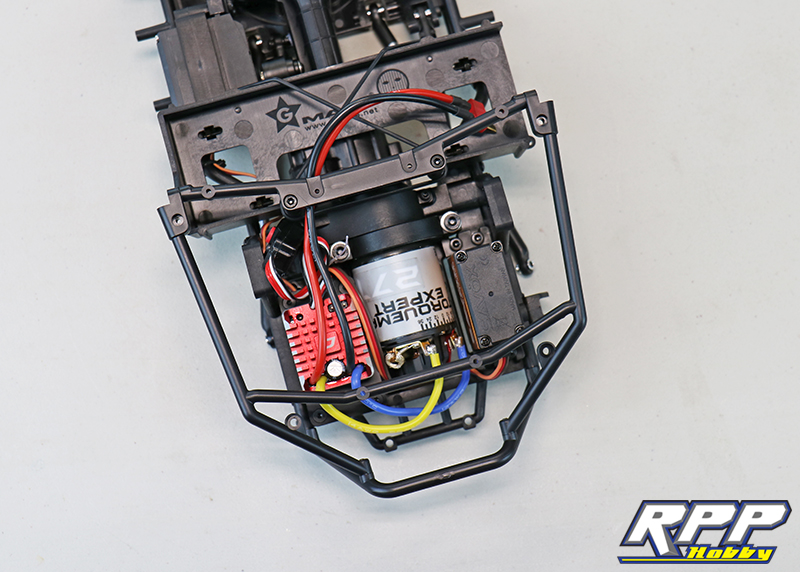
Mount the front cage and bumper to the chassis.
And that will do it for part 3 of our Gmade GOM rock buggy build! Join us next time as we see what it takes to build the driveshafts, install the axles, and assemble the shocks. As always, thanks for checking out the RPP Hobby blog!