Welcome to part 2 of our Gmade GOM Rock Buggy build! In this second installment of our kit build series we will go over how to assemble the scale two-speed transmission and transfer case. Gmade added a lot of detail here to give the end user a scale look with a couple different options depending on the electronics used. Let’s dive in and see what it takes to assemble the drivetrain in this scale rock racer!
Starting with the transfer case, assemble the dig shift fork. The word “dig” is a slang term which means to disconnect the rear axle from the transmission. Once dig is engaged the rear wheels are locked and the front tires can spin under throttle independently. This has a handful of benefits off-road. Two of which are, it can help you turn tighter in technical situations and it can also help with clearing tall rock ledges.
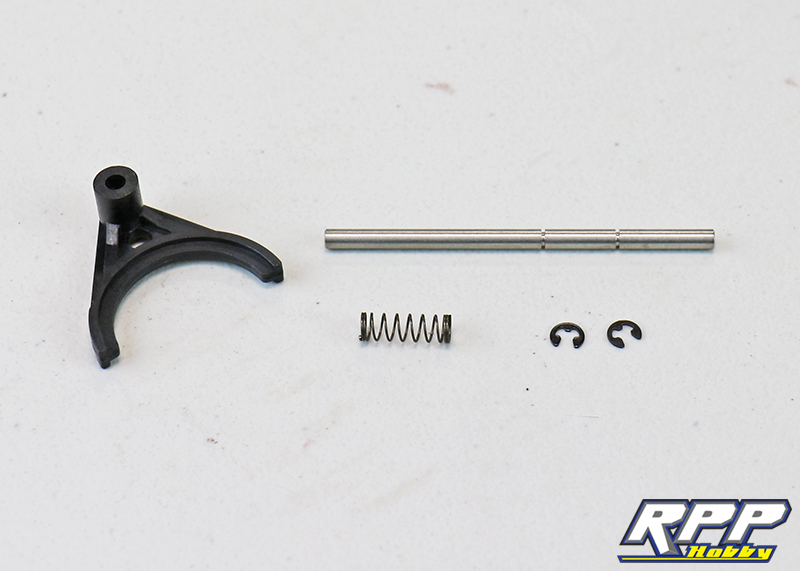
Dig shift fork assembled.

Starting with step 15 assemble the transfer case dig gear.
Note the direction of the dig cog during assembly.
Assemble the 40 tooth transfer case gear in step 16.
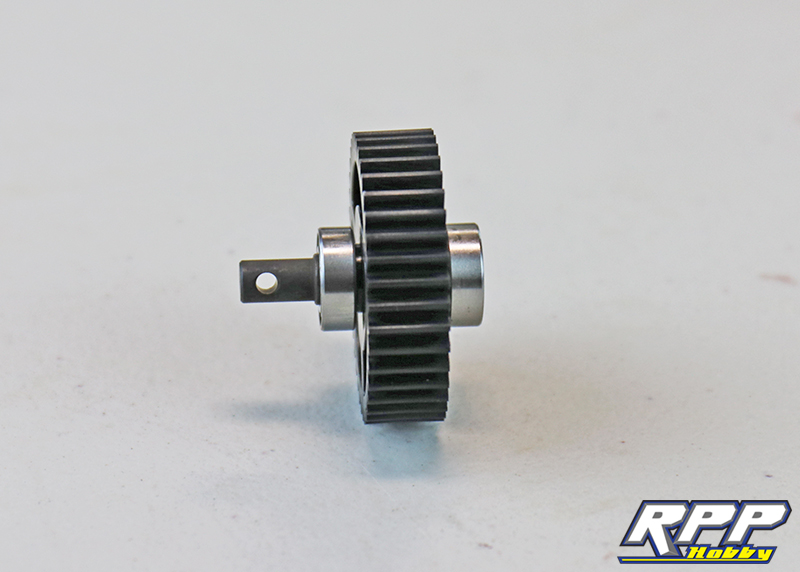
Slide the dig shift fork into the dig gear cog and install both into the transfer case housing. Don’t forget to add a little lube to the gear.
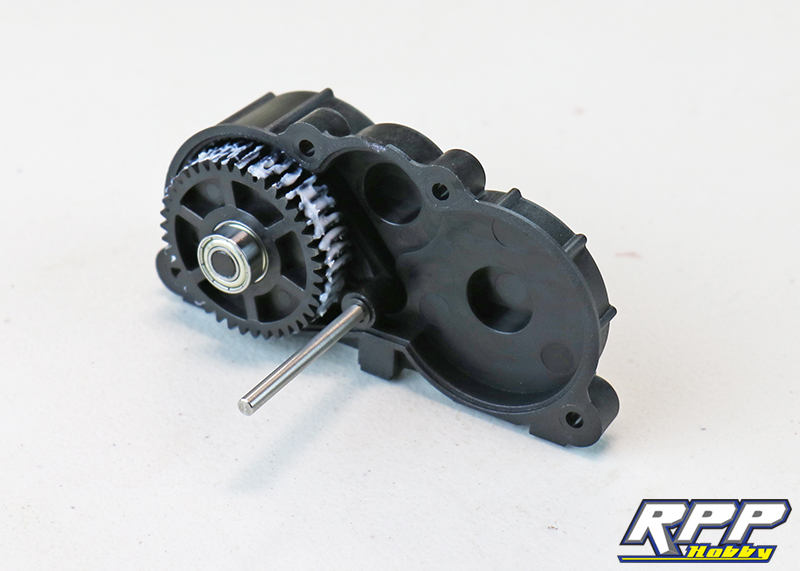
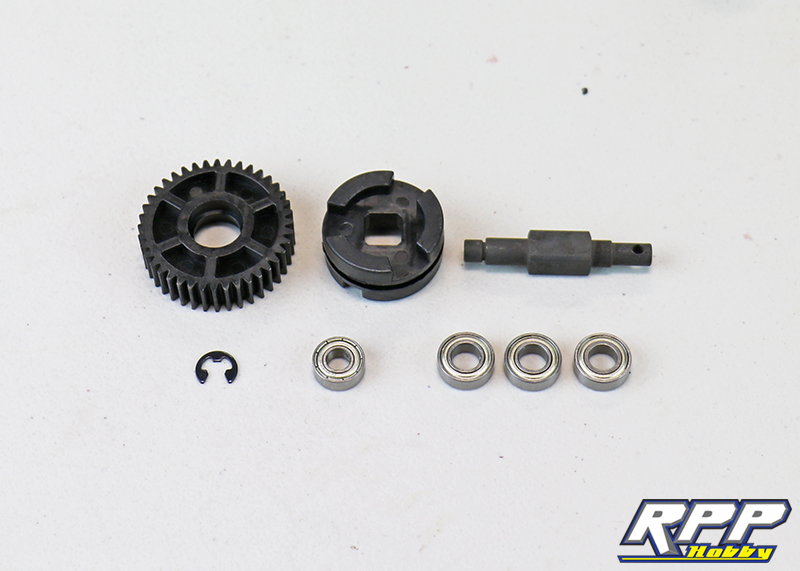
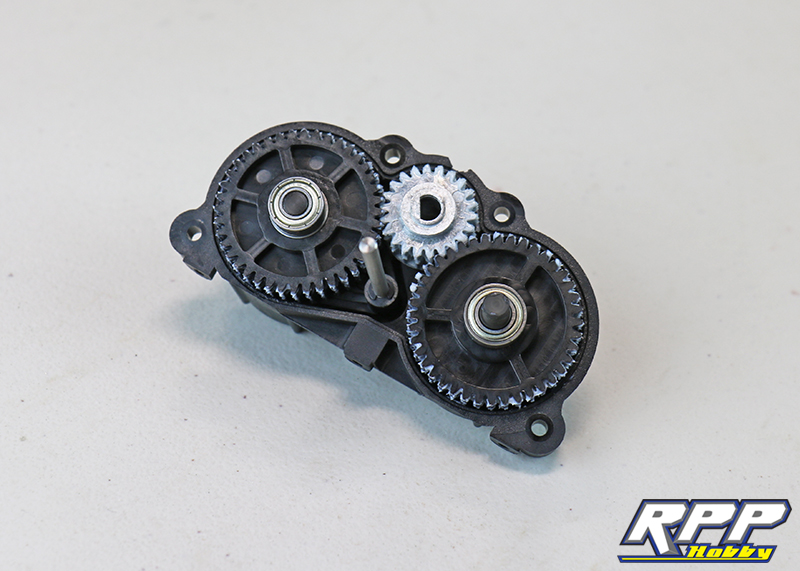
Install the 5×11 bearing, 22 tooth transfer case gear, and the second main transfer case gear into the housing.
Everything require to complete step 18.
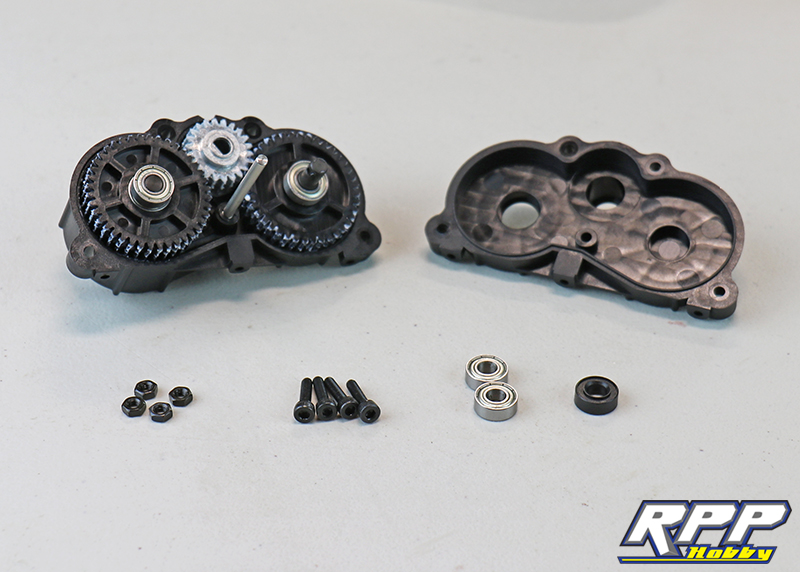
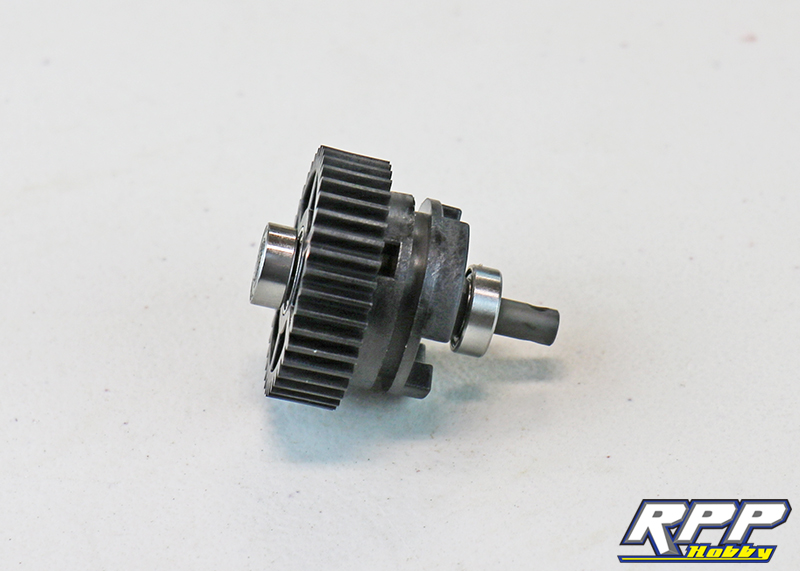
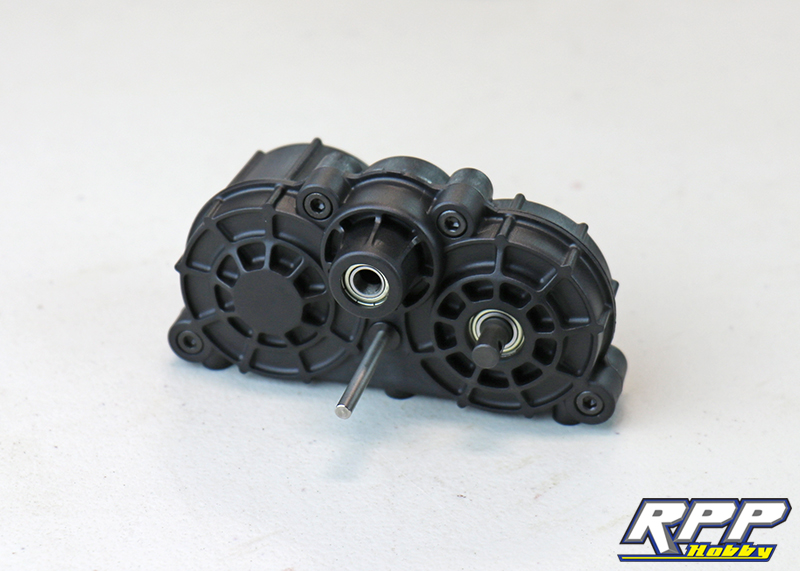
Assemble the two halves of the transfer case and you are done with the t-case build!
Moving on to the transmission. You will have to pick an option here depending on the radio you are using. A 3 channel radio will let you use the two speed transmission and dig feature all at once. A 2 channel radio will limit you to either high gear or low gear depending on intended purpose and terrain. Follow the steps that coordinate with your radio and personal preferences.
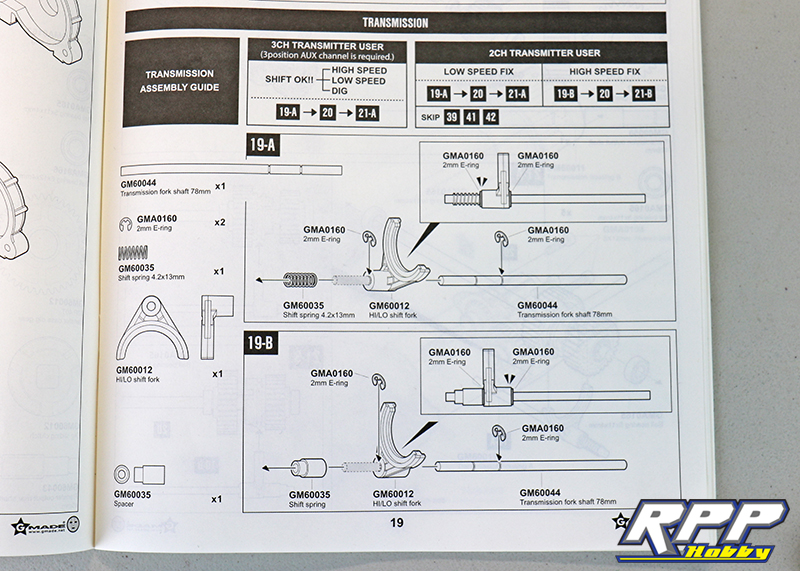
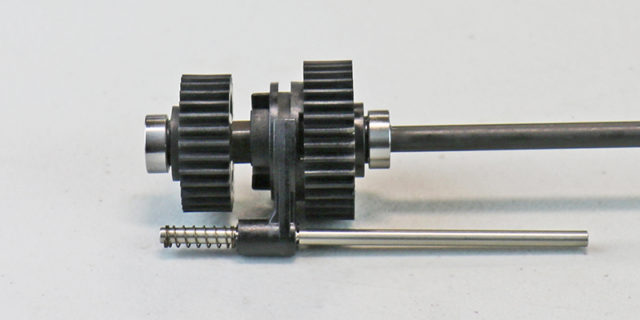
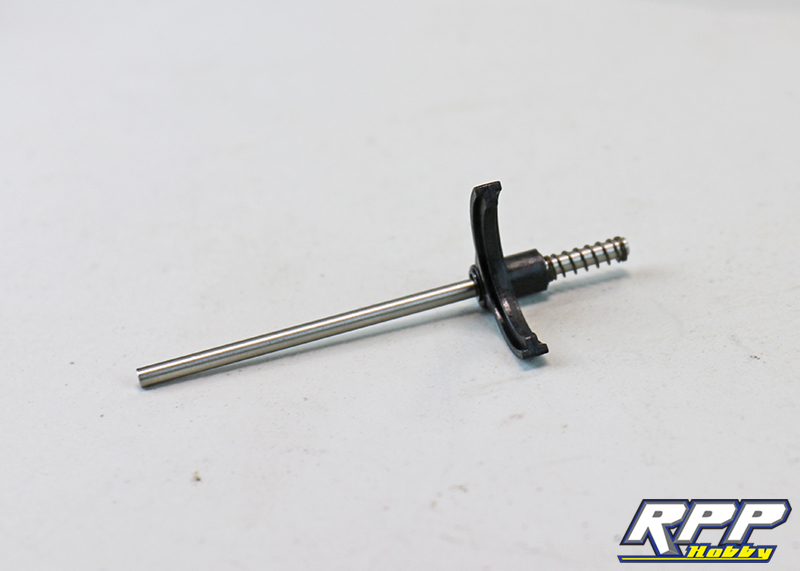
We will be assembling the transmission for two-speed use. Start by assembling the shift fork.
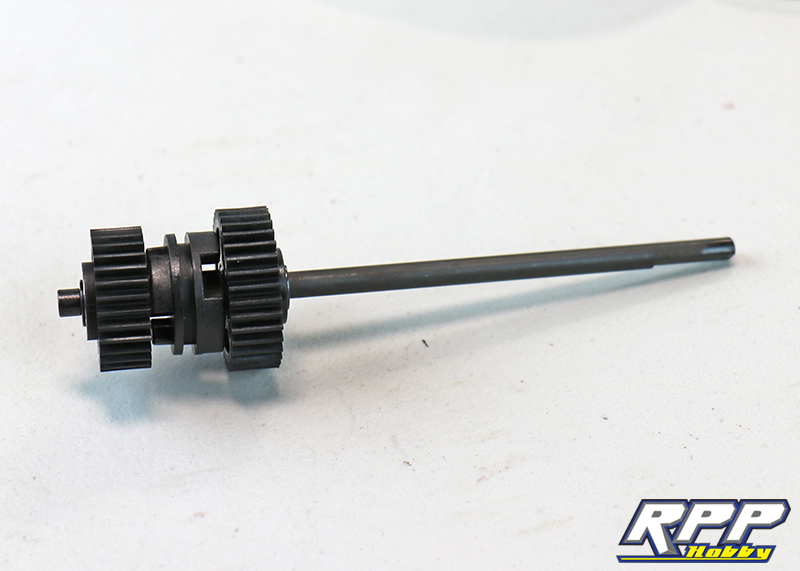
Assemble the main transmission shaft. Note the direction of the gears and shift cogs during assembly.
Slide the shift fork assembly onto the shift cog.
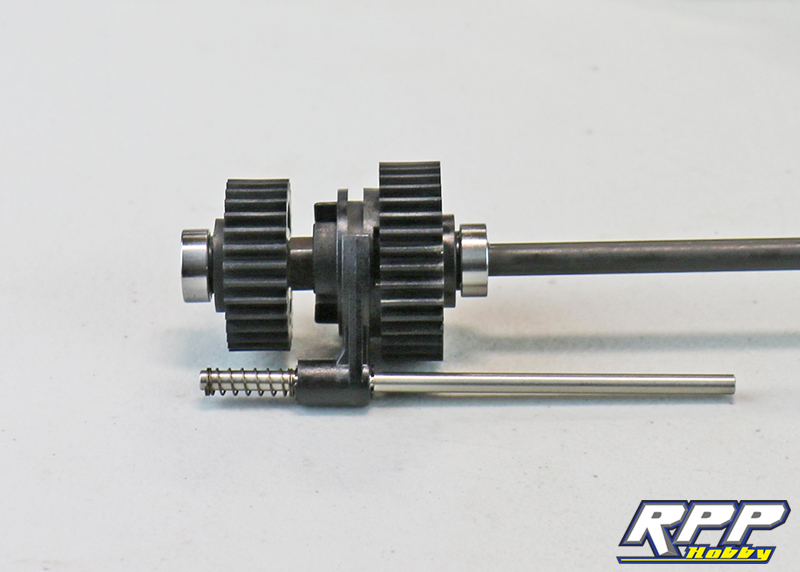
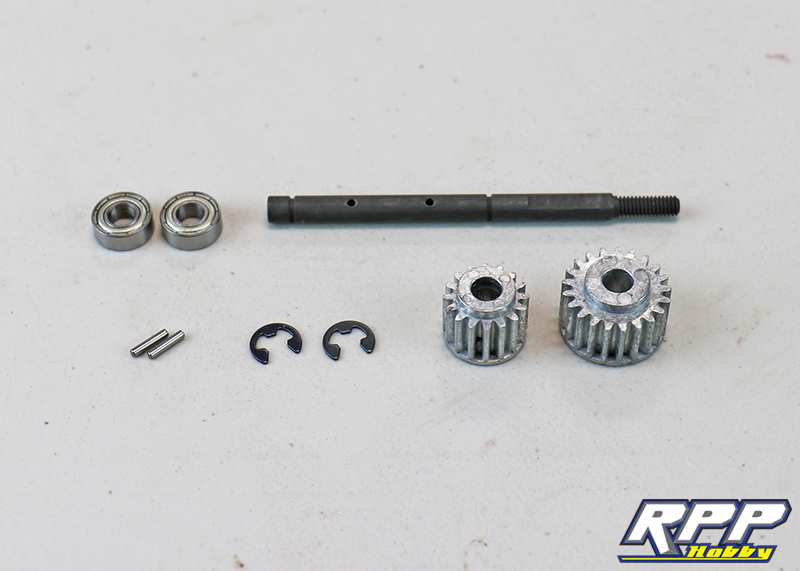
Everything required to build the top spur gear shaft assembly.
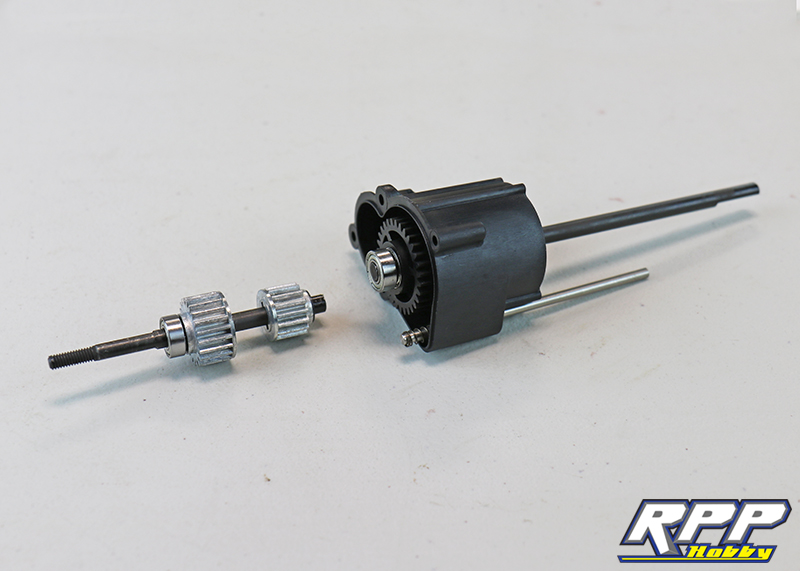
Slide the main gear assembly into the transmission housing.
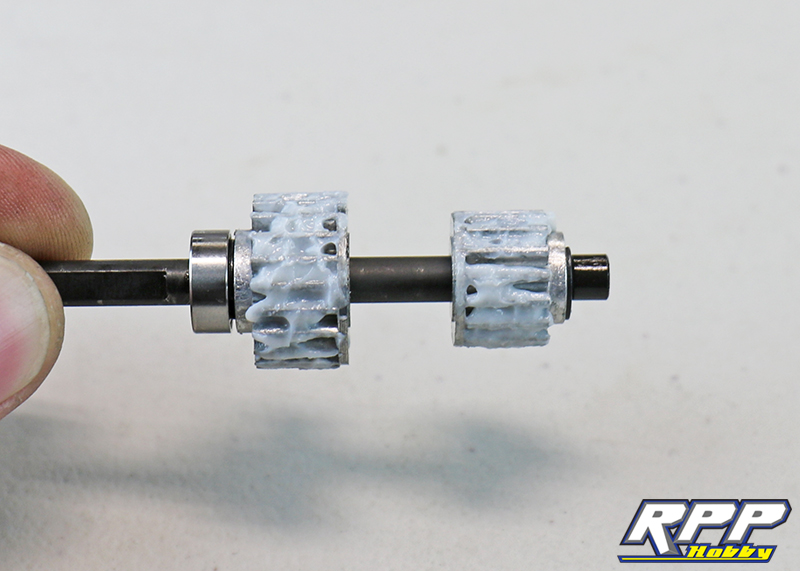
Add a little grease to the gears on the spur shaft and the main transmission gears.
Slide spur shaft into place in the housing.

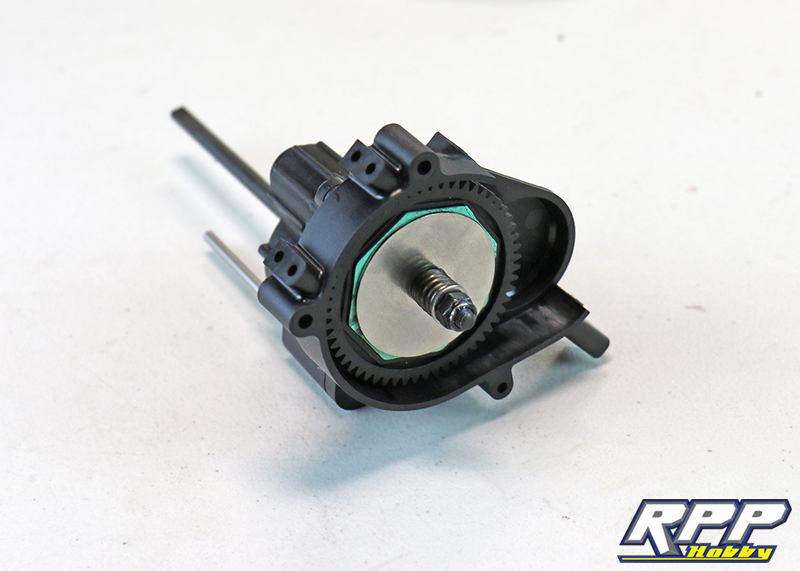
Install transmission housing “A” on to the main transmission assembly with the suppled hardware.

Everything required to assemble the adjustable slipper clutch.
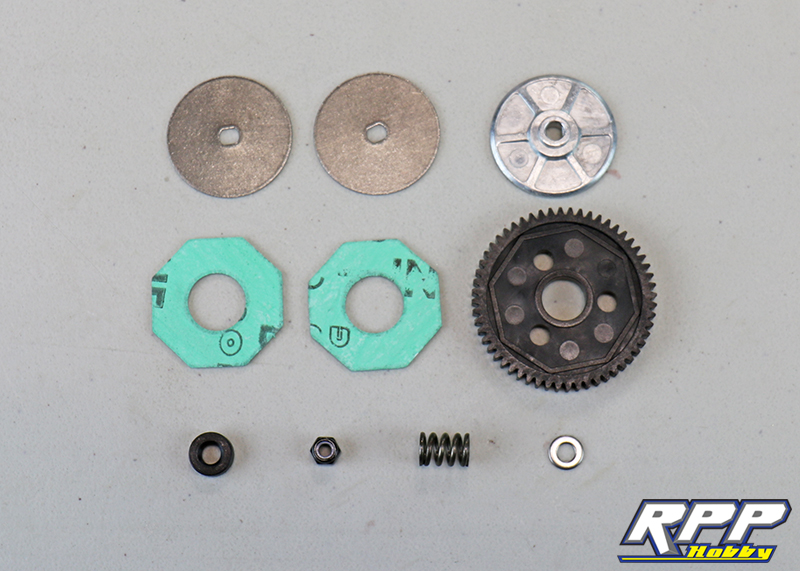
Install the slipper clutch assembly onto the spur gear shaft. Note order and direction of parts when assembling. The directions suggest greasing the spur gear at this point, but we opted not to add any lube at all. As long as you set your gear mesh properly there is no need to grease the spur gear or the motor pinion gear.
Everything required to install the motor mount.
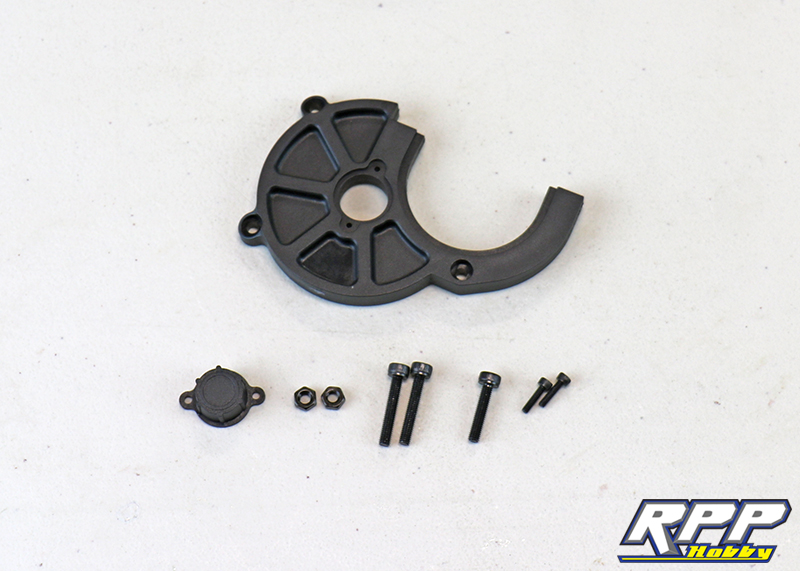
Motor mount and cap in place.

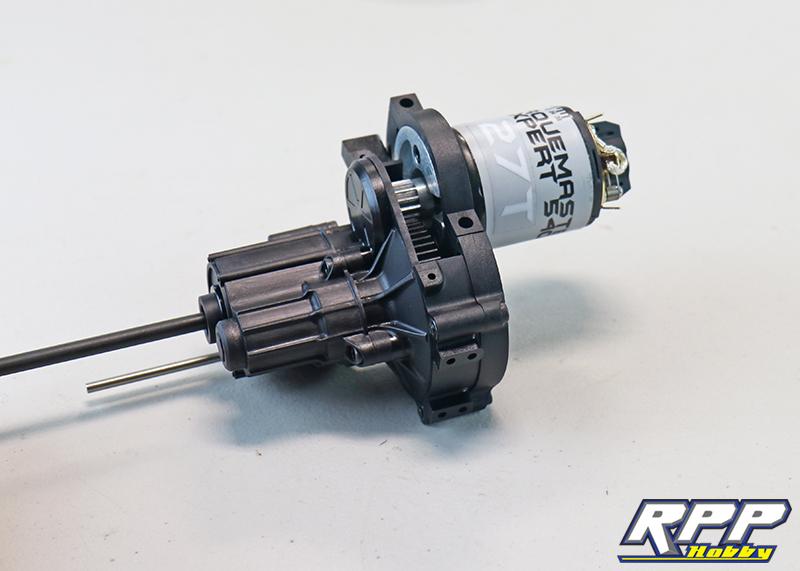
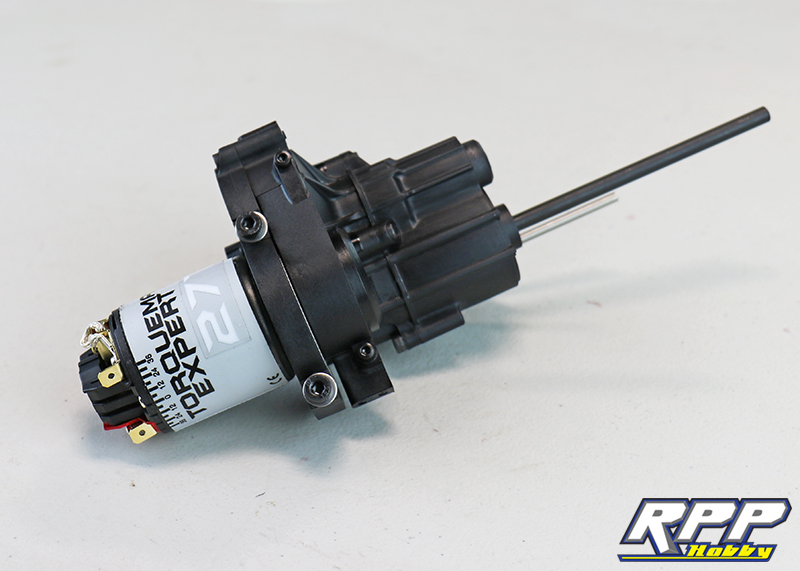
Time to mount our Holmes Hobbies brushed motor to the motor plates. We chose a 27 turn brushed motor to maximize the use of our two-speed transmission.

We suggest adding a dab of thread lock to the motor pinion’s set screw during installation.

Motor in place! Time to set the gear mesh.
Gear mesh set and spur gear cover in place. That takes care of the transmission assembly.
And that brings an end to part 2 of our GOM rock racer build. Tune in next time as we begin the chassis assembly and inch a little closer to unleashing this beast off-road! As always thanks for checking out the RPP Hobby blog!