Seems like 2017 was the “Year of the Scaler” with all the new products, kits and RTR’s that hit the R/C market last year. We are guessing this trend will continue well into 2018 too. At least we hope it does! One product recently released from Gmade created quite a buzz in the scale R/C rock racing world, the GOM Rock Buggy! Gmade nailed the overall look of a class 4400 Ultra4 car with this latest release! This new rock racer kit also includes a two-speed transmission, with front dig, that can be set-up in three different configurations depending on the end user’s preferences. Ready to dig in and see what this kit is all about? Let’s get started!
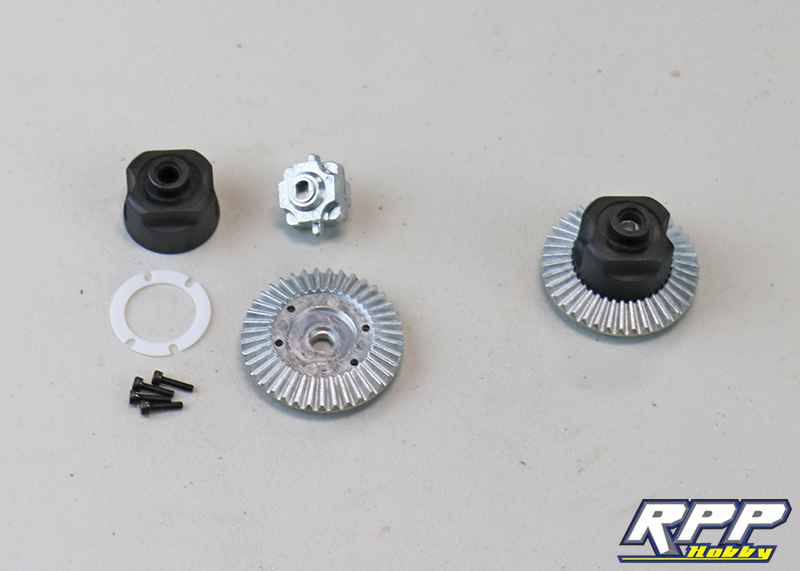
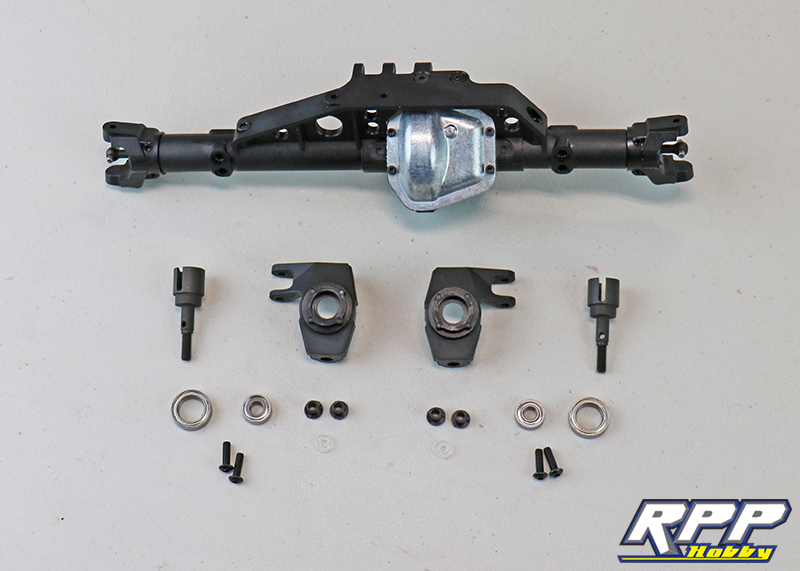
First thing the instructions call for is the build up of the axles. Everything required to build the pinion gears.
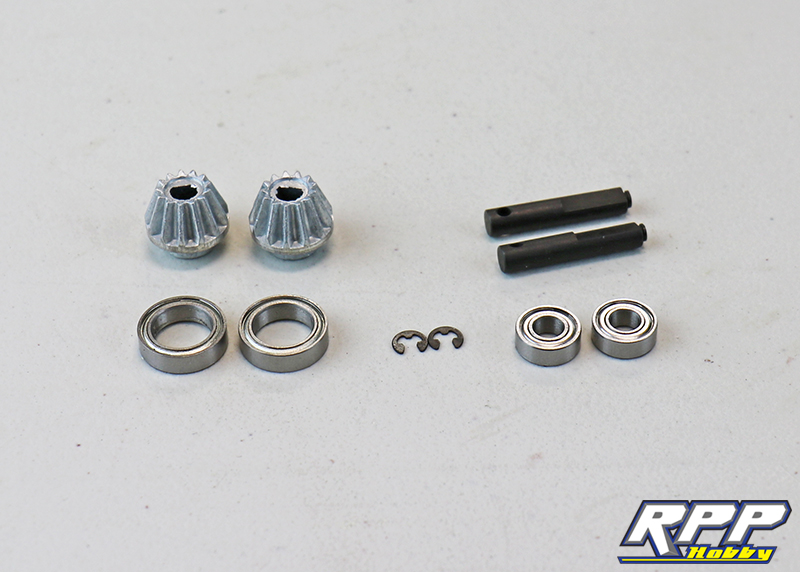
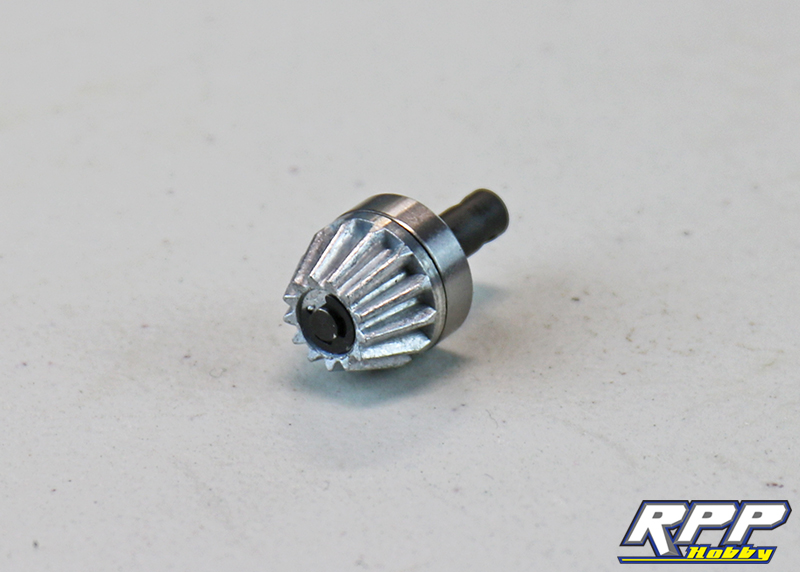
Slide the pinion gear onto the pinion shaft and snap the e-clip into place with needle nose pliers. Then, install the 10x15mm bearing on the backside of the gear.
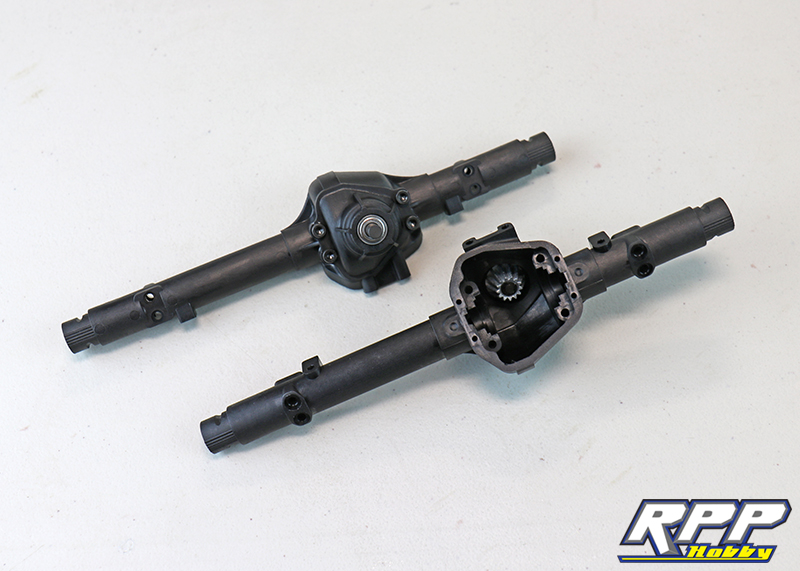
Install the pinions and the 5x11mm bearing into the plastic differential housings.

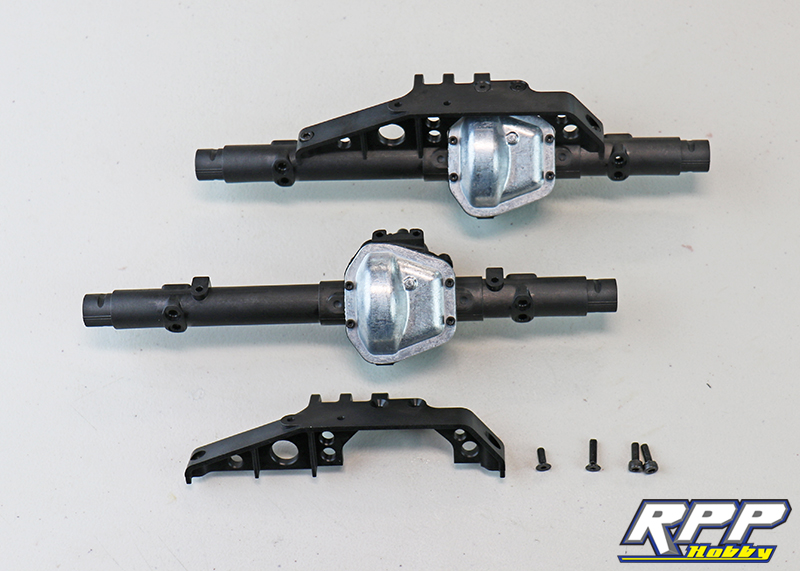
Attach the differential assemblies to the axle housings with the supplied hardware.
Time to build the ring gear assemblies. Install the locker into the differential case, set plastic gasket in place on the ring gear, and attach the ring gear to the diff case.
Slide the bearings on the ring gear assemblies and install them in the axle housings. Install the plastic bearing caps next. Careful not to over tighten the caps as it will cause the gear mesh to bind. Add a few dabs of grease to the ring gear.

Install the metal differential covers.

Attach the axle trusses to the axle housings. Pay attention to screw length and placement here.
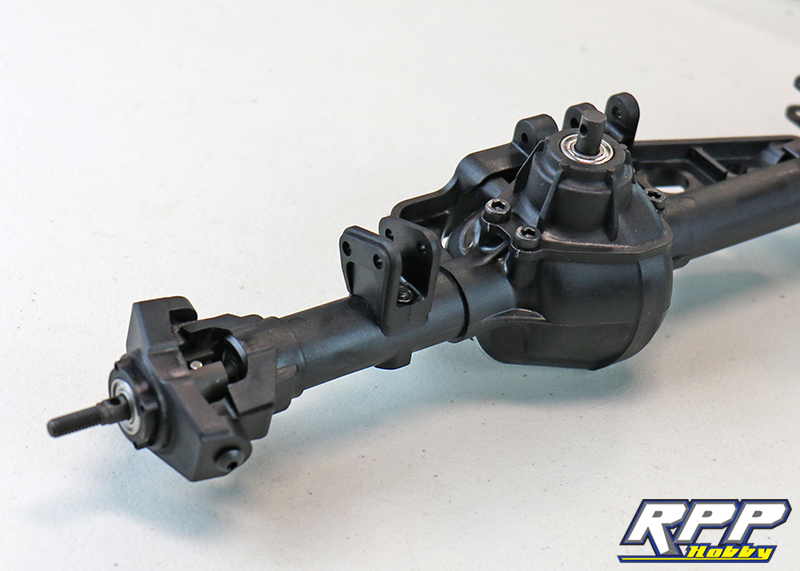
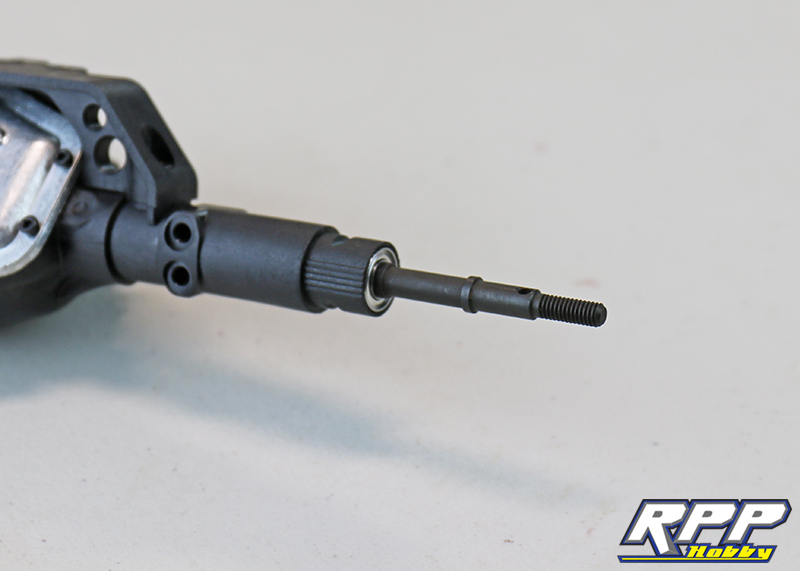
Press the two 5×11 bearings in the ends of the front axle tubes before installing the C-hubs.
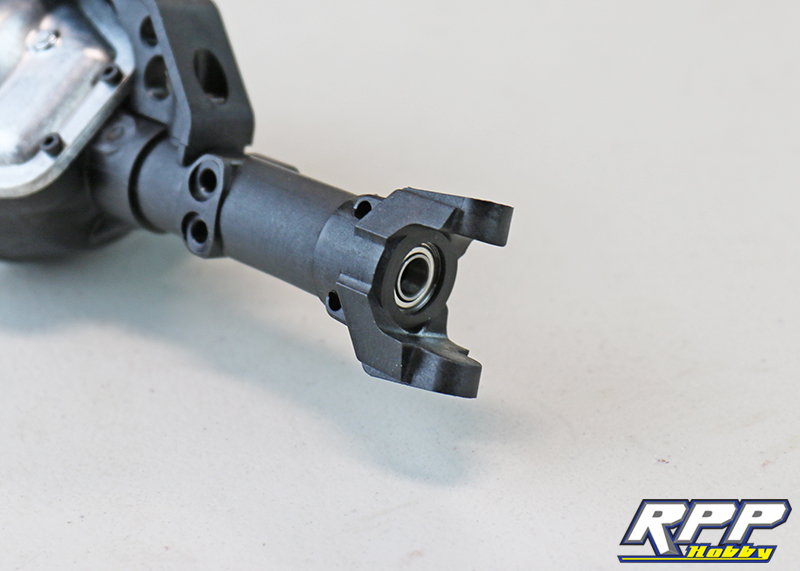
Install the set screws to hold the C-hubs, then slide the inner axle shafts into place.
Everything required to complete step 7 and 8.
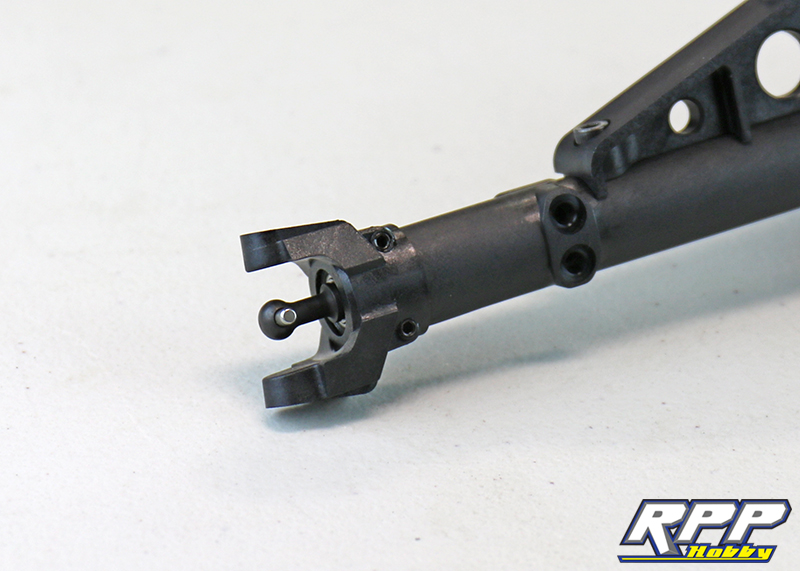
Install the bearings and plastic king pin sleeves into the knuckles. Slide the outer axle shaft in place and insert the supplied o-rings into the dog bone side of the outer axles.

Install the knuckle assemblies onto the front axle. Careful not to over tighten the king pin screws here, the knuckles should move somewhat freely once installed.
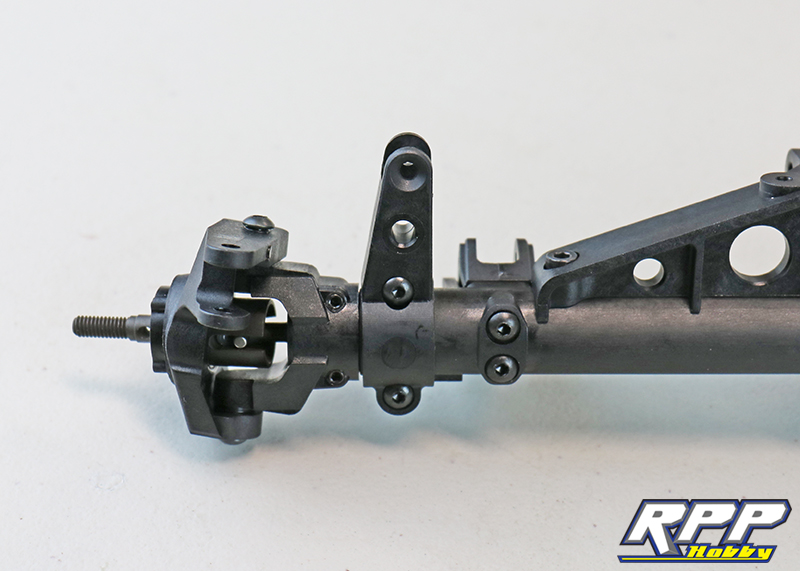
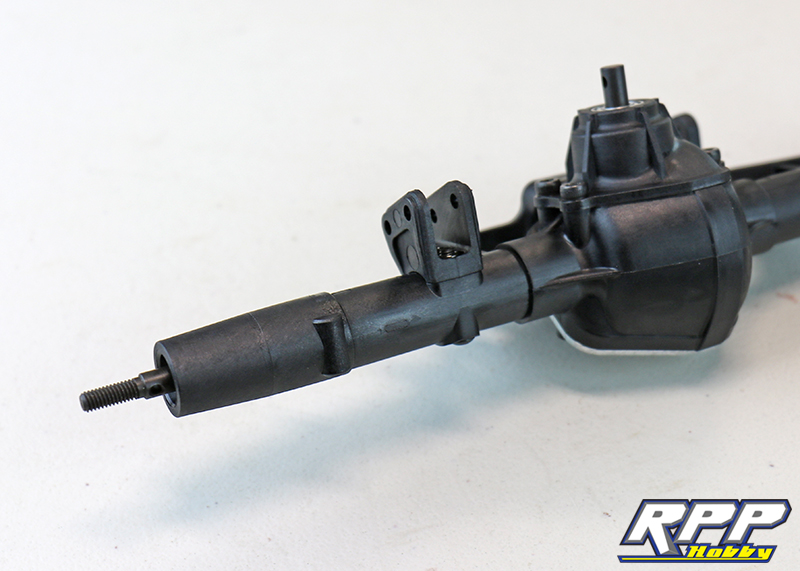
Bolt up the link mounts next.
Install the panhard bar mount onto the front axle with the supplied hardware.
Insert the rear axle shafts into the rear axle housing.
Lastly, install the rear lockouts and lower link mounts.
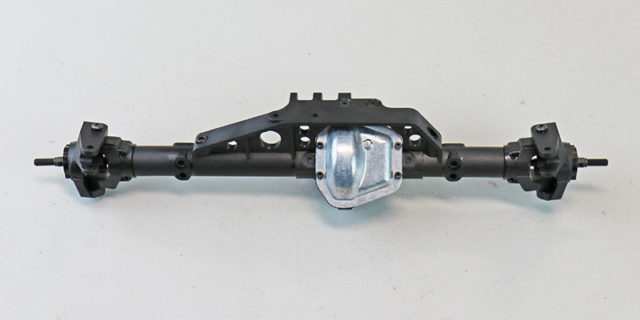
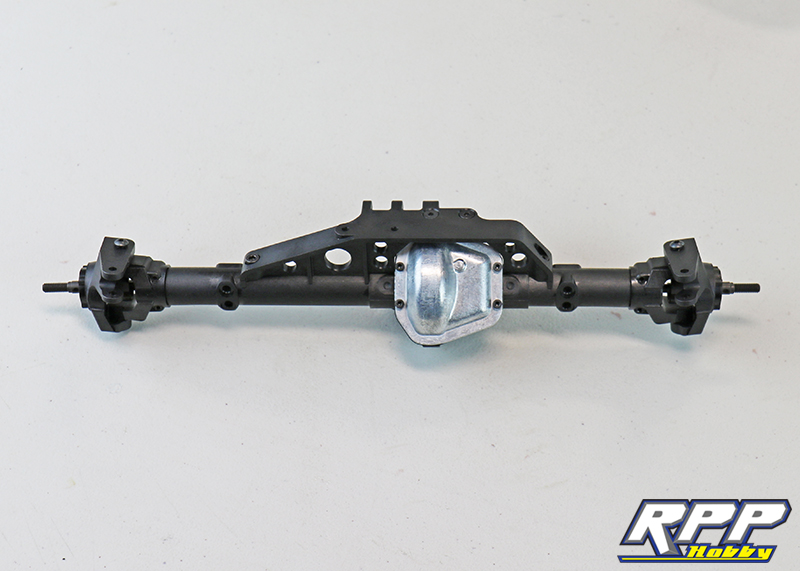
Both axles complete and ready to rock!
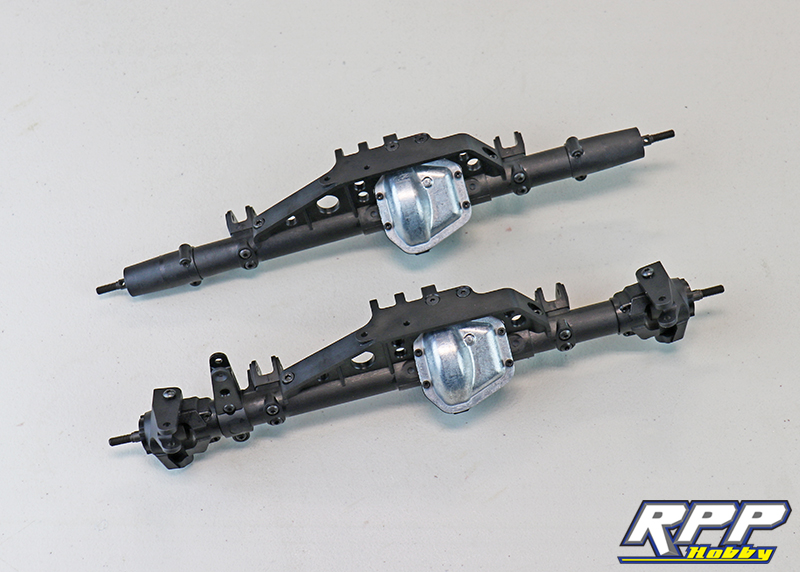
That brings us to the end of Part 1 in our Gmade GOM kit build. Fit and finish is great on this kit so far. The gears and bearings feel nice and smooth once everything is assembled! Join us next time as we dive into the two-speed transmission and transfer case. Thanks again for checking out the RPP Hobby blog!
Looking forward to seeing this build progress. Thanks for all you do.