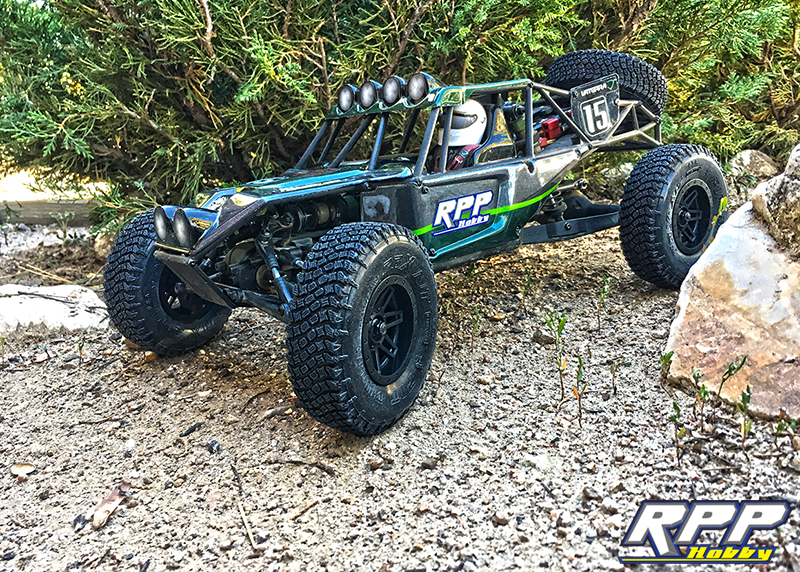
Sometimes it is hard to stand out from the crowd in this day of “Ready to Run” R/C vehicles. One thing that catches our eye in the R/C world are custom builds. All it takes the right ingredients to come up with a special recipe for something unique and original. Custom builds don’t have to be handmade from the ground up to catch our eye either. They can be fairly simple, even as simple as changing a body. We enjoy building R/C kits, but we really enjoy customizing and creating something different. That brings us to where we are today with this particular creation. Our custom Baja Bug build is going to incorporate ingredients from numerous R/C manufacturers to achieve the overall look we are after. Here is an overview to what we have in mind, and how we are going to get there.
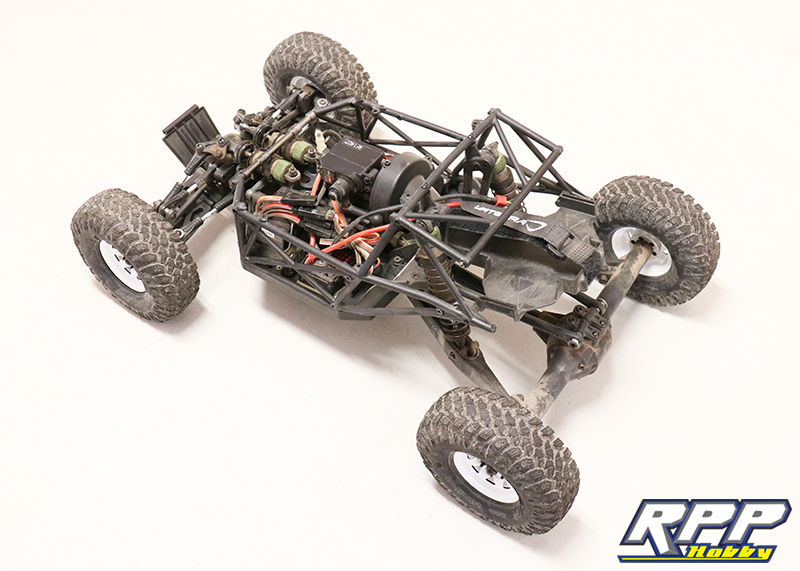
The base for this build is our original V1 Vaterra Twin Hammers RTR.
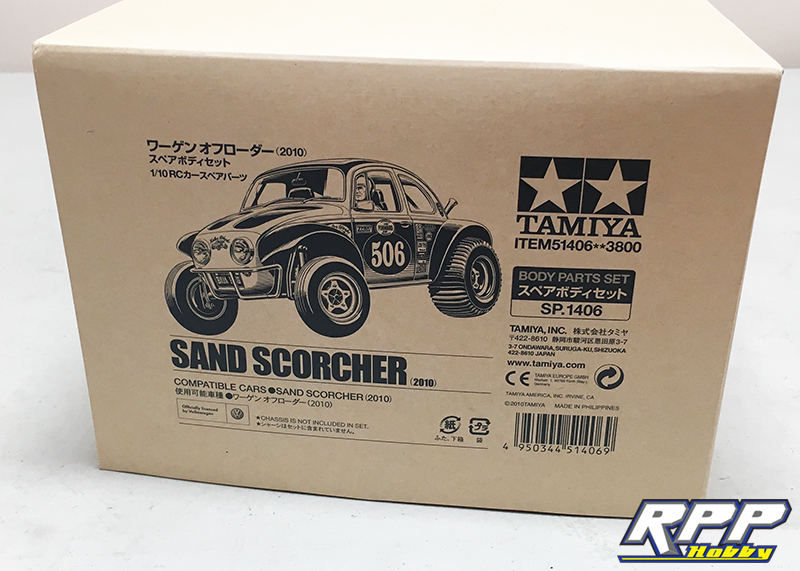
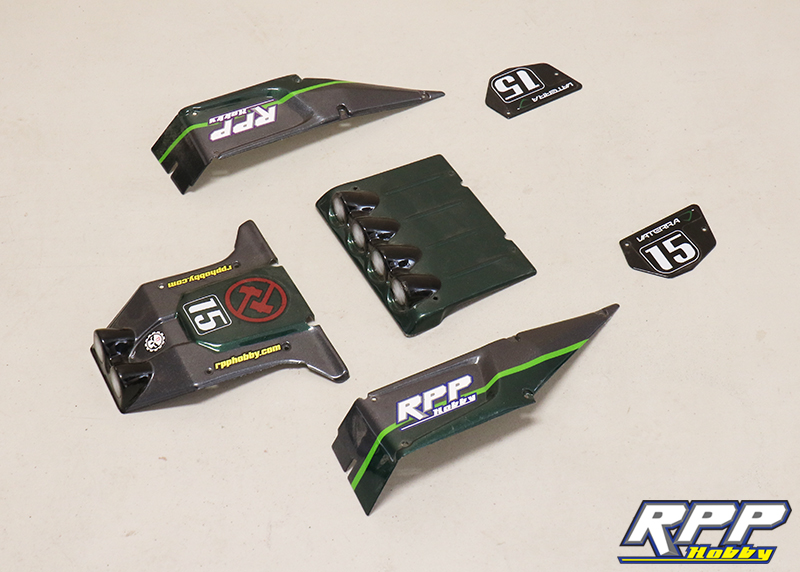
The body we are using is the extremely detailed plastic Tamiya Sand Scorcher body set. This set includes the chrome light bezels, lenses, windows, driver figure, mirrors, and decals.
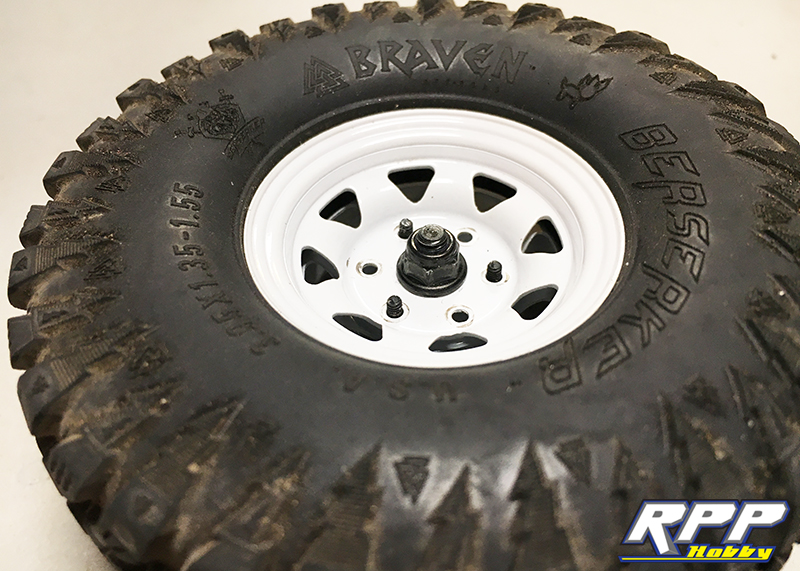
The wheels and tires will be a combo of RC4WD’s white 1.55 steel beadlock wheels and Pit Bull RC’s 1.55 Berserker tires. This will give us the super scale, retro look we are shooting for.
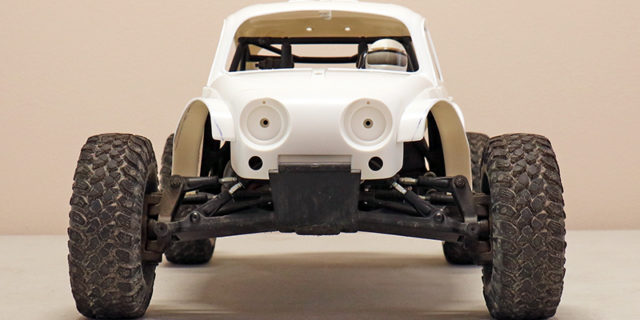
Next, it was time to see how the body would fit the chassis. First we remove all the exterior body panels.
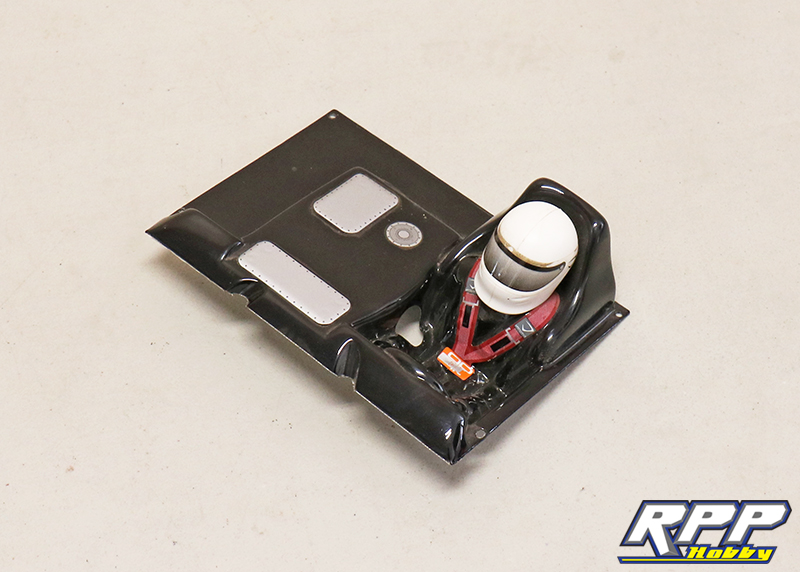
Remove the interior next.
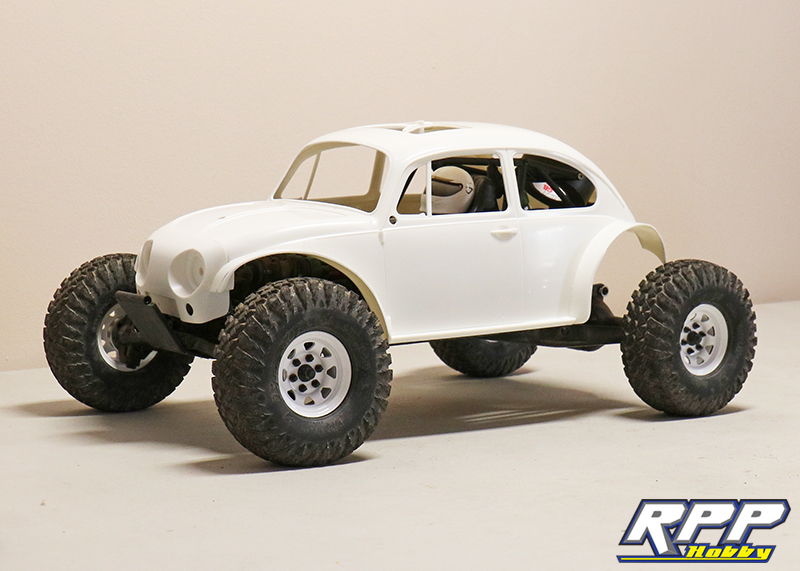
Upon initially installing the body on the chassis we realized there was a lot of interference with the Twin Hammers cage and the Bug body, especially around the spare tire carrier. We could have cut the body to fit the cage, but we wanted to keep as much of the body intact as possible. The great thing about the Twin Hammers platform is the cage doesn’t really hold any structural integrity, outside of protecting the electronics during a crash. At this point we decided to cut the cage to fit the body since the chassis is rigid enough by itself. We removed the nose, cut the spare tire carrier off, and trimmed most of the cage work around the cockpit.
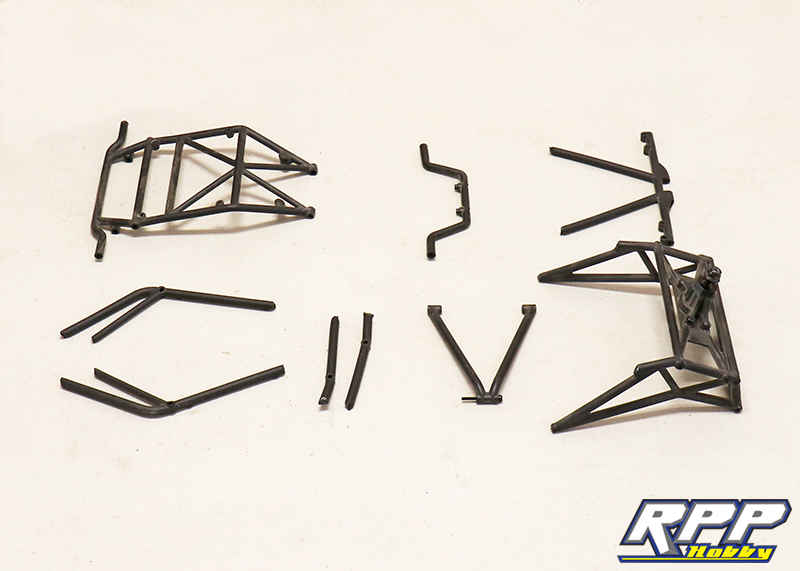
Here is what we ended up with after removal of the cage work.
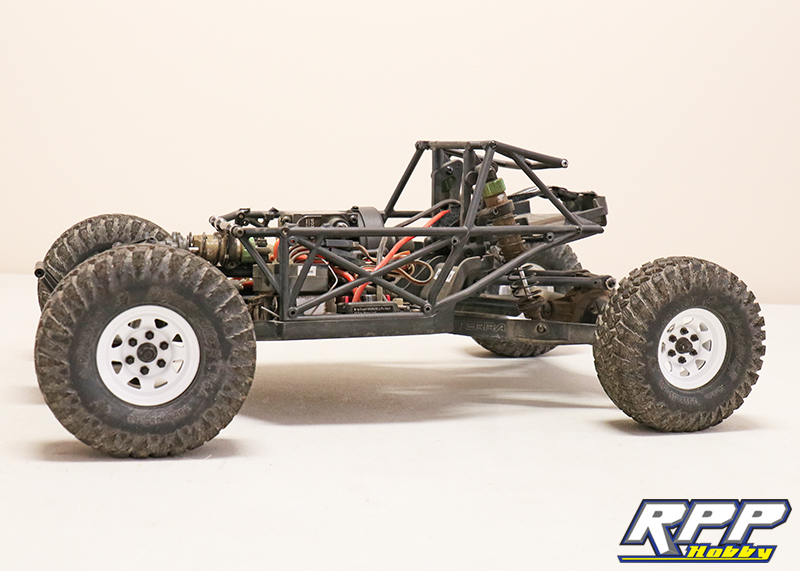
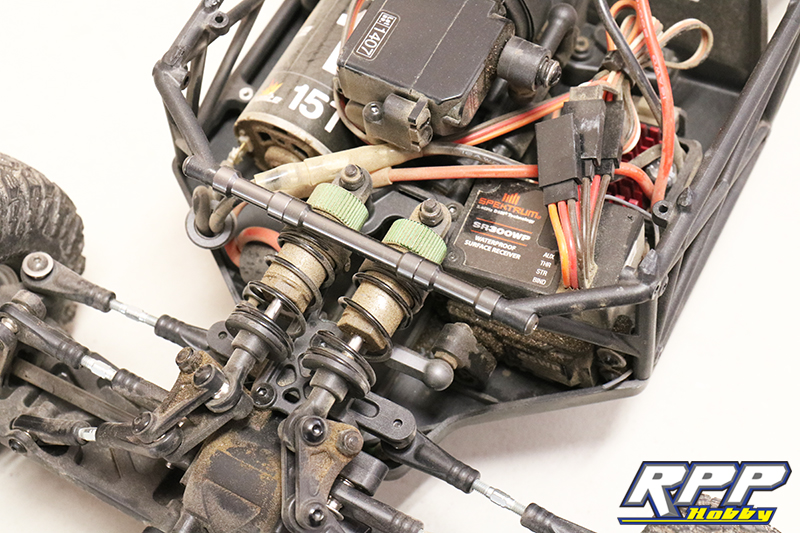
We left the back of the cage intact as best we could to help hold the battery in the stock location.
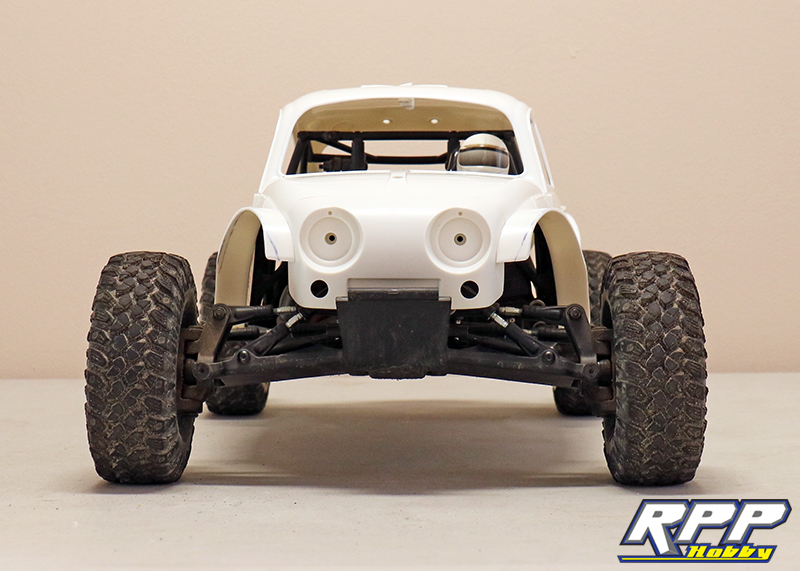
Excuse the dirty chassis, we should have cleaned it first. Out front the cage is a little too wide for the body to sit down properly. So, we made a custom standoff that was shorter than needed to pull the sides of the cage in towards the center of the chassis.
Once the body was near the desired ride height it became apparent that fenders were going to hinder wheel travel and steering. So, we were going to have to trim them up a little.
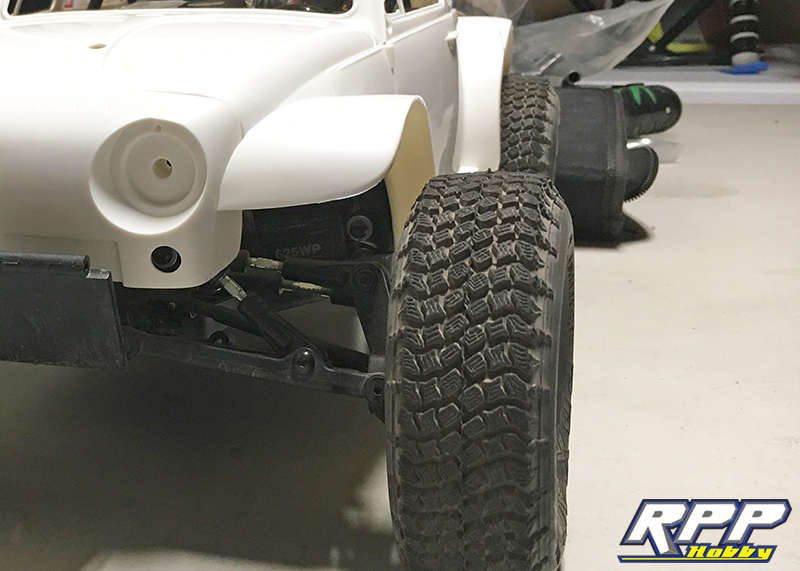
Fenders roughly cut out. We also had to cut the bottom portion of the nose off as well.
Rear view.

Here you can see the wheelbase is a little off from the body. We are going to try and shorten, or change, the rear suspension links to bring the rear axle in a little.

We will even be able to keep the TH interior for a little extra detail as well.
That wraps up this first installment of our Baja Bug build. Stay tuned for more and let us know what you think of this build in the comments below. As always, thanks again for checking out the RPP Hobby blog!