Welcome to the final installment of our Axial SCX10 II kit build. Now that we have a functioning scale R/C vehicle, all we need is some paint to bring that classic Jeep Cherokee body to life. In this article we will cover trimming, painting, and detailing the Lexan body. We planned to keep the paint fairly simple since we want it to look like a Jeep you would see going down the road or trail. Ready to get your Picasso on?
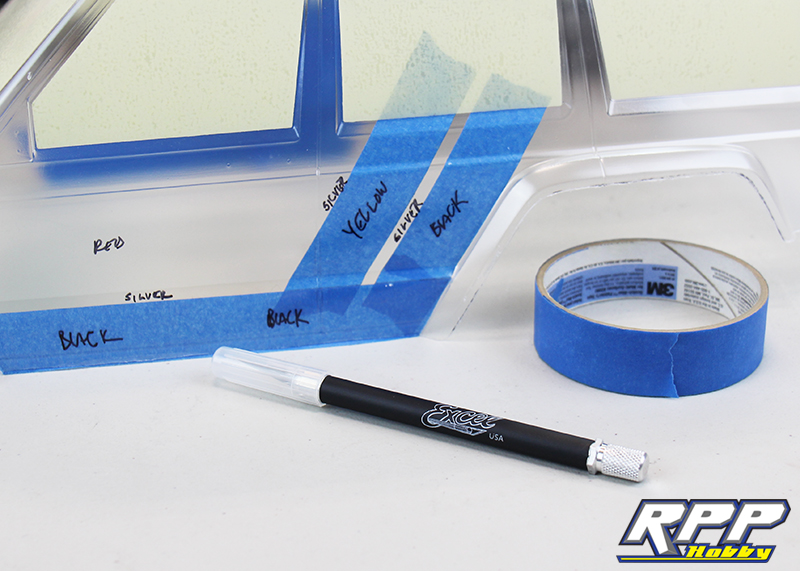
First thing we did was cut the body out along the factory lines and apply the factory window mask. Then, we sorted out what we wanted for a paint job. After trying a few different stripe patterns with our masking tape we came up with a look we were happy with. We also labeled where each color will go with a marker on the outside of the body/paint film.
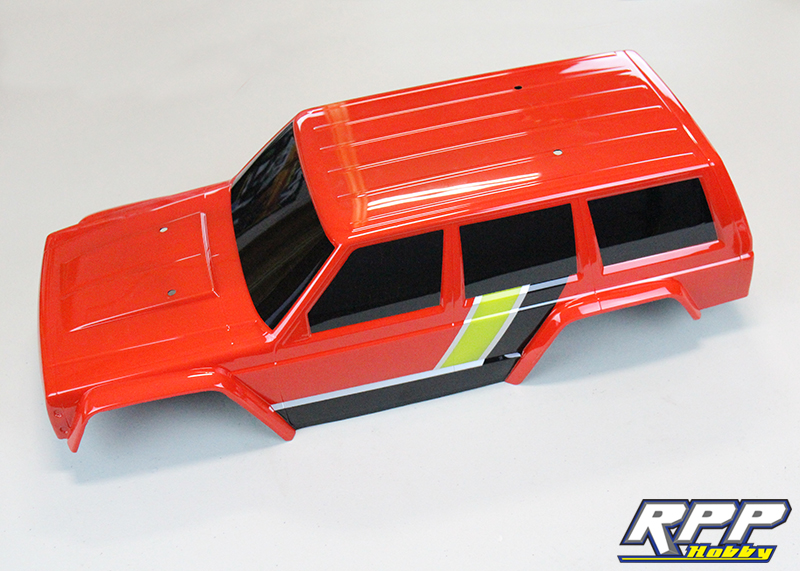
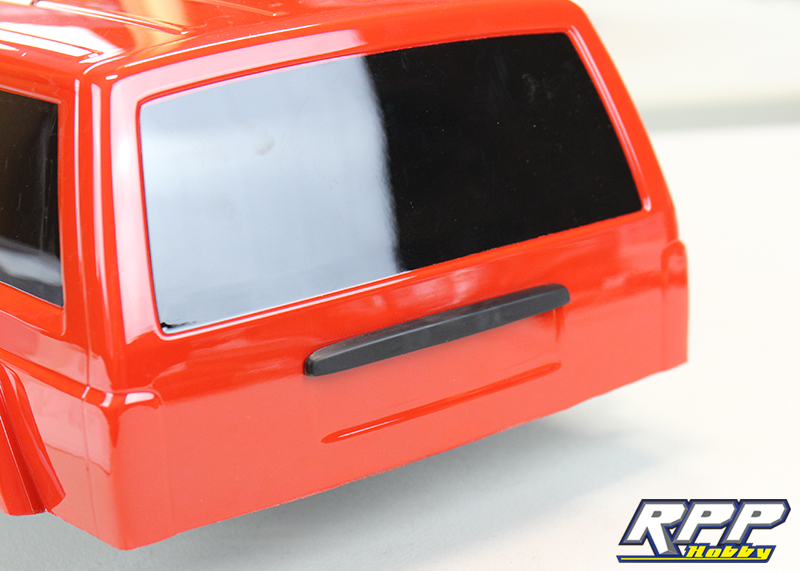
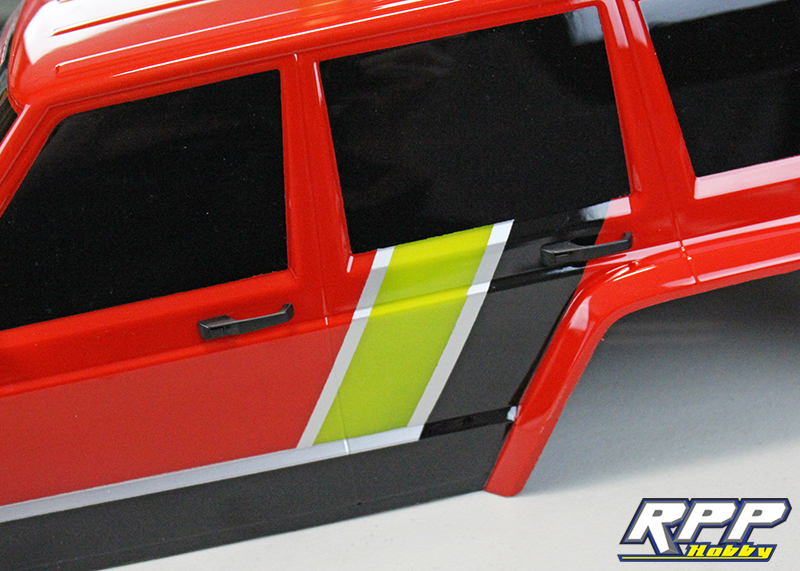
Snap your fingers and it’s done! Well, not really. If only it was that easy, right? We started with our bright red base color first. Then, removed the masking tape for the silver lines and painted the whole inside of the body silver to brighten up the red even more. Next, remove the masking tape for the yellow stripe and paint as needed. Lastly, we backed the whole body in black to “tint” the windows and paint the main bottom stripe. In hindsight, we should have backed the yellow with silver before applying the black. This would have brightened up the yellow stripe quite a bit, but we are still happy with the overall look.
Time to move on to the details. Using your hobby knife trim any remaining flashing left on the plastic body parts after removing them from the parts trees.
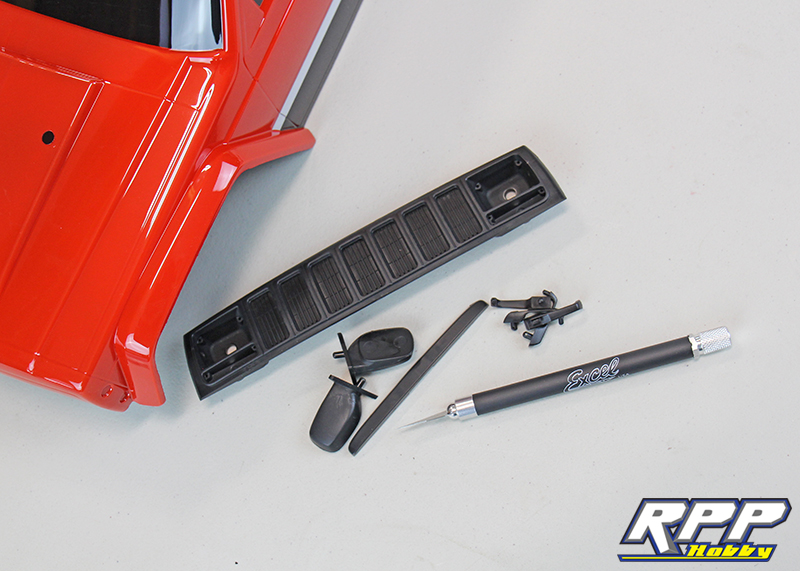
Using a body reamer, carefully drill the holes for the plastic details and attach them per the instructions.
Holes drilled for the mirrors.

Driver-side mirror in place.

Next we installed all four door handles.
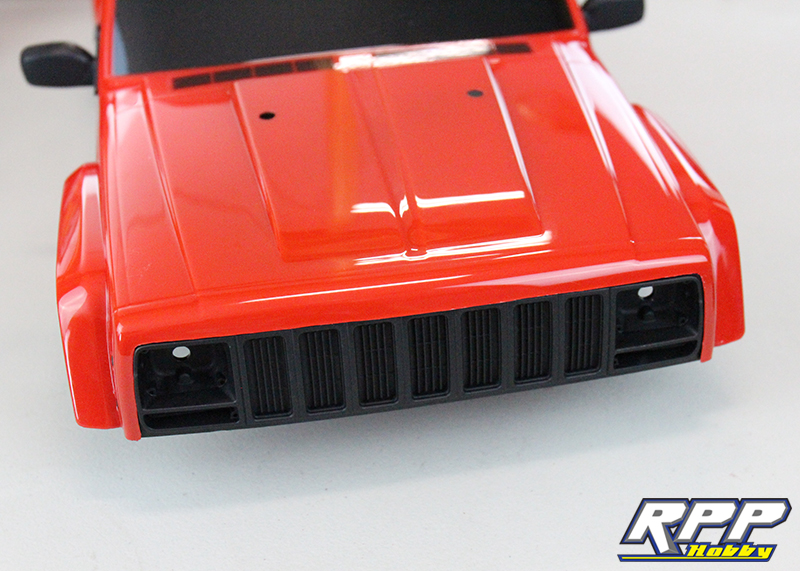
Trim the body to fit the grill. Notice we cut the bottom of the body off. You should have a thin strip of body left on the bottom of the plastic grill, but we trimmed it off to make fitting the grill a little easier. Take your time here for the best fit possible.

Keep checking the fit of the grill frequently as you trim.
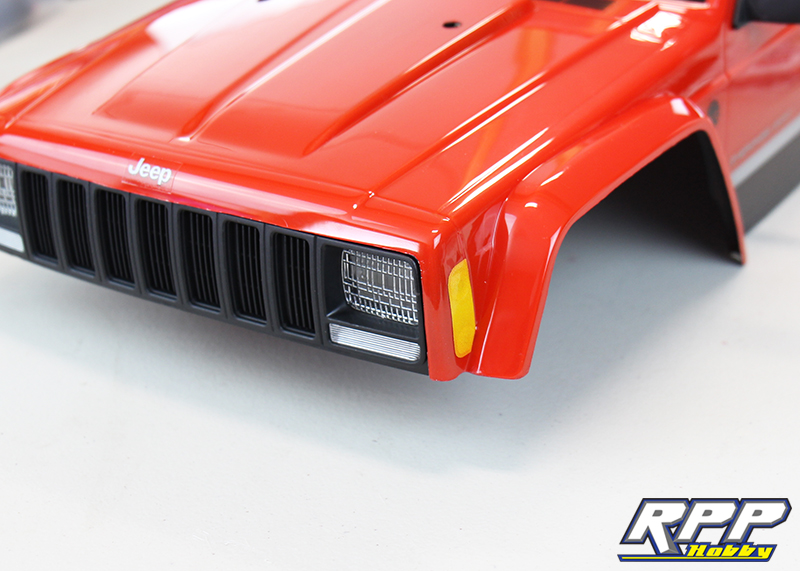
Drill the holes in the body to attach the grill, and double check fitment again. Once you are happy attach the grill with the supplied hardware and apply the marker light stickers. We also installed the lenses in the grill at this point too.
To ensure the grill stays firmly in place we applied a few dabs of Shoe Goo to the hood and grill. We used small plastic spring clamps to hold everything in place until the glue was dry.

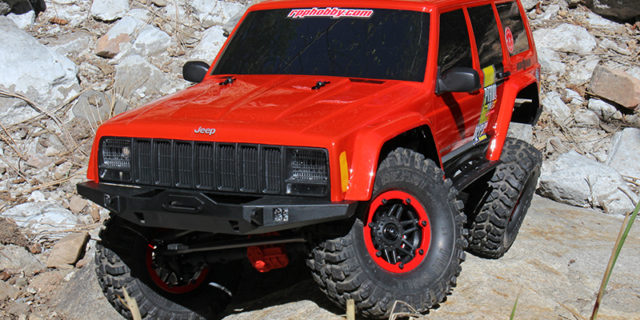
Apply your decals and boom, you have an awesome scale Jeep Cherokee that is as capable as it is good looking!


Check out the video of our first trail run with this Jeep Cherokee build here!
Probably the best build series I’ve ever read. Thank you so much for the tips and thorough documentation, it’s helped me so much!