It is officially time for part 6 of our Axial SCX10 II Kit build. Now that we pretty much have a rolling chassis it is time to install the electronic speed control, aka ESC. We will also plug in the receiver to finish out the electronics install. After that, we will be making an upgrade in the wheel and tire department to give our rig a little different look than the rest of the SCX10 Cherokee crowd. Ready to get started?
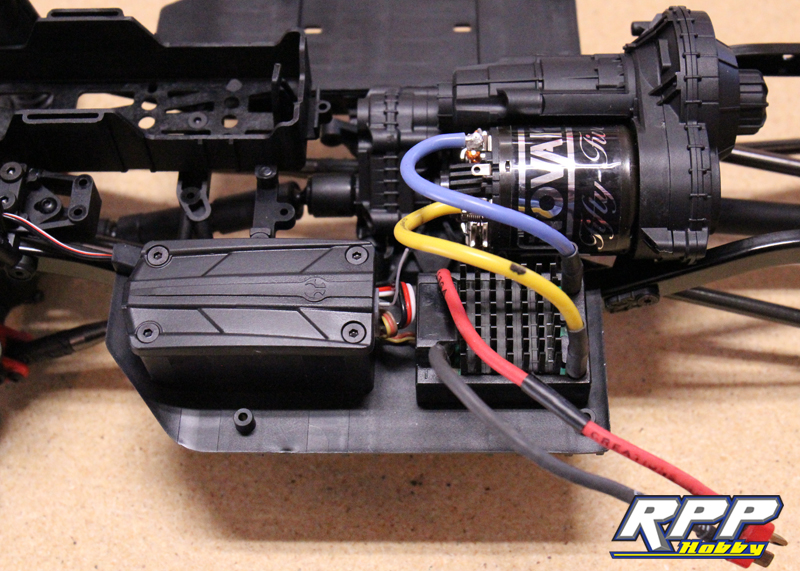
Our choice for the ESC is an older, but barely used BR-XL ESC from Holmes Hobbies. Holmes Hobbies manufactures high quality electronics for pretty much anything you need in the scale R/C world.
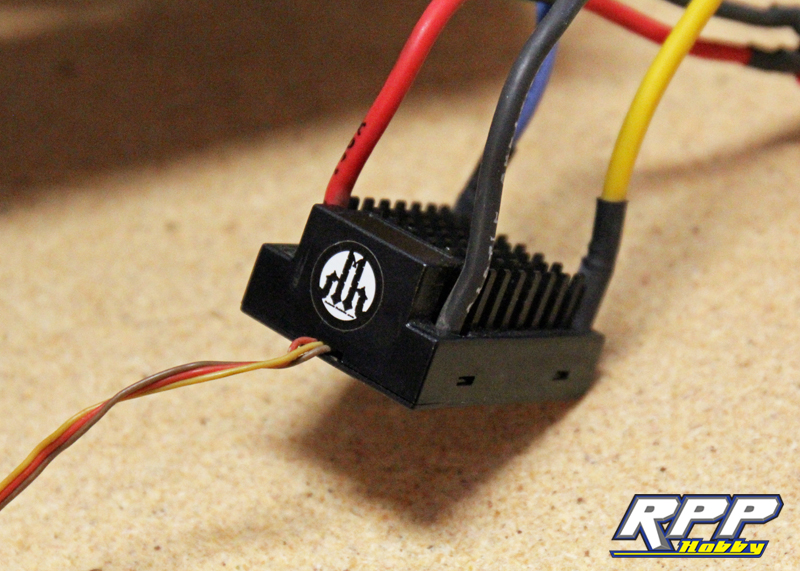
We used double sided tape to mount the BR-XL ESC next to the motor, with the receiver wire facing the receiver box.
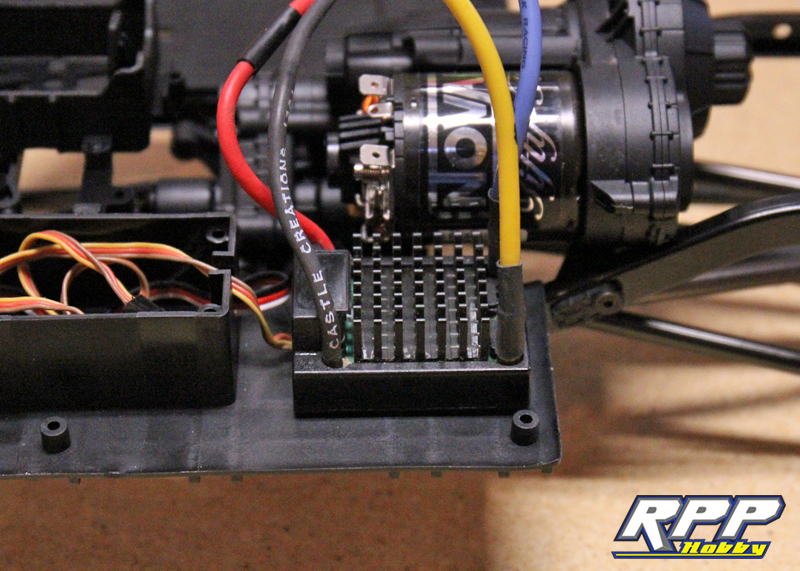
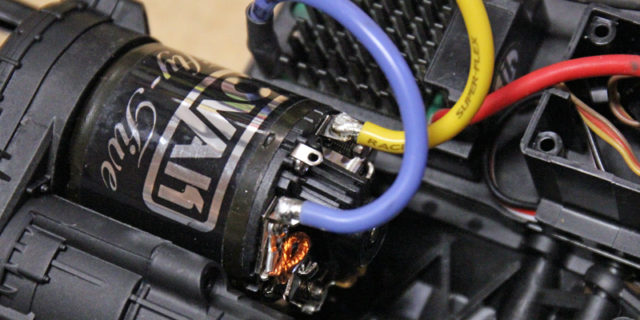
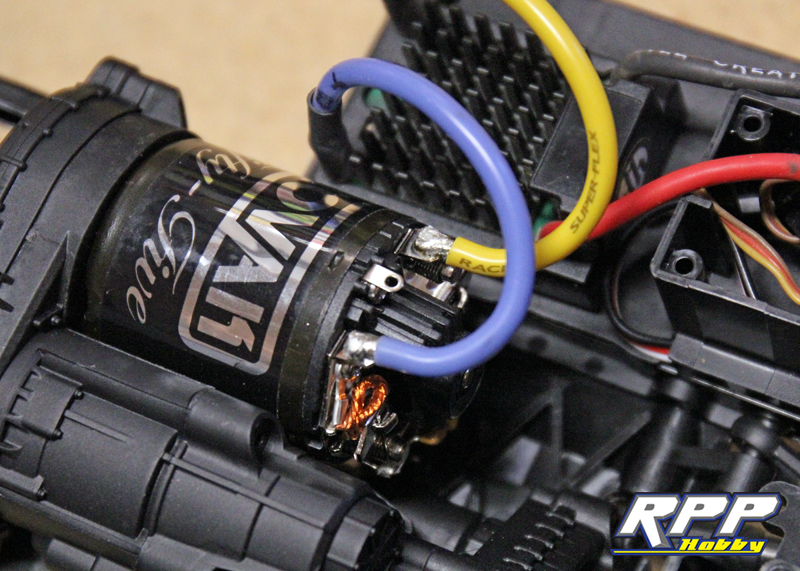
Next, we soldered the motor to the ESC. We always recommend using a high quality soldering station for R/C electronics. A cheap 45 watt soldering iron from Radio Shack isn’t going to generate enough heat to get the job done properly. We also suggest using high quality silver-solder for the best electrical connection. Use your iron to “tin” the motor tabs and wires with your silver-solder before making the connection. Motors tabs on our 55t motor all tinned up!

Once your wire tips are tinned you can solder them to the motor tabs.
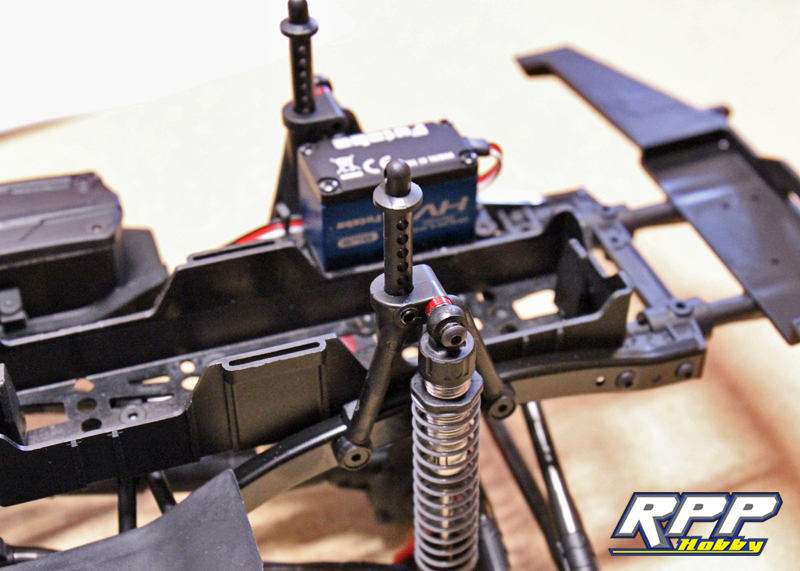
Time to install the receiver. We used double sided tape to mount the receiver into the water resistant box built into the chassis. Plug your servo and ESC in, and route your wires through the slot using the supplied silicone grommet.
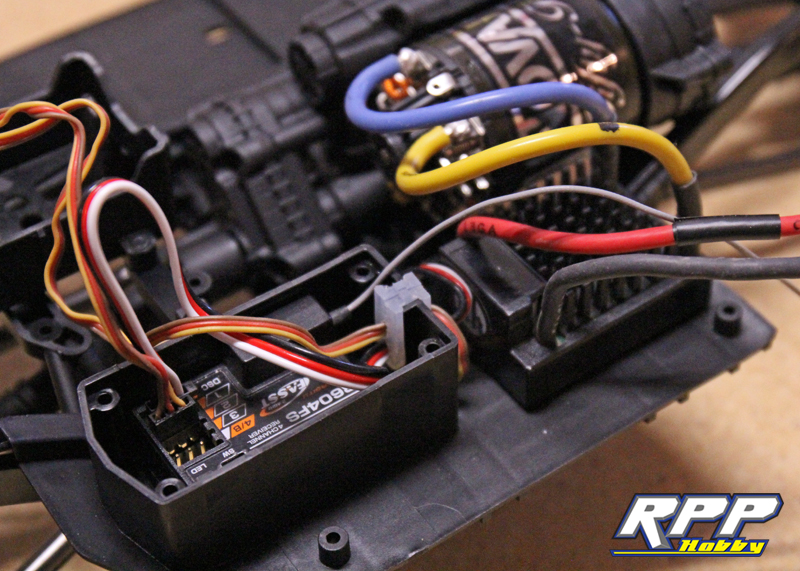
Tuck your wires neatly into the receiver box and install the lid. Careful not to pinch any wires during this process. Pretty tidy wiring set-up.
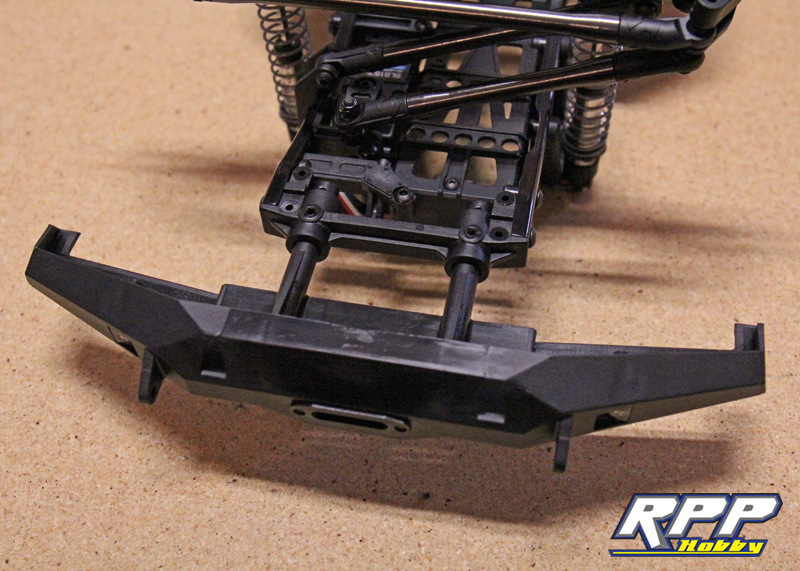
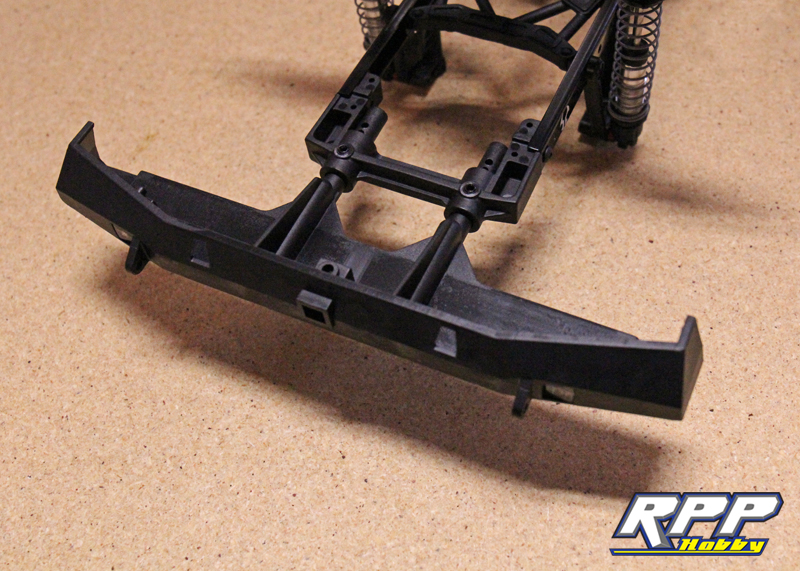
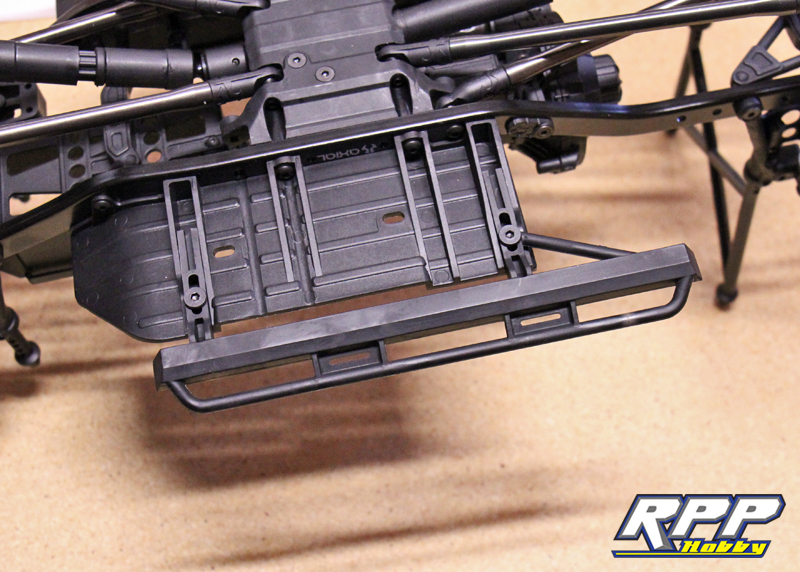
Moving on to the bumper install next. Slide the front one into place and secure with the supplied fasteners.
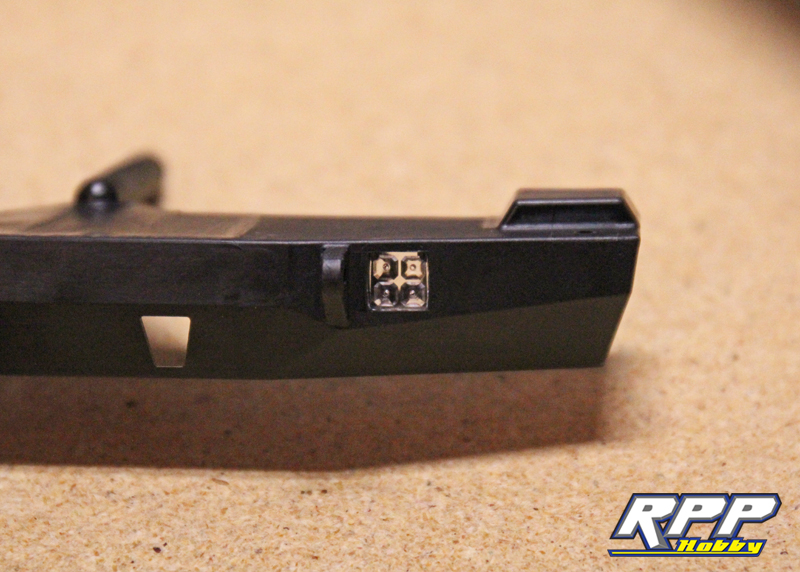
Install the LED light lenses into place.
Rear bumper installed.
Locate your body posts next. Make sure to trim any excess flashing off.

Front body posts in place.
Rear all ready to rock.
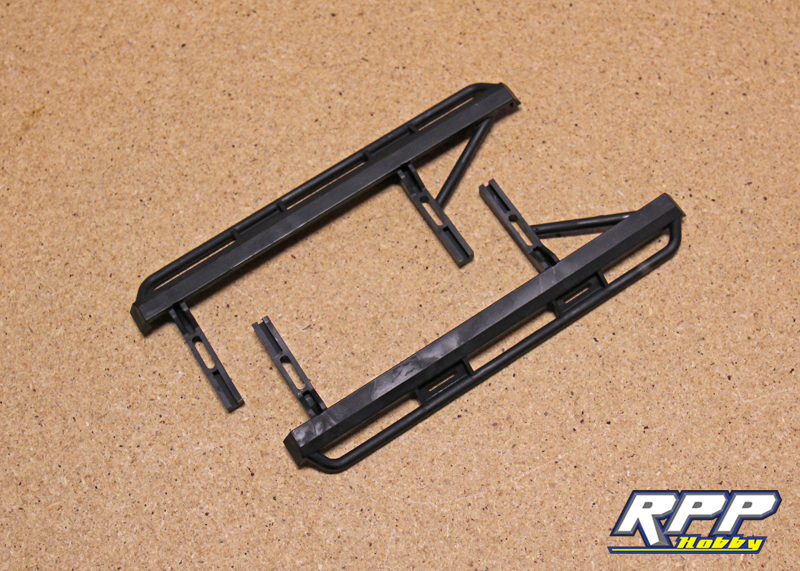
Time to trim up, and install the supplied JCR Off Road rock sliders.
Mount the sliders in place and lightly tighten the screws up. Then fit the body onto the posts and you can adjust how much the sliders stick out from the body, then go back and tighten everything up.
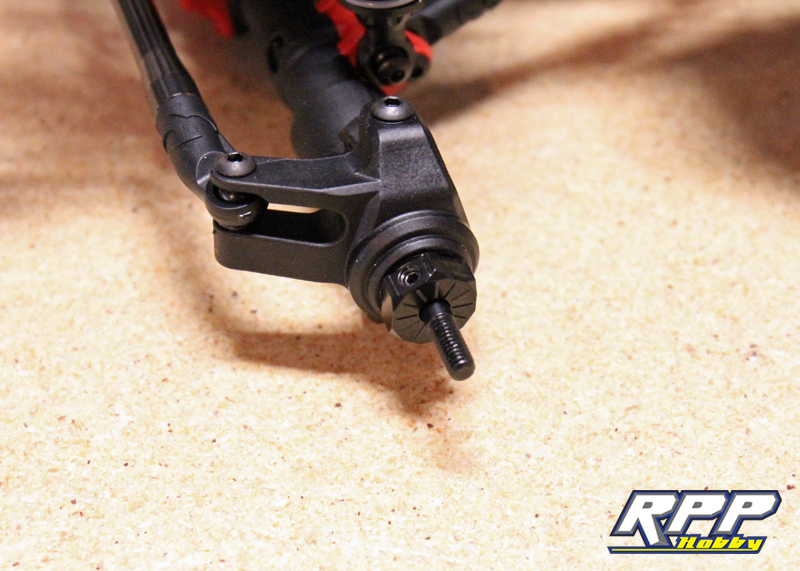
Wheel hexes are installed next with the drive pins and supplied M3 set screws.
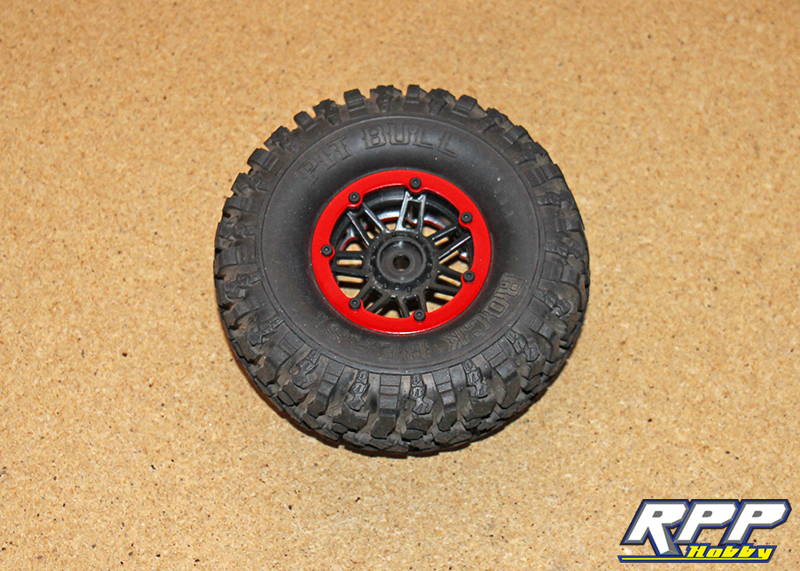
And last, but definitely not least, our wheel and tire upgrade. Rather than use the stock wheels and tires in this kit we opted to upgrade and customize a little here. For the wheels we went with Pit Bull RC’s 1.9 black beadlock wheels, which are licensed replicas of Raceline’s Injector wheel. The tires are slightly scrubbed in Pit Bull RC’s original 1.9 Rock Beast. We painted a second set of 1.9 chrome beadlock rings bright red to replace the stock black rings that came with our wheels. The red we used should match the body color of our Cherokee nicely. Plus, when the rocks start scraping the paint off the rings it will be silver underneath for a more scale look.
That takes care of part 6 in our SCX10 II kit build series. Our next post for this R/C truck will cover mounting the wheels and tires, spraying some paint on the Lexan body and adding some scale detail. Thanks for reading and stay tuned for more on the RPP Hobby blog.
0 Comments
Trackbacks/Pingbacks