Welcome to Part 3 of our Axial SCX10 II Kit build. In the first two installments, we went over assembling the axles, suspension and steering links, and building the shocks. For Part 3 of this build, we will go into detail on the transmission and transfer case assembly. Axial has stepped up their scale game with this new transmission and t-case. The look of everything was designed with a real 1:1 4×4 in mind. Let’s dig in and see what they brought to the table with this new set-up!
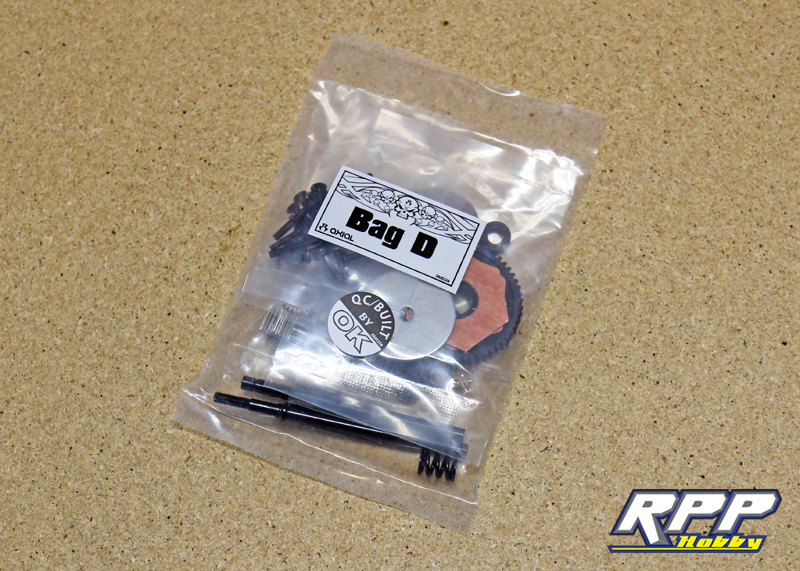
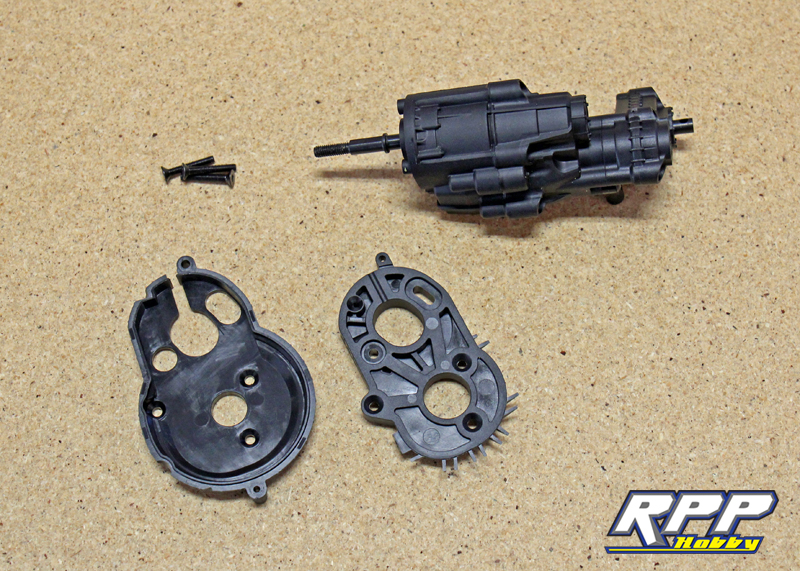
First thing we need to do is locate Bag D in our parts stash.
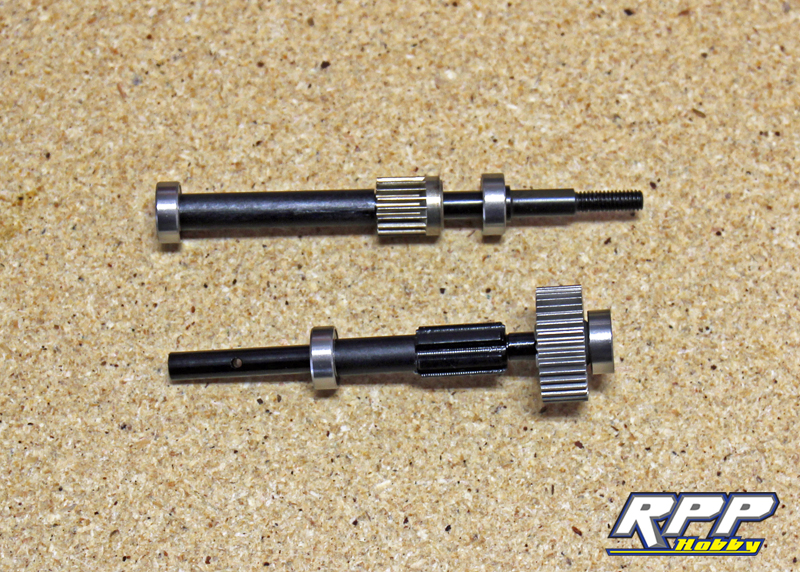
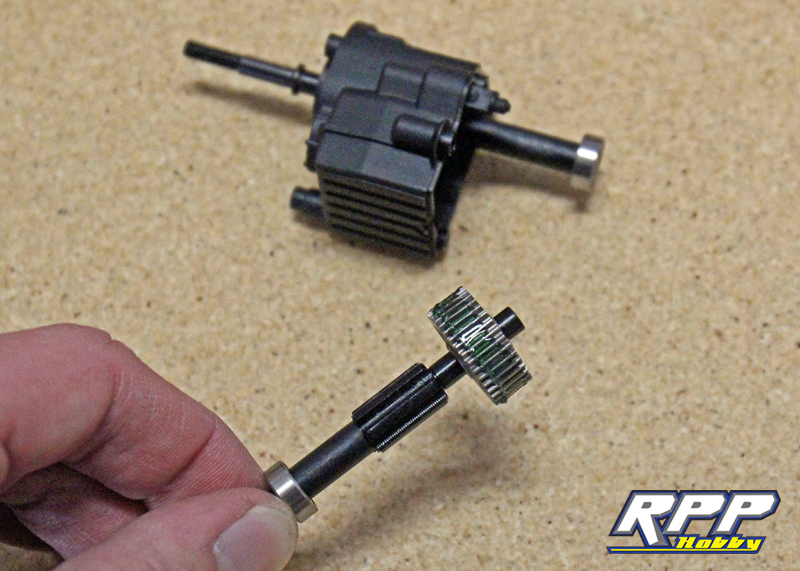
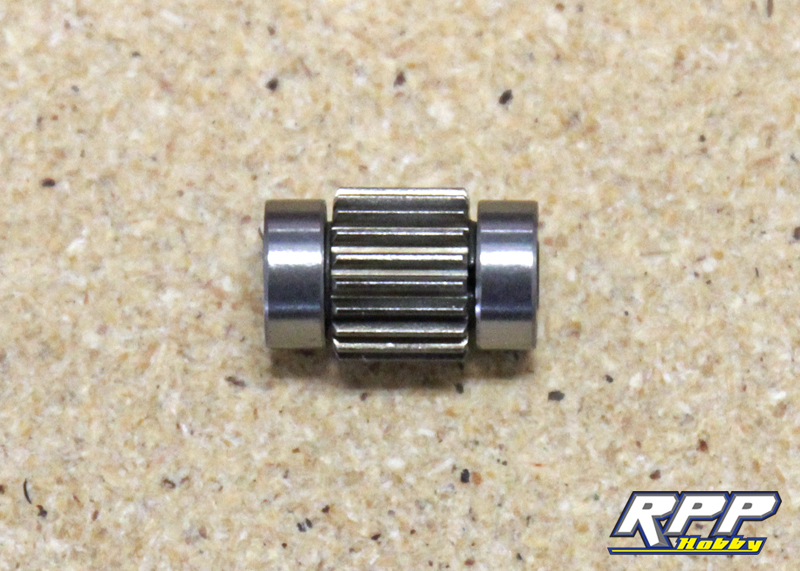
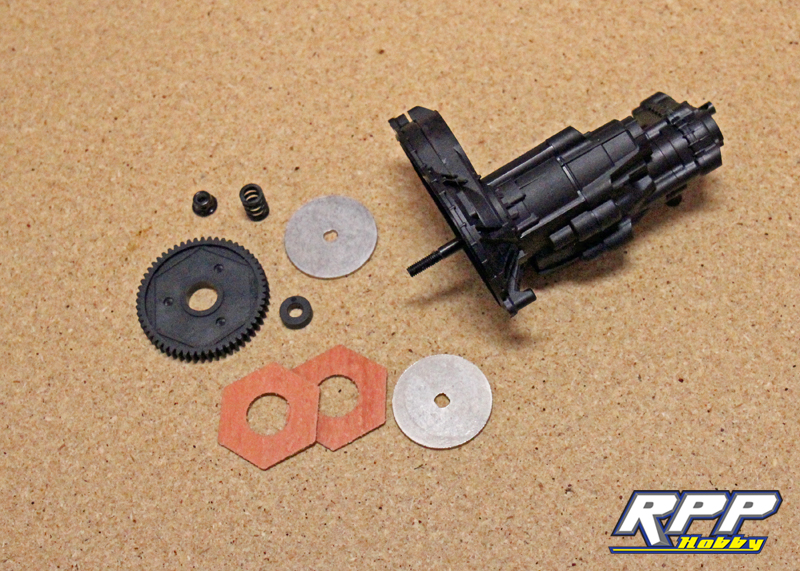
Slide the first bearing onto the shaft. Then install the drive pin and slide the required gear into place over the pin. Locate your plastic sleeve and install it into place and slide the second bearing into place. Main shaft is complete! Next install the drive pin in the short side of the second transmission shaft, slide the gear into place and install the bearing. Install the short plastic sleeve and last bearing into place and you are done with step 18.
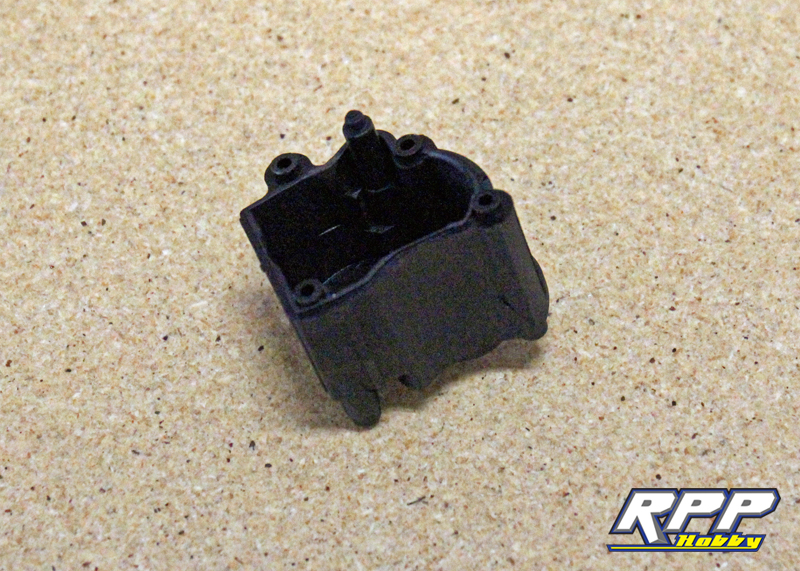
Find your transmission case next, and the small plastic pin that needs to be installed into the case.
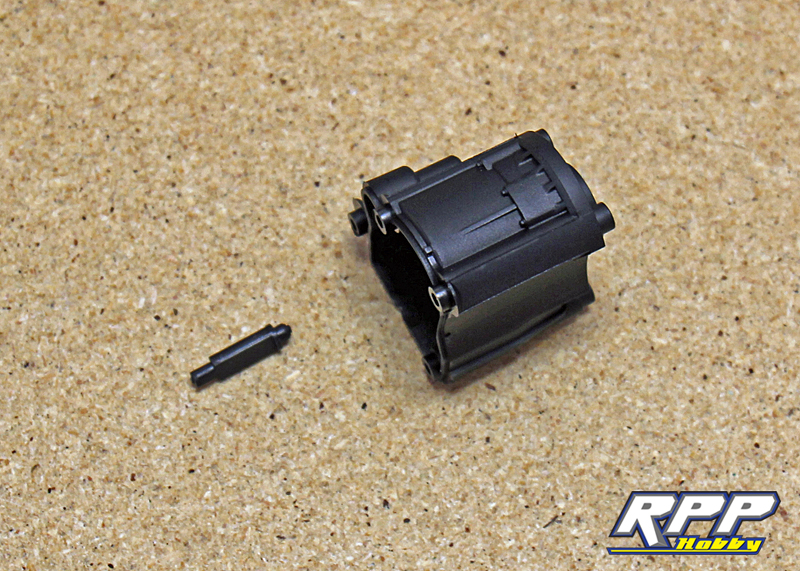
Insert the molded plastic pin into place in the transmission case. Note the direction.
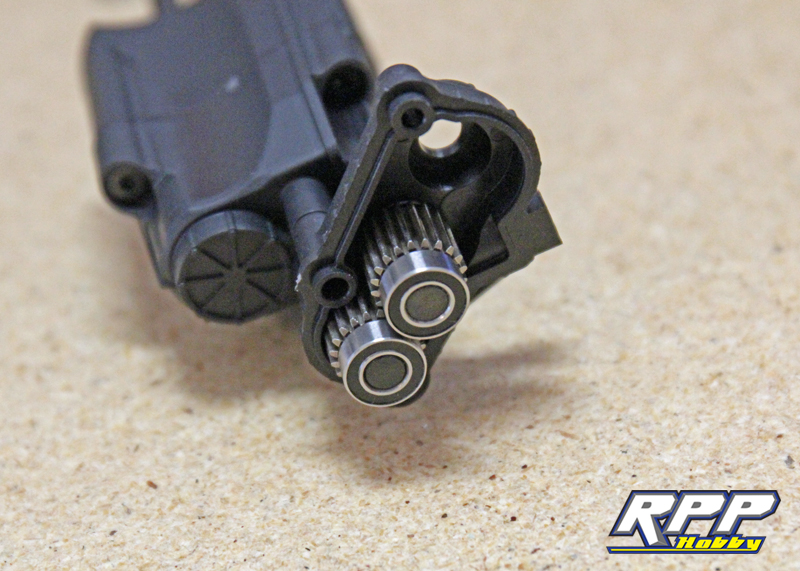
Insert the gear shafts into place per the instructions.
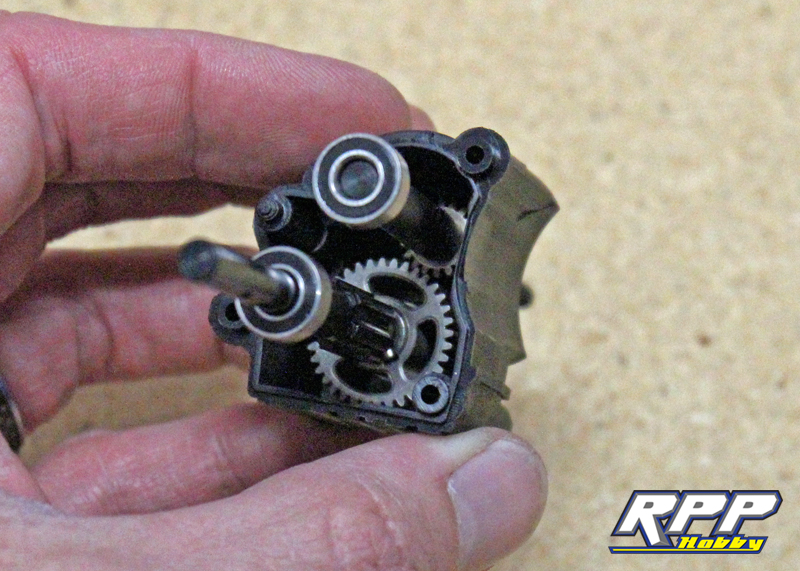
Don’t forget to grease the gears a little! No need to go overboard here, just a thin even layer of grease will do.
Carefully mate the two halves of the transmission case together.
Install your plastic brace onto the base of the transmission with the supplied M3 screw.
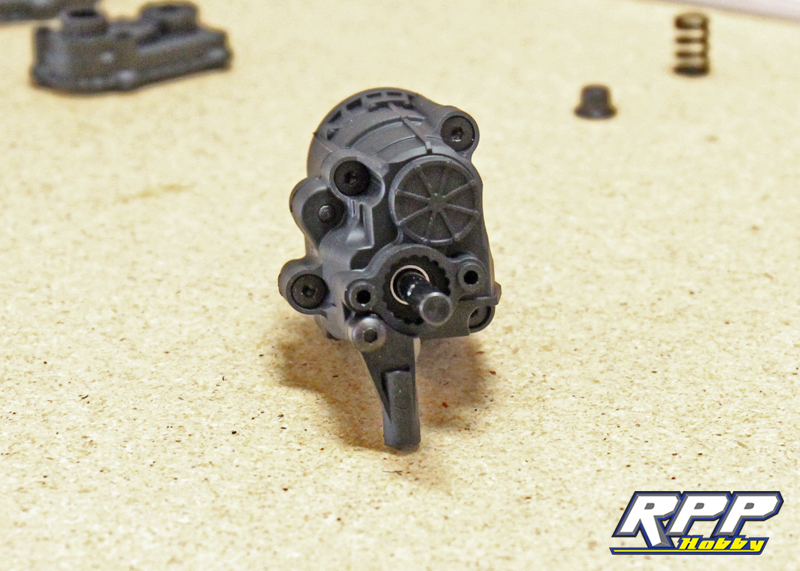
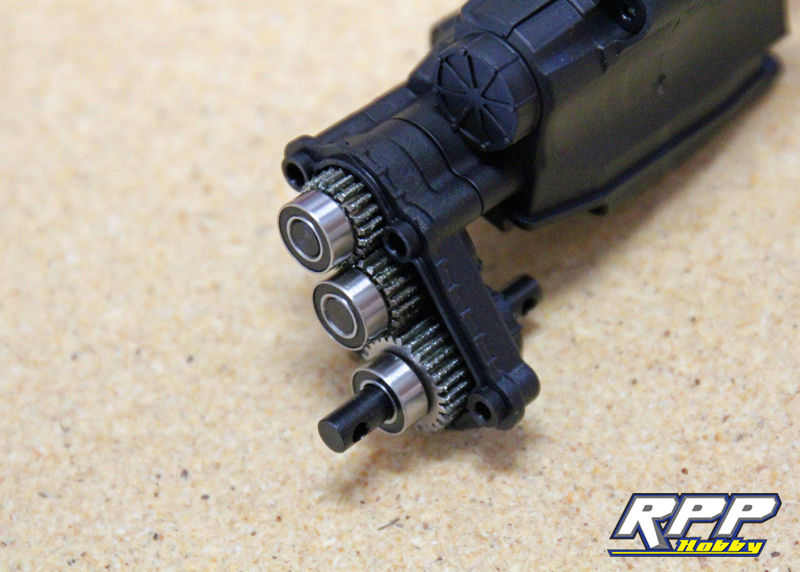
Now locate your first half of the plastic t-case housing and press it into place on the back of the transmission.
Using small pliers install the drive pin into the shaft that is sticking out of the t-case.
Slide the gear into place over the pin and install the supplied bearing to the end of the shaft.
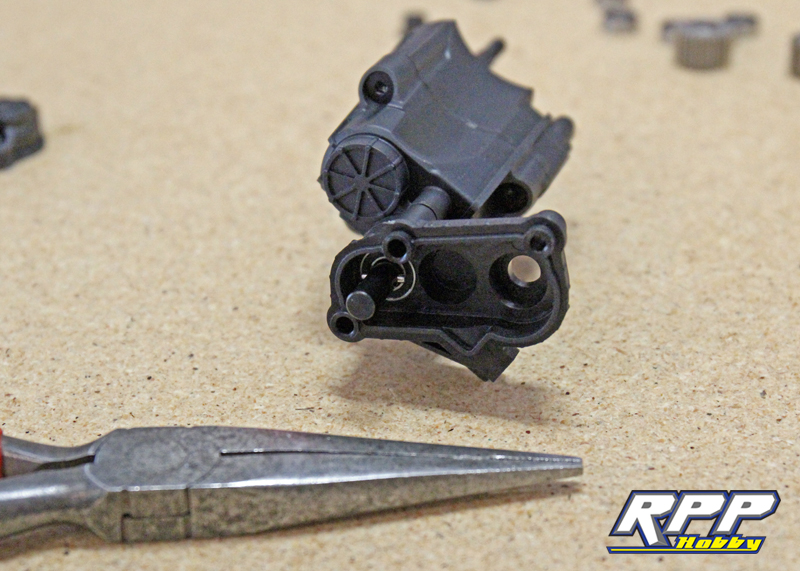
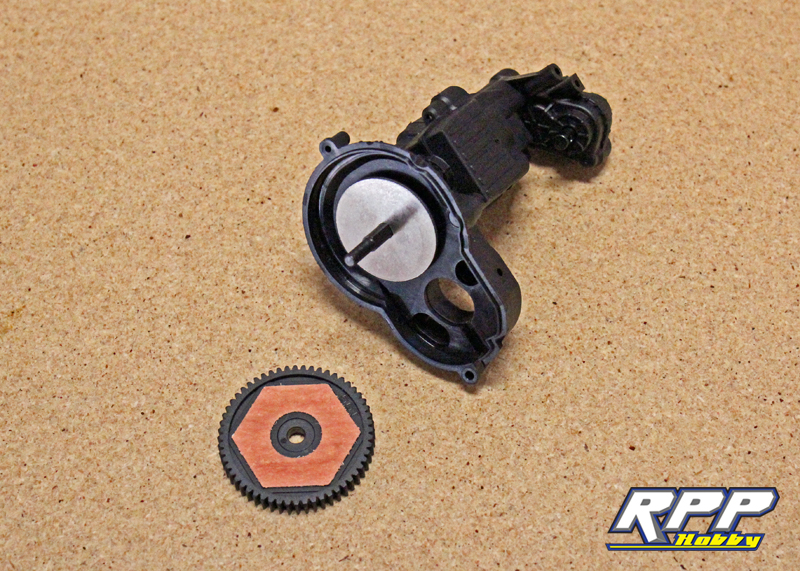
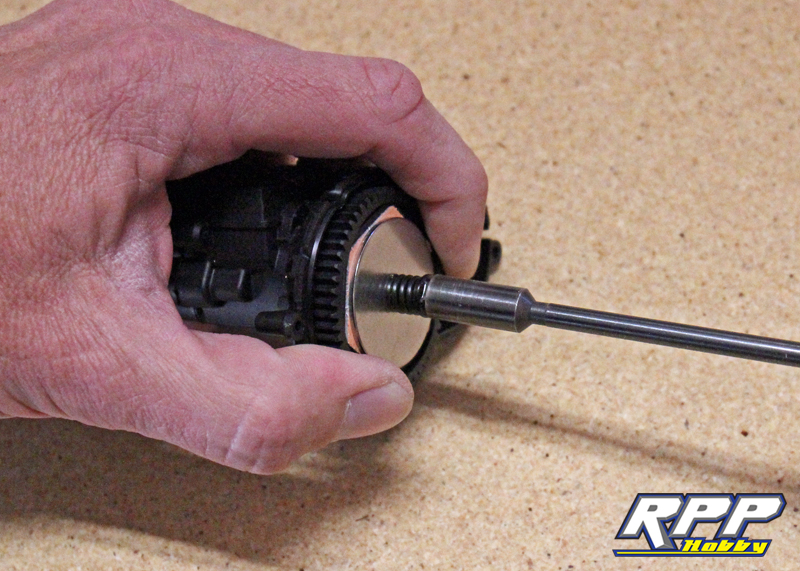
Build your idler gear next.
Insert the idler gear assembly into place.
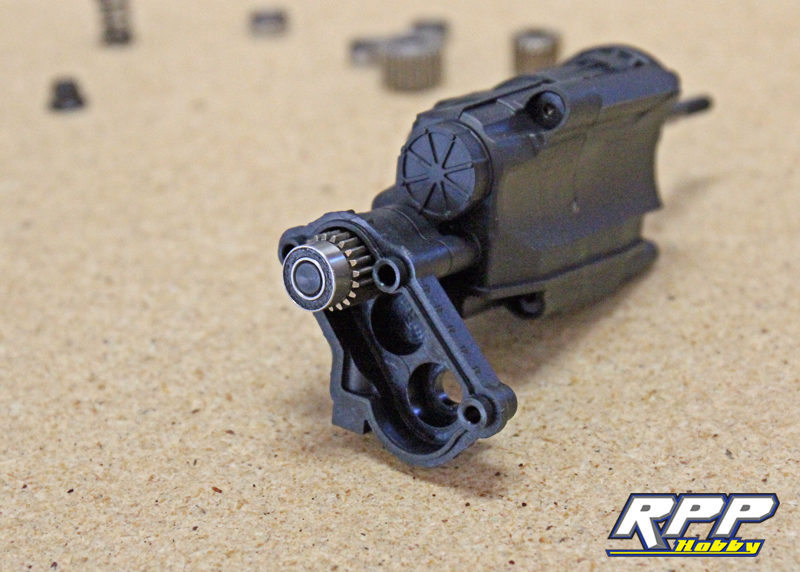
Assemble the driveshaft output, add a little grease to the gear and gently slide it into place.
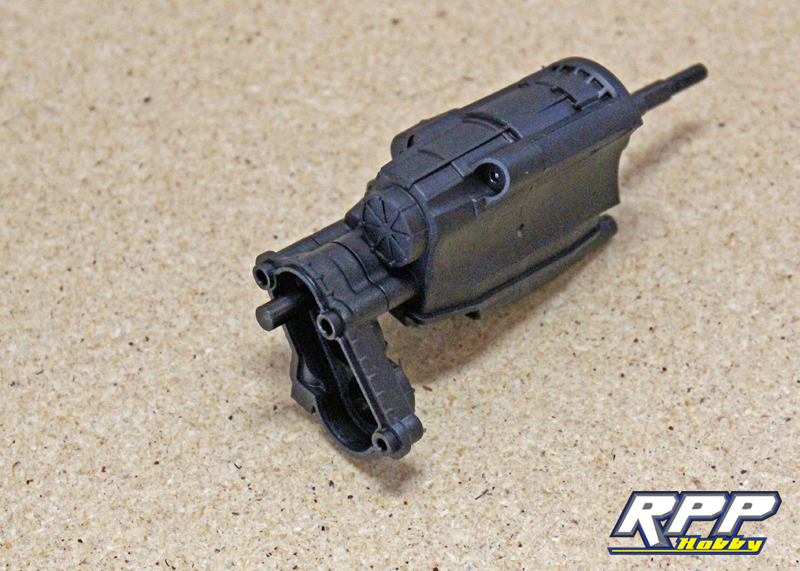
Install the second half of the t-case housing and secure with the supplied hardware.
Time to install the motor plate.
Install the motor plate first, then the spur gear shroud second.

Locate your slipper clutch assembly.
Slide one of the slipper plates onto the spur gear shaft. Insert the round plastic spacer into the center of the spur gear. Then, apply the slipper pads to both sides of the spur gear.
Slide the spur gear into place up against the first slipper plate. Install the second slipper plate, slide the slipper spring into place, and tighten down the whole assembly with the supplied M4 nut. We tighten the M4 nut until it stops, then back it off one full turn to start. If you notice that in slight binds the clutch is slipping, tighten it up another 1/4 turn. If the clutch isn’t slipping in really hard binds, back it off a 1/4 turn. You may need to chase this around a bit until you find a happy medium.
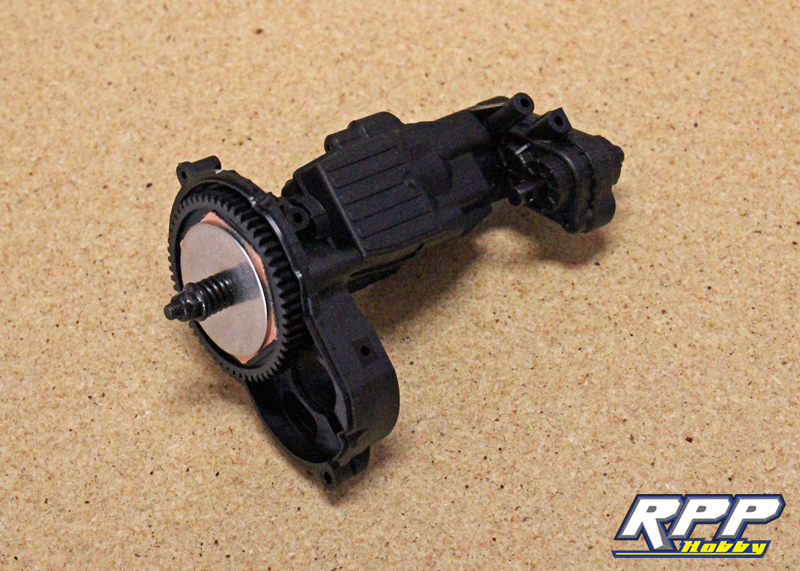
Your transmission is almost complete! We did notice the drivetrain felt a little “gritty” after assembly as we spun it with our fingers. The gears should seat themselves in after a couple batteries though.
Grab the supplied pinion gear and M3 set screw. Add a dab of thread lock to the set screw and thread it into the pinion gear.
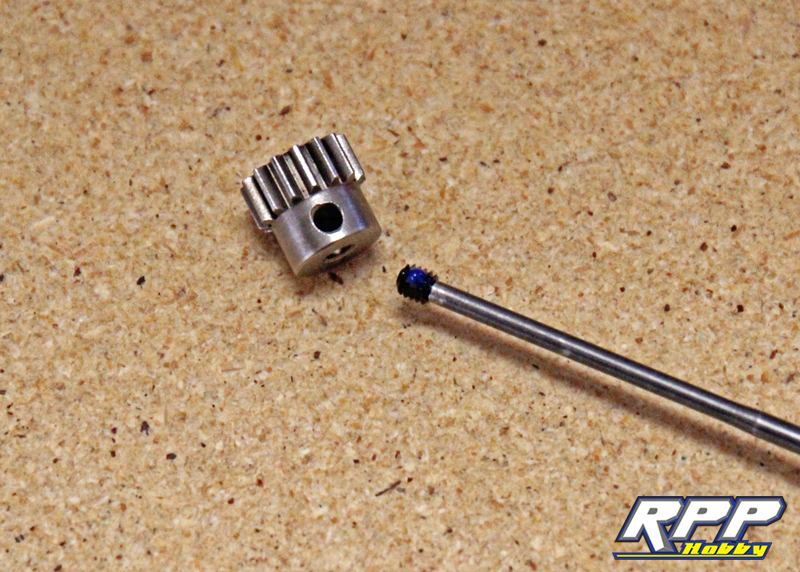
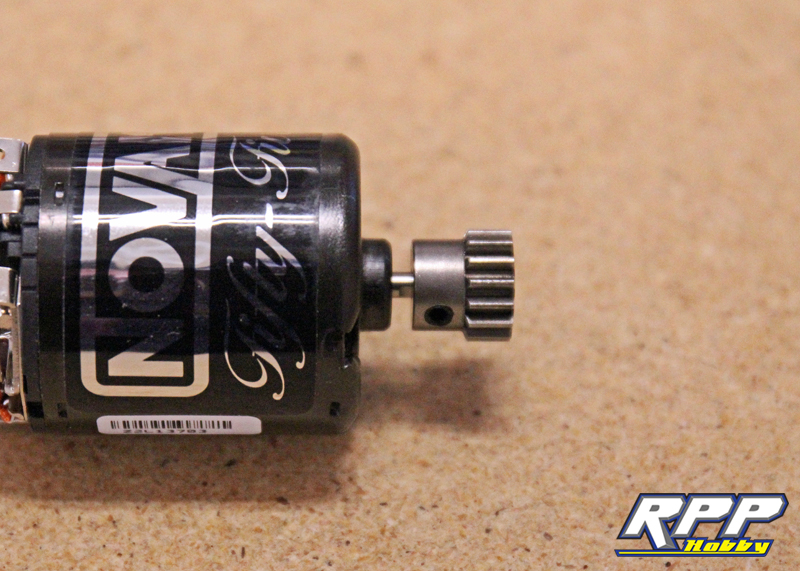
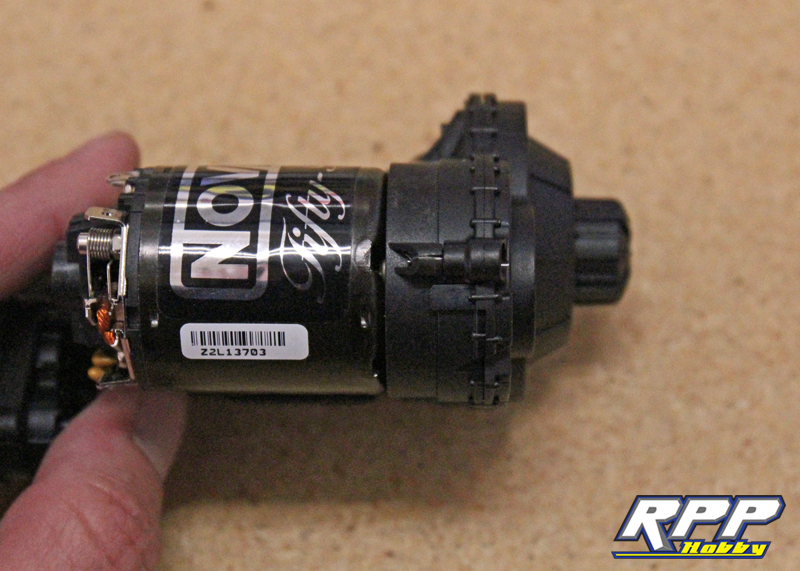
Slide the pinion onto the motor shaft leaving about a 3mm gap between the motor can and the pinion gear, tighten down the set screw once the gear is in place. As you can see we decide to go with a good old trusty 55t motor in this build. Since we will be running 3s in this truck we should have a decent combination of torque and wheel speed.
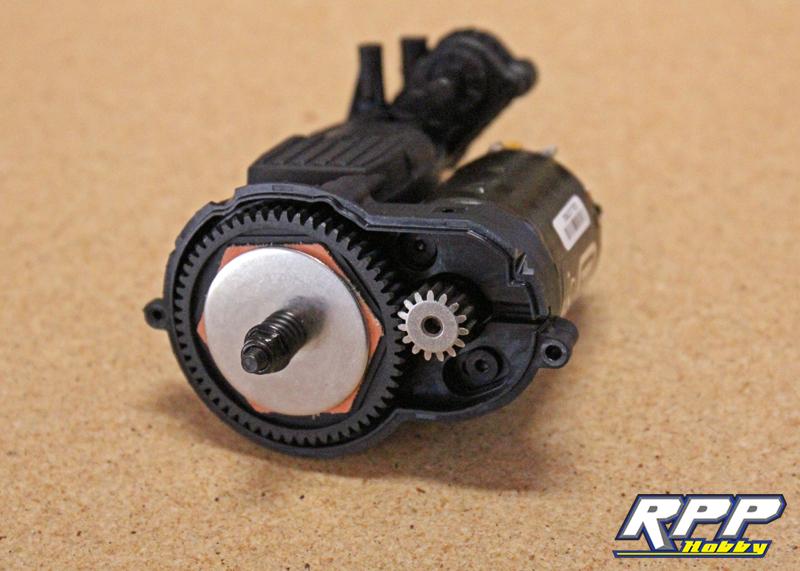
Install the motor using the supplied motor mount screws. To set the gear mesh you can use the old paper trick, or set it by feel with very little play in the teeth.
Attach the spur gear cover per the instructions. Pay attention here! If you look closely, we cracked the transmission case while securing the spur gear cover. Problem is the screw has to pass through three different pieces of plastic here, and two of them are threaded. So, when you go to tighten everything down if you don’t hold the case together tightly while threading your screw in, your run the risk of cracking the case like we did. Next time we will drill out the hole in the spur gear shroud to clear an M3 screw to alleviate the problem.
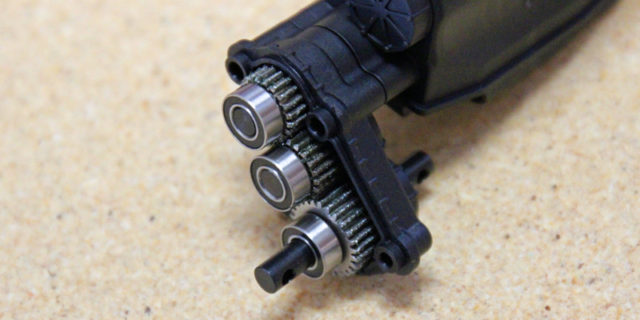
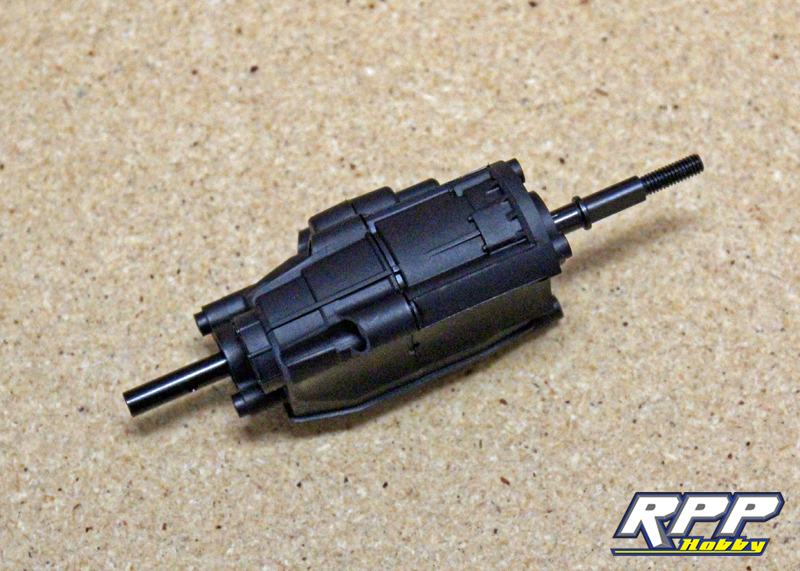
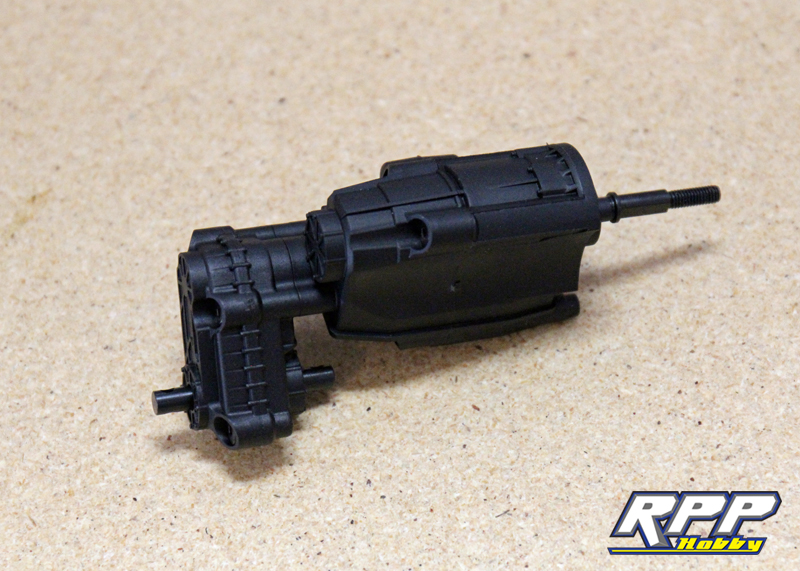
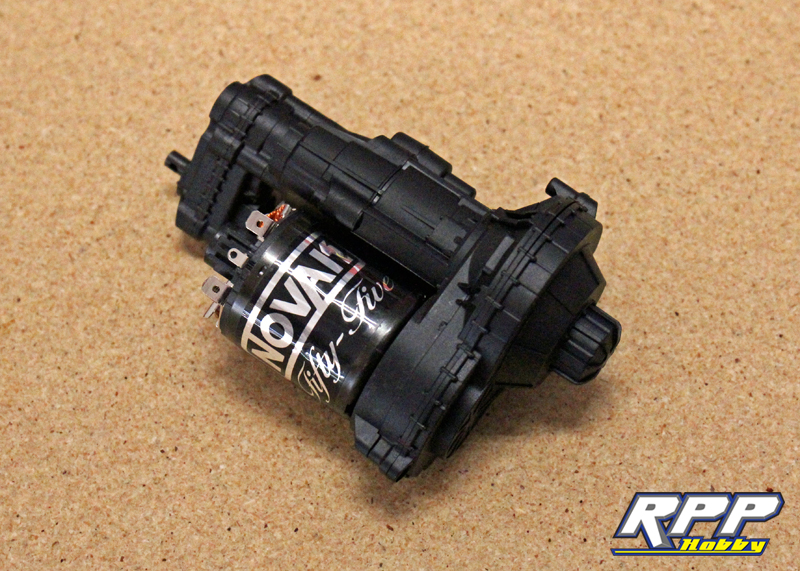
And there you have it, a complete transmission and transfer case for the SCX10 II.
Thanks for checking out part 3 of our SCX10 II build! Stay tuned for more installments as we keep chugging along on this build. In Part 4 we will go over building and installing the driveshafts, as well as prep a few parts before we start assembling the chassis. We also have a few new builds planned too. The first one will be a little outside the norm for us, but we already know it will be a fun build! Thanks again!
my rtr doesn’t have this transmission.
Correct. The RTR and kit versions of the SCX10 II have different transmissions. The cool thing is, if you want to change which transmission you want to run, both the RTR and kit have both style skid plates included.
I must say for a build thread (to call it what it is) you guys are very thorough and give great detail. I’m surprised at how no one is commenting on this. Great work guys and keep it up!!!