Our SCX10 II kit build is coming along quite well. In part one we manage to study the assembly instructions and build the front and rear axles complete. Part two of this build will consist of building the suspension and steering links, bolting them up to the axles and building the shocks. Follow along as we build the next few steps in the manual, and hopefully provide you with a few tips and tricks along the way.
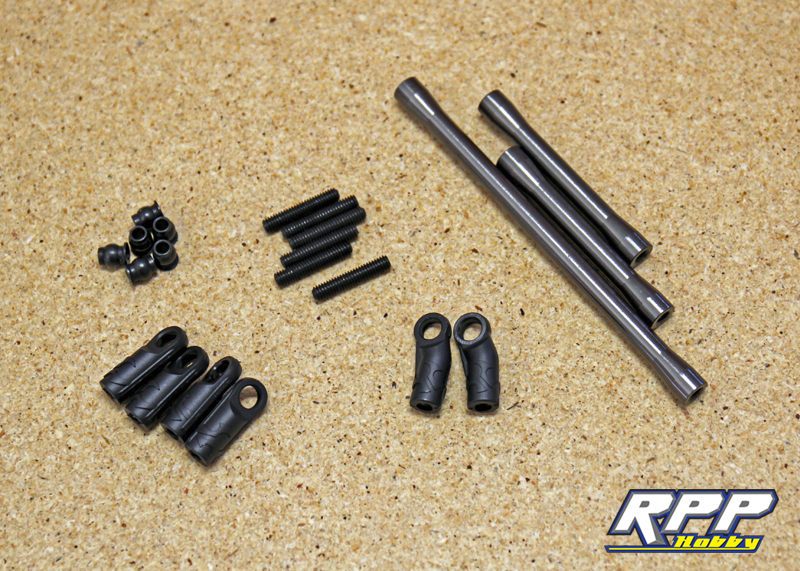
Gather all the hardware you’ll need to complete the suspension and steering links. We decided to upgrade to the steel flange balls now, rather than use the plastic ones included with the kit.

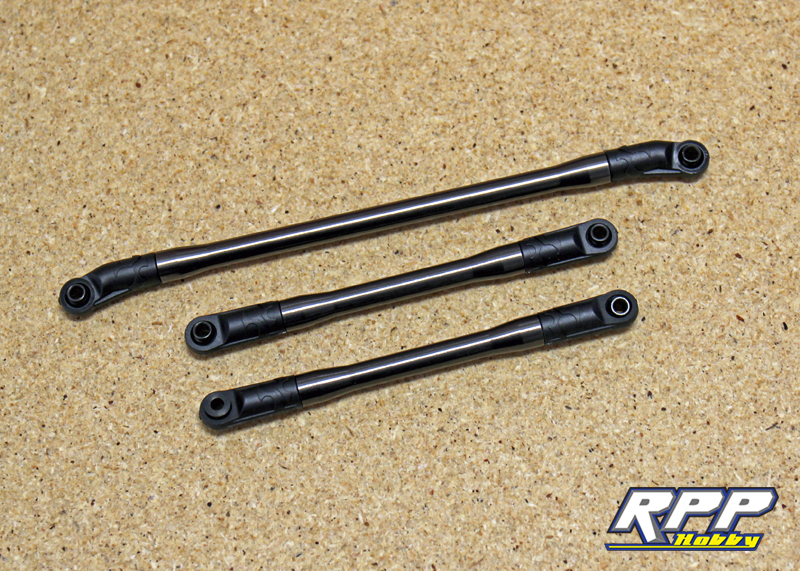
Ready to assemble the front steering and track bar links. Another improvement over the original SCX10 can be found here. We really like the upgraded 4mm studs over the old 3mm for the extra beef. Axial even tapered the link ends to match the larger rod ends.
Easiest way to assemble the links is with a couple drivers. Pop a flange ball into the rod end, slide a 2.5mm driver through the rod end and thread the stud into place with your 2mm driver.
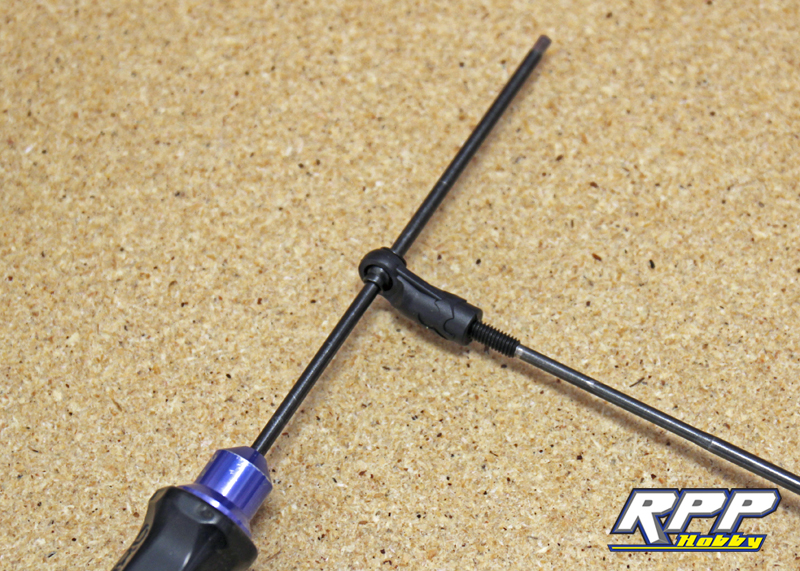
Thread all the studs about half way into the rod ends.
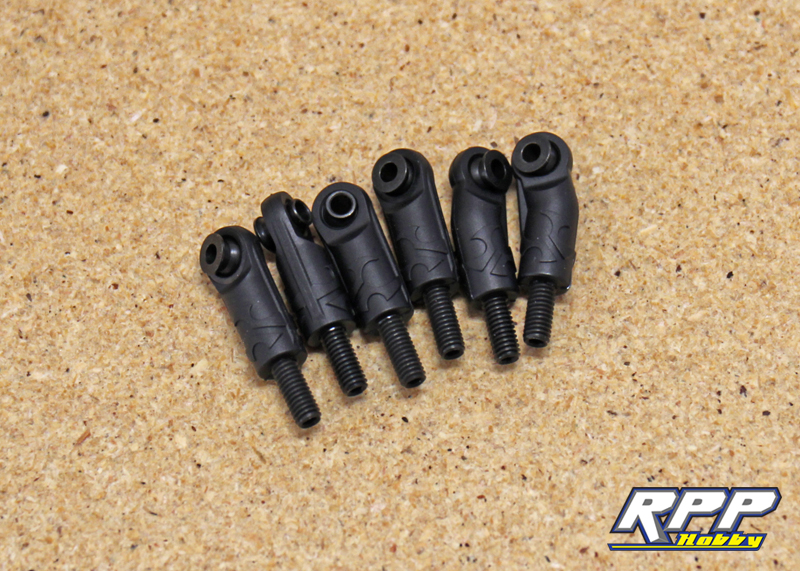
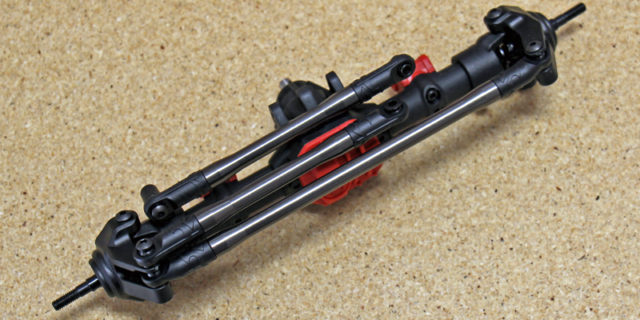
Steering and track bar links assembled! Note the intended direction of the flange balls in each rod end to ensure everything is oriented properly.
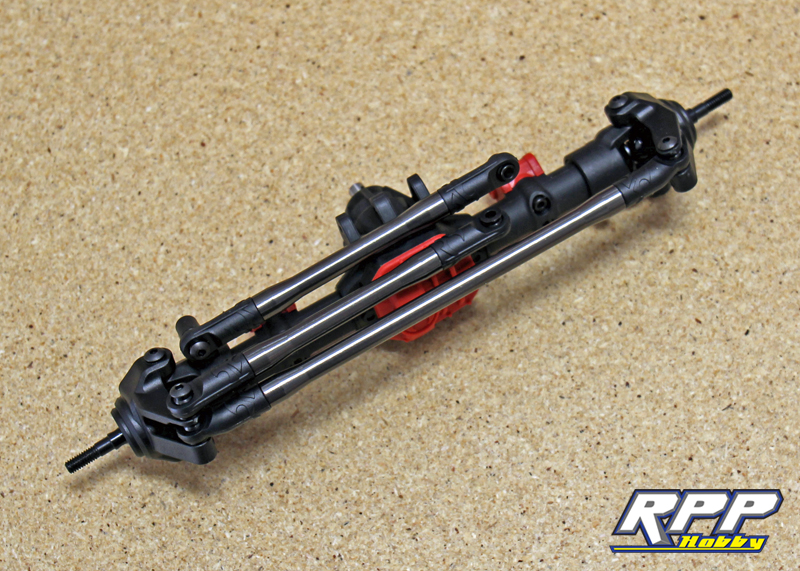
Using the supplied M3 hardware mount the steering links and track bar link onto the front axle.
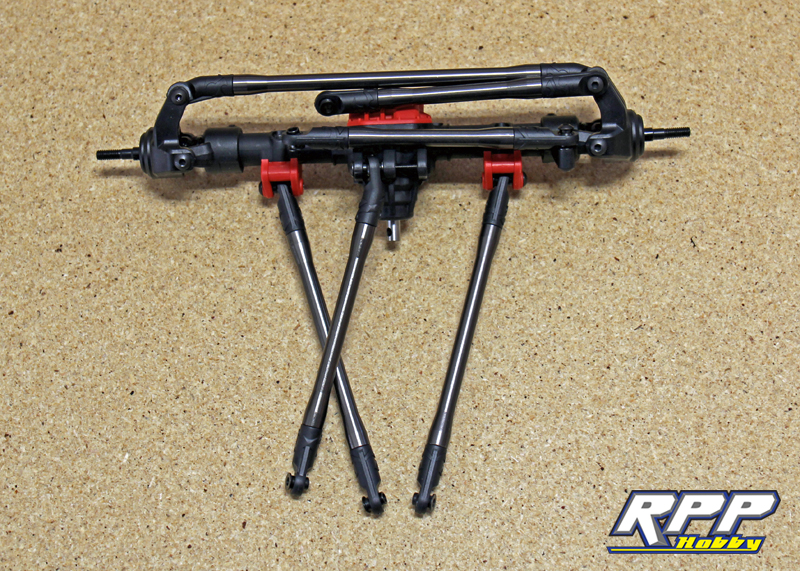
Next assemble the front suspension links, using the same method described above, and attach them to the front axle. Again, note the direction of the rod ends and the flange balls for proper orientation.
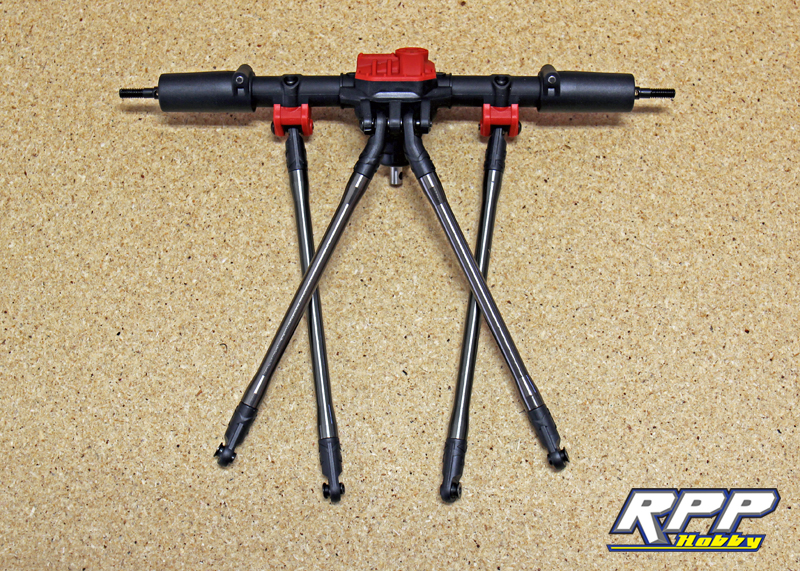
Move on to the rear axle and links next. Coming together!
Time to build the shocks. Nothing new here, pretty straight forward for now.
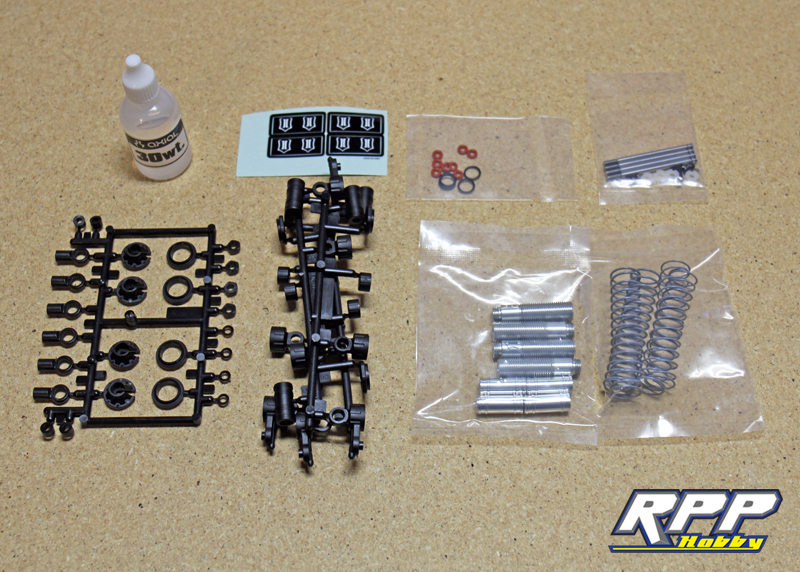
Pull together enough parts to build one shock complete.

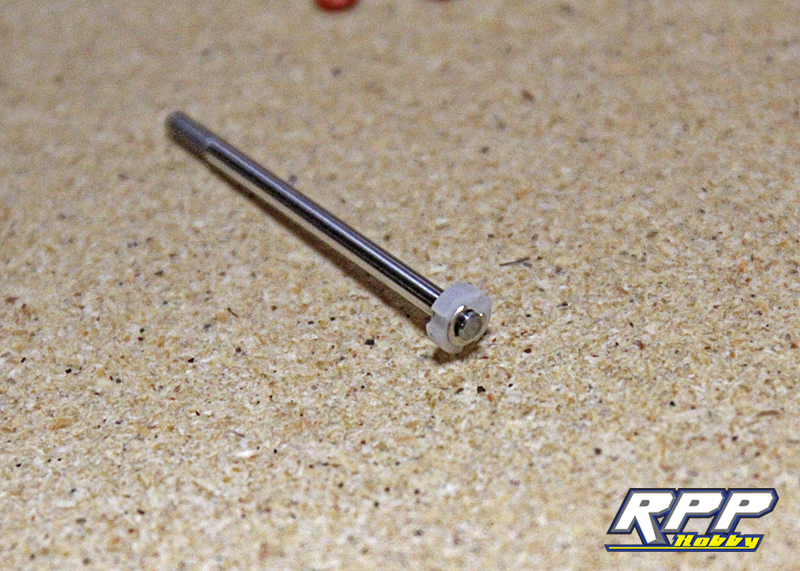
Start by snapping the lower e-clip into place on the shock shaft. Drop the shock piston into place next, and gently install the last e-clip with a pair of needle nose pliers.
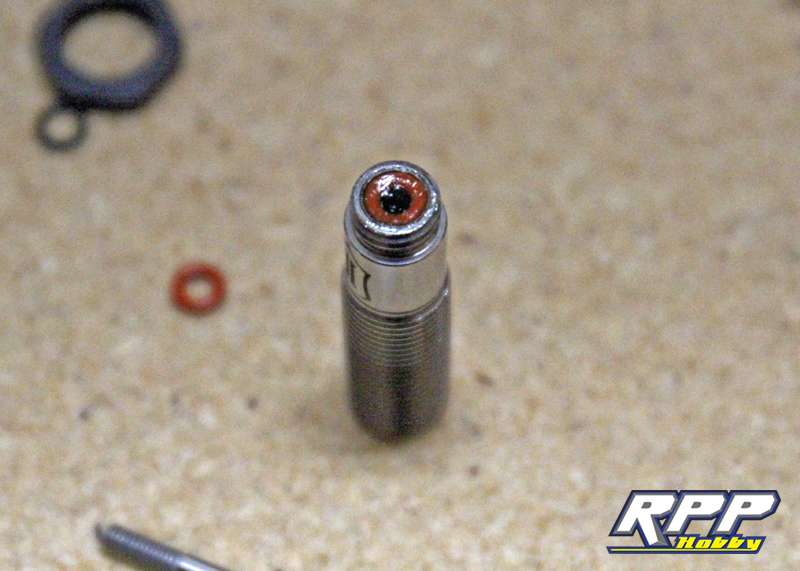
Grab your shock body, apply a little grease to the first small o-ring and insert it into the bottom of the shock body. Add the supplied plastic spacer on top of the first o-ring, then install the second greased o-ring.
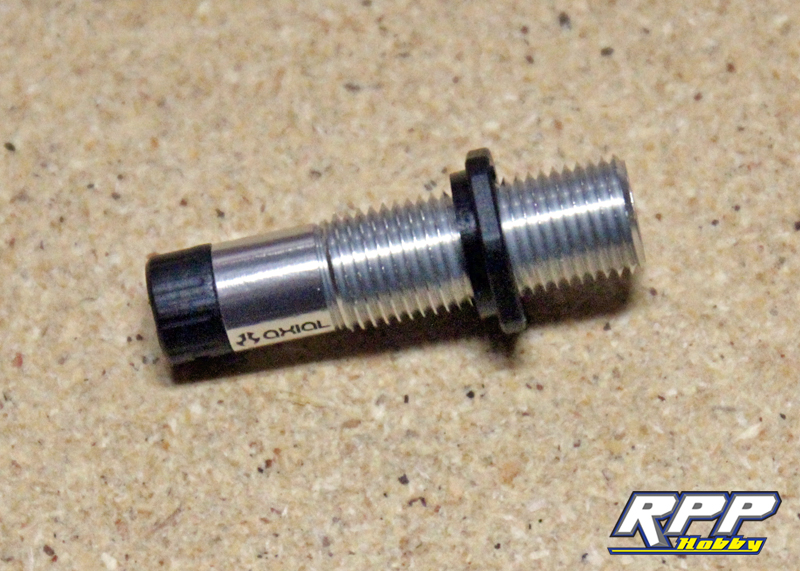
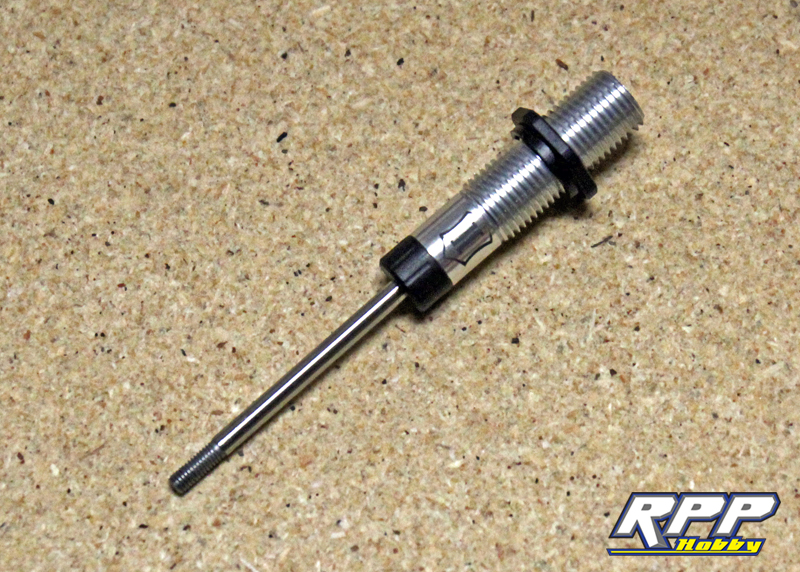
Install the lower shock cap and the threaded pre-load adjuster onto the shock body next.
Gently install the shock shaft into the shock body. Wipe away any excess grease from the shock shaft.
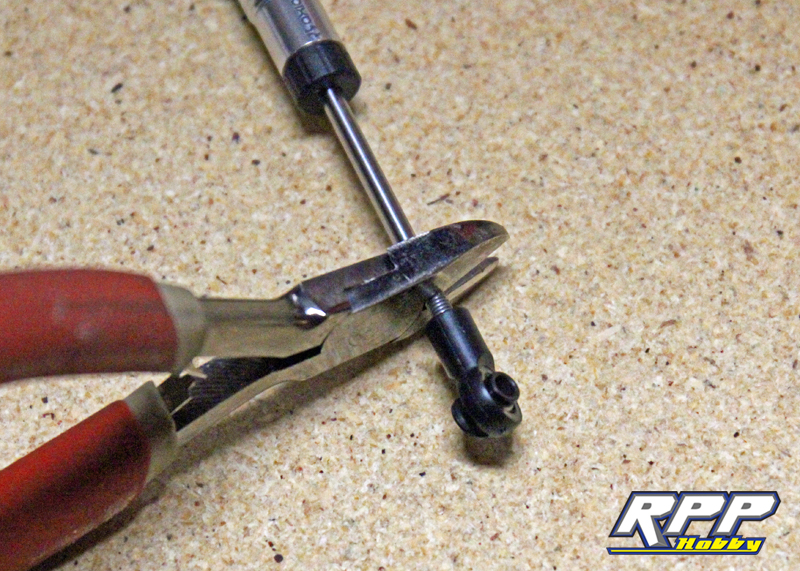
Using a pair of wire cutters, grab the shock shaft at the base of the threads and install the lower rod end.
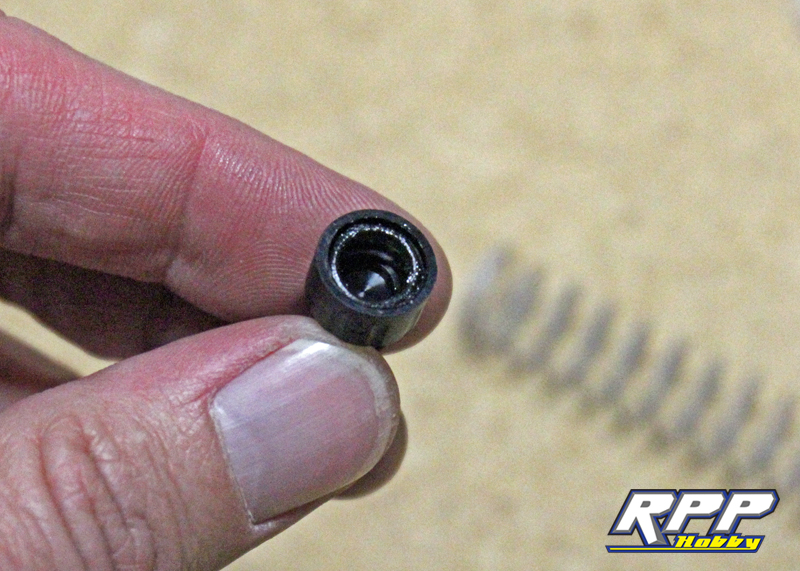
Add a dab of grease to the shock cap o-ring and install it into the cap. The reason we do this is to help stop any oil from leaking out of the cap. If you cycle the shock without the top cap on you will see the shock piston actually comes out of the shock body at full compression. Axial supplied a rubber spacer in the past that sat between the lower spring cup and the bottom of the shock body. This acted as a “bump stop” and it kept the shock piston from traveling up too far. This kit doesn’t include those rubber spacers. So, to bleed the shocks we didn’t compress the shock shaft all the way. Fill the shock body 3/4 of the way up with shock oil and cycle the shock to get rid of any air bubbles. Don’t let the piston come up out of the oil during this process. Add a little more oil to the shock and compress it until you have a 3-4mm gap between the lower rod end and the shock body. Keep adding oil until it starts to crown above the top of the shock body while holding the shock compressed. Hold the shock shaft in place with the 3-4mm gap and thread the shock cap into place. It may take a few tries to get right, but it is the only way to keep air bubbles out of the shocks during the bleeding process. You will also notice your shock won’t quite compress all the way using this method either. In hindsight we should have added a 3-4mm piece of nitro fuel line to each shock shaft during the build process to alleviate this problem.
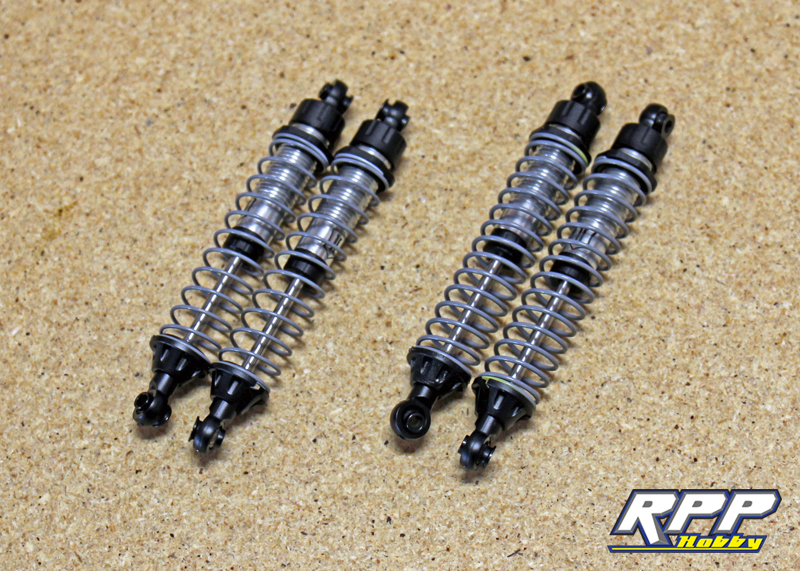
Once you have the shock bled properly install the shock spring, lower spring cup and the flange balls.
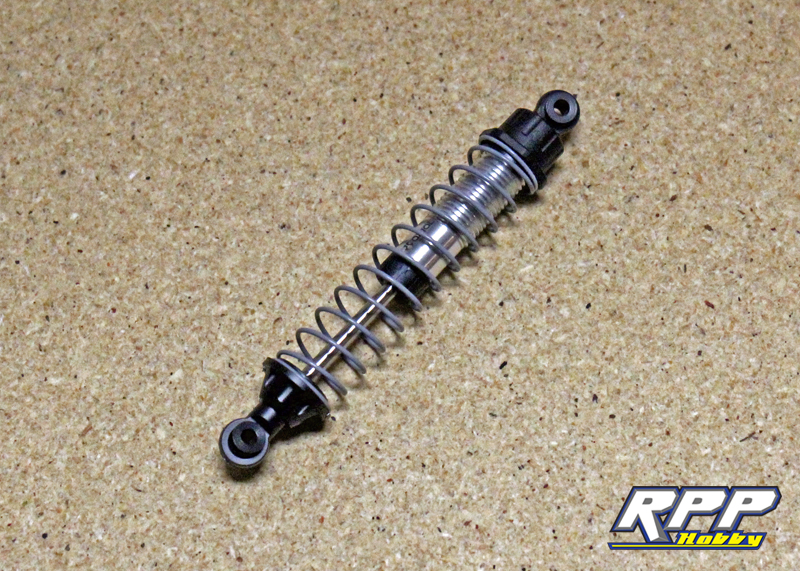
Repeat this process 3 more times and your shocks will be complete. Notice there are two different spring rates for the front and rear of the truck too.
Part two of our SCX10 II is in the books. Things are really starting to take shape now. We have complete axles, links and shocks ready to be bolted up to a chassis. Part three of this build will cover the transmission and transfer case build-up as well keep chugging along with this build. Thanks for checking out our blog, and stay tuned for more.
0 Comments
Trackbacks/Pingbacks