Nothing can change the overall look of your R/C vehicle more than a new body set. That is one of the great things about this hobby! You can completely change the look of your R/C car or truck in no time with option parts like wheels, tires, bumpers, lights, etc. Changing out the body, on the other hand, gives you a completely new look if that is what you are after. In this article we are going to convert our Vaterra Chevy K5 Blazer kit into a custom rock crawling truck/buggy, or “truggy” as some like to call them. This conversion does require quite a bit more effort than just swapping out the body though. We will be shortening the the wheelbase down from 314mm (12.3 inches) to 290mm (11.4 inches) as required to fit the new body. In order to complete this conversion we will be utilizing Vaterra’s Chevy K10 Cab and Roll Cage set that we painted in a previous blog which can be seen here. Let’s see what it takes to make the switch!
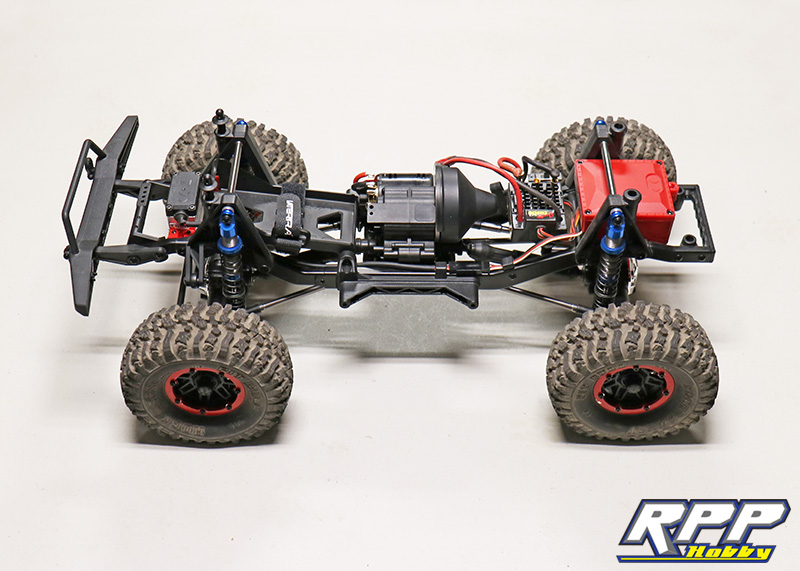
First thing you will have to do with your K5 Blazer is tear down the chassis until you are basically left with only frame rails, center skid plate, and transmission. Remove the rear body mount, rear bumper, battery tray, rock sliders, tires, and axles with shocks and suspension links attached. Start with this………..
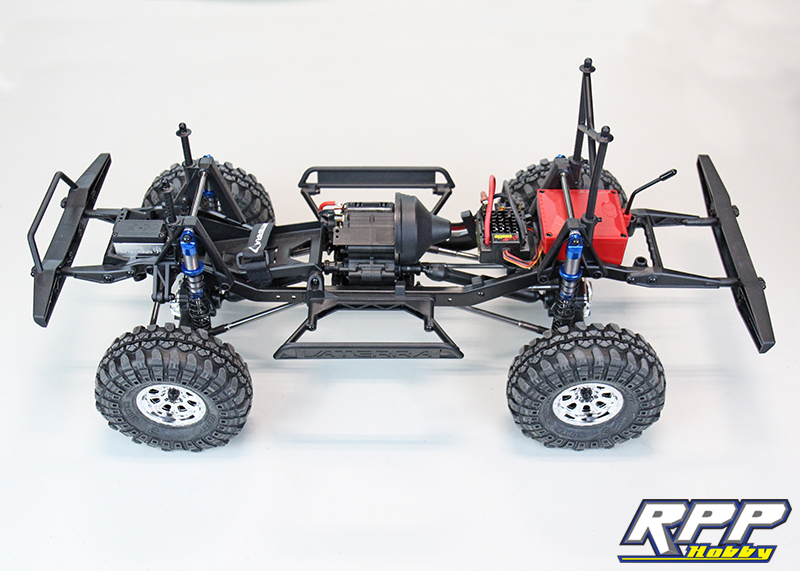
……….and end with this.
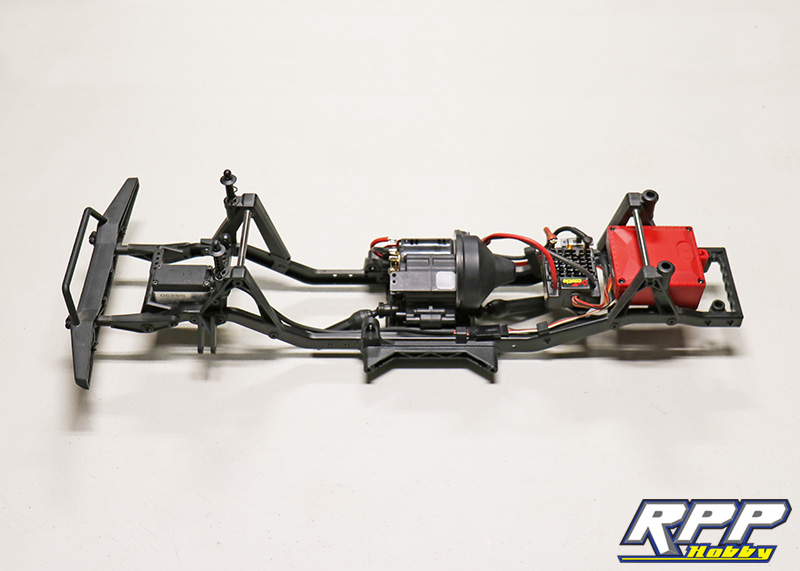
Next remove the screws that tie the rock slider mounts to the chassis and skid plate. Now compress the frame rails to line up with the second line on the chassis from the front as depicted in page 41 of the owner’s manual. Re-attach the skid plate and transmission to the proper holes in the chassis. Here is how the chassis will look when properly set-up for the 290mm wheelbase. Notice the motor is now closer to the front shock towers, and the ESC is closer to the spur gear cover than the previous photo. Remove the spacers from the front bumper too, so it will sit closer to the new body once it is installed.
Another mandatory change for this conversion is re-locating the steering servo on the chassis. Vaterra supplies these alternative servo mounts in the K5 kit just for this purpose.

Remove the front bumper, the steering servo, and both front frame cross members. The cross member in the foreground will be replaced, so it can be set aside.
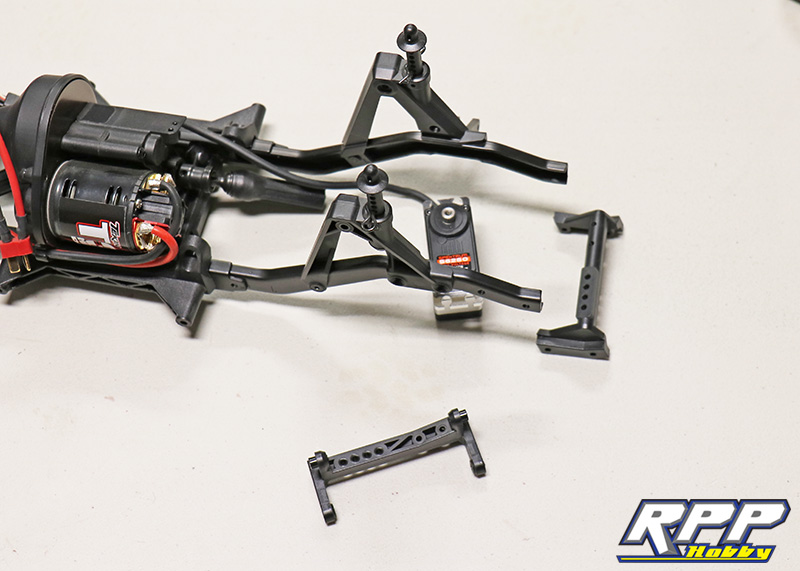
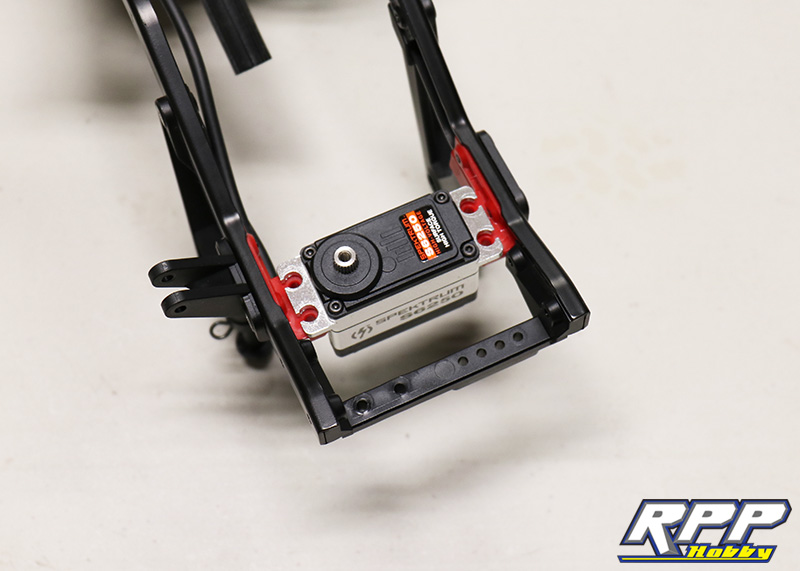
Install the new servo mounts per page 46 of the owner’s manual and secure the servo. Don’t forget to install the front frame cross member before tightening everything down.
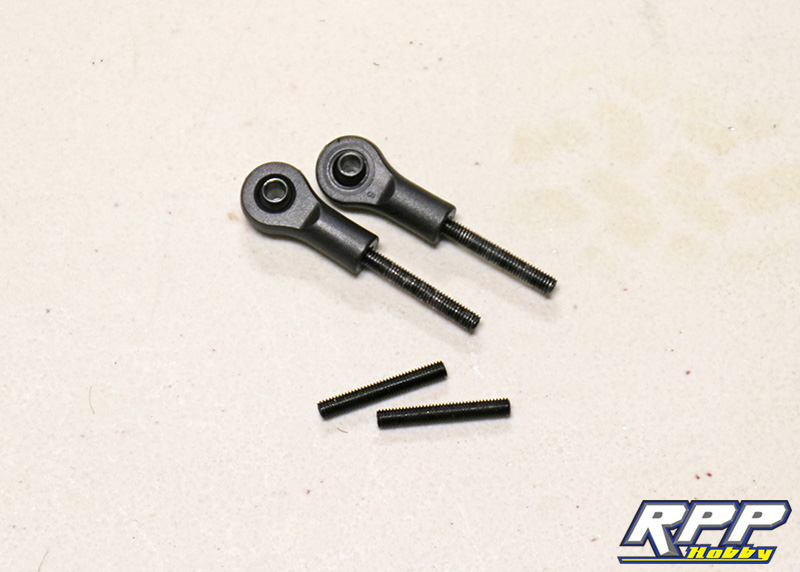
Next we will have to adjust the length of our suspension links front and rear. In order to do this you will have to remove some spacers from the suspension links. You will also have to swap out the long 3mm threaded rod for the shorter ones supplied with the kit.
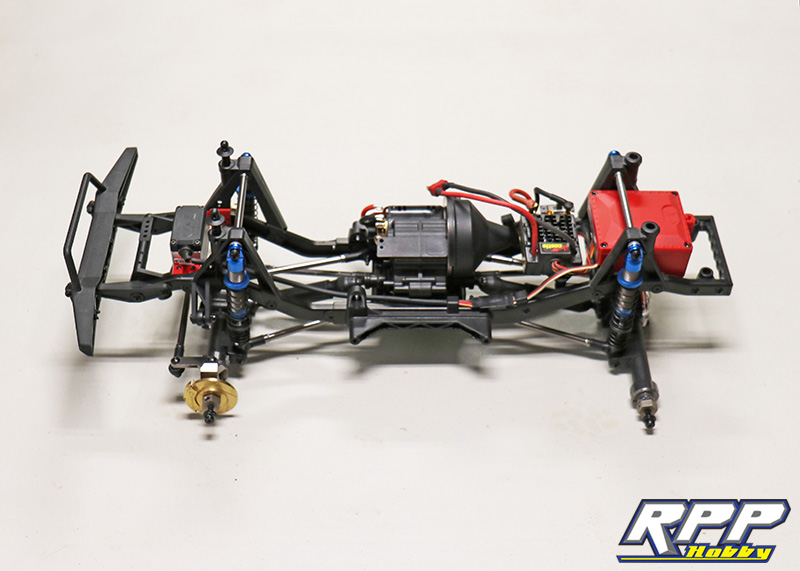
Suspension link lengths adjusted and 90% assembled again. One thing we did notice is on page 55 the manual calls for a 61mm link for the front lower suspension links and the 290mm wheelbase. We found these links to be too short to work properly. The 66mm links should be retained here instead.
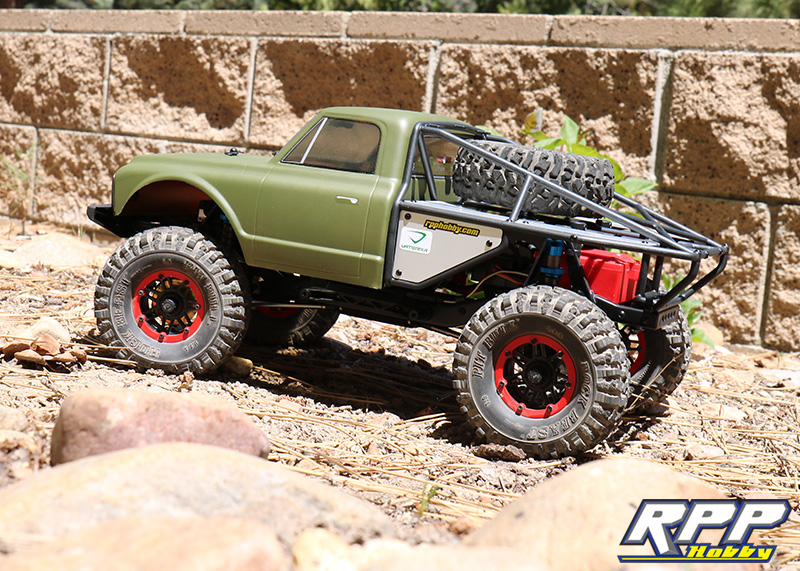
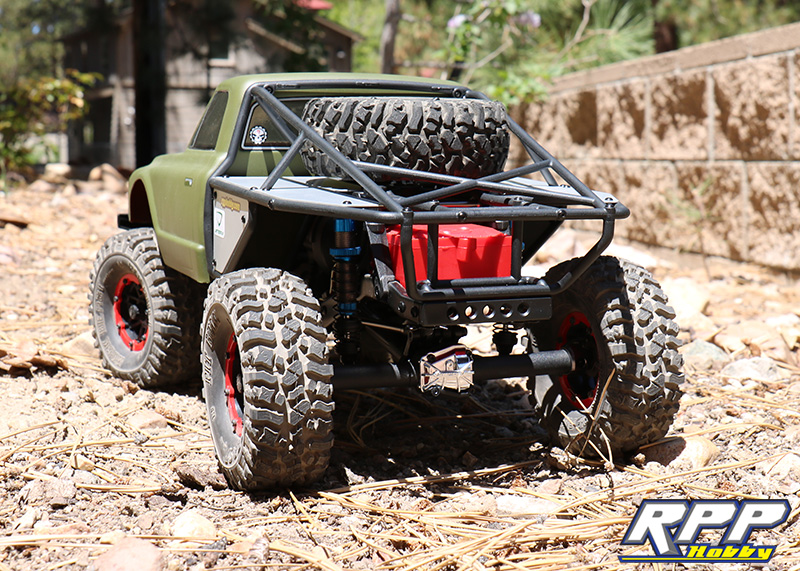
Next we decided to upgrade our wheels and tires. We turned to Pit Bull RC’s wheel and tire line for this duty. After debating and trying a few different wheel and tire combos we borrowed the 1.9 Black Injector beadlock wheels and OG 1.9 Rock Beast tires from our SCX10 II Cherokee build.
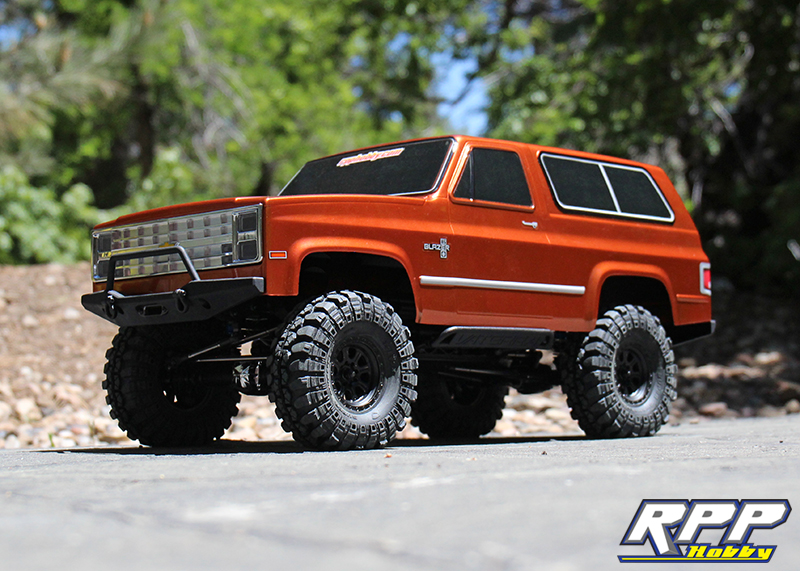
A reminder of how it looked before the conversion.
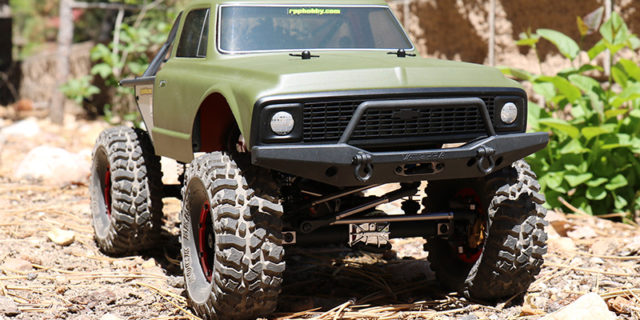
New body in place with the spare tire mounted. Quite a difference!

See video of the first run since the conversion here:
That completes our Vaterra Ascender K5 to K10 conversion! All in all a pretty simple transformation that completely changes the look of this vehicle. Time to go scratch the new body up. Let us know what you think of this transformation in the comments below. As always thanks for checking out the RPP Hobby blog.
Looks great guys , the flat paint on the cab. The wheel and tire combination !! Awesome !
Thank you, we were really happy with how it turned out too.