Welcome to the final blog entry for our Vaterra Ascender K5 Blazer kit build. In this installment of the build, we will cover painting and detailing the 1986 Blazer body. Vaterra did a great job with the details and overall looks of this body. They even include a plastic chrome plated grille that mounts to the Lexan body for added scale realism. We went back and forth on what color to spray our K5 kit body and in the end we decided to try something a little different from the normal 80’s paint jobs, and we are really happy with how it looks. Here is a run down on what we did.
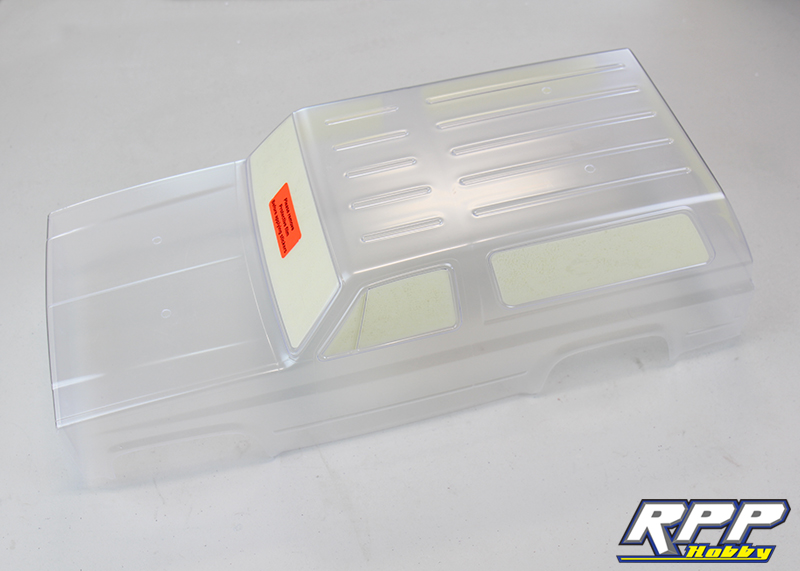
First thing you will need to do is wash the inside of the body with dish soap and water. Dry the body thoroughly with paper towels when finished. Next, apply the window mask to the inside of the body. The easiest way we have found to do this is to look at the body from the outside while applying the mask. This helps you ensure everything is centered up properly.
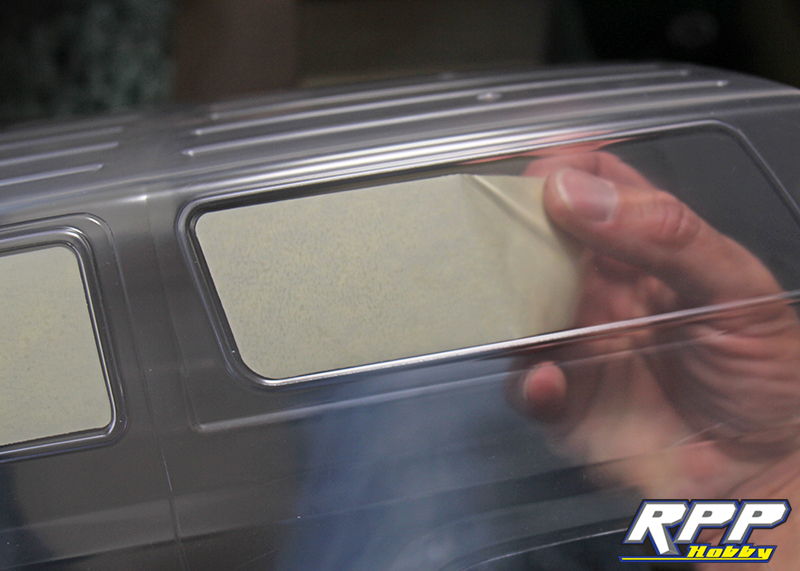
Windows masked and ready for paint!
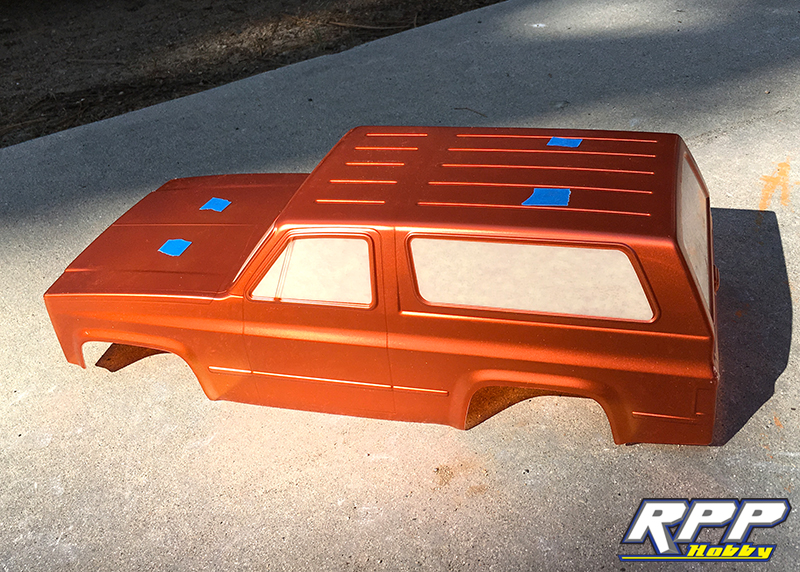
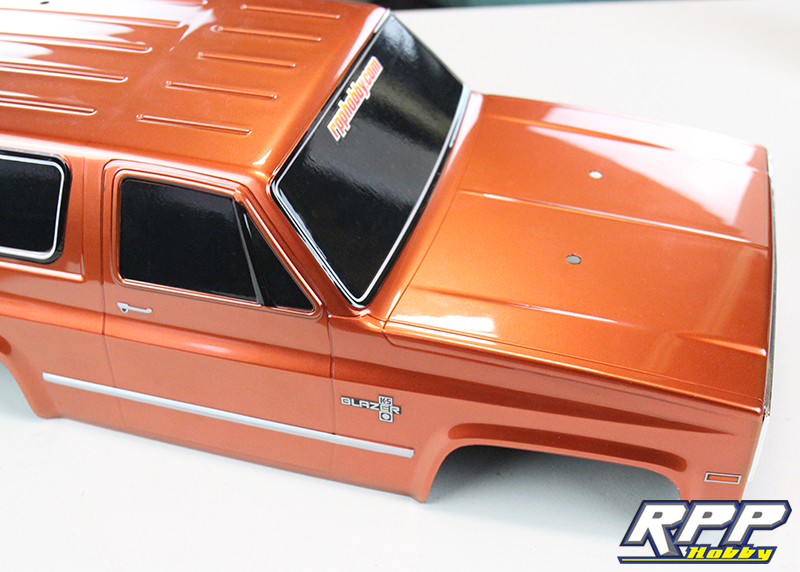
The paint we decided to use is a combo of Tamiya’s copper spray paint and their gold spray paint. First we applied a nice even coat of the copper, which is pictured below. Then, we backed that with the gold to lighten the darker copper color. Once the gold paint was dry we removed the window mask and backed the gold paint with black to “tint” the windows since there isn’t an interior.
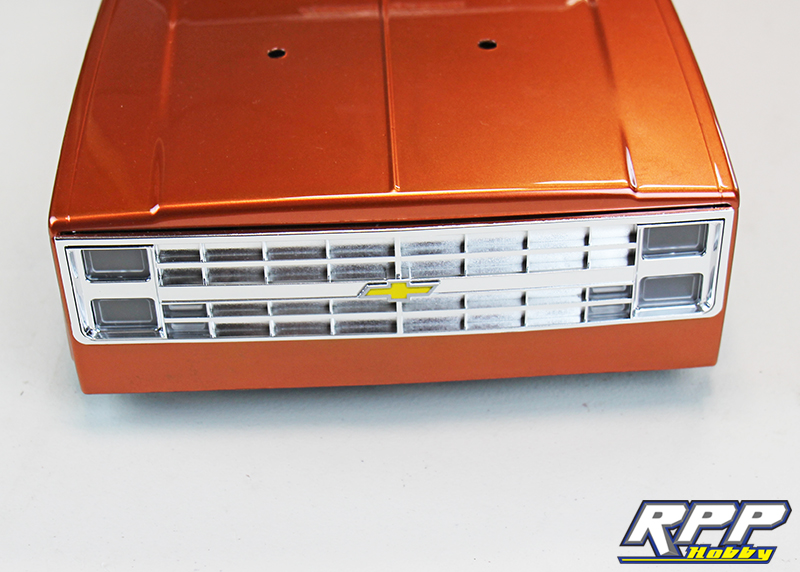
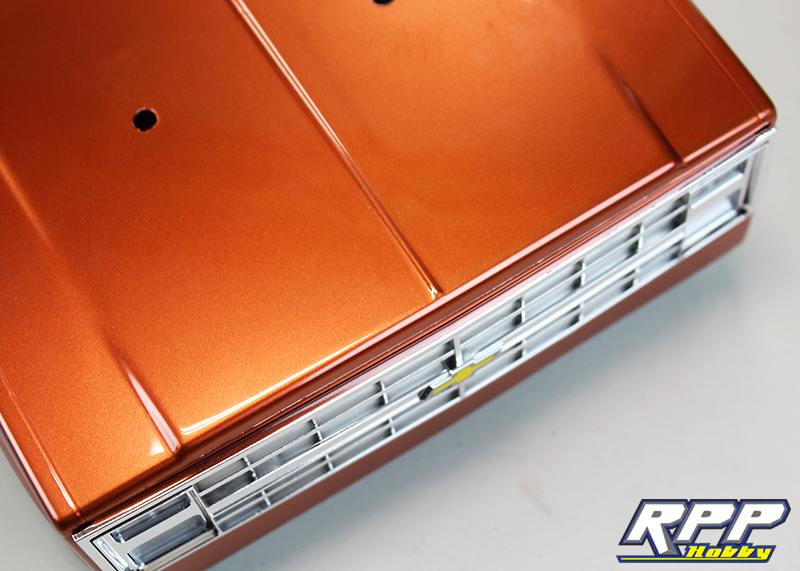
Next, install the grille with the supplied hardware. Keep in mind the headlight lenses are clear so your body color will show through. We backed the headlight area with electrical tape to also give them a “tinted” look. If you install lights, use the grille as a template to mark and cut the body.
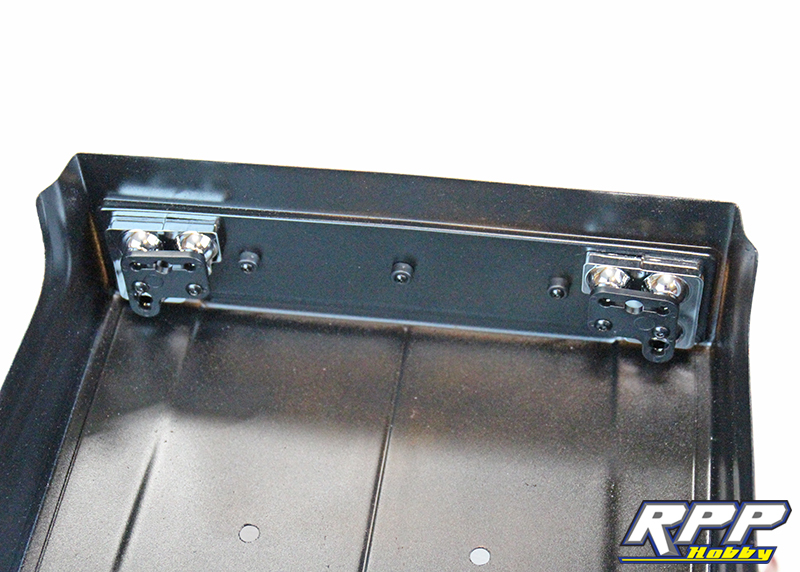
Grille installed.
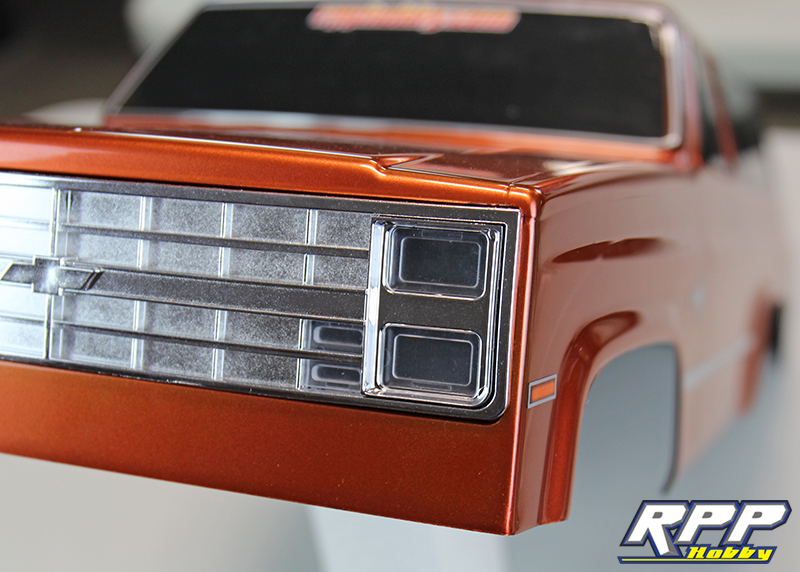
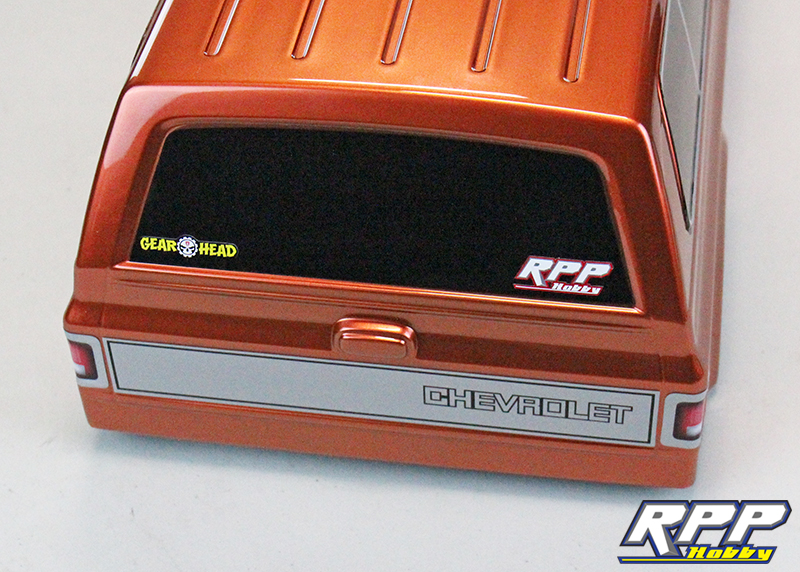
Apply the decals supplied with the kit in the designated area. The main photo on the kit box is a great reference when applying the decals.
Bowtie sticker in place!
Rear detailed and tagged. Ha!
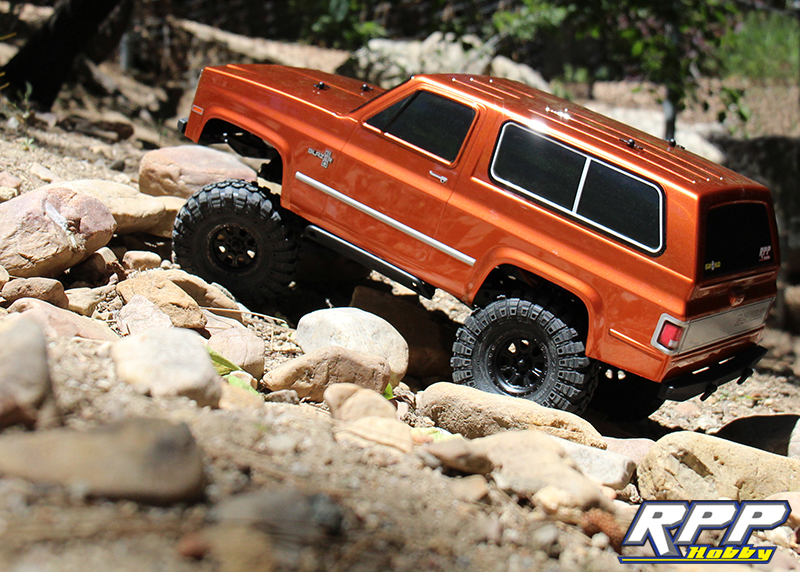
A close-up shot of the final paint color. What do you think?
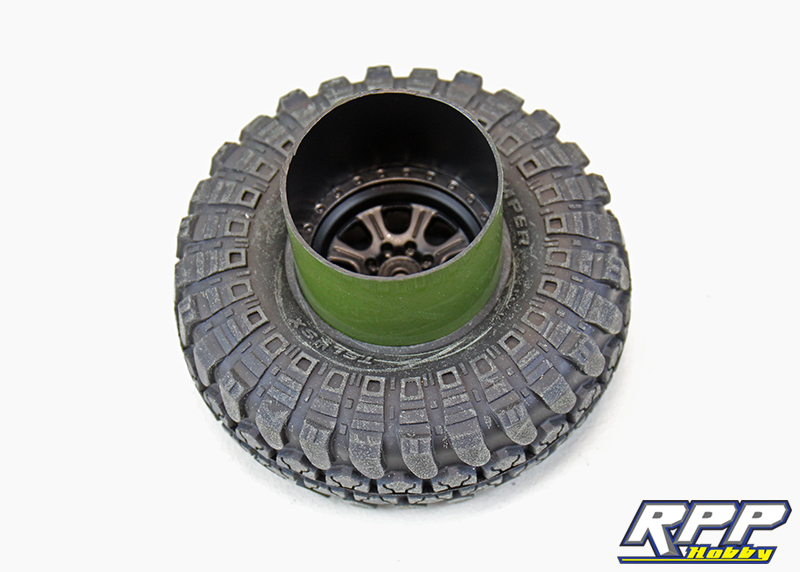
Last modification we made before installing the body on the chassis was to black out the wheels with Tamiya matte black spray paint. To do this, we cut the top off of anther Tamiya spray paint cap and used it as paint mask since we had already glued the tires to the wheels. The diameter of the cap matches the 1.9 wheels perfectly. Just make sure the spray nozzle stays inside the cap to avoid overspray on your tires.
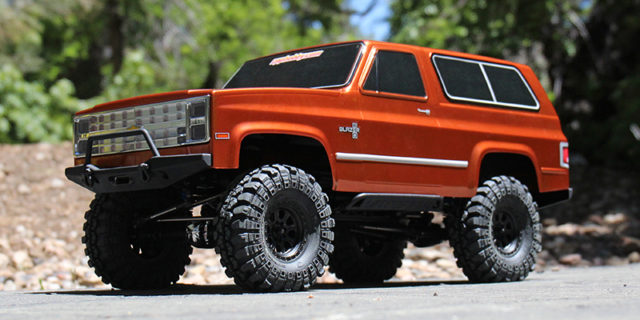
And a few shots with the K5 Blazer body mounted and the wheels blacked out in the sunlight. Not too bad.
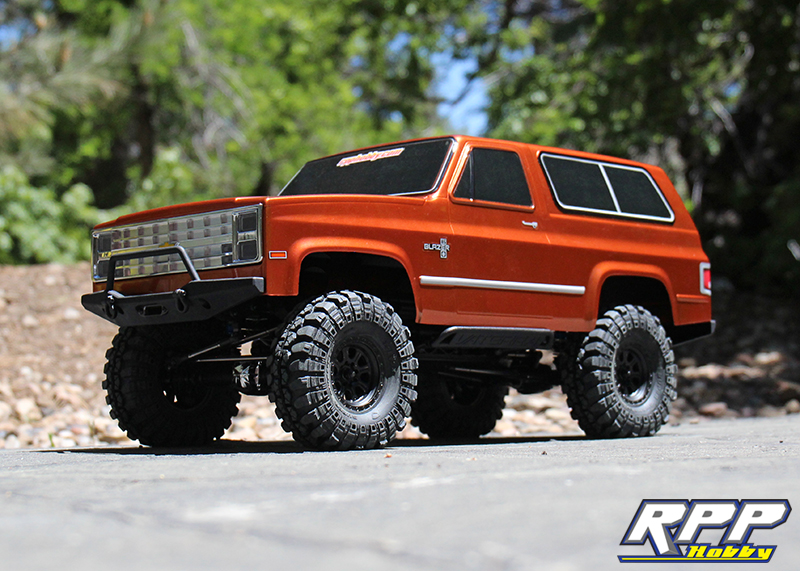
Poser shot in the rocks, pretty scale for a box stock kit!
That takes care of our Vaterra K5 kit build! A really well thought out design that has great scale features and looks to match. We do feel we should mention the instruction manual is lacking a little as far as detail goes in some areas. The best advice we can give is take your time and do it right the first time. As always, thanks for checking out the RPP Hobby blog, and stay tuned to see what we build next.
Check the video from our maiden voyage with this K5 kit build here!
Nice build looks real!!
I built this kit this weekend and your guide here was really helpful to a total noob, thank you!
You are welcome. Glad to hear you found the build articles useful.