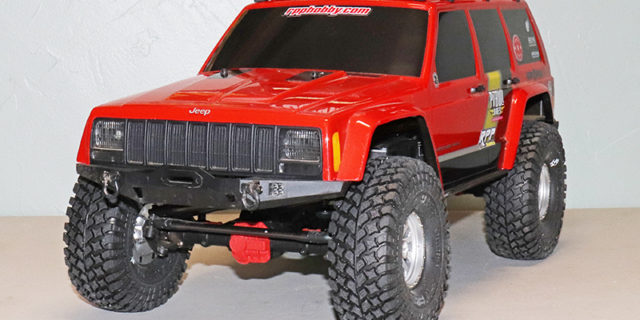
We decided it was time to update a few things on our Jeep Cherokee SCX10II kit. Some of you may recall the step by step build we completed back in May of 2017. While it is a great performing vehicle in stock form, there are always room for improvement with any R/C. The option parts we are installing in this particular blog will improve both performance and looks. Ready to see what we have in store?
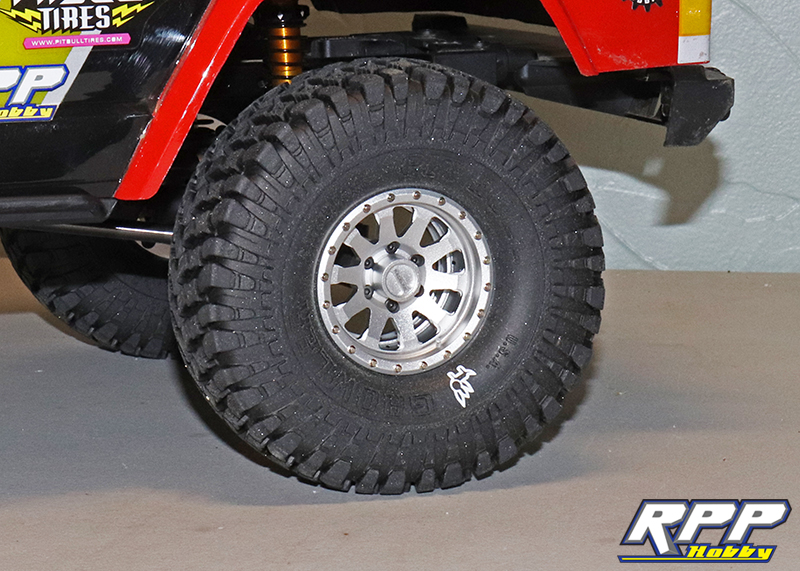
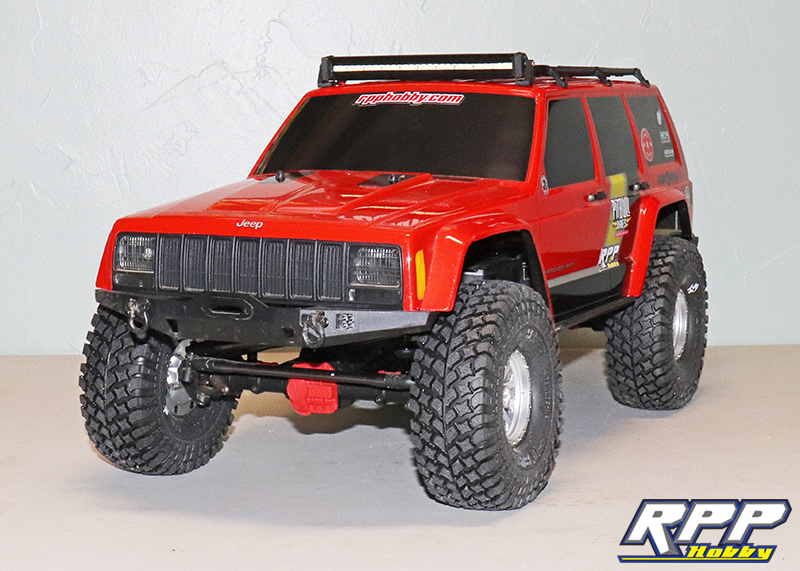
First upgrade we installed was the new silver 1.9 Clutch aluminum beadlock wheels from Pit Bull RC! These wheels are licensed replicas of Raceline Wheels 1:1 Clutch wheels and the looks are spot on! They even have scale valve stems included! Of course we wrapped a set of 1.9 Growlers, in Alien compound, around those wheels to finish off the scale look!
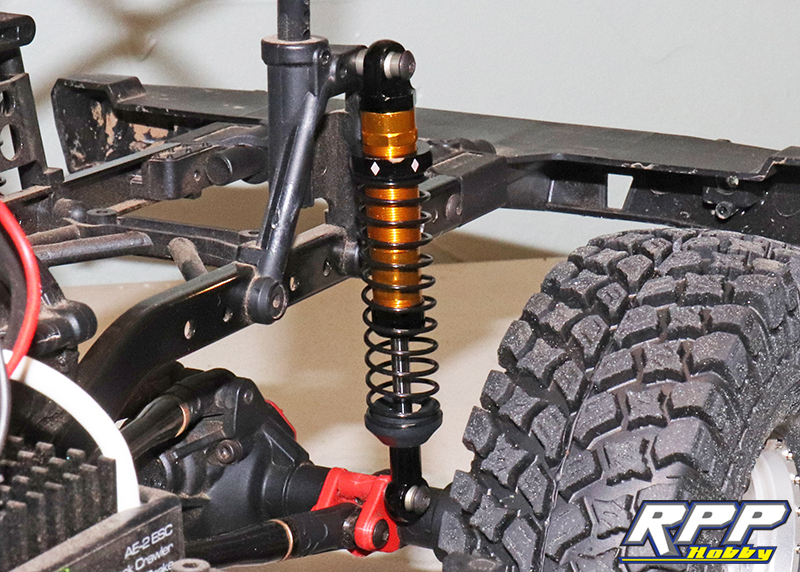
Next we wanted better performance out of our shocks. Pit Bull recently released their new Kronik shocks in several different sizes. The rumor mill has nothing but good things to say as far as performance goes. We decided it was time to try a set out for ourselves and see what the hype is all about. So, we added a set of 90mm shocks to the build. They feel silky smooth once built, and even add a little bling which is a nice bonus!
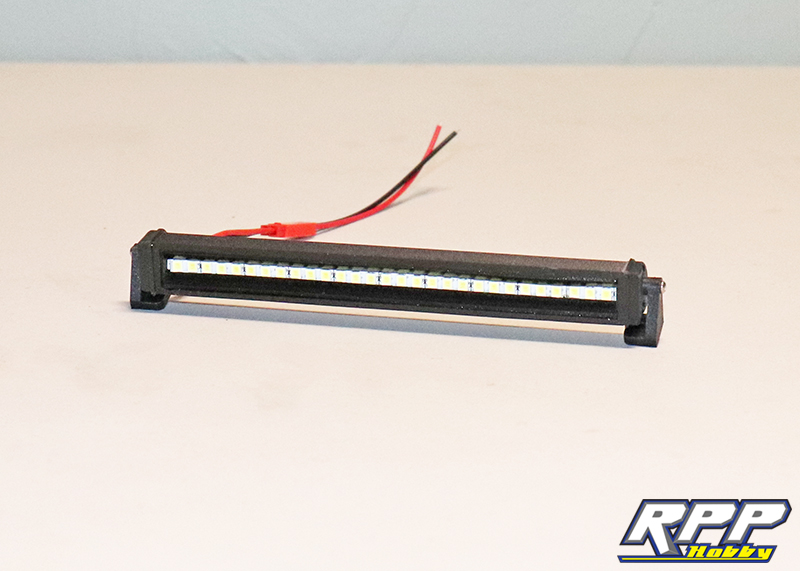
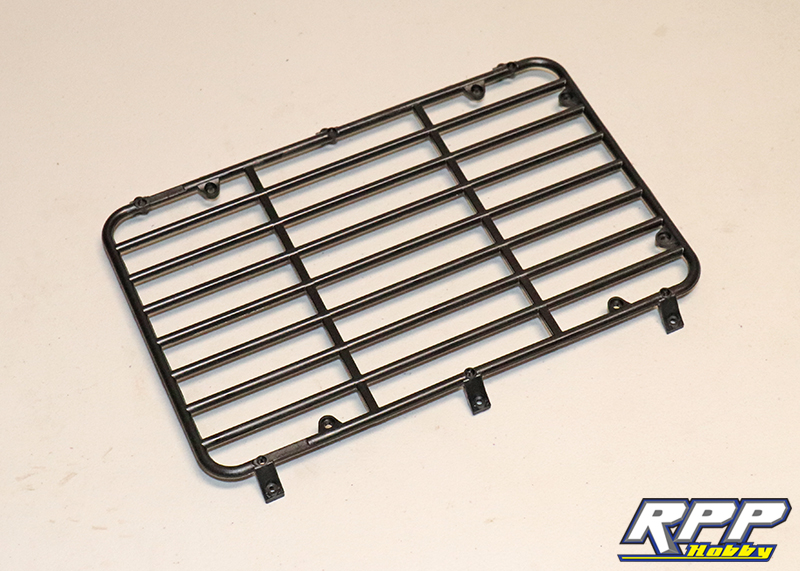
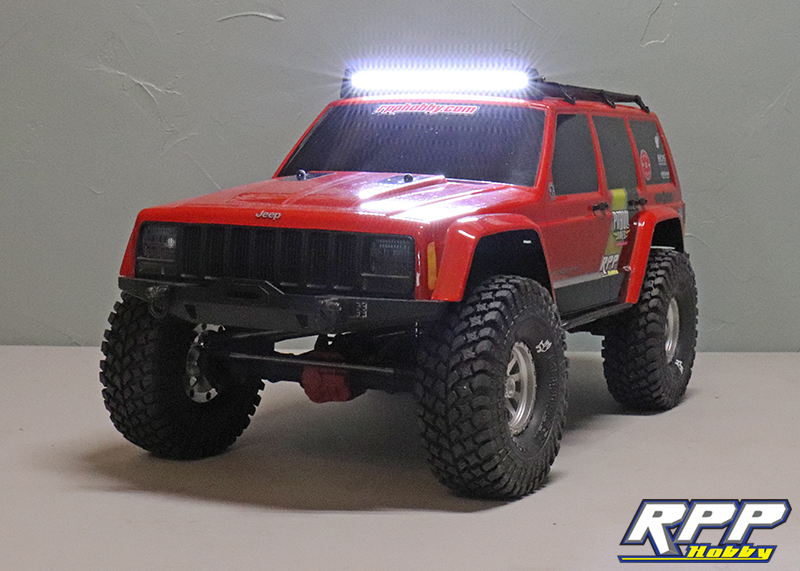
Last two modifications we want to make go hand in hand. We knew we wanted to add a light bar to the roof. While mocking it up we wanted to find a way to hide the body clips in the bright red roof as well. What to do? Well, we added the base of the kit roof rack into the mix and it all seemed to fit together nicely. So, we moved forward with that plan. The 5″ LED light bar from Pit Bull RC is a great fit for this body.
A shot of the kit roof rack.
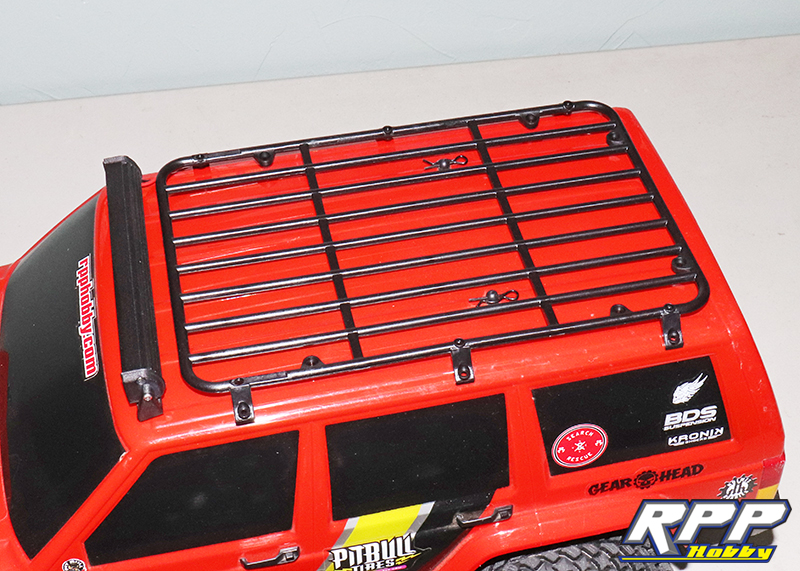
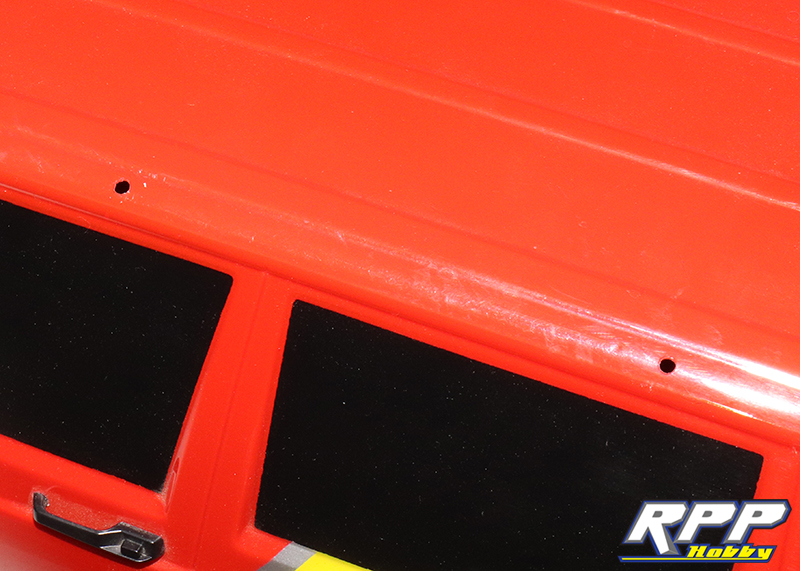
Mocked up. The roof does have dimples from the factory for the roof rack hole locations. However, we had to move the rack back about 3/8″ from stock to sit where we wanted it.
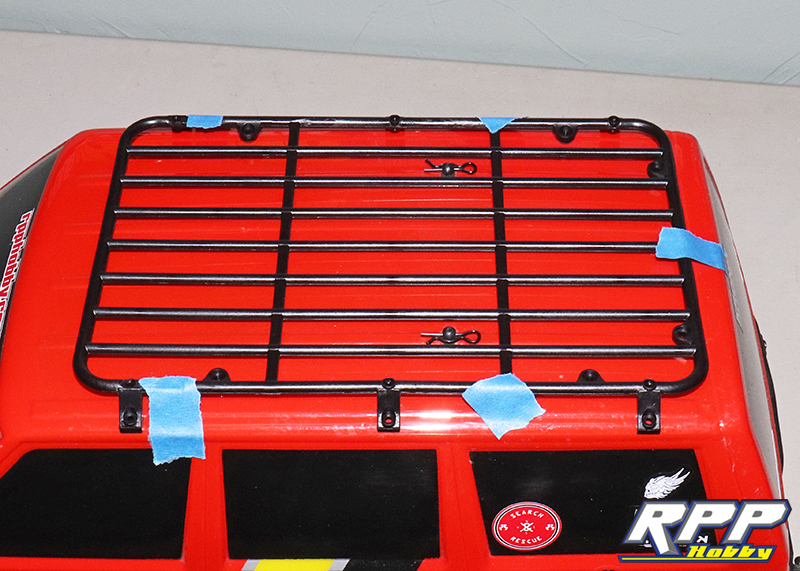
Once you are happy with the placement you can mark your holes to be drilled. First we lightly taped the rack in place with masking tape while we marked to holes. We do this to ensure the rack doesn’t move in the process.
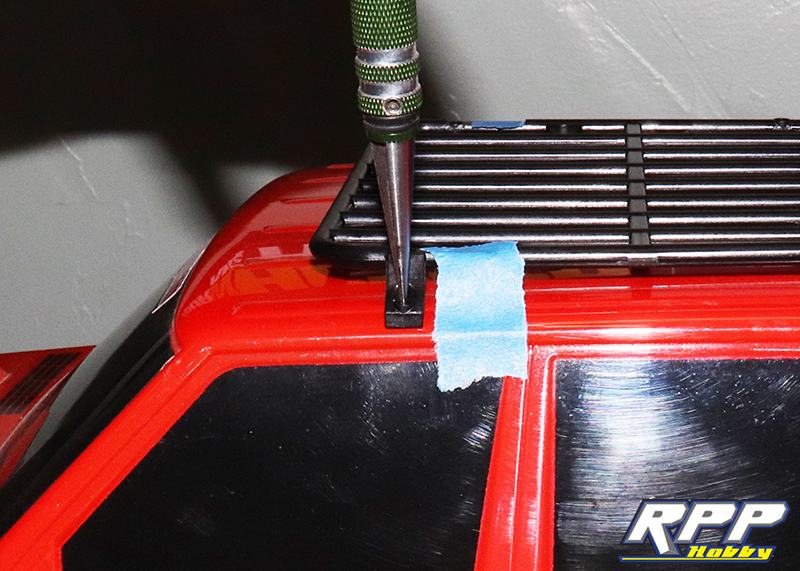
We carefully marked each hole location with a body reamer.
Once all the holes are marked you can start drilling. Start small at first, check fit with the rack, and open the holes up to size as needed.
Use the supplied screws and plastic straps to mount the rack.

Now it is time to mount the light bar. Use the light bar’s base to mark your hole locations with a marker. Use the same method as above to make sure everything lines up properly. We also drilled two tiny holes and created a slot for the light bar’s JST plug to slide through.

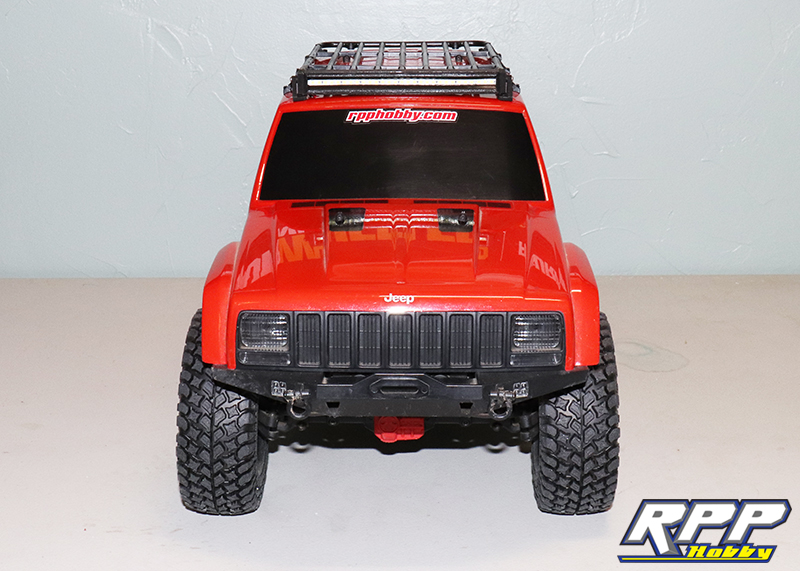
Mounted! The curve of the roof line does bend the light bar brackets a little, but it won’t hurt anything as long as everything is tighten up properly.

Looks so much better than a big blank red billboard with two body clips in it.
Definitely an improvement in looks, and we know performance will also improve once we hit the trails! That is a win, win!
Last thing to do was solder up a Dean’s plug to the wire lead on the light bar. Boom!
See the first trail run footage of the new option parts here:
That wraps up our upgrades on the SCX10II for now. Next, we are thinking it is time for headlights, marker lights, inner fender wells, and a few other scale touches. Stay tuned for more, and as always thanks for checking out the RPP Hobby blog!
I like it great idea