Welcome to Part 4 of our Axial SCX10 II Kit Build. Up to this point we have covered building the axles, links, shocks, and transmission. Now it is time for us to move on to assembling and installing the driveshafts onto the axles and transmission. We will also cover prepping the battery tray and installing the chassis mounted steering servo. Let’s get started!
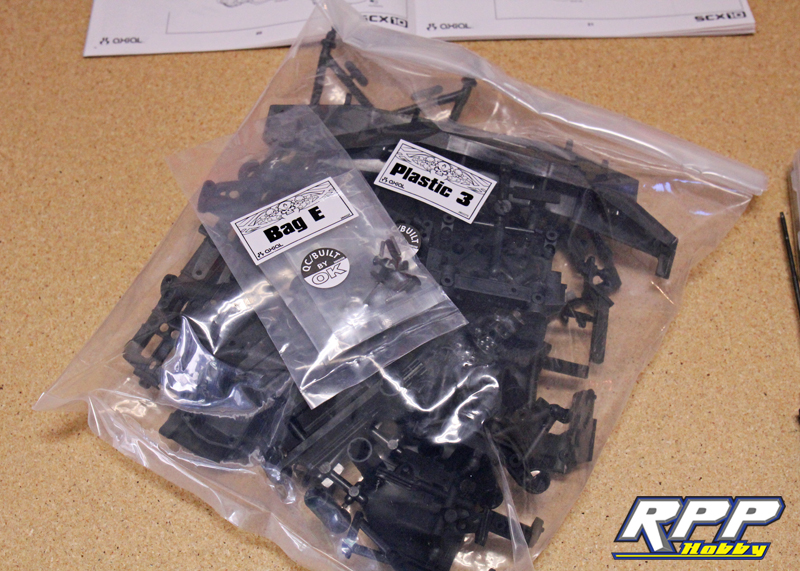
Locate “Bag E” and “Bag 3” in your dwindling pile of un-open parts.
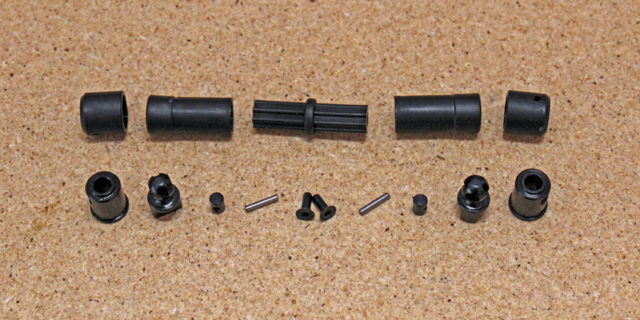
Start on page 21 of the assembly manual at Step 24. Pull out all the parts you will need for this step.
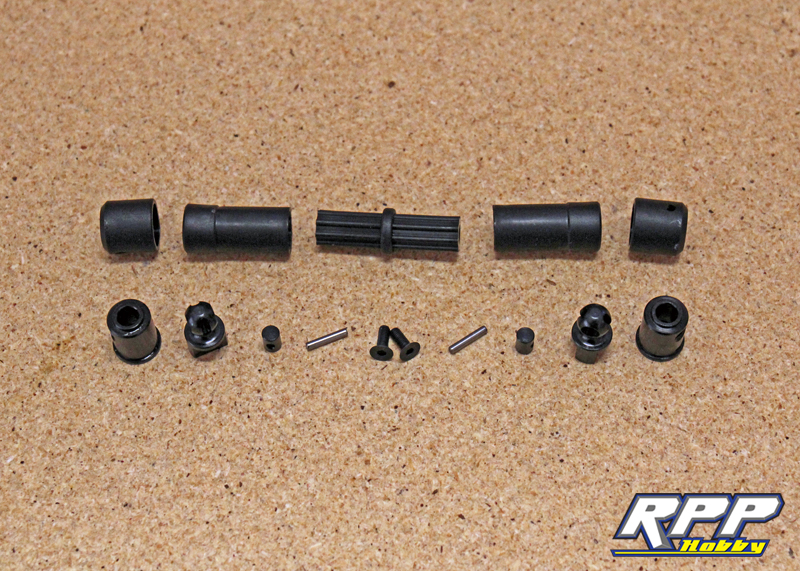
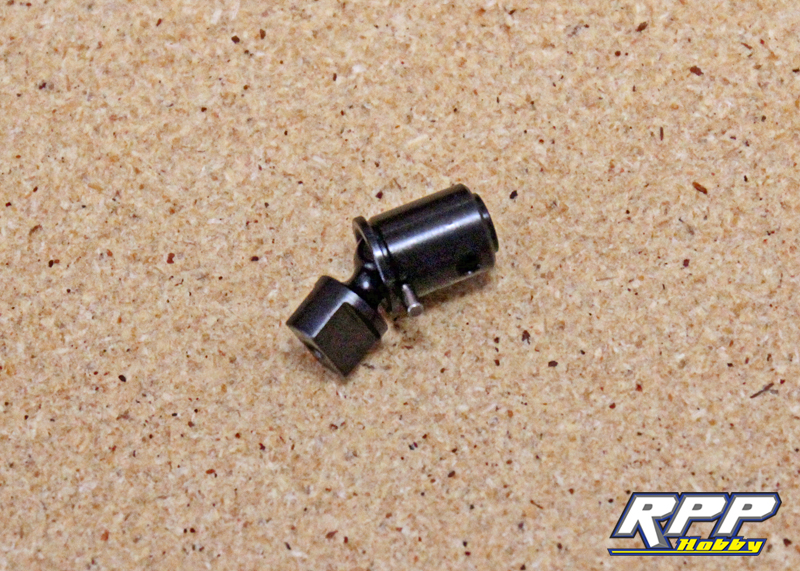
Slide one of the joint pins into the male universal. Make sure you can see the hole through the slot.
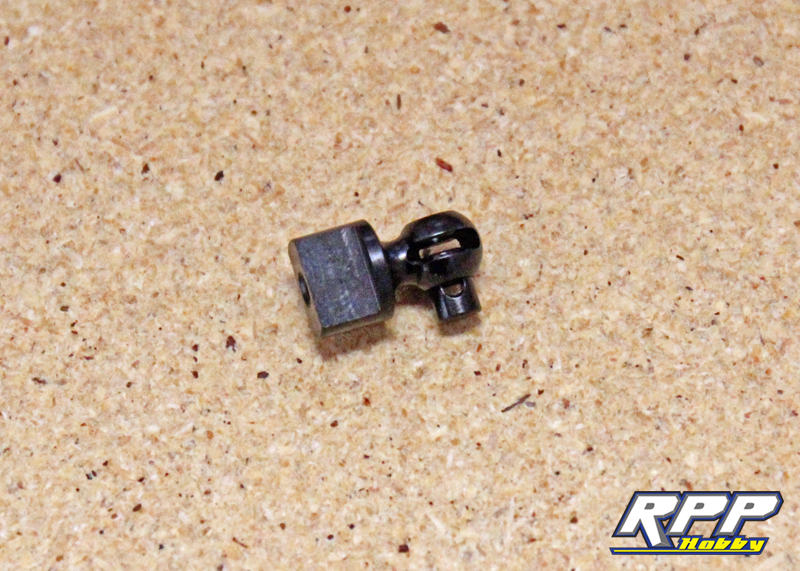
Slide the V2 joint into place and insert the 2x11mm drive pin through the whole assembly.
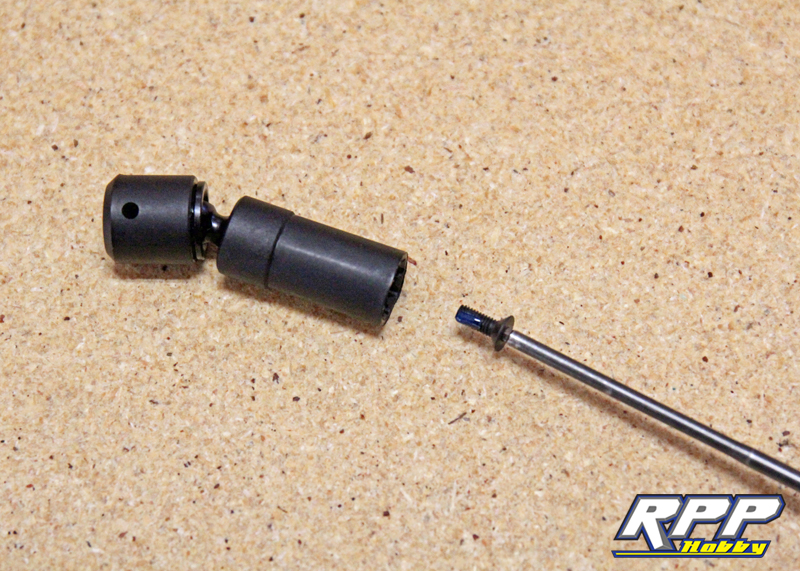
Slide the plastic pin retainer sleeve over the whole assembly so the holes in the V2 joint line up with the plastic sleeve. Note that only one side of the V2 joint is threaded, so one hole in the plastic sleeve is smaller than the other.

Insert the plastic male driveshaft onto the universal joint, add a dab of supplied thread lock and install the M3X8mm screw.
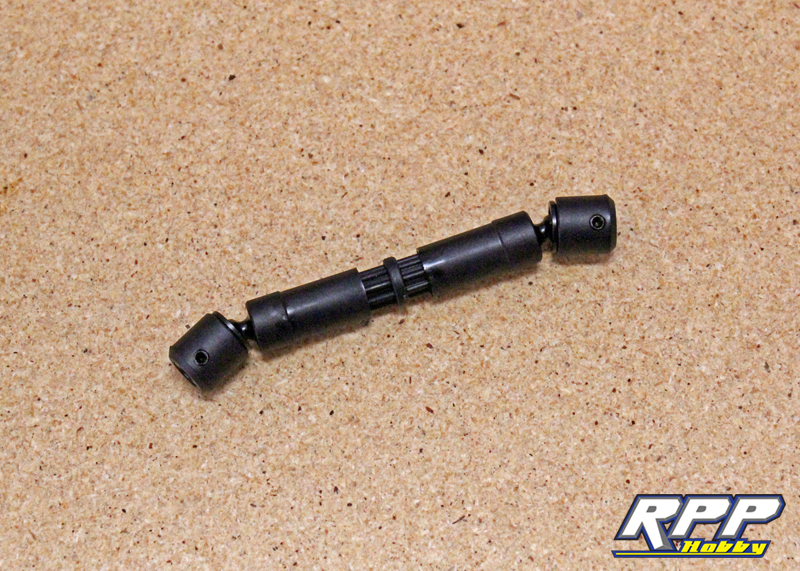
Repeat the last few steps and your first driveshaft is done! We added the driveshaft set-screws to the yokes to hold everything in place until we are ready to install them.
Repeat the same few steps above again to complete step 25.
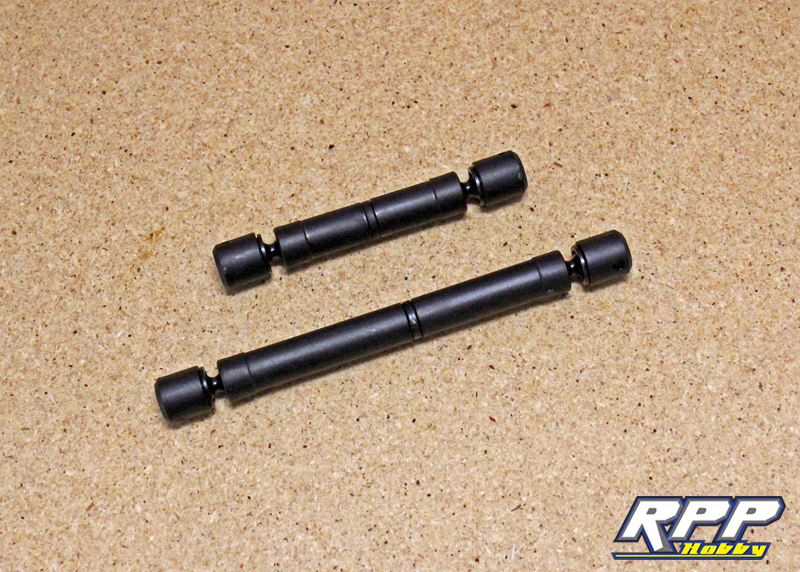
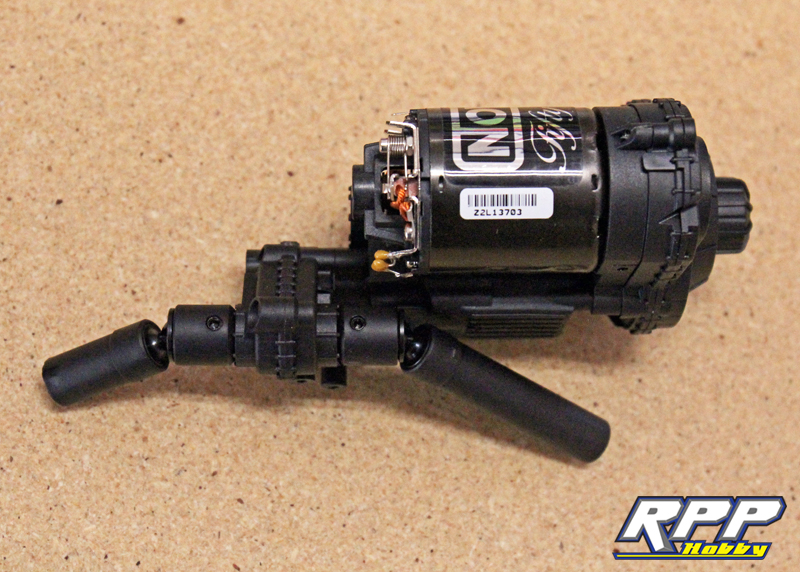
Now it is time to install the driveshafts onto the transmission, note the direction. Do yourself a favor and just install half of the driveshafts at this time. This will help avoid them falling off during assembly of the transmission to the skid plate and chassis. Set the other half of the shafts aside until you are ready to install the axles.
Now it is time to mount the transmission to the chassis skid plate. Locate all the parts needed for this step.
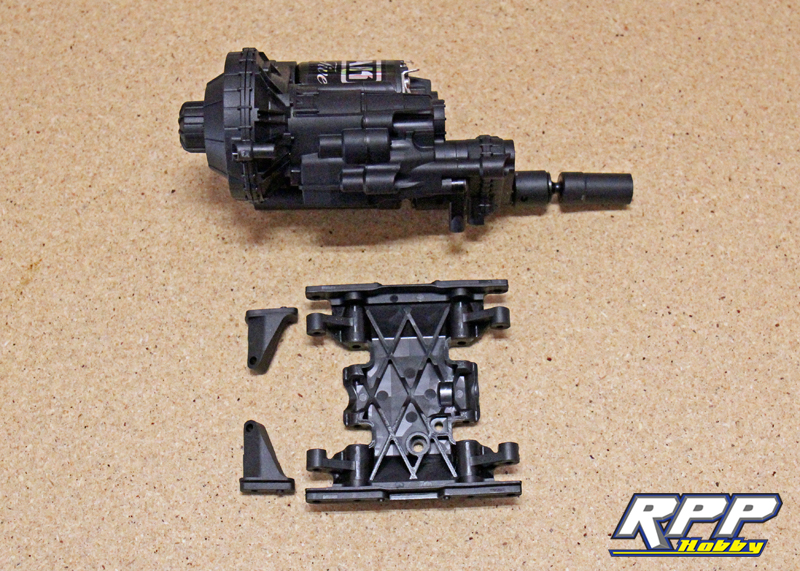
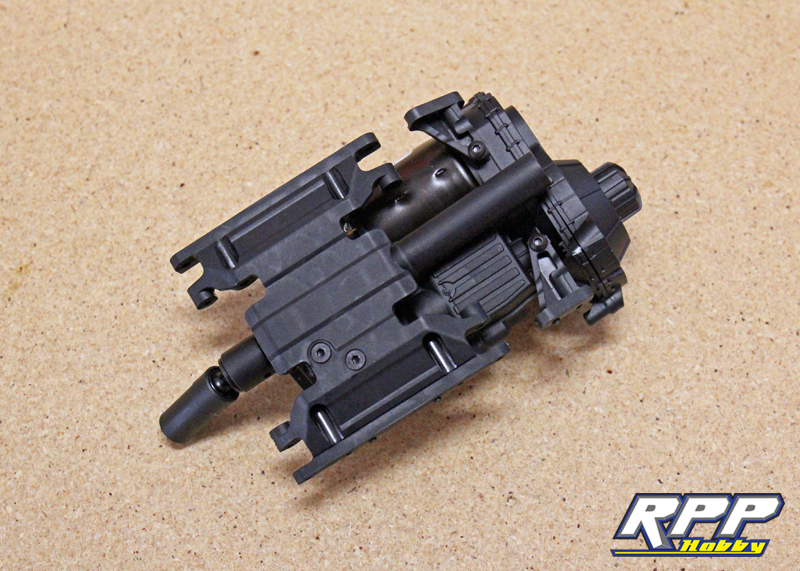
Start by mounting the two tabs to the transmission with the supplied M3 hardware.
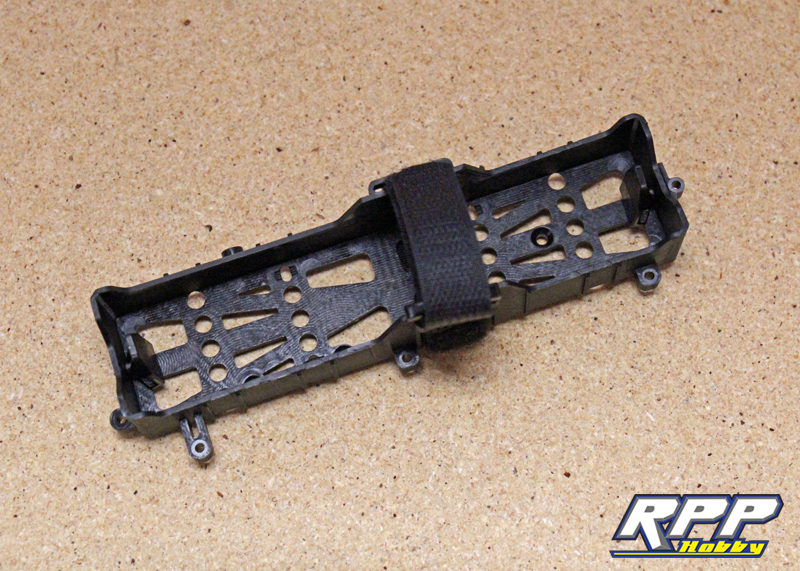
Time to sort out which battery to run in this build. We opted for run time and punch so a big 3S Lipo battery was the natural choice. Axial does supply tabs that you can mount to the battery tray to fit virtually any size pack, which is a nice touch.
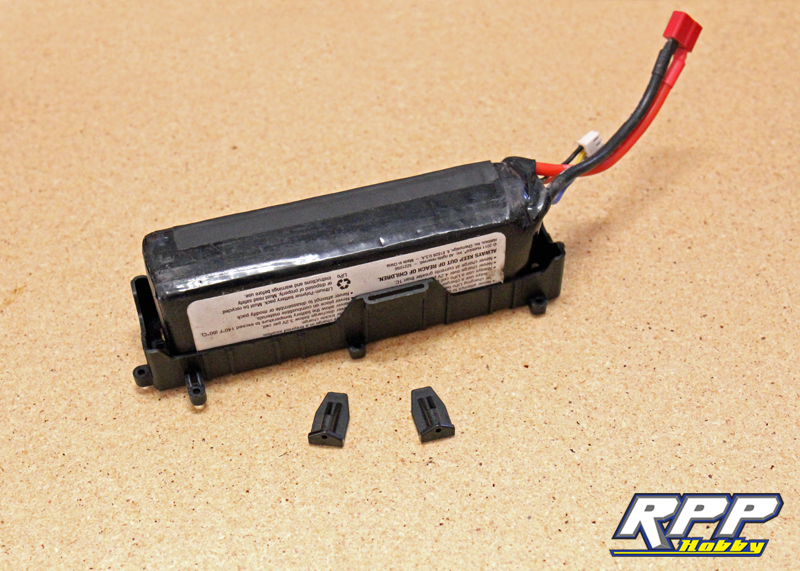
Here is what our configuration looked like when we were done. One tab on each end.
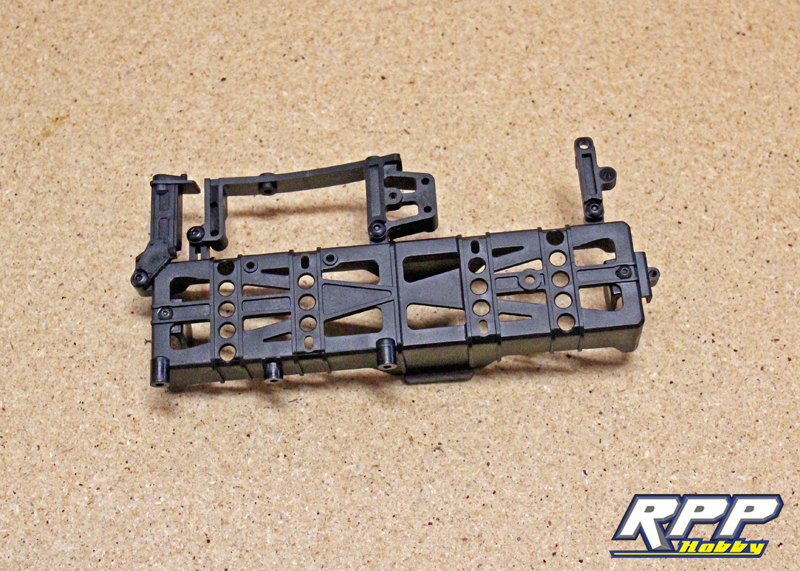
Next locate the part to assembly the chassis mounted steering to the battery tray.
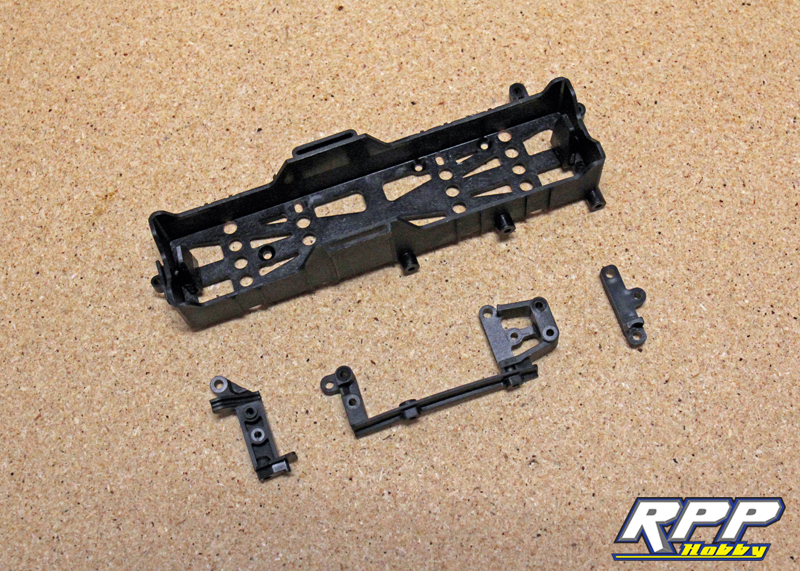
Assemble the chassis mounted steering bracket per the instructions.
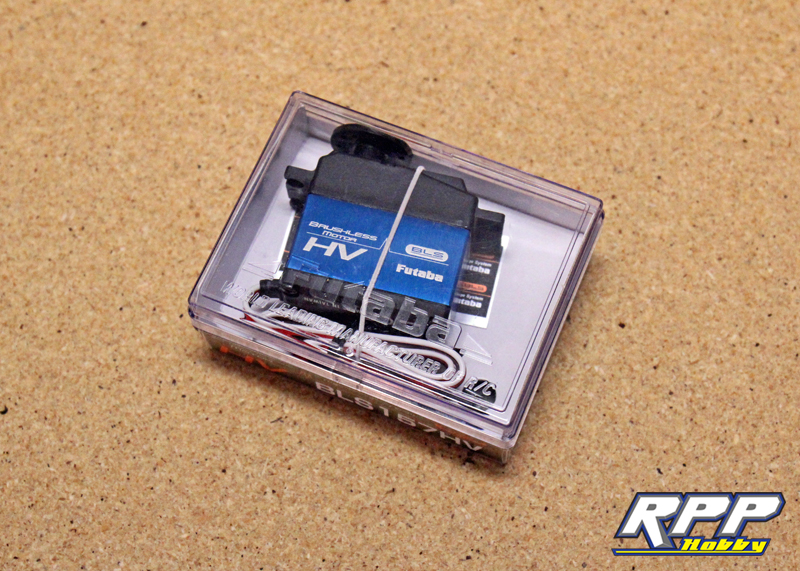
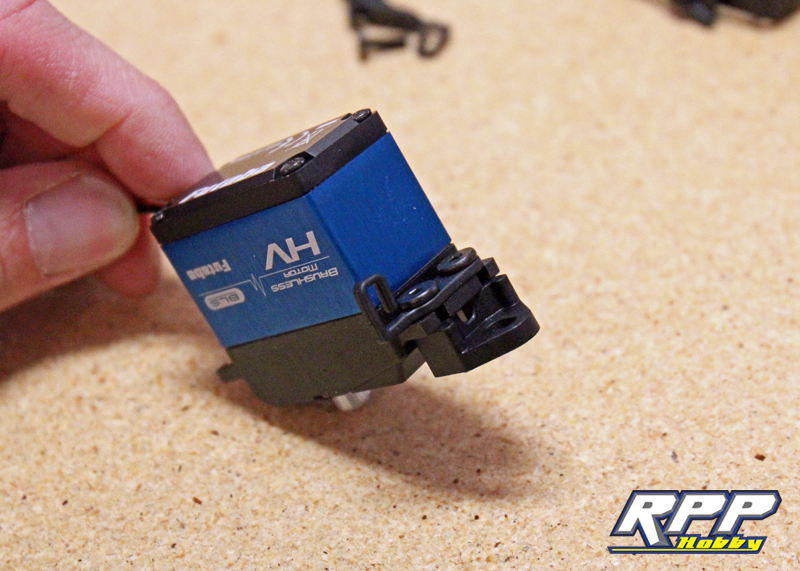
For steering duties we went with a digital high torque servo.
Install the servo mount tab onto the servo opposite of the servo wire.
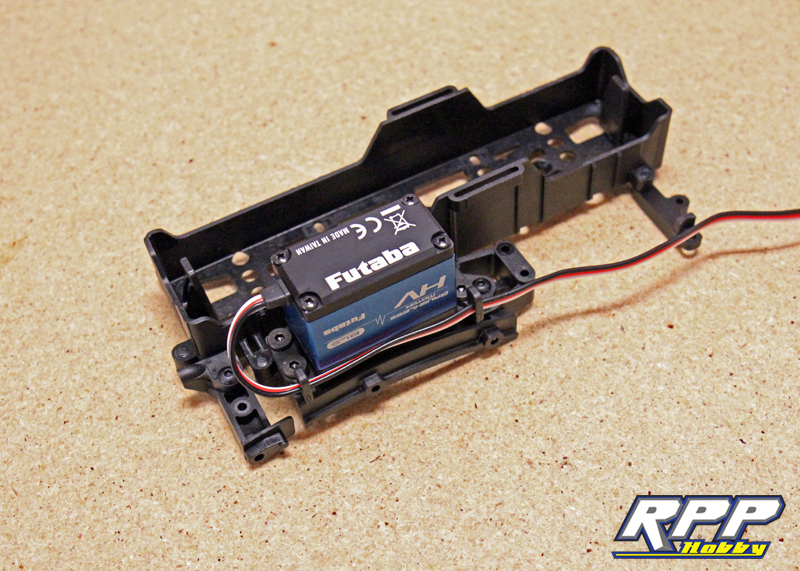
Next mount your servo to the chassis mounted bracket.
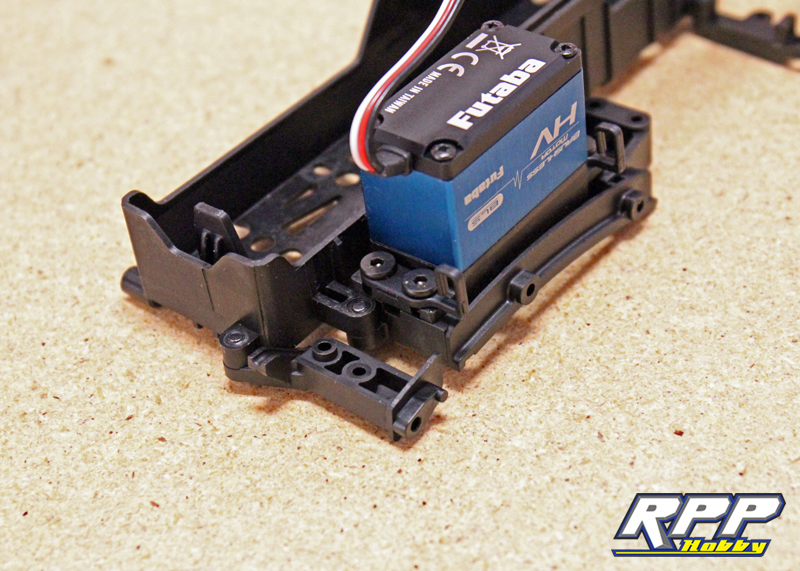
Route your servo wire through the included retainers.
And that takes care of Part 4 of our SCX10 II Kit Build. Next installment we will start assembling the chassis by installing the battery mount and steering servo assembly, transmission, and all the chassis supports. We also have another build that is just about ready to be kicked off, and it is a little outside our normal scale builds. We posted a little sneak peek of that next build our Facebook Page if you are interested in learning more. Don’t forget to follow us for everything and anything that is involved with scale R/C! Until then, keep the rubber side down and the batteries charged!
This build blog is great. I’m right here on my build and you provide a lot more detail than the Axial instruction book! Keep up the great work.
Thanks Brian!