Welcome to part 5 of our Tamiya Grand Hauler kit build! It has been a while since we have worked on this big rig, so needless to say were excited to get back to it. In this installment of the build we will cover assembly of the rear trailer coupler, install the rear bumper, as well as start painting and installing some of the interior pieces included with the kit. Ready to get started? Let’s do it!
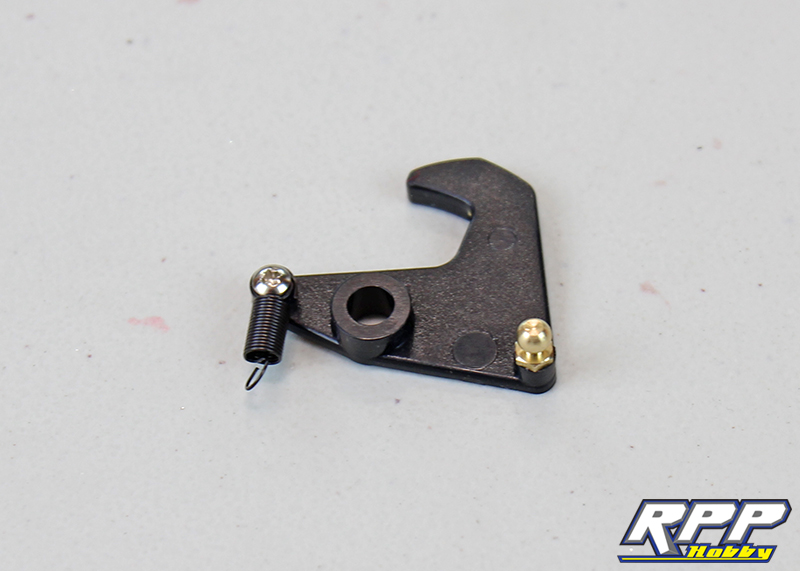
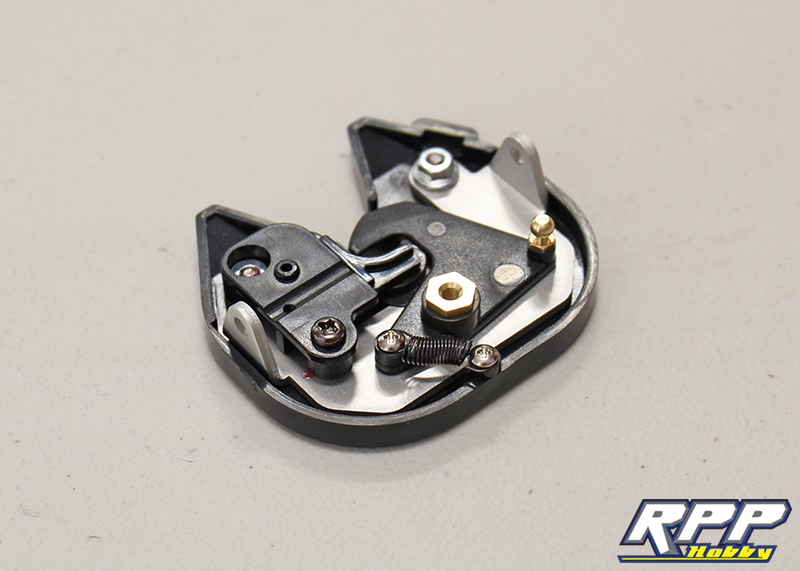
Turn to page 18 of the manual and start with step 36. Locate the coupler for the hitch which is labelled X4. Install the spring and ball connector per the instructions.
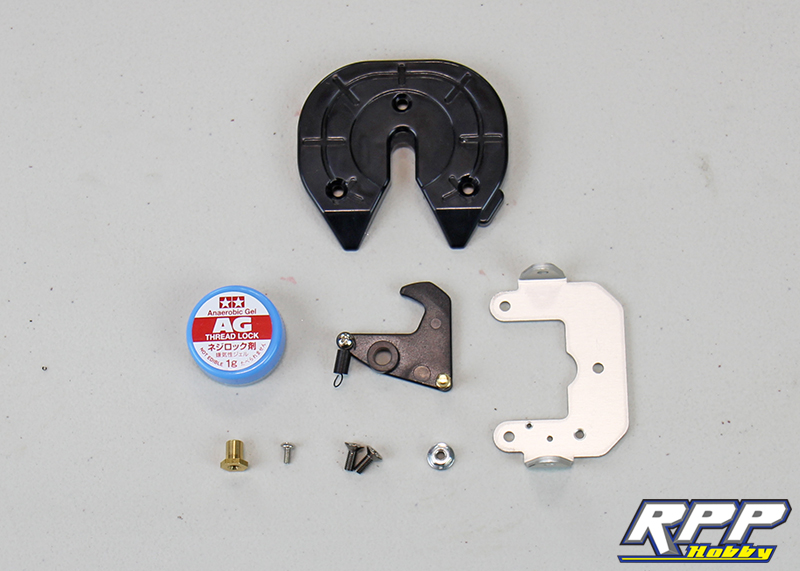
Next install the coupler and the coupler plate to the plastic hitch. Everything required to complete this step.
Install the two M3 screws first, don’t forget the thread lock. Mount the second eyelet on the return spring to the hitch with the supplied hardware.
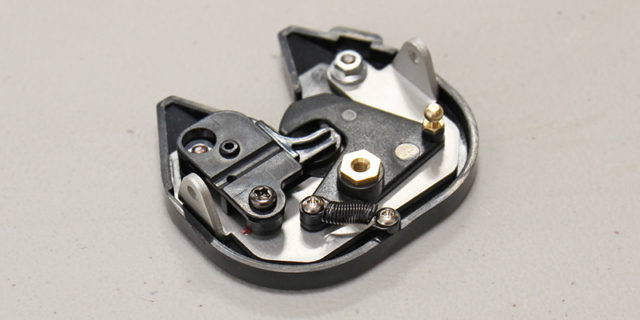
Mount the coupler switch to the hitch assembly. It can be a little tricky to hold everything in place while installing the hardware here because of that tiny spring concealed inside the assembly.
Everything required to complete the last part of step 36.

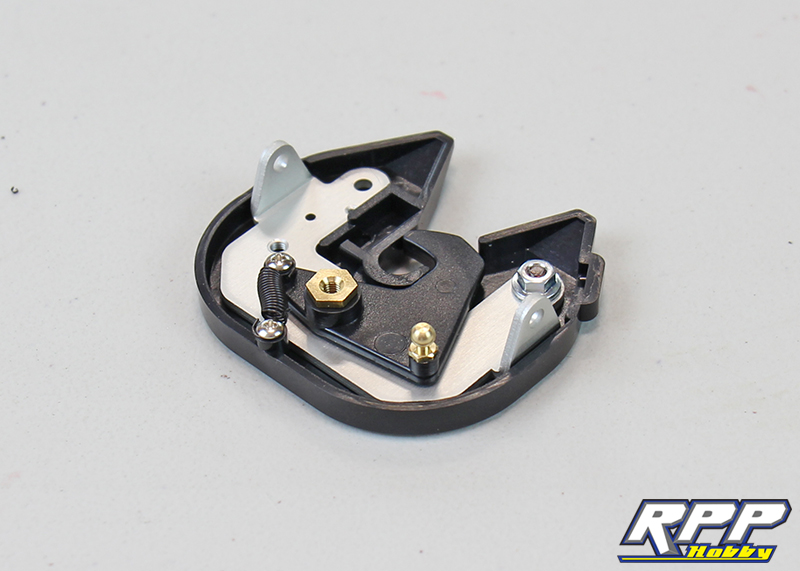
Lastly, install the coupler plate with the supplied return spring and hardware.

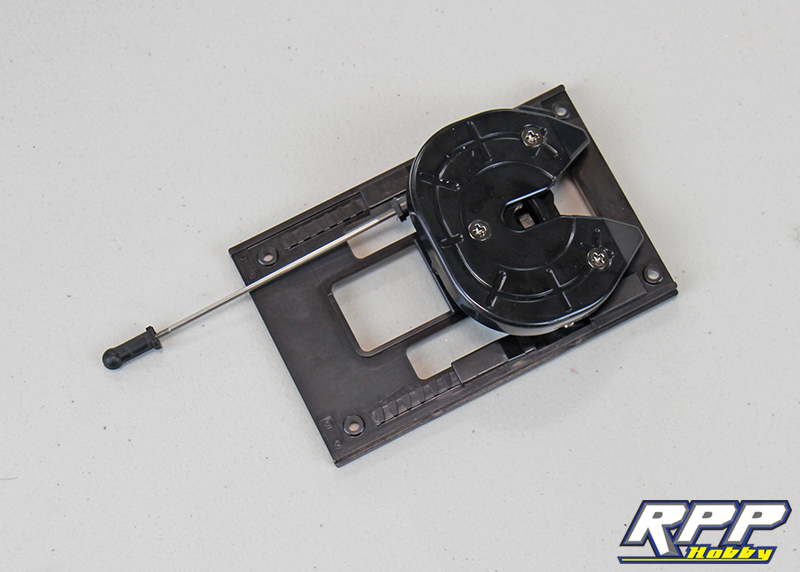
Screw the rod ends onto the threaded rod at the set 73mm length designated in the manual. Snap one end of the threaded rod onto the bottom of the coupler. Mount the coupler to the baseplate, labelled G8, with the supplied hardware and thread lock. Install the coupler assembly to the back of the chassis with the supplied M3 screws per the instructions.
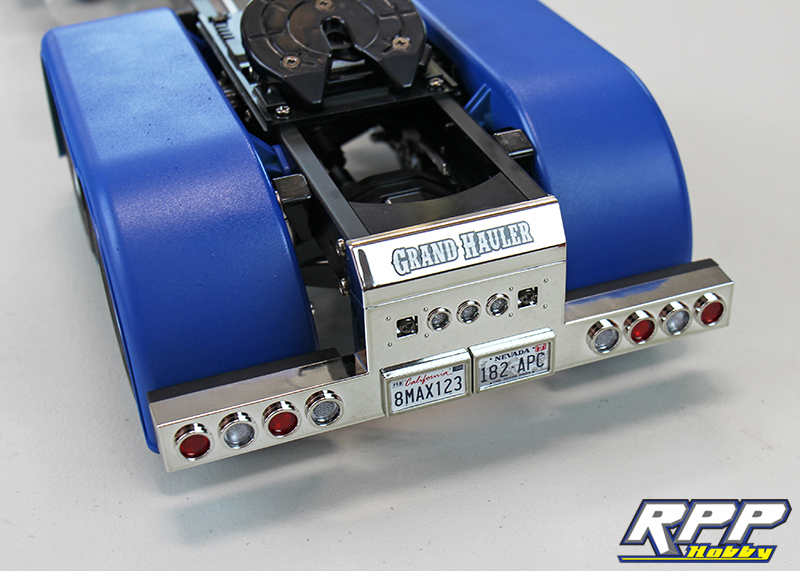
Mount the rear bumper to the back of the chassis next.
We painted the seat bases flat black before mounting them to the floor board.
Attach the seat bases and the body stays to the floor board.

Install the required hardware onto the battery tray per step 40. Even though we are not installing the sound and vibration units at this time, we drilled the holes anyway in case somewhere down the road we decide to add them.
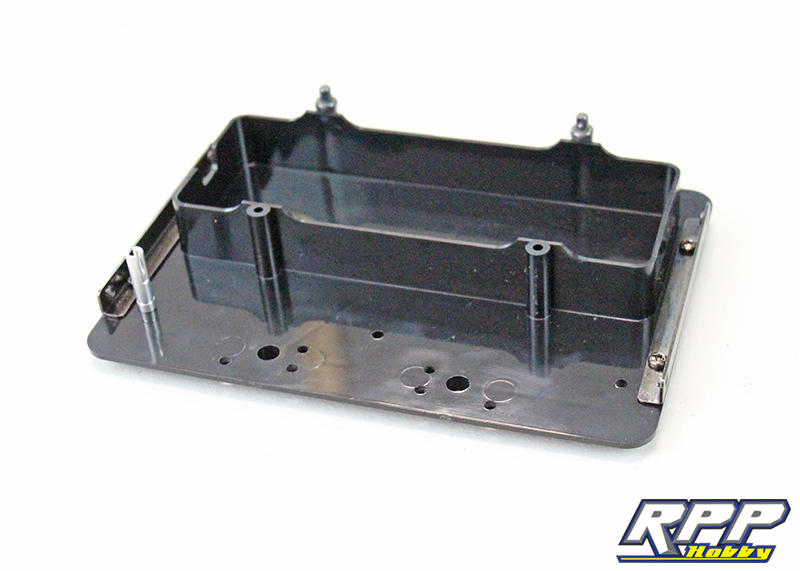
Required parts for step 42.
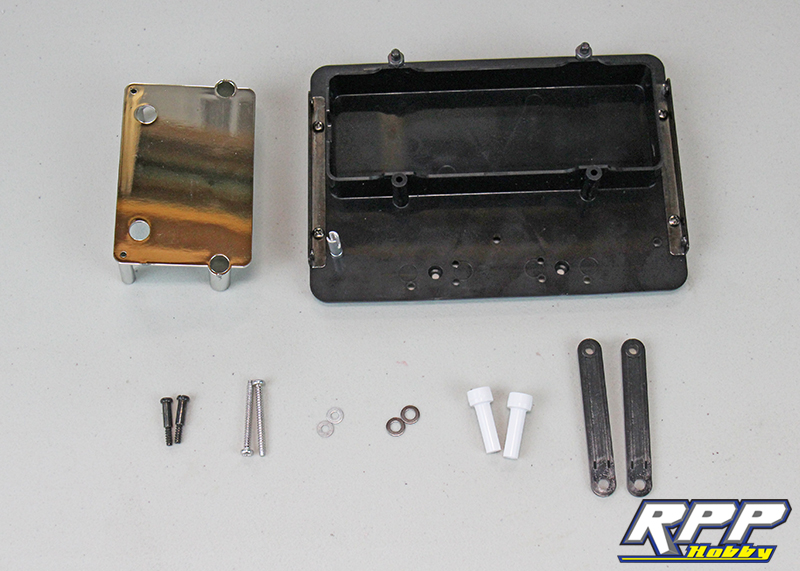
Step 42 complete.

Install the floor assembly and the battery tray onto the chassis with the supplied hardware.

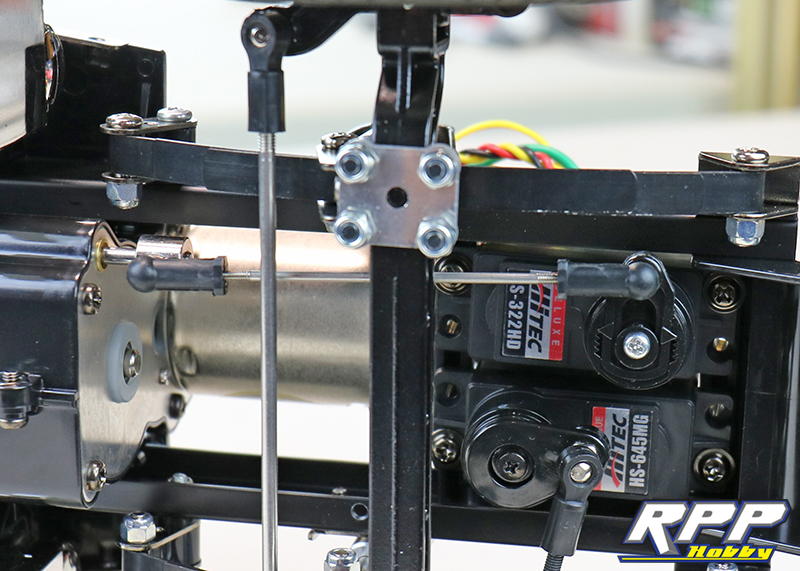
Next install the shift and steering linkage per step 45.
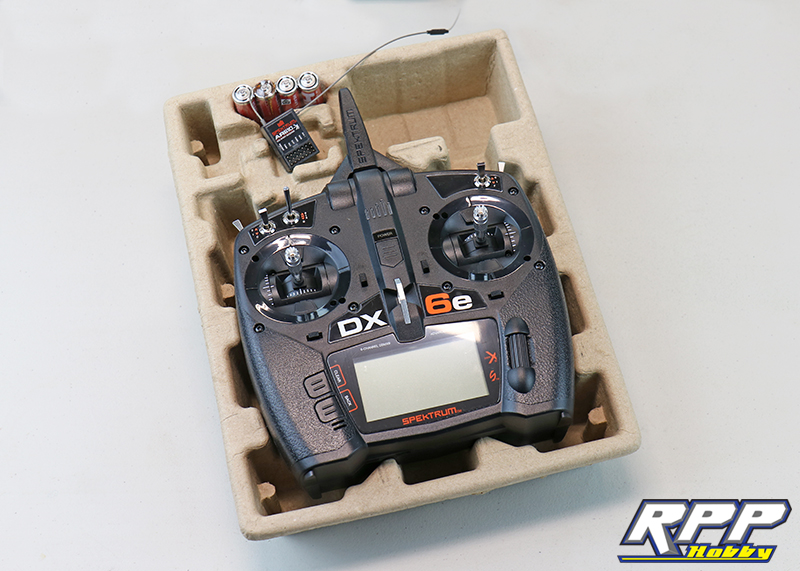
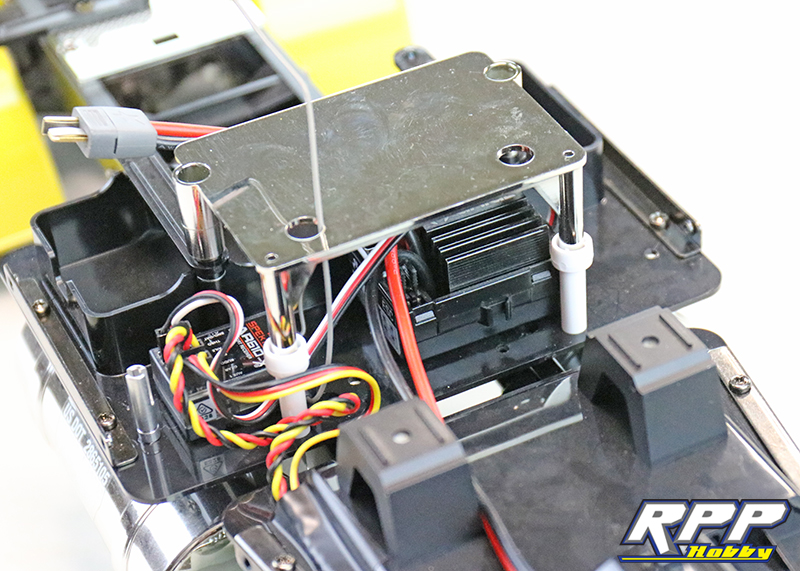
Time to install the electronics! A little sneak peek at the Spektrum DX6e radio we will be using.
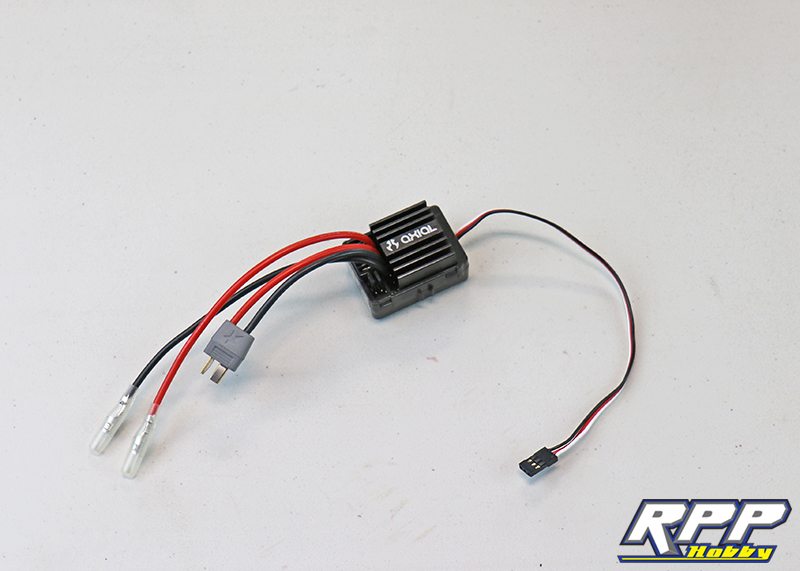
An Axial AE-5 ESC will provide power to the three speed transmission.
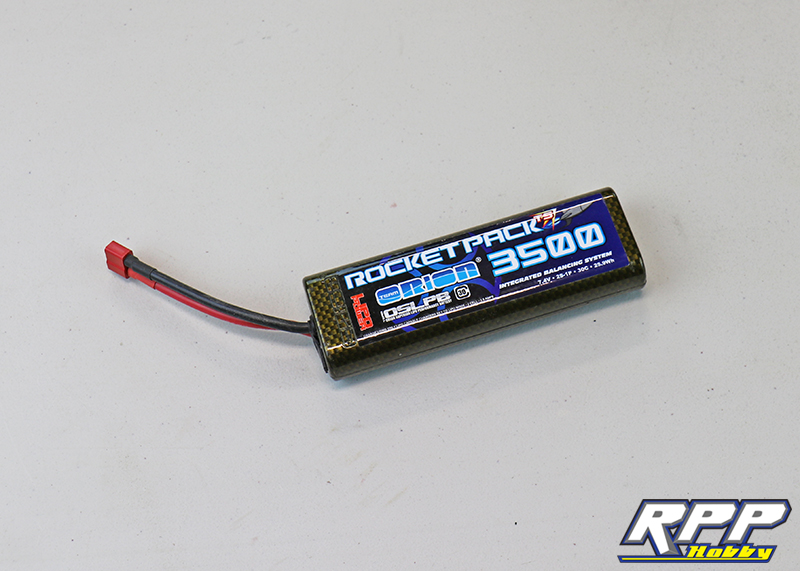
A Team Orion 3500mah 2S Lipo will supply the juice.
The Spektrum AR610 6 channel receiver installed. Final wire routing is yet to be fully sorted. We want to conceal as much wiring as possible, and still be able to remove the cab easily.

ESC nestled into its final resting place. You may also notice something a little out of whack in this photo. We will let you in on that during the next installment of this build.
The brings us to the end of part 5 in our Grand Hauler build series. Join us next time as we add the final details to the body and most likely wrap this build up. Then, it is off to shoot a little video with this beast! Thanks again for checking out the RPP Hobby blog!