We are back working on our Tamiya Grand Hauler kit build again. After recently wrapping up our Axial SCX10 II kit build series and our Vaterra Ascender K-5 Blazer build series, we were excited to get back to this semi-truck kit. At this stage of the build, with the chassis assembly 90% complete, we are ready to start adding some of the external scale features. In this installment of the build we will assemble the tires and wheels, bolt on the rear fenders, and get into some of the spot-on scale features. Ready to dig in?
Turn to page 14 in the build manual and start with step 27. At this point we decided we should paint the body before moving forward with assembly. After debating on colors we picked a blue that was slightly brighter than the box art photo.
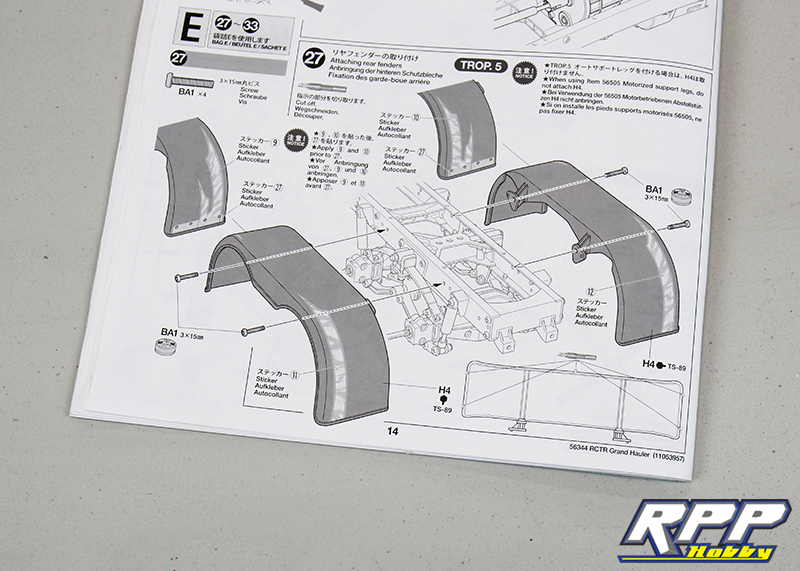
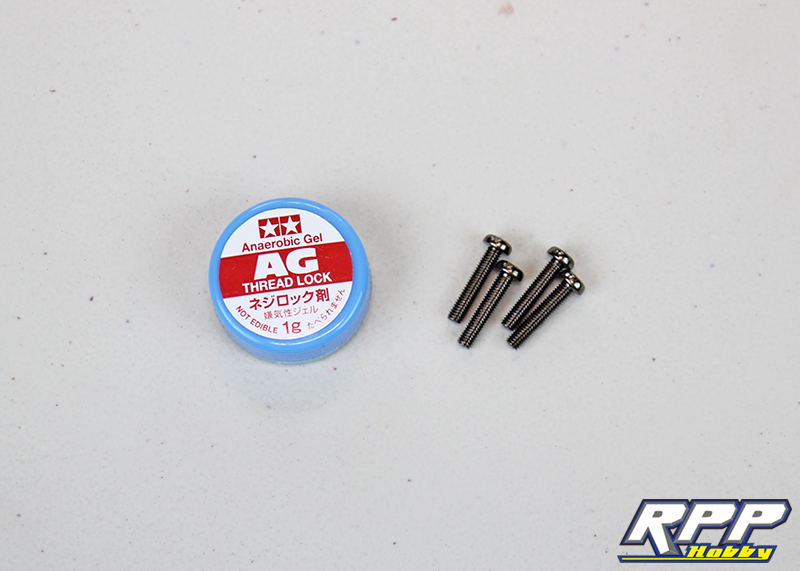
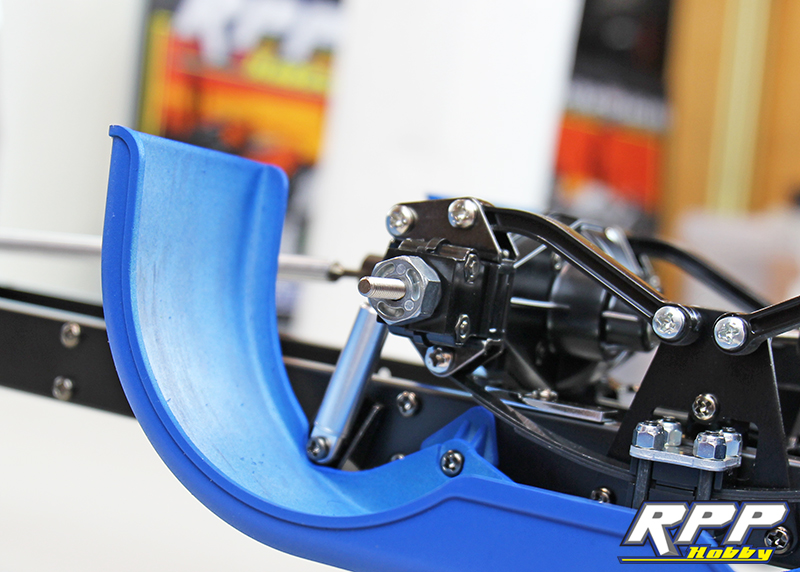
After your paint has had time to completely dry you can install the rear fenders on the chassis with the supplied hardware and thread lock.
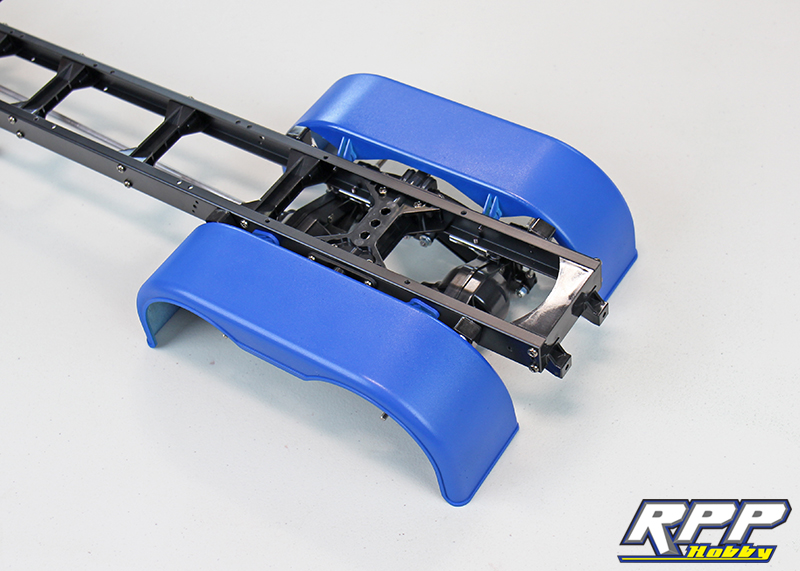
Fenders installed!
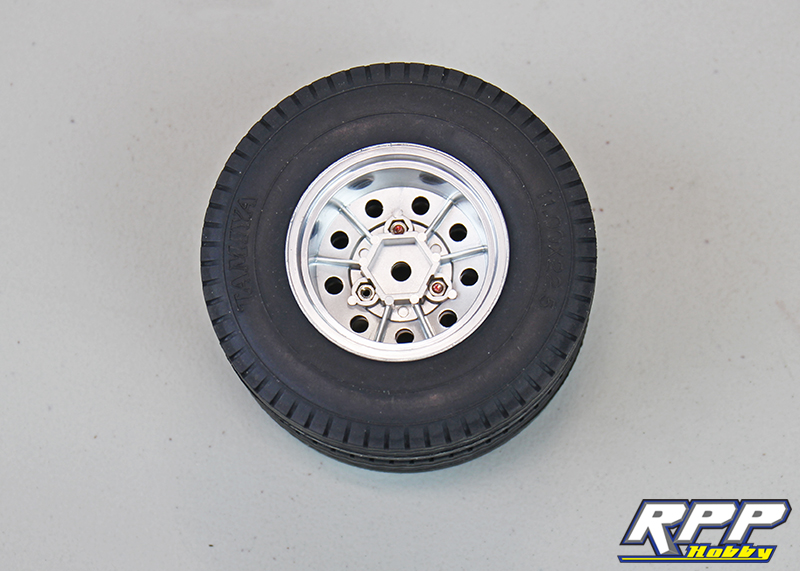
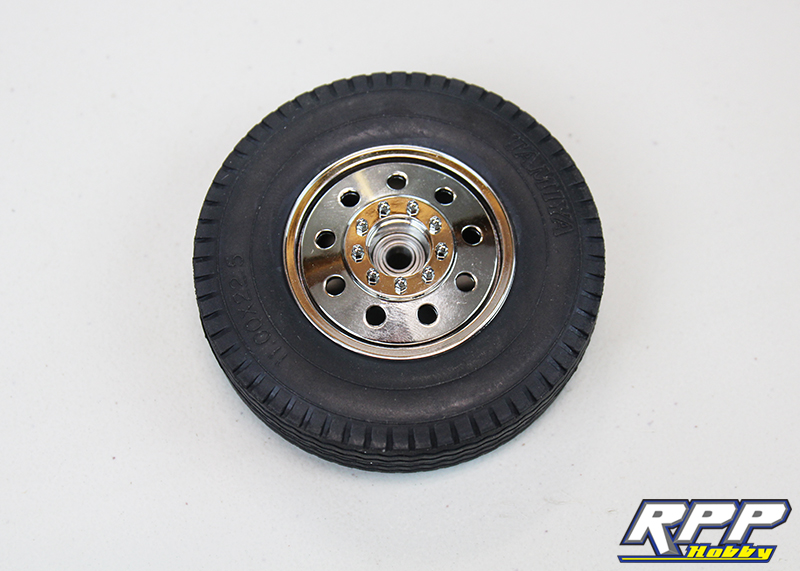
Time to assemble the wheels and tires.
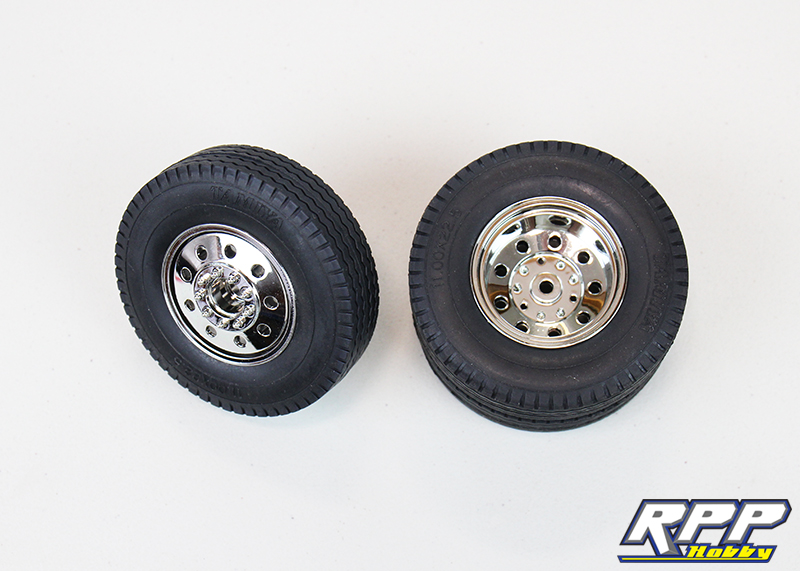
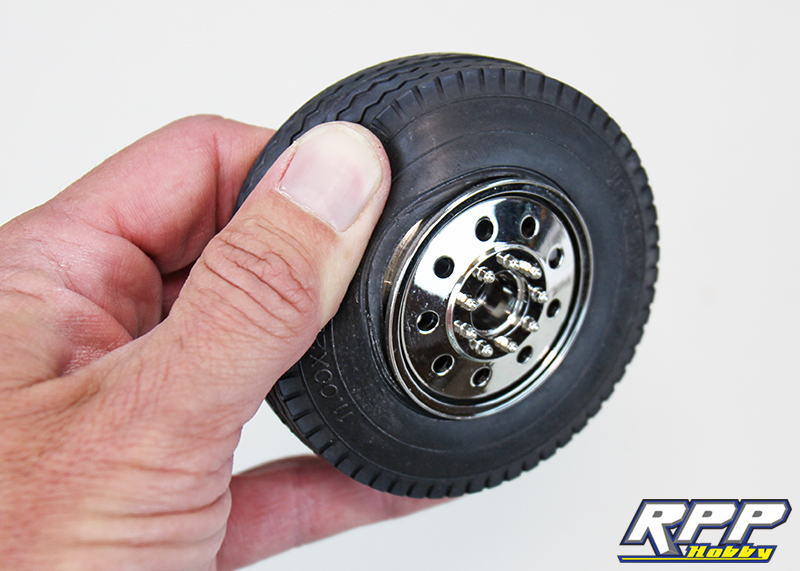
Install a pair of tires onto the front wheels. We did glue the tires to the wheels as suggested, but only in a few spots. The tires are very stiff, so there is no need to go overboard with glue here. Peel back the bead as shown and ad a dab of tire glue in a few spots around the tire beads inside and out.
Pop the rear tires into place on the wheels, butt the mating rear wheels together, and assemble using the supplied hardware.
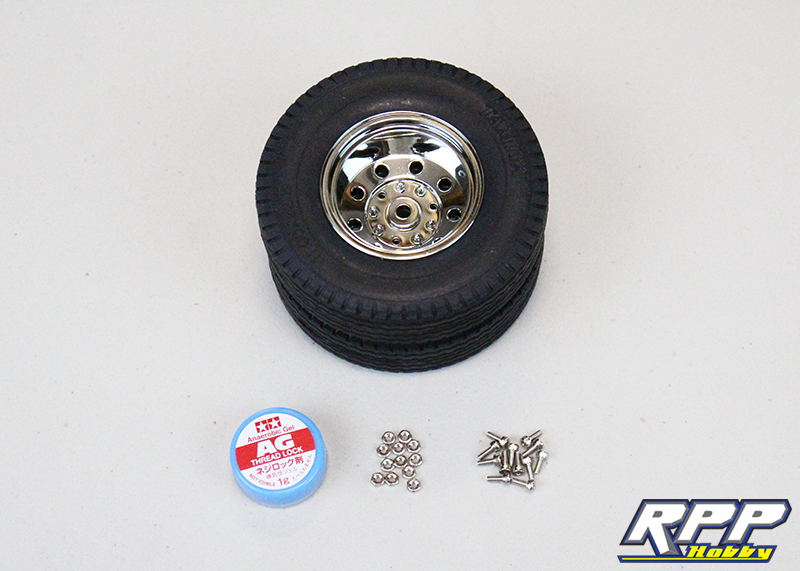
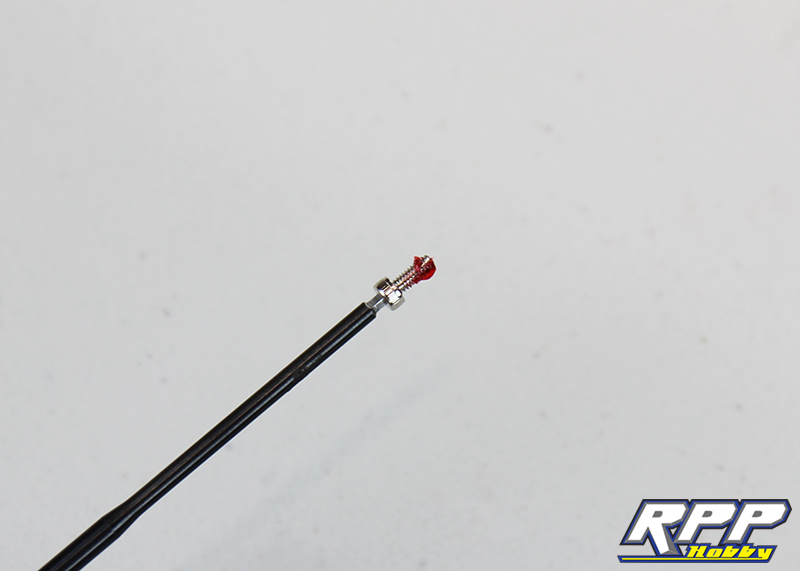
Don’t forget the thread lock.
A shot of the backside of the dually rear wheel set-up during assembly. One more screw to go.
Slide the rear hex drive hubs into place.
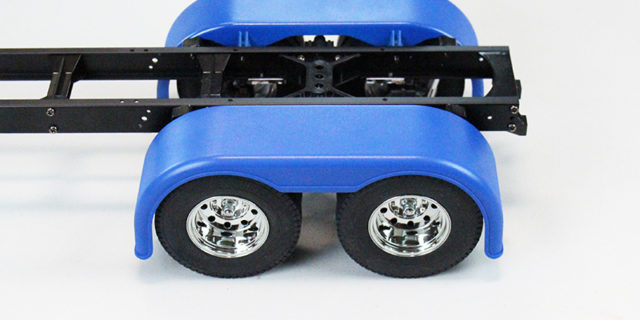
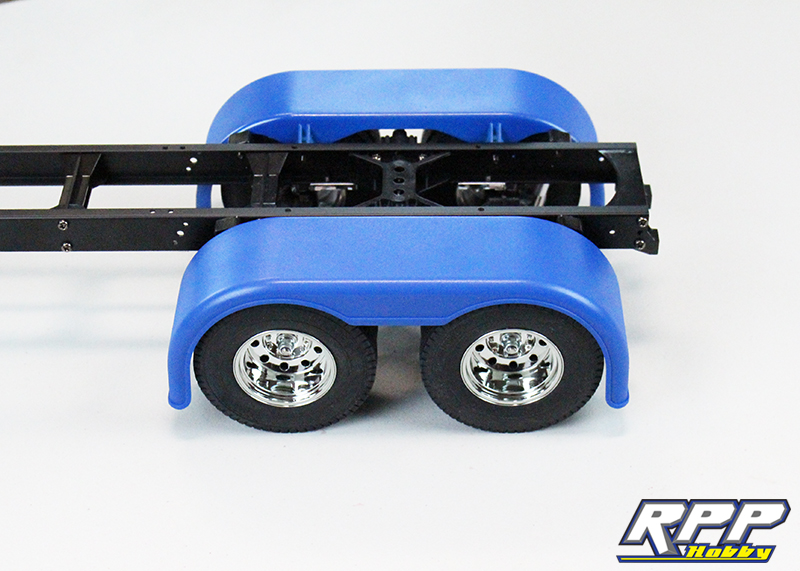
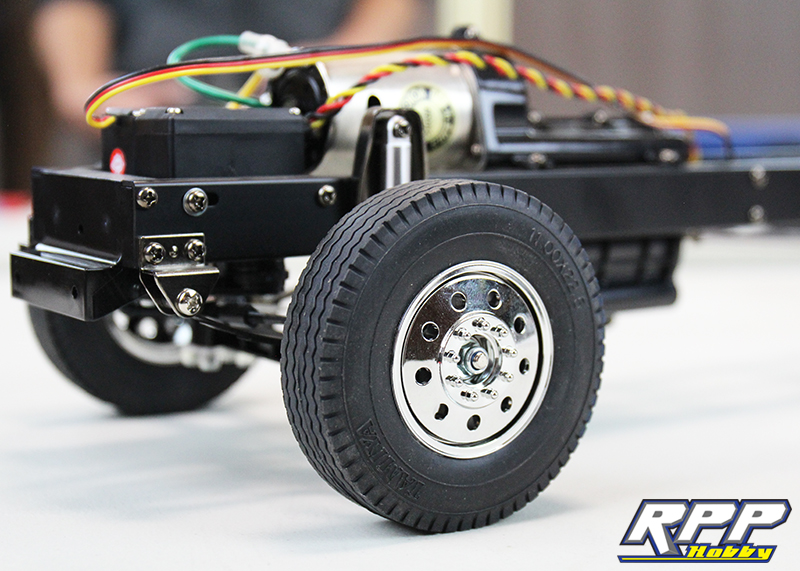
Install the rear wheel assemblies with the supplied M4 nuts. The fit of the wheels and tires is perfect with the rear fenders!
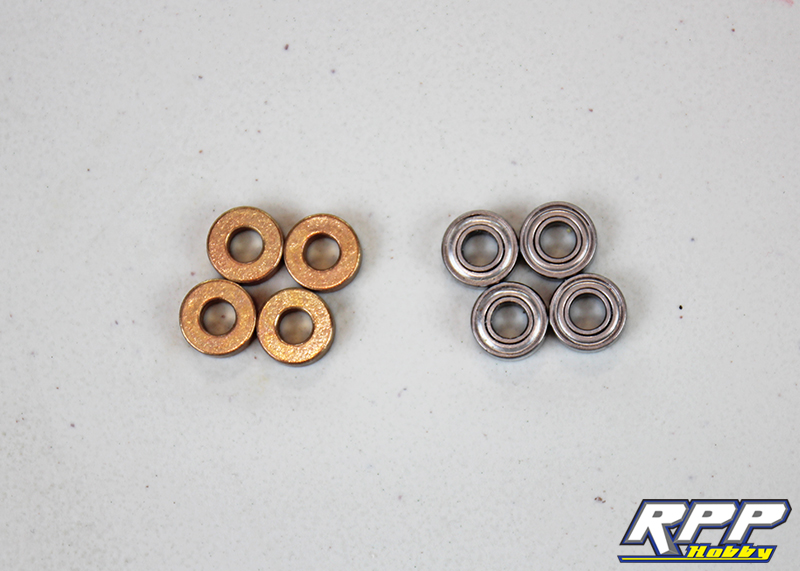
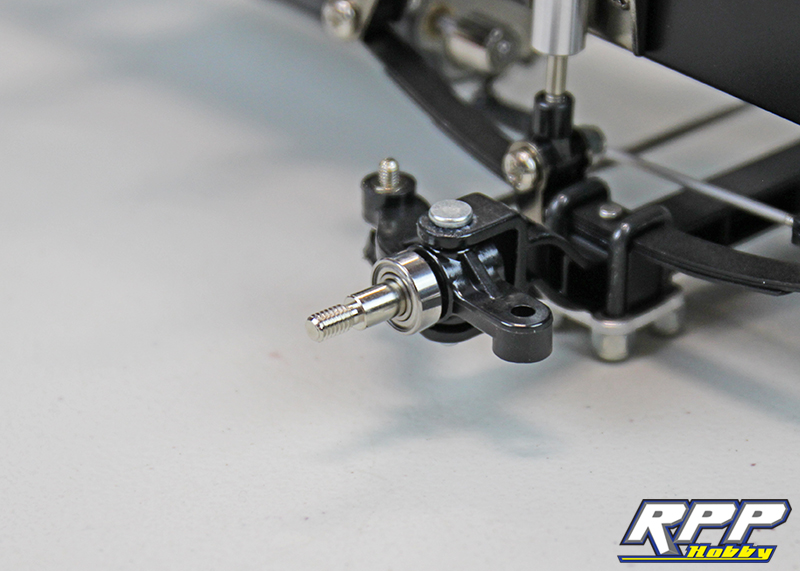
Moving on to the front wheels we upgraded the stock bronze bushings to a set of precision Team Fast Eddy ball bearings for a smoother ride, less drag and less wear on moving parts in the long run. Bearings are a “must do” upgrade on any R/C kit that is outfitted with bushings in our opinion.
Slide a couple bearings onto the front spindles.
Insert the second set of bearings into the front wheels.
Install the front wheels with the supplied M4 lock nut.
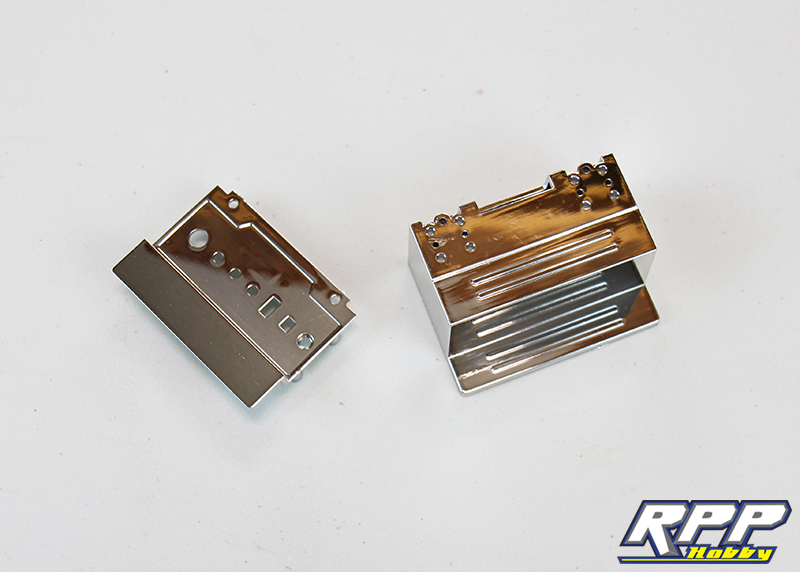
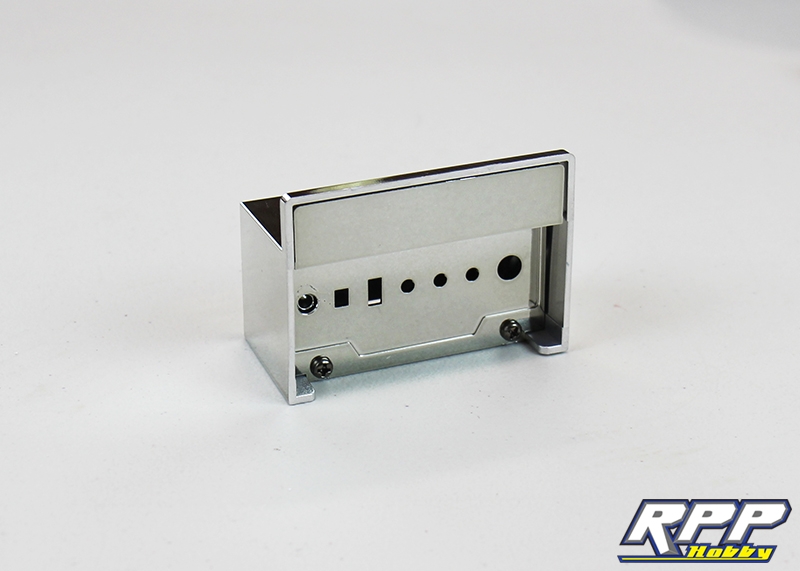
Moving on to step 30 and a little chrome plated bling! It is time to assemble the side steps for the cab of the truck. If you are installing the Tamiya MFC unit, the controller will mount inside the side step.
Assemble using the supplied M3 self tapping hardware and double stick tape.
Step 31. Chrome parts all trimmed and ready for assembly.

Note direction when mounting to the chassis and side steps.
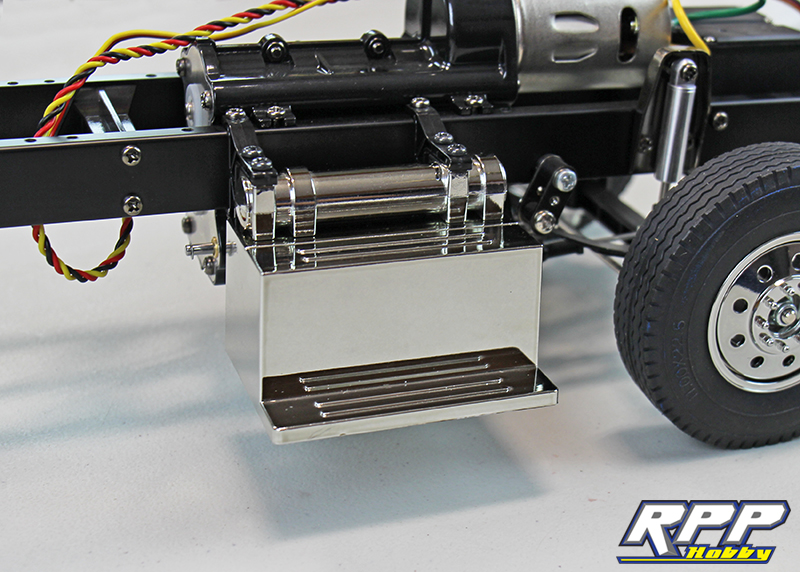
Driver’s side installed and registration stickers in place, just in case we get pulled over by the scale police.
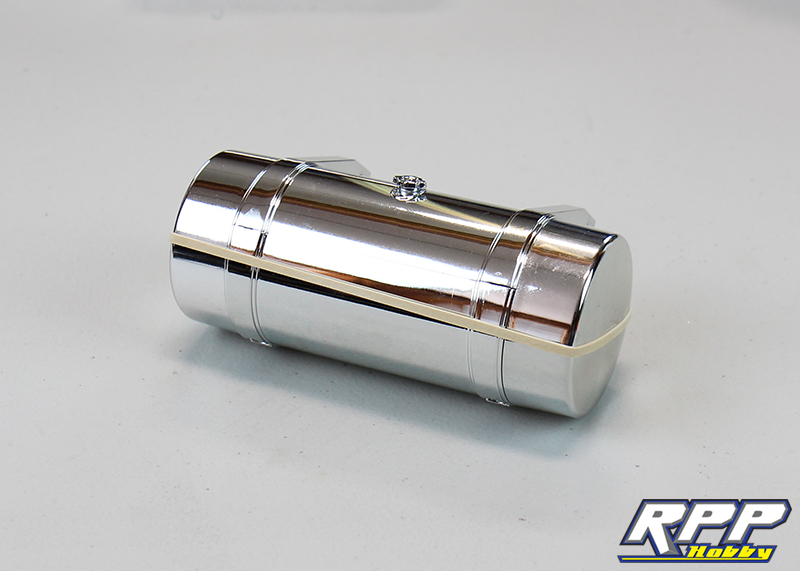
Time to assemble the fuel tanks. Trim all excess flashing left over from the parts trees with a sharp hobby knife and assemble the two halves of the fuel cells with the supplied hardware.
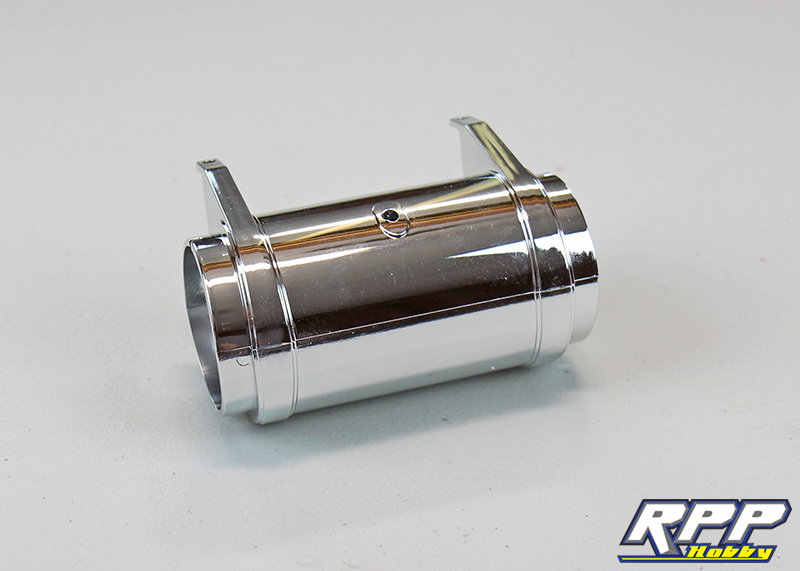
Glue the fuel cap and the ends of the fuel tanks into place. We used a rubber band to hold the end caps in place until the glue cured. You may need to remove the chrome plating in the mating areas to be glued for best results.
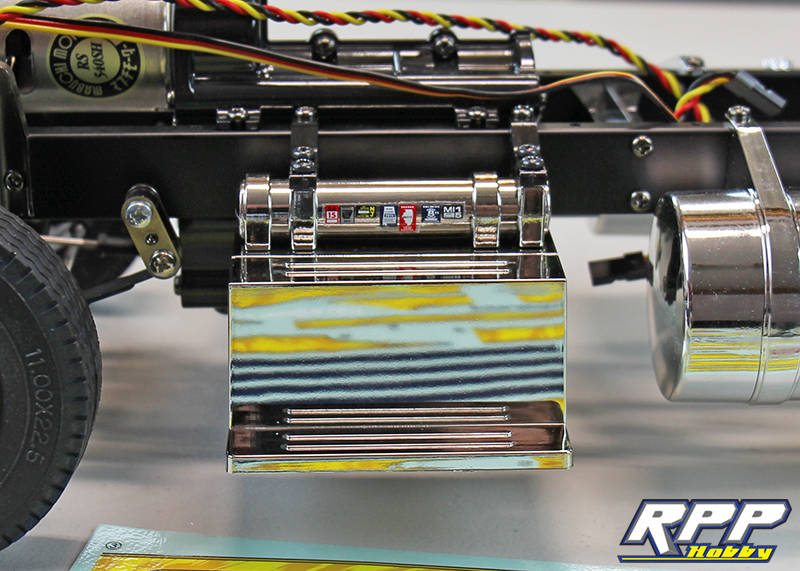
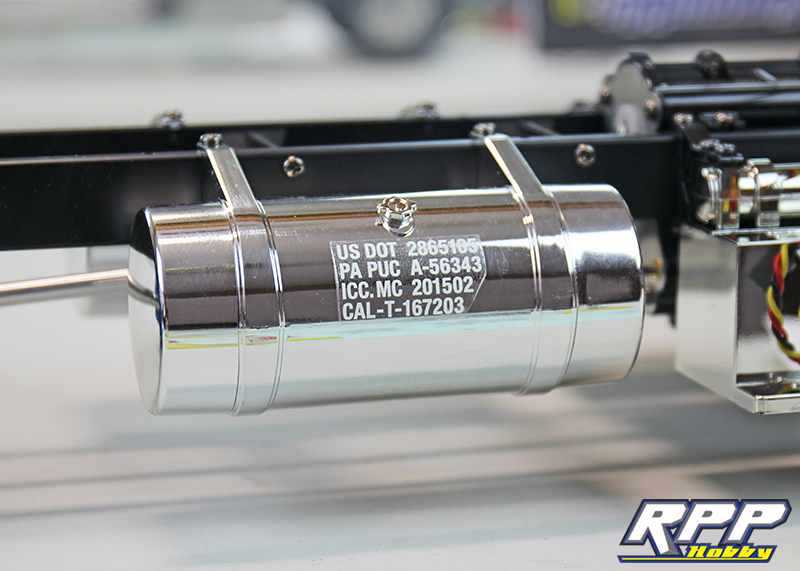
Install the tanks onto the chassis rails and apply the decals.
Everything required to to complete step 34.
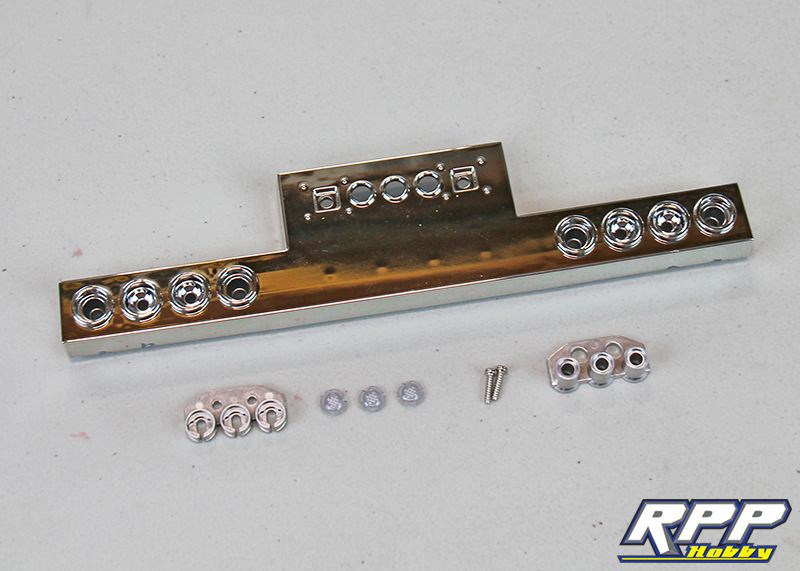
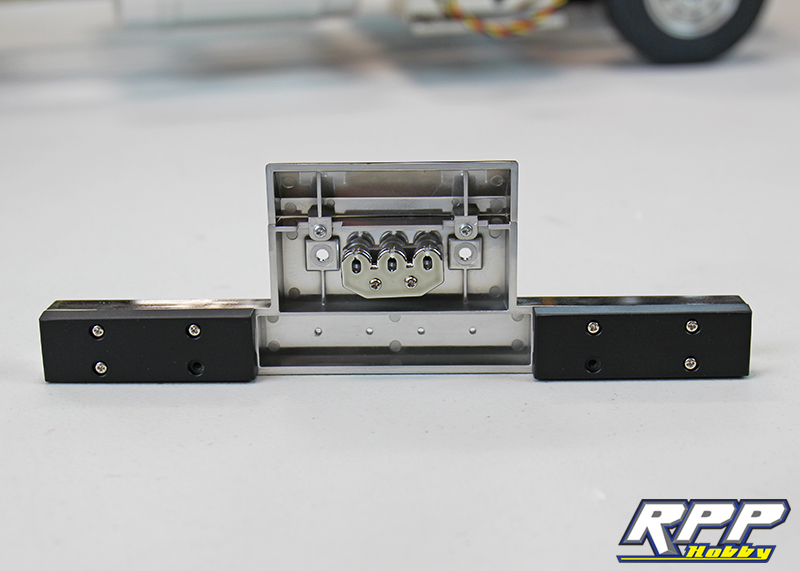
Trim any excess flashing off the clear lenses and install them into the backside of the rear bumper.
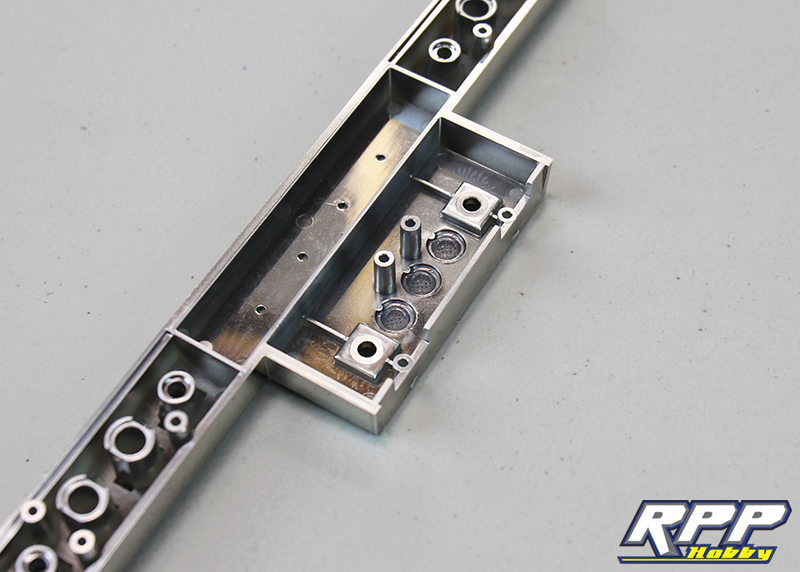
Install the mating plastic LED retainers with the supplied hardware.
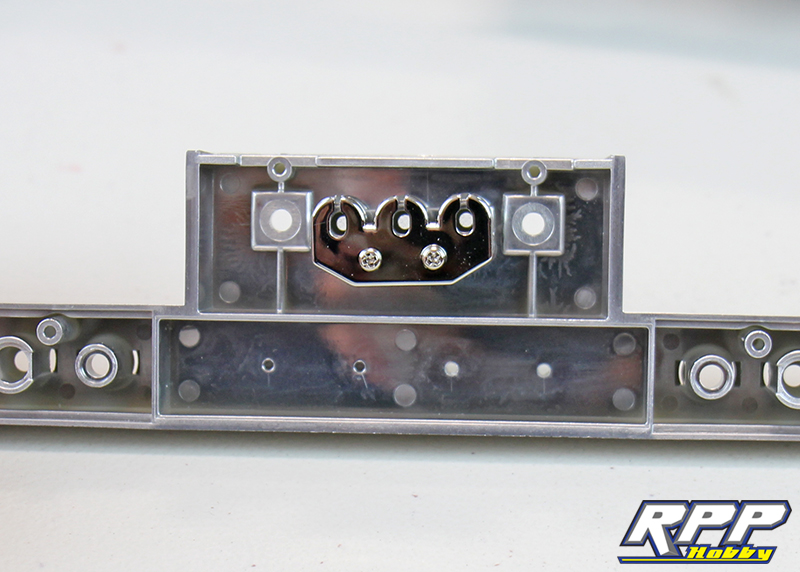
Step 34 complete.
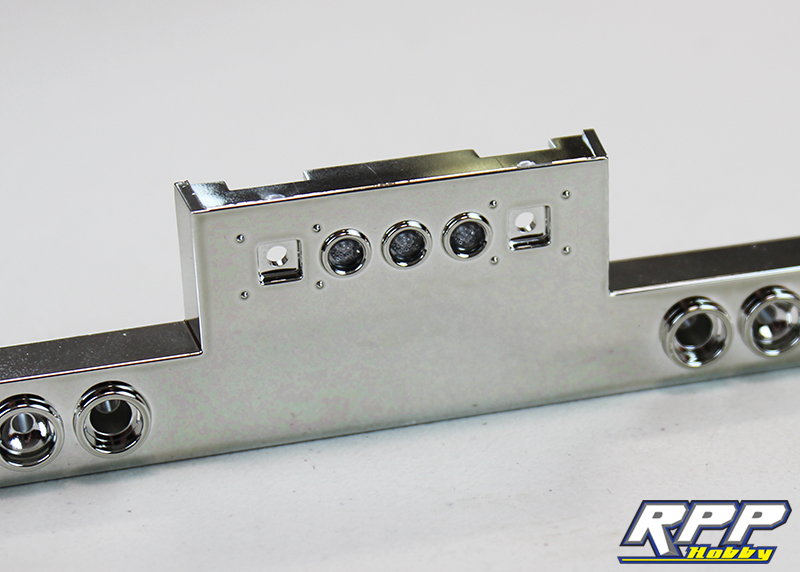
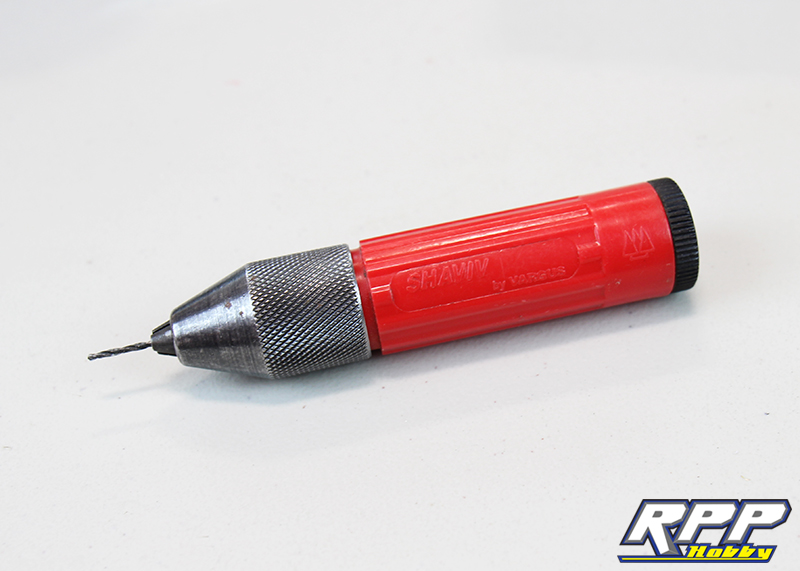
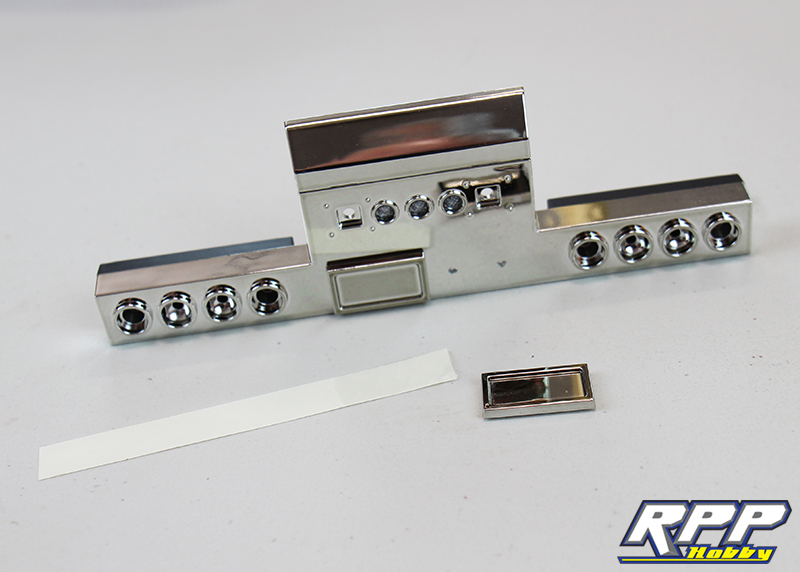
Step 35 requires you to drill four holes in the rear bumper for the license plates. The holes are pre-marked in the backside of the bumper to make this process a lot easier. We used a small .062 drill bit and a pin vise to drill the holes. The directions call for a 1.5mm drill bit, which is .059 by standard measurements. The 1/16th drill bit we used is close enough in size to work just fine.
We choose to drill the holes at this point, before moving forward with step 35.

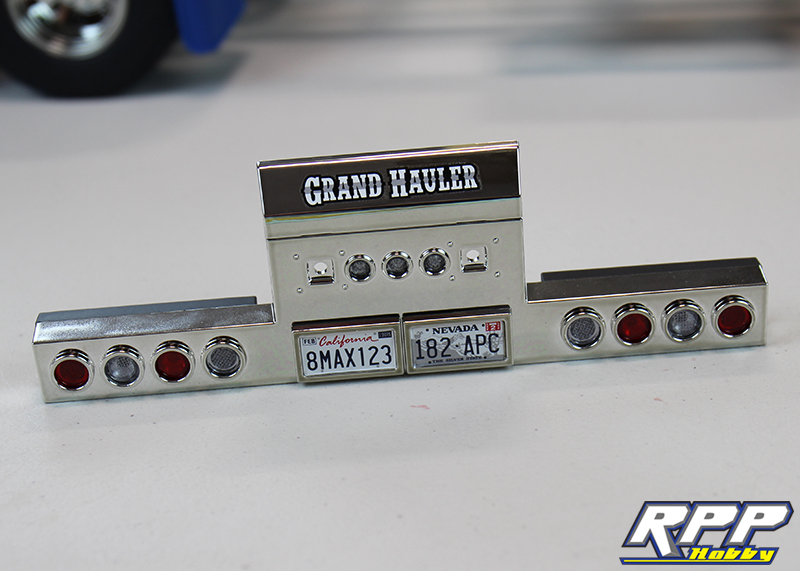
We painted the rear tail light covers flat black before installing them.
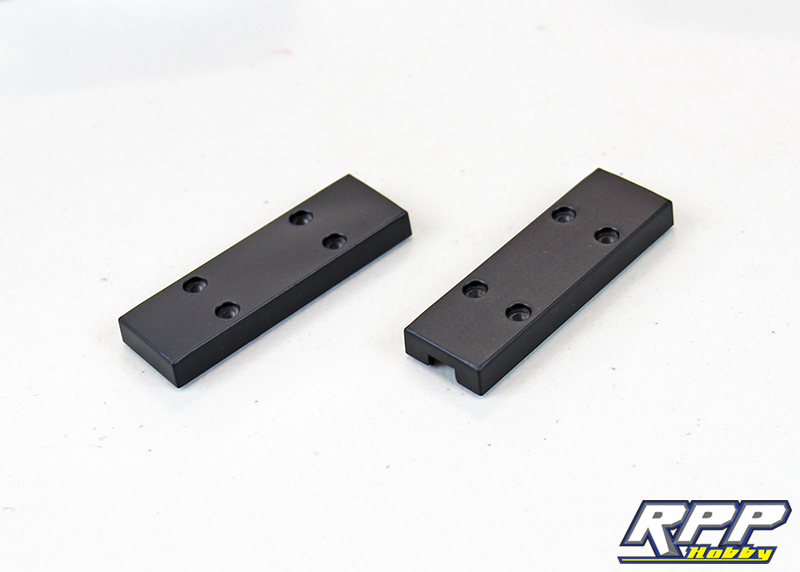
Tail light covers and top portion of the rear bumper installed.
Use the supplied double stick tape to install the license plate frames.
Install the brake and reverse light lenses and apply the decals. Rear bumper complete!
That brings us to the end of part 4 in our Grand Hauler kit build series. Every time we work on a Tamiya kit we are amazed at the level of scale detail within. This Grand Hauler kit is no different, incredible details. Follow along next time as we assemble and install the functional trailer hitch, install the rear bumper and prepare the chassis for the electronics. Thanks again for checking out the RPP Hobby blog!