R/C upgrades, is there anything better? Well, maybe buying a new kit, but upgrades and option parts are a big part of R/C. By adding a few option parts you can make your popular RTR vehicle stand out from the crowd. One of our favorite aspects of the R/C hobby is spending quality time at the workbench adding upgrades and customizing. We had so much fun on the first trail run with our Trail Finder 2 from RC4WD, that we instantly went into “upgrade mode” with a few new parts. Want to see what they are?
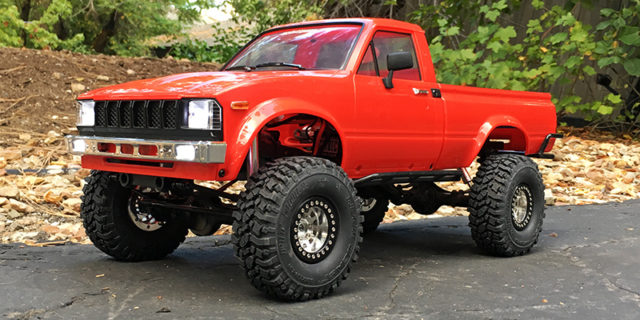
First we wanted to add a Simple LED kit from Axial. The hard plastic Toyota body that comes with the Trail Finder 2 looks amazing. Adding lights just takes it to another level. We choose this LED kit for simplicity reasons alone. All we have to do is plug the LED controller into our 4 channel receiver on the TF2, mount the lights, and we are in business. The kit includes one string with four white LEDs and one string with two red LEDs. Perfect for a basic headlight and tail light set-up. Here is how we did it.
We noticed right away that the wires were too short on the four LED string to reach the headlights and marker lights in the grill of the body. So, this required us to add an extension wire in the center of the four LEDs. First we clipped the wire at the center and soldered about a four inch extension into place.
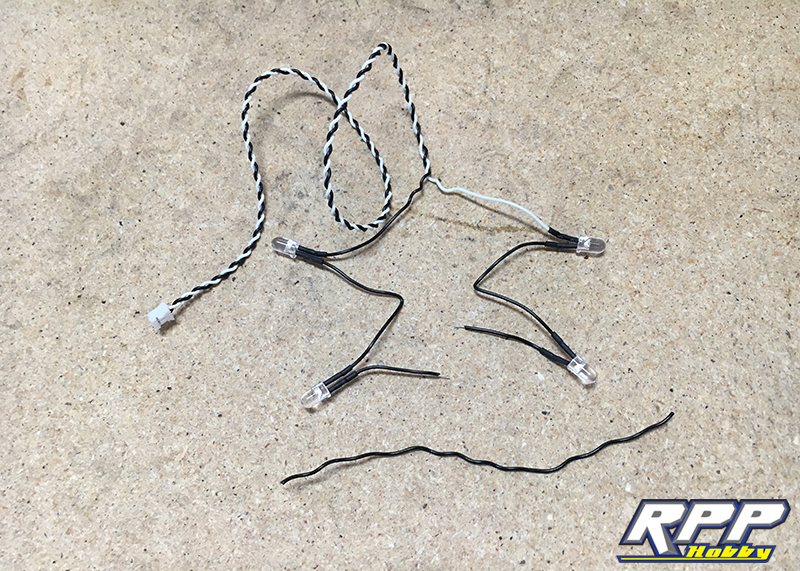
The finished product with heat shrink tubing applied to the soldered joints.
A quick test fire to make sure all four LEDs are working properly.

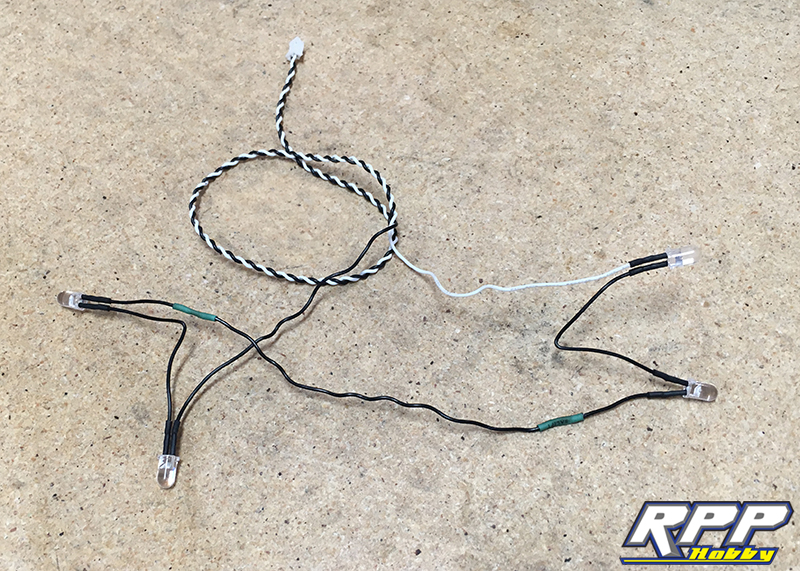
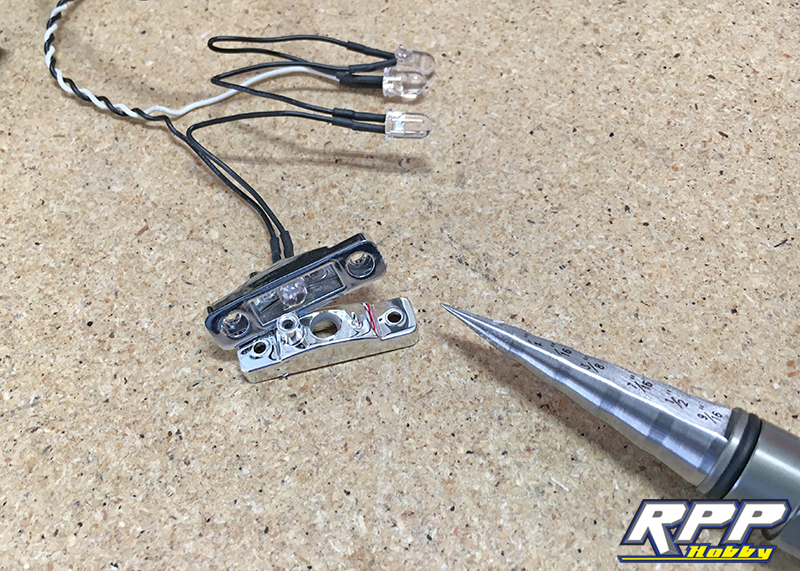
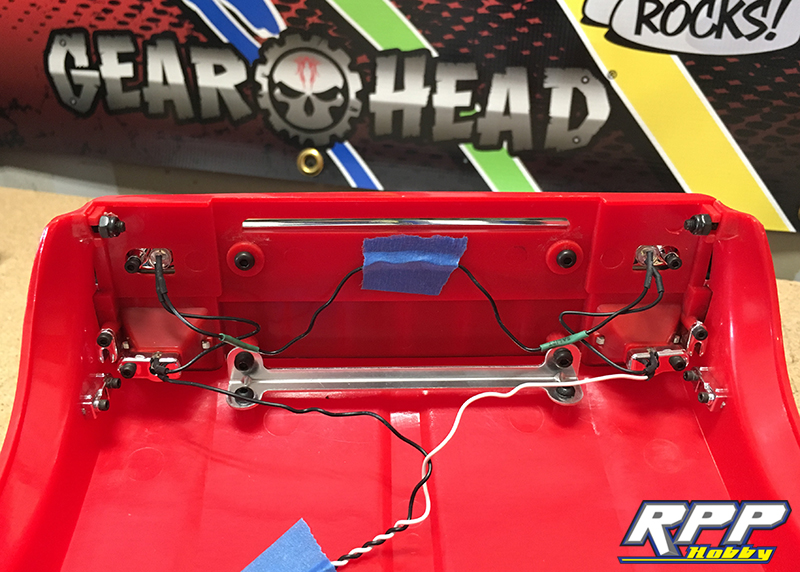
Next we had to modify the marker light holes to accept the larger LEDs included with this kit. We used a body reamer to open up the holes until the LEDs gently pressed into place. We did this because the stock light retainers were too small to work in unison with these LEDs.
Front LEDs installed. We will probably use a few dabs of Shoe Goo to hold the wires in place rather than the masking tape shown.
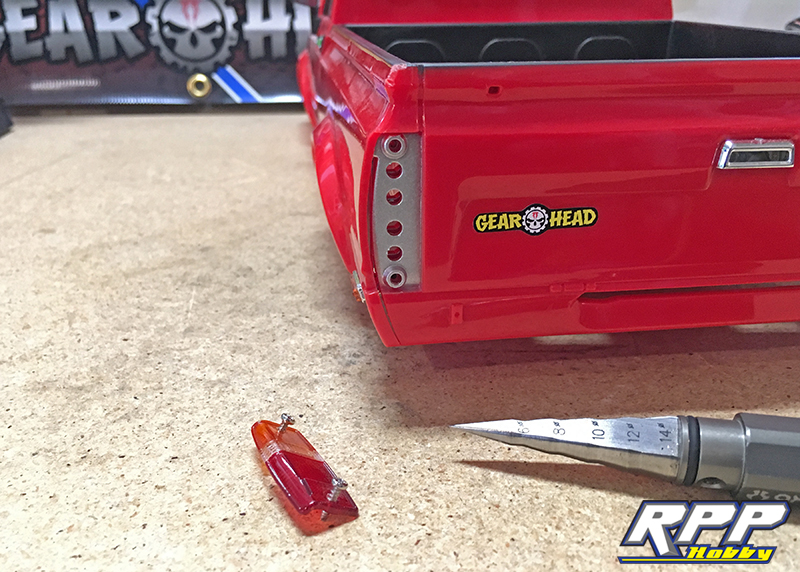
Looking good! We realize the lower lights in the bumpers are suppose to be orange marker lights. We may try to “tint” the lenses orange down the road.

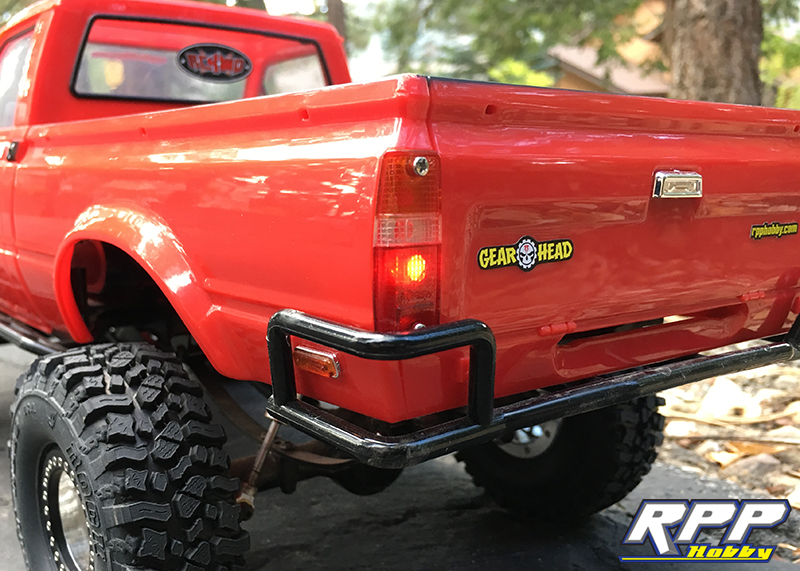
Reaming out the rear tail light holes was required as well.
The larger LEDs would not work with the stock chrome LED retainers. So, Shoe Goo to the rescue. One thing nice about using Shoe Goo is it isn’t permanent like CA glue and it can withstand a lot of vibration.
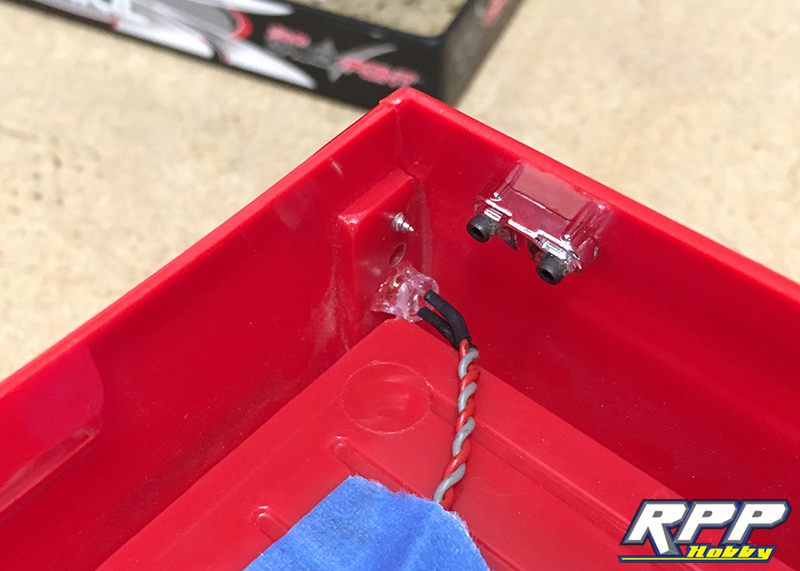
Tail lights in place.

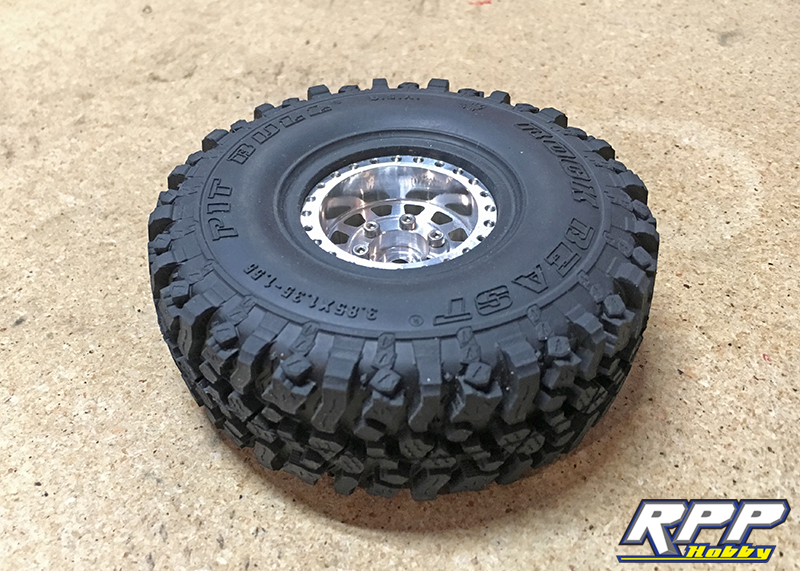
For the next upgrade we decided to swap out the wheels and tires for something more eye catching. For this duty we choose Gear Head RC’s 1.55 Dirty Dozen beadlock wheels and Pit Bull RC’s 1.55 Rock Beast tires. This combo should look spot-on with this body.
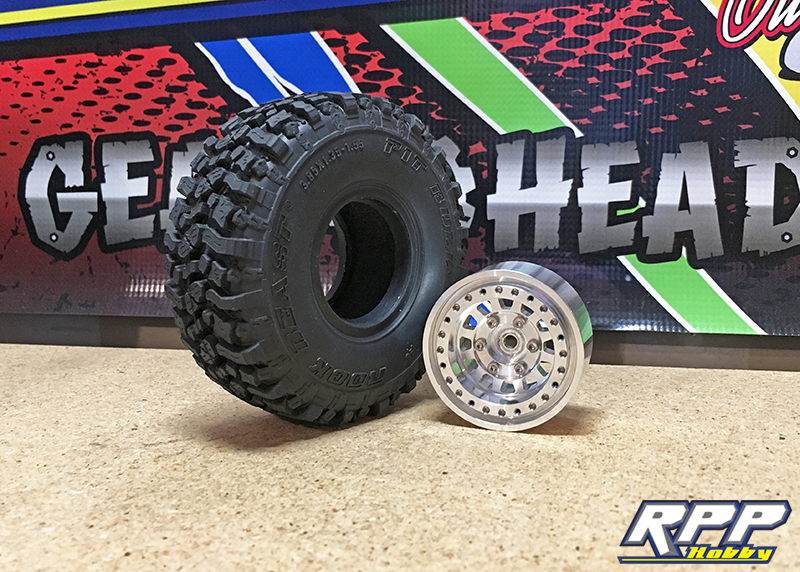
First install the wheel inside the tire and tuck the tire’s bead into the wheel’s bead seat.
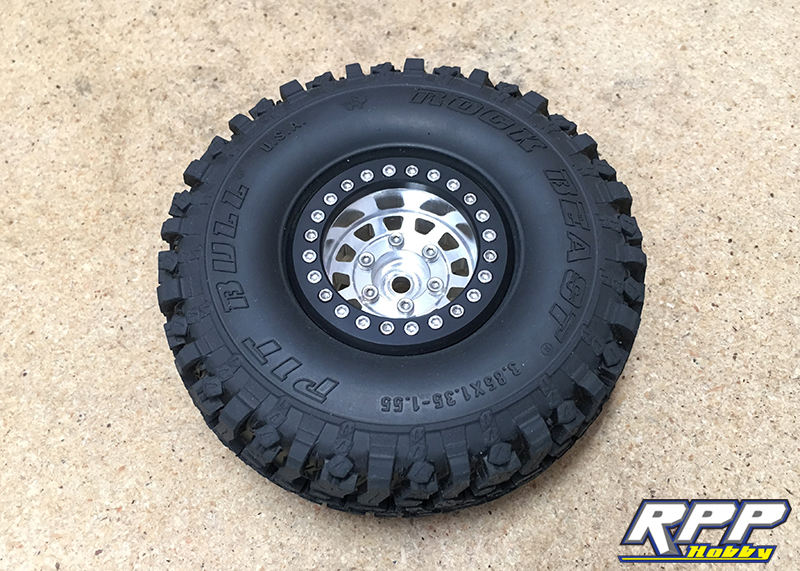
Next set the beadlock ring into place with the mounting holes properly lined up. Install two to three screws opposite each other in the wheel and tighten them up about half way. Notice we already installed the shorter faux beadlock screws into the ring before assembly.

Install the remaining screws and gently tighten them down in a criss-cross pattern until they are all tight. Repeat this process for the inner beadlock ring and our first wheel is done. Looks pretty sharp!
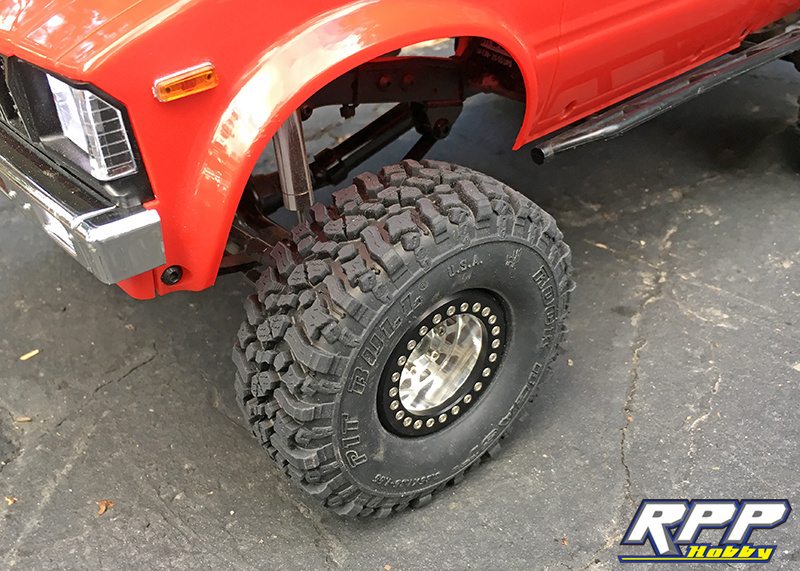
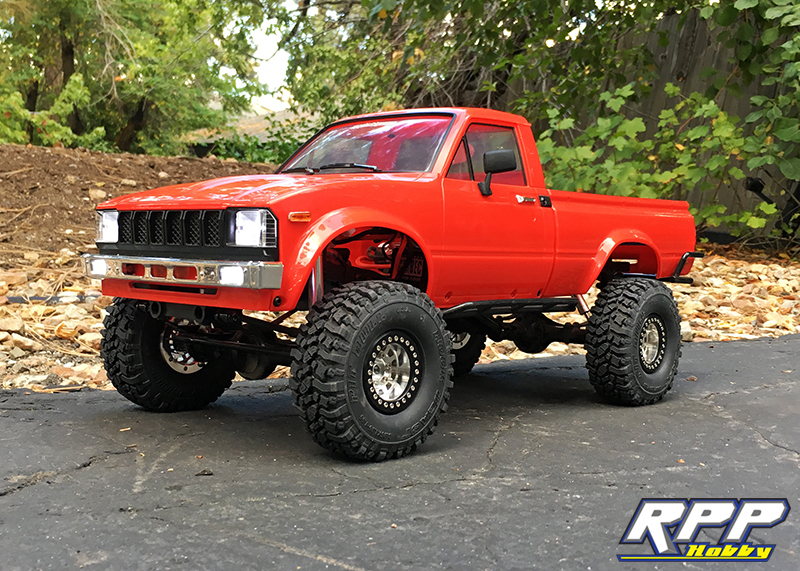
Wheels and tires bolted up with the body in place.
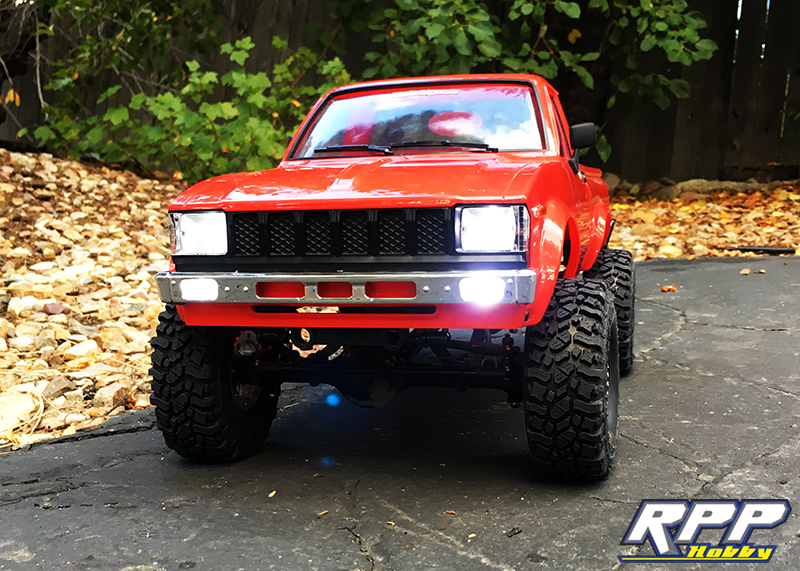
Who is up for a night run?
Overall the tires are slightly bigger and the wheels provide a little wider stance over stock form.
Check out the video from our first trail run since making these modifications here:
Round one of upgrades in the books! As with any R/C project this will be an on going process for us. We are sure most, if not all, of you can relate. Future plans for this particular build include some sort of inner fenders, a few more scale accessories, and a whole lot of wheel time. As always thanks for checking out the RPP Hobby blog and keep on wrenching.
0 Comments
Trackbacks/Pingbacks