Welcome to part 5 of our SCX10 II kit build! It has been a while since we have done a blog entry on the SCX10 II because of the two other builds we have going on. Now that we are back on this project here is where we are at. The axles, transmission and driveshafts were all completed in the first few blog entries. In this installment of our build we will assemble the chassis, and start working on bolting up the transmission and axles. If you missed the first few posts about this build you can see them here. Ready to get started?
Go to page 25 in your manual and locate all the parts required to complete step 31.
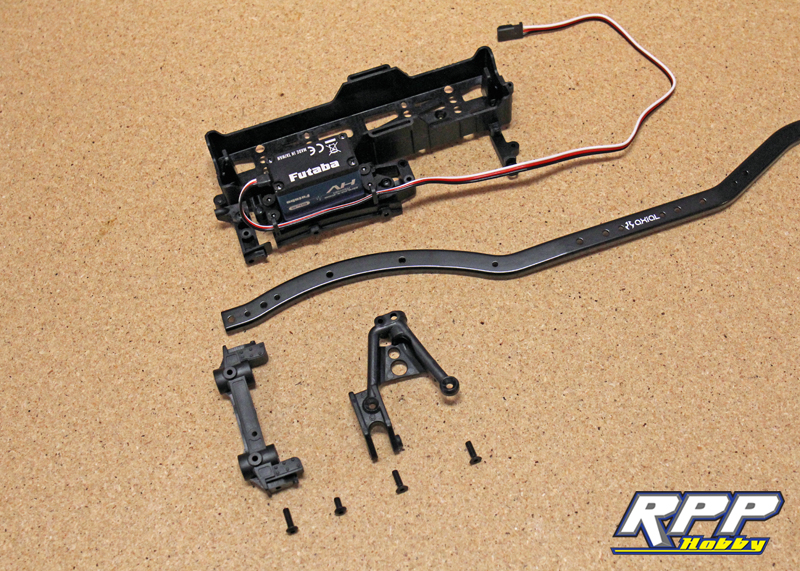
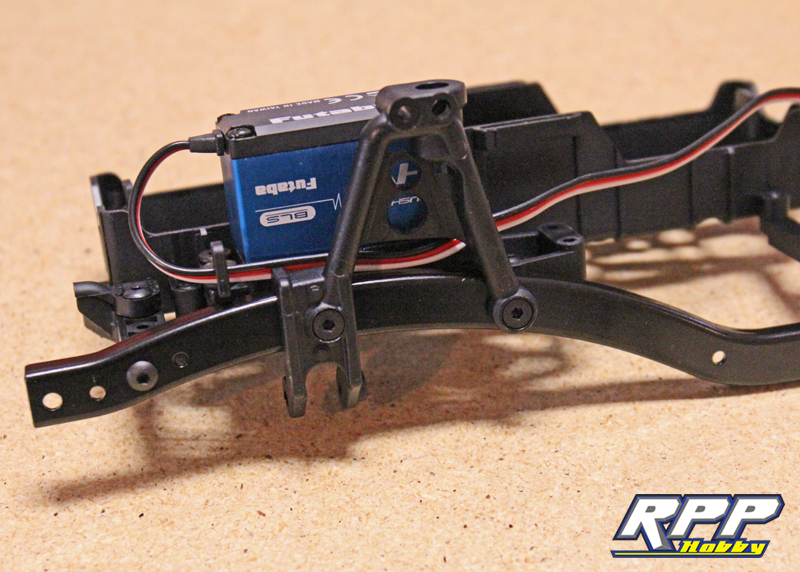
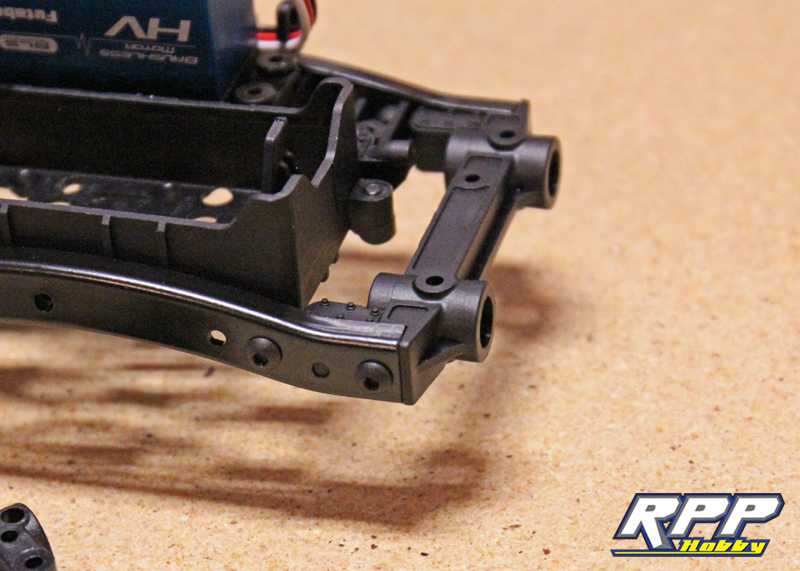
Attach the driver’s side shock tower to the chassis and servo mount. Then, install the front bumper mount.
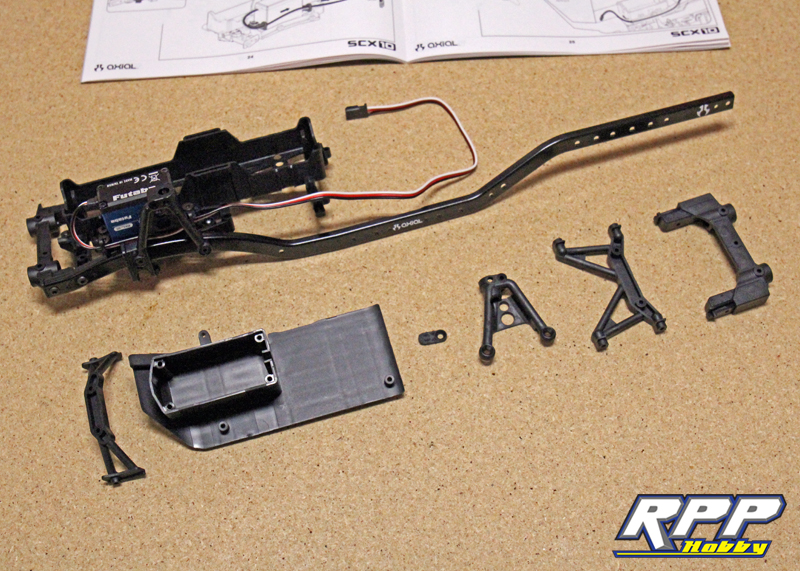
All the plastic parts required to complete step 32.
Be sure to route your steering servo wire through the molded channel on the side of your receiver box before securing it to the frame rail.
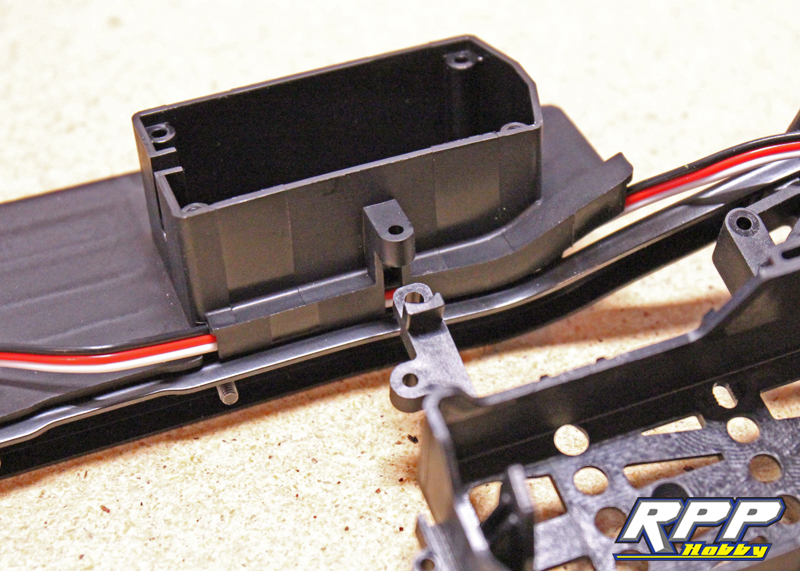
That molded channel is a nice touch to help keep your servo wire out of harms way, no zip ties needed.
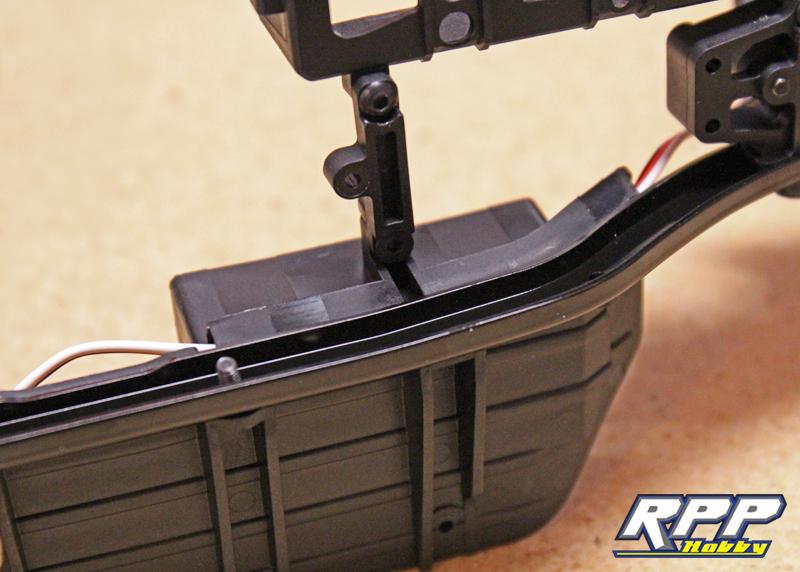
A shot of the radio box in place.
Don’t forget this little guy which helps hold the chassis skid securely in place.

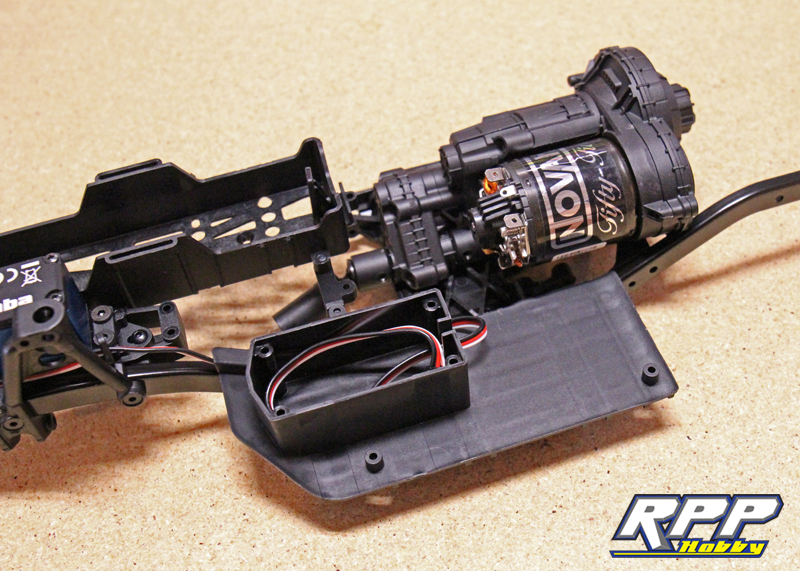
Install the chassis support next.
Attach the battery tray to the newly installed chassis support with the supplied M3 flat head screw.

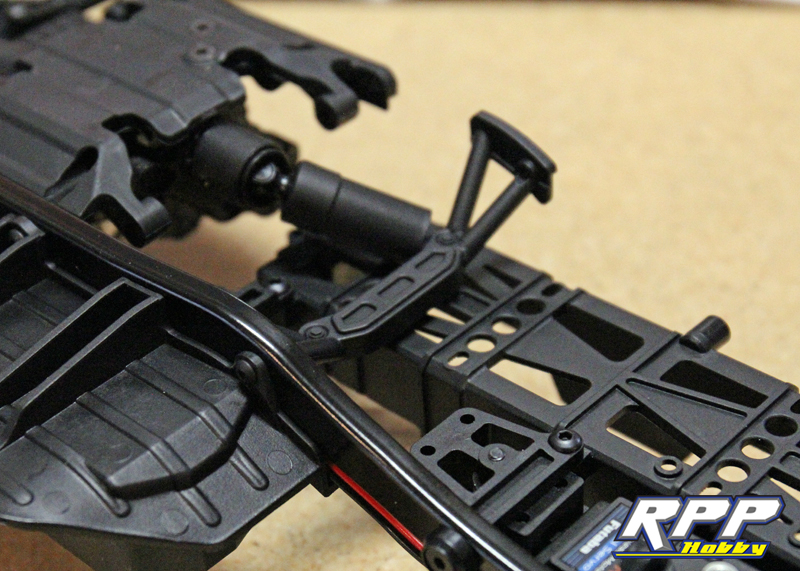
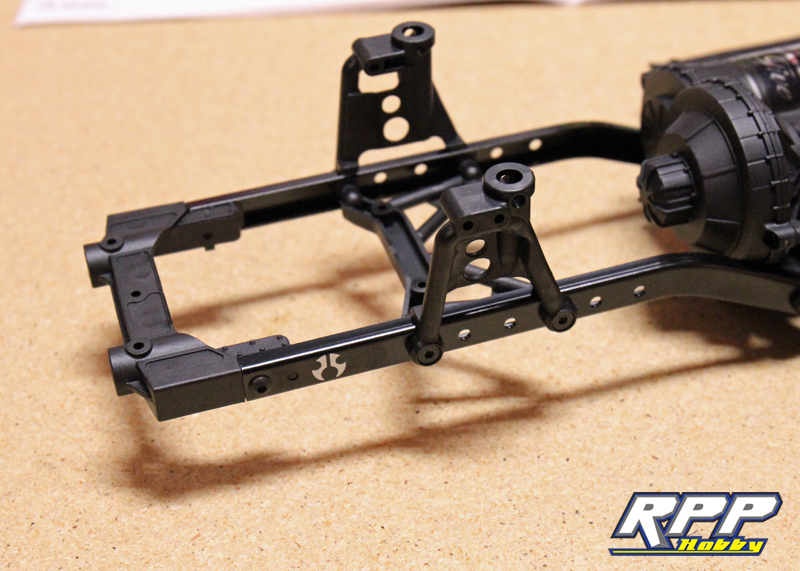
Attach the rear shock tower, chassis support and bumper mount. Note the direction of the shock towers when mounting them to the chassis.

Locate your second chassis rail and start fastening it to the chassis assembly.
Attach the passenger side “splash guard” to the passenger side of the chassis.
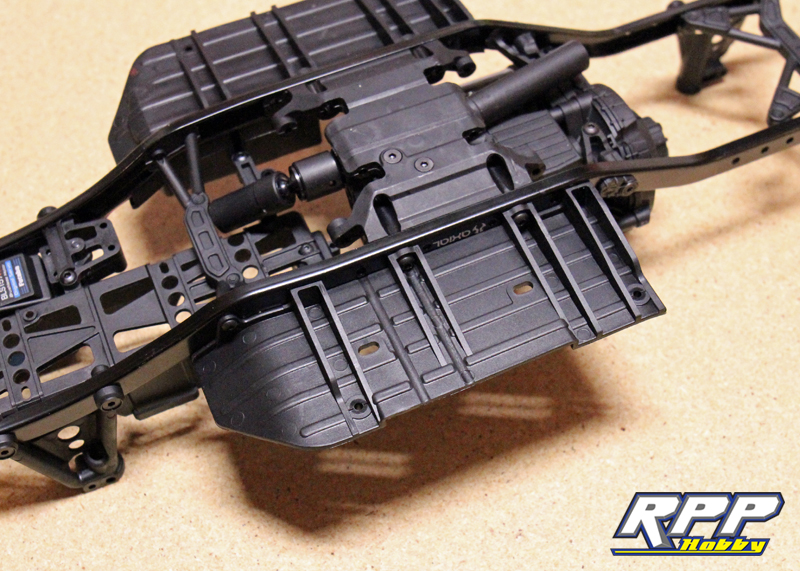
Rear all buttoned up.
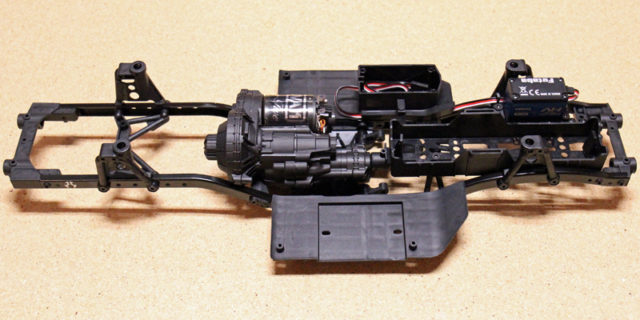
You should now have a complete chassis that looks just like this.

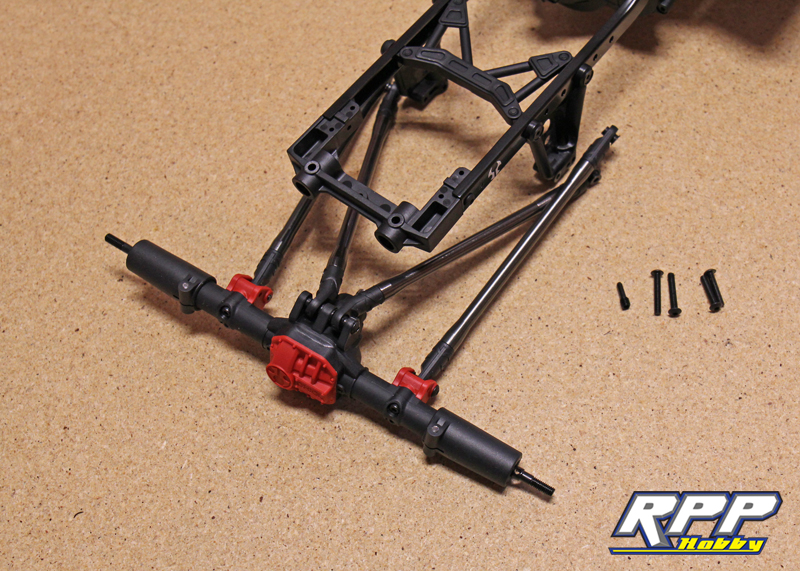
Time to sling the axles under the chassis. Starting with the front.
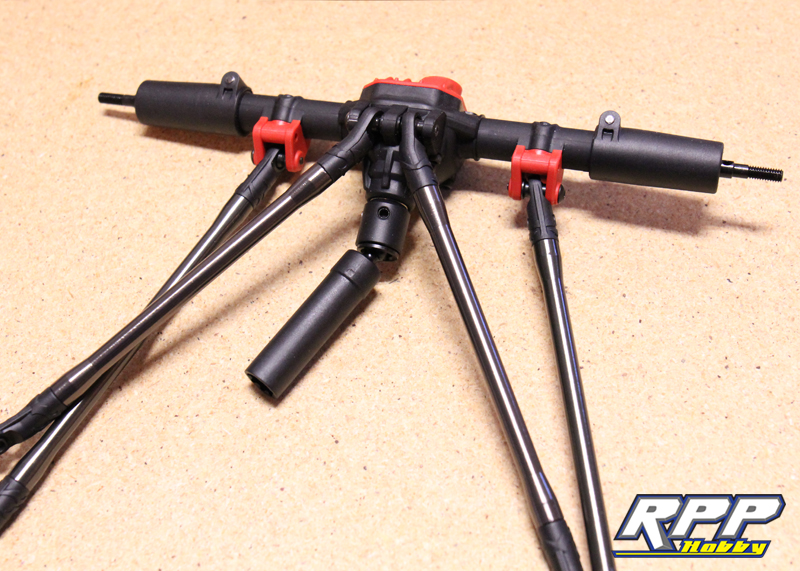
Start by attaching the driveshaft to the axle.
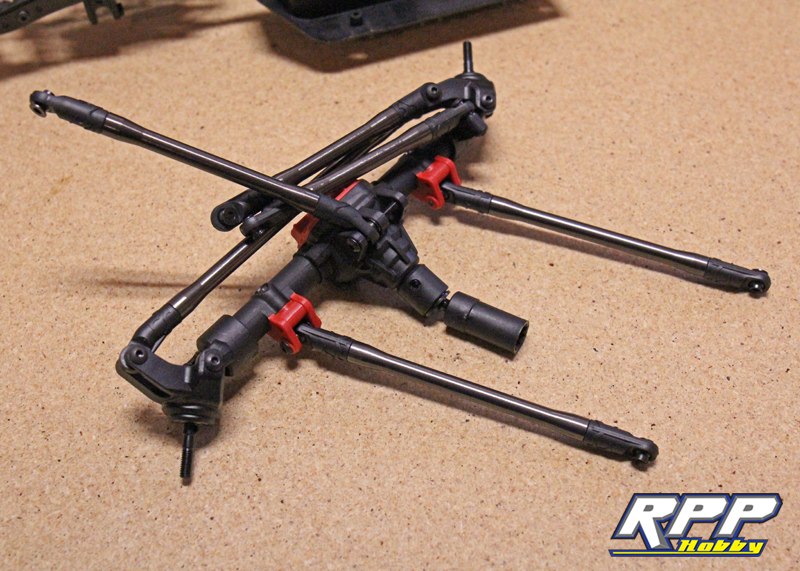
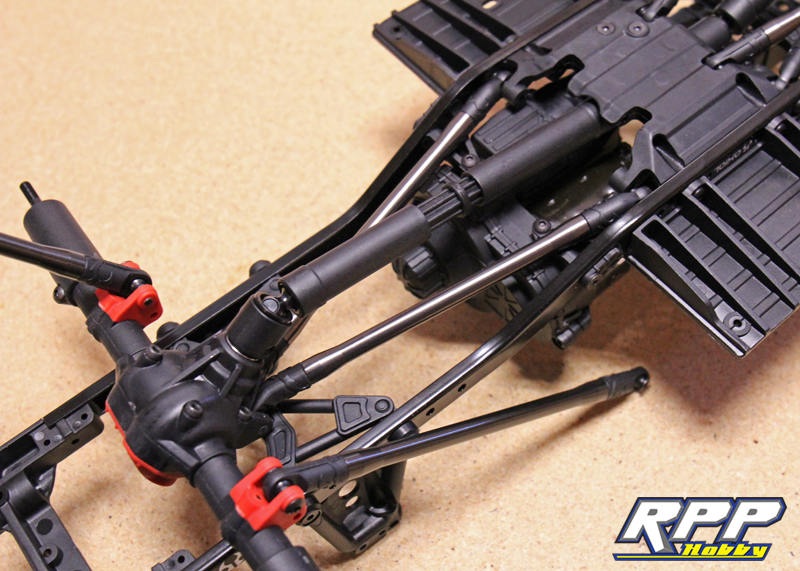
Install the driveshaft and set the axle into place. We like to flip the chassis upside down during this process, it makes life a little easier when installing the hardware.
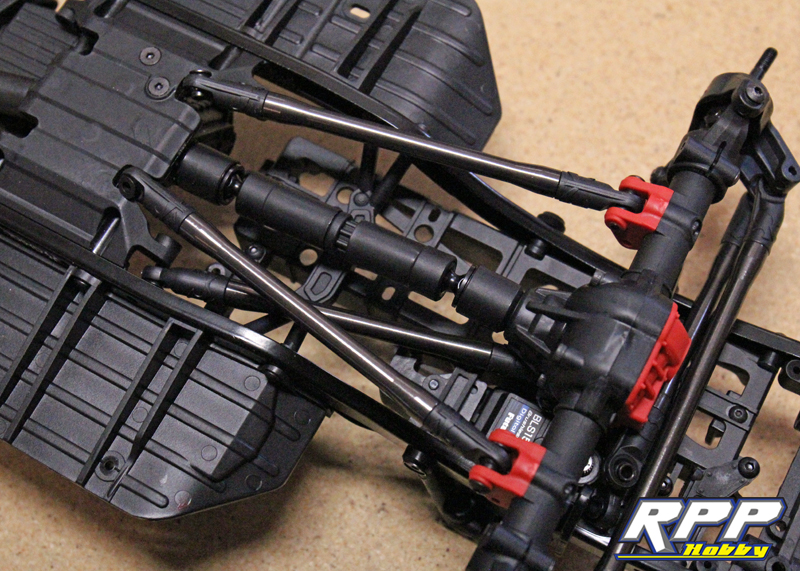
Lower links locked into place.

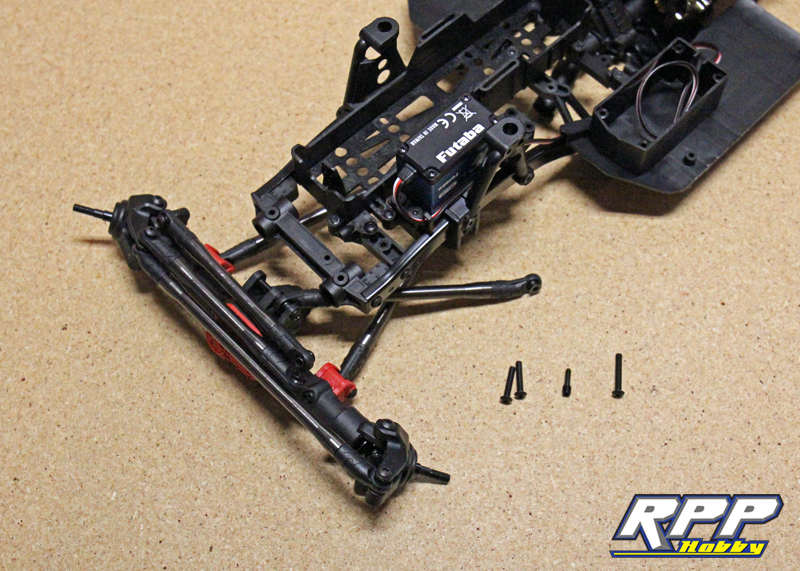
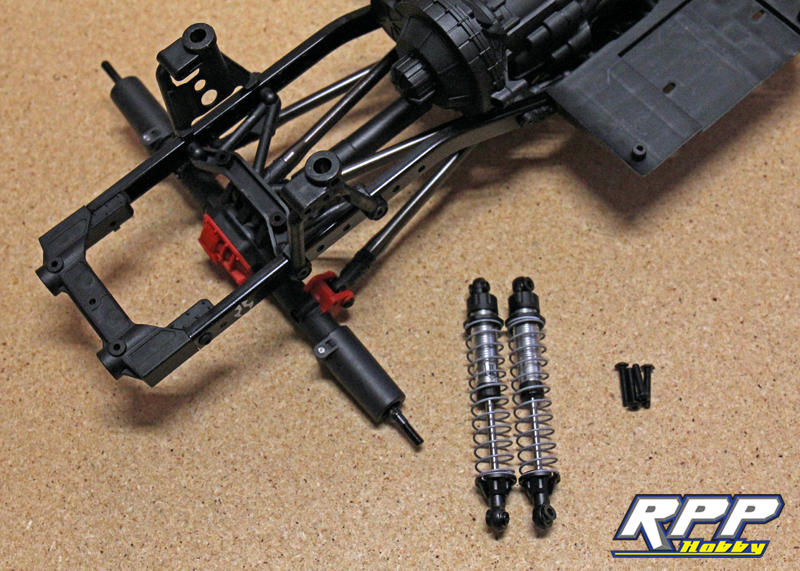
Locate your shocks and the required hardware to mount them. Make sure you grab the right pair of shocks. Remember that there are two different spring rates for the front and rear axles. The front will use the stiffer spring rate.

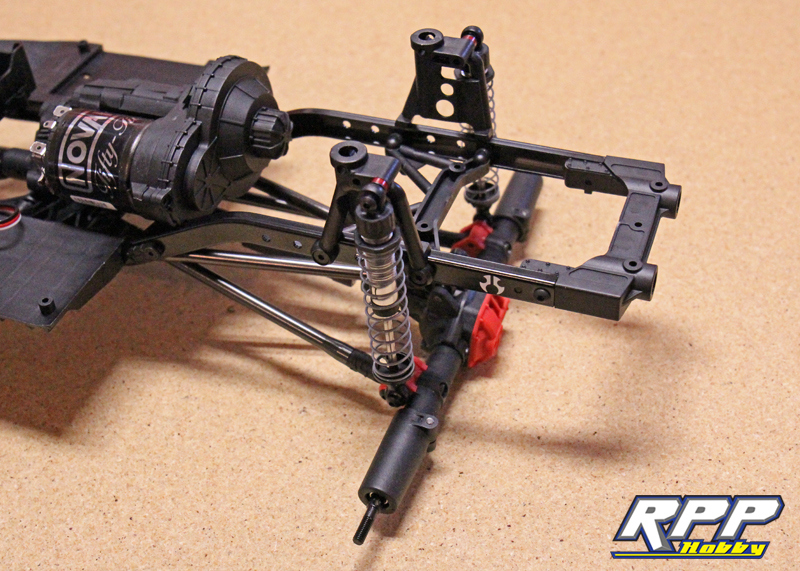
Install per the instructions.
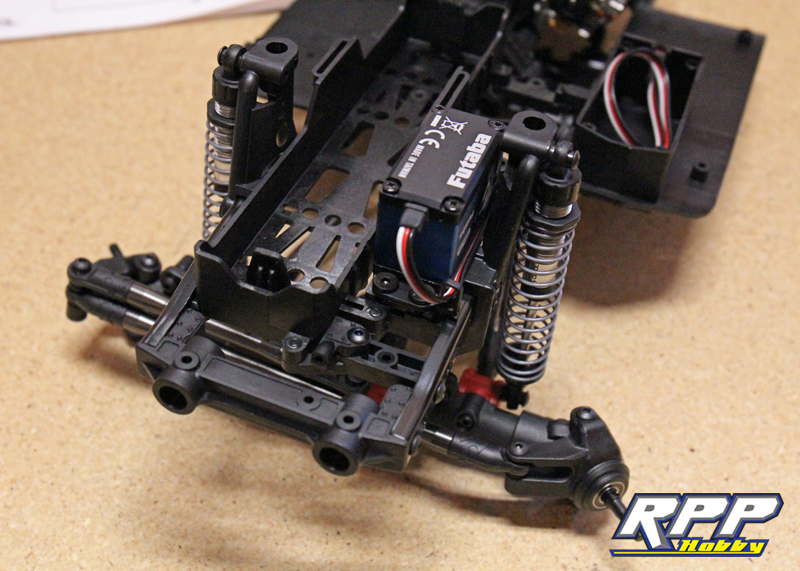
Notice we added a small spacer to the upper shock mounts. We noticed the shocks rubbed the shock towers a little as the suspension cycled. A couple of thin washers will fix the issue.

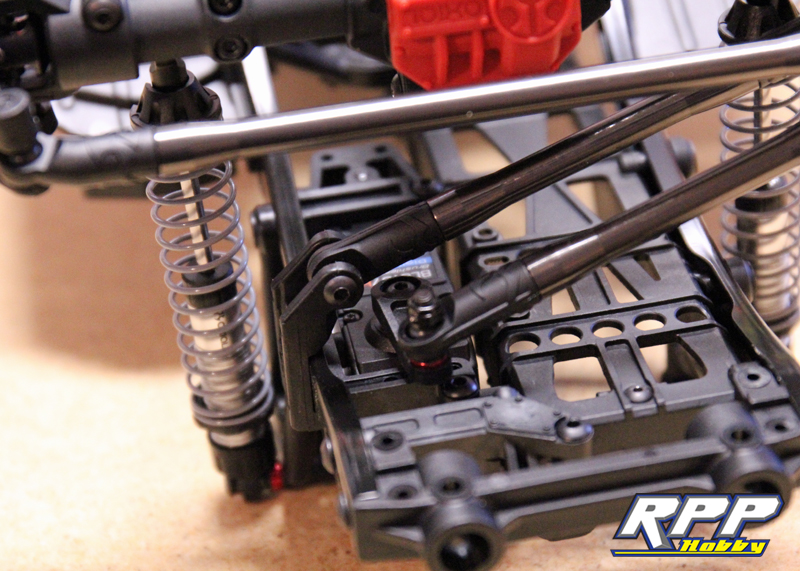
Time to install the servo horn and mount the steering linkage. Be sure to hook your servo up to a power source and properly center it before installing the servo horn.

Once the servo is properly centered you can attach the drag link to the servo horn and mount it to the servo.

Mount your pan hard bar next.
Time to install the rear axle!
Again, start by mounting the driveshaft to the axle.
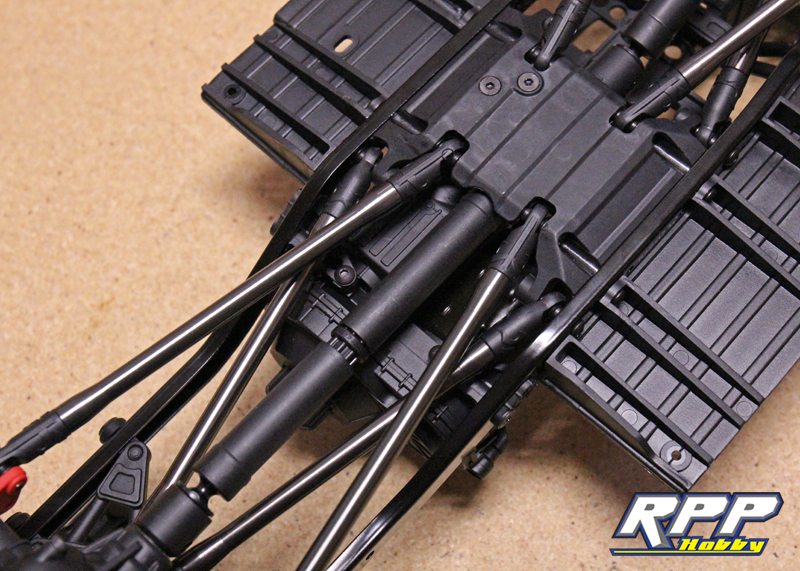
Flip the chassis upside down and connect the driveshaft.
Mount the suspension links to the chassis next.
Rear shock install.
We installed a couple thin spacers on the rear upper shock mounts as well. Rear shocks mounted in all their glory.
Chassis complete!

And that concludes part 5 of our SCX10 II kit build. Things are really starting to take shape now. We are only a few steps away from being able to take this Cherokee out on the trail for its virgin run. Join us next time as we install the electronics as well as mount the bumpers, rock sliders and possibly more. Thanks again for checking out the RPP Hobby blog!
thanks for this great blog. I am building my first Axial SCX10 II and I got stuck on a part – i think the getting the axles connected to the chassis…I hoping that these great pictures and tips can help clear up my confusion!